

 Thanks: 0
 Likes: 0
 Needs Pictures: 0
 Picture(s) thanks: 0
Results 76 to 90 of 496
Thread: Texas GIS
-
23rd January 2010, 03:43 AM #76
 SENIOR MEMBER


- Join Date
- Sep 2007
- Location
- Savannah GA USA
- Posts
- 583

I'll 99% sure they were the Ronstan model numbers MIK calls out on the plans. They look just like the ones you can see in pics of Gruff.
BTW--all four fittings are gudgeons, two transom gudgeons and two rudder gudgeons. (I fabbed my own long pin from 6mm SS rod purchased from McMaster-Carr.) I was pleasantly surprised to find the spread of the tangs on the rudder gudgeons were perfectly sized for the total thickness of the front of the box.
Here's what the transom gudgeons look like: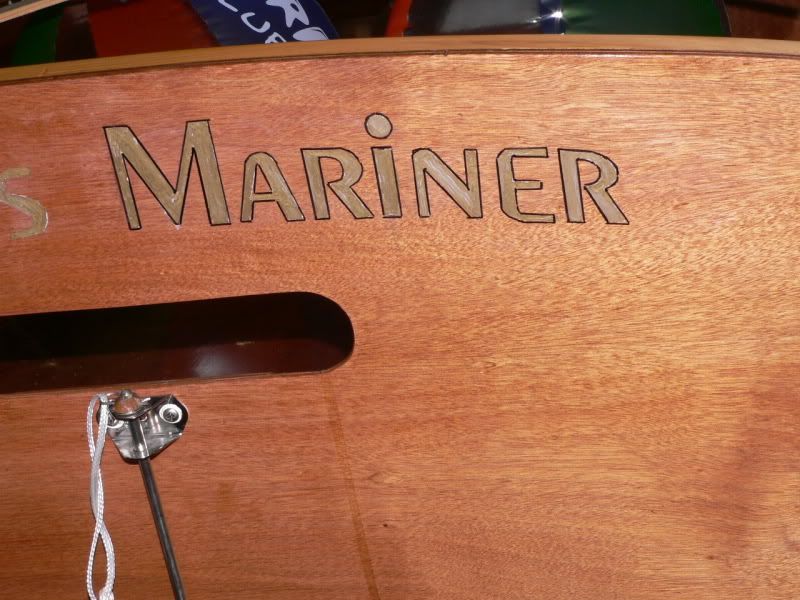
and the rudder gudgeons: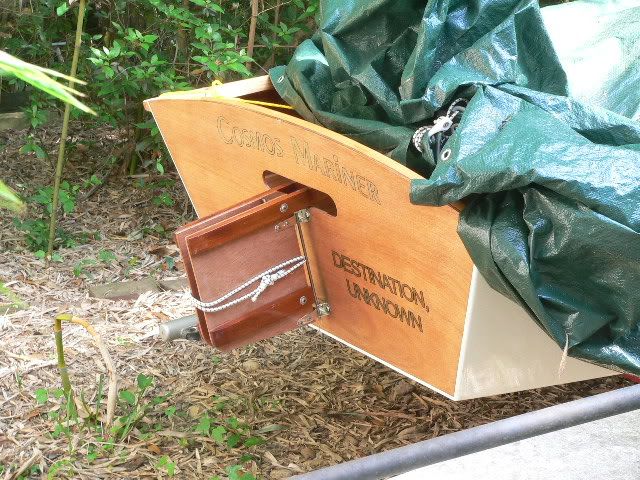
The rudder gudgeons are through-bolted (machine screws/nuts) so they are supplementing the larger through-bolts that run through the whole shebang.The "Cosmos Mariner,"My Goat Island Skiff
http://s176.photobucket.com/albums/w168/MiddleAgesMan/
Starting the Simmons Sea Skiff 18
http://www.flickr.com/photos/37973275@N03/
-
23rd January 2010 03:43 AM # ADSGoogle Adsense Advertisement
- Join Date
- Always
- Location
- Advertising world
- Posts
- Many
-
23rd January 2010, 09:41 AM #77
i-Sails Australia
- Join Date
- Apr 2009
- Location
- Hunter Valley NSW
- Age
- 69
- Posts
- 1,759
You did a really neat job there with your rudder assy MAM. I looked at your pictorial last evening and you should be proud of the fine work you did.
 I just hope I can get somewhere close with mine. I am fairly confident with tools, but measuring and marking out always gives me the shudders
Yes, those are the ones specied. The transom and rudder gudgeons are RF254 and RF239 and have a 6.4mm pinholehas and 38mm opening. Just perfect if you use 6mm ply cheeks and a 26mm spacer. These are now discontinued.
Their new rudder fittings are
Rudder Gudgeon 40mm Wide 7.9mm Dia. RF2503 (Extra 2mm)
Attachment 127574
Transom Gudgeon 7.9mm Dia.Hole RF2510. This has a replaceable nylon bush
Attachment 127575
The extra 2mm of RF2503 lets us think about the possibility of lining the inside of the case with something, or a 1mm spacer of something each side. Also the strap length is too long but as it is alloy, it presents no modification problems.
However, I am told that the 7.9mm pins are now not available, which just keeps the frustration levels up. Bad Ronstan
-
23rd January 2010, 11:04 AM #78
Happily receives emails.
- Join Date
- Jul 2005
- Location
- 'Delaide, Australia
- Age
- 65
- Posts
- 8,138
You might be able to find some plastic or something else as a spacer. Another way would be to lay up some glass epoxy.
Put down some packaging tape on a smooth surface and lay up four layers of glass tape or cloth offcuts.
Let cure then cut to size.
MIK
-
23rd January 2010, 09:16 PM #79
i-Sails Australia
- Join Date
- Apr 2009
- Location
- Hunter Valley NSW
- Age
- 69
- Posts
- 1,759
This is a duplicate post which is worth making given the current discussion around gudgeon fittings. https://www.woodworkforums.com/f169/b...ml#post1100356
My search for some decent rudder and transom gudgeons came to an end today when I visited Bob Fussell's little shop in Warners Bay, on the shore of Lake Macquarie. Bob's shop is old school but he stocks everything that matters to when it comes to dinghy sailing and he doesn't even have a web presence! Bob's main business is sail-making. Aussies may recognise the name as Bob is a noted 505 skipper and has represented Australia.
Anyway, I walked away with all the fittings I needed in one go and with personal service from Bob himself.
Here are the gudgeons I got. They are Riley part numbers RM399HD and RM587, 8mm pins and 38mm wide. The pin hasn't got a part number on it.
The arms are a bit long, but I'll fit them at the same time that I dry-fit the rudder casing, and countersink internally the four bolt-heads that extend to the casing. Just a bit of forward planning needed here.
To use a South African sailing slang term, they are "muntu parts". (which means their strength comes from the use of heavy materials rather than from fine delicate engineering) Rudder Gudgeons are a good place to justify the use of such parts I think.
Attachment 127645
The other fittings I found with a definite coolness factor are the clam cleat keepers. A simple but brilliant way to prevent released ropes from re-cleating themselves unintentionally. They just fit over the top of clam cleats to make a much improved cleat and do the same job as a cam cleat without any working parts. Brilliant!
Clamcleats - Cleat Information
-
23rd January 2010, 09:20 PM #80
i-Sails Australia
- Join Date
- Apr 2009
- Location
- Hunter Valley NSW
- Age
- 69
- Posts
- 1,759
A good thought Mick. A layup between panes of glass would make for a nice smooth surface too. Originally Posted by Boatmik

-
24th January 2010, 02:02 PM #81
Senior Member
- Join Date
- Dec 2009
- Location
- Texas
- Posts
- 319
more timber
Flickr: Texas GIS' Photostream
More timber was cut today, but could not do the final planing due to the dull blades. I sharpened them some with my kitchen knife sharpener with a little success. It now planes the WRC but not the spruce.
A few new pictures have been posted.
Thanks for the rudder fitting info. I will keep looking.
-
25th January 2010, 12:52 AM #82
SENIOR MEMBER
- Join Date
- Sep 2007
- Location
- Savannah GA USA
- Posts
- 583
If you are struggling with getting a good edge on your planer knives you might want to try what has been working for me. I use sandpaper held flat to a nice solid surface like the granite tops in your kitchen. Or, use a piece of glass on most any reasonably flat surface.
Start with something around 300-400 grit. Hold the iron at the correct angle by eye, work it around and around on the sandpaper a few times then check the ground edge and adjust your angle as needed. When you're satisfied with the edge move up to 600-800 grit and repeat. Then go to 1500-2000 grit. Wet-r-dry silicon carbide paper seems to be best; I do it dry. I remove the burr at each stage by turning the iron over, laying it flat on the sandpaper and giving it a few licks. Most any sharpening technique leaves the burr, btw, and it must be removed to get a truly sharp cutting edge.
The very finest grit will give you a highly polished edge that should work on any wood including plywood.The "Cosmos Mariner,"My Goat Island Skiff
http://s176.photobucket.com/albums/w168/MiddleAgesMan/
Starting the Simmons Sea Skiff 18
http://www.flickr.com/photos/37973275@N03/
-
25th January 2010, 04:32 PM #83
Senior Member
- Join Date
- Dec 2009
- Location
- Texas
- Posts
- 319
transom top frame & rubrails
I have a piece of vertical grain spruce that is just big enough to use for the transom top frame. Can vertical grain lumber transfer the loads that the top frame is designed?
Also the local lumber yard suggested that vertical grain spruce would be good for the gunwales and inwales, because it bends "nicely". They went on to explain that horizontal grain spruce would split as it is being bent. (They don't sell horizontal grain spruce by the way.) I have used vertical grain spruce for the tiller and I find it does not bend at all.
I what to use spruce but, which grain direction is preferred?
-
26th January 2010, 03:33 AM #84
SENIOR MEMBER
- Join Date
- Sep 2007
- Location
- Savannah GA USA
- Posts
- 583
For the top frame of the transom either would work just fine. VG would look nicer IMO. The bends in the gunwales are not radical enough to be of much concern. While VG might take a tighter bend without breaking IMO either would work for the GIS gunwales.
The "Cosmos Mariner,"My Goat Island Skiff
http://s176.photobucket.com/albums/w168/MiddleAgesMan/
Starting the Simmons Sea Skiff 18
http://www.flickr.com/photos/37973275@N03/
-
26th January 2010, 11:13 AM #85
Happily receives emails.
- Join Date
- Jul 2005
- Location
- 'Delaide, Australia
- Age
- 65
- Posts
- 8,138
MAM is spot on. The curves are really gentle - as far as the timber is concerned - it doesn't mean it ain't a bit of a heave at one or two points.
Michael
-
26th January 2010, 01:42 PM #86
SENIOR MEMBER
- Join Date
- May 2008
- Location
- Portland, ME USA
- Posts
- 837
The only thing I would add is that if one were doing a rabbeted gunwale, cut with a dado such that the rail overlaps the top edge of the plank, flatsawn boards are better. This is so that the edge doesn't split. So, all my gunwale stock tends to be flatsawn or with the grain going diagonally through the board.
Clint
-
27th January 2010, 01:43 AM #87
Senior Member
- Join Date
- Dec 2009
- Location
- Texas
- Posts
- 319
I now have a very nice piece of colored reflective insulated glass for a sharpening surface. Our office was discarding an old glass submittal, so I snatched it up. I tryed your method and was very happy with the results on my hand planers. Originally Posted by MiddleAgesMan
I will build a blade holder for the 13" milling machine blades and see if I can improve the dull and nicked edges, my new blades appear to be lost in the mail.
-
29th January 2010, 01:34 AM #88
Senior Member
- Join Date
- Dec 2009
- Location
- Texas
- Posts
- 319
Shaping foils
WOW, that was fun. Shaped the daggerboard last night with a little help from my cat. After shaping one side of the daggerboard I read some of the dimensions I had marked on the blank. OPPS. In my excitement to get started, I had forgotten to trim off the extra width off the hardwood staves. Only had to trim about 15mm from the front and rear staves to get to the designed width. Shaping did go quickly as I followed the instructions in the plans. It's is very satisfiying to feel the woods surface as it becomes the shape you want. Still lots of work to do on them.
I used a small but long piece of wood to help support the trailing edge while shaping the 2nd side. It was flexing some and I was afraid I would break it off. It did end up helping steady the edge to get a straighter cut. too.
The kids do the rudder next.
-
30th January 2010, 10:38 AM #89
Happily receives emails.
- Join Date
- Jul 2005
- Location
- 'Delaide, Australia
- Age
- 65
- Posts
- 8,138
I really do like the response of people after making foils. Most first timers are pretty chuffed that they can make this precise "sculpture"
Michael
-
30th January 2010, 01:26 PM #90
Better Recognize
- Join Date
- Jun 2009
- Location
- New Hampshire
- Posts
- 960
Ha! There's that word again! Awesome Commonwealth slang! Originally Posted by Boatmik
I heard a rumor that Australians and NZ'ers don't rinse the soap off the dishes when they put them up to dry, but put them up soapy... is that true?

 Reply With Quote


Similar Threads
-
Hello from Texas
By johnny a in forum MISC BOAT RELATED STUFFReplies: 19Last Post: 5th January 2009, 04:41 AM -
Hello from Texas
By mjdtexan in forum G'day mate - THE WELCOME WAGON -Introduce yourselfReplies: 10Last Post: 20th December 2008, 04:08 PM -
Gday from Texas
By barg2757 in forum G'day mate - THE WELCOME WAGON -Introduce yourselfReplies: 3Last Post: 16th December 2008, 12:51 PM -
Howdy, from Texas!
By dnb in forum G'day mate - THE WELCOME WAGON -Introduce yourselfReplies: 10Last Post: 13th December 2008, 12:07 AM -
Texas
By munruben in forum WOODIES JOKESReplies: 1Last Post: 16th April 2008, 03:46 PM
