

 Thanks: 0
 Likes: 0
 Needs Pictures: 0
 Picture(s) thanks: 0
Results 1 to 15 of 15
Thread: First crack at a Slab
-
10th September 2011, 02:44 AM #1
 New Member


- Join Date
- Sep 2011
- Location
- Bull Creek
- Posts
- 3
 First crack at a Slab
Gday,
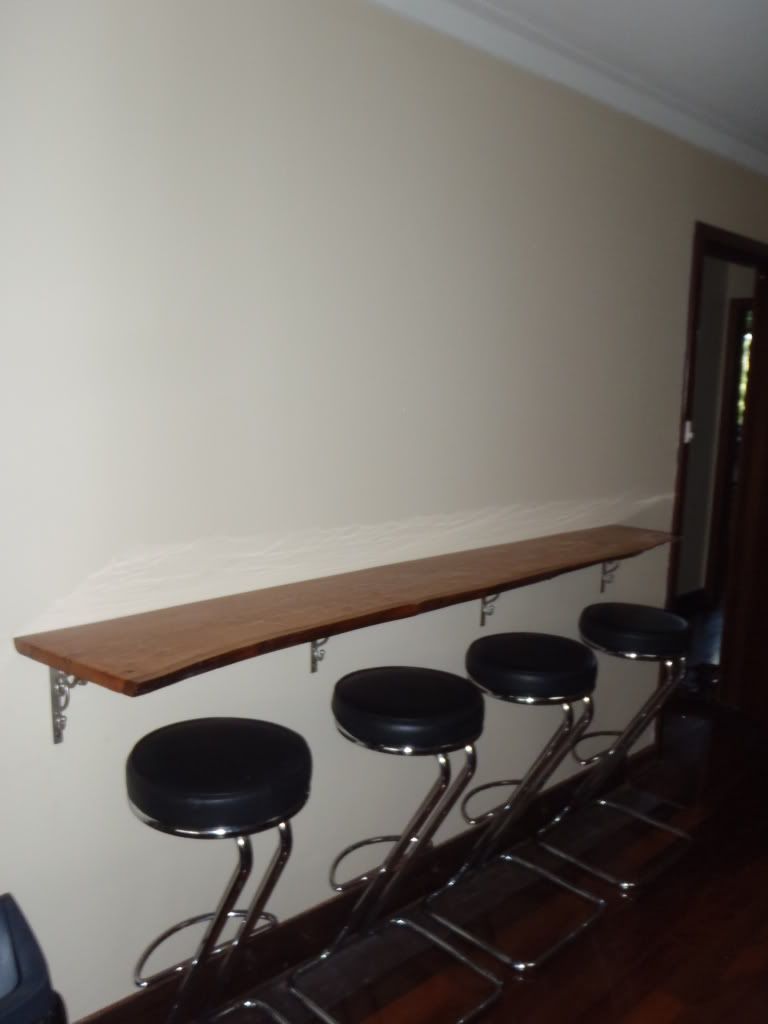
I thought a might have a go at a slab breakfast bar. I wanted to have a natural edge and I didn't mind if it was a bit "rough", we have removed the hidious wall cabinet that was wasting all that quality space.
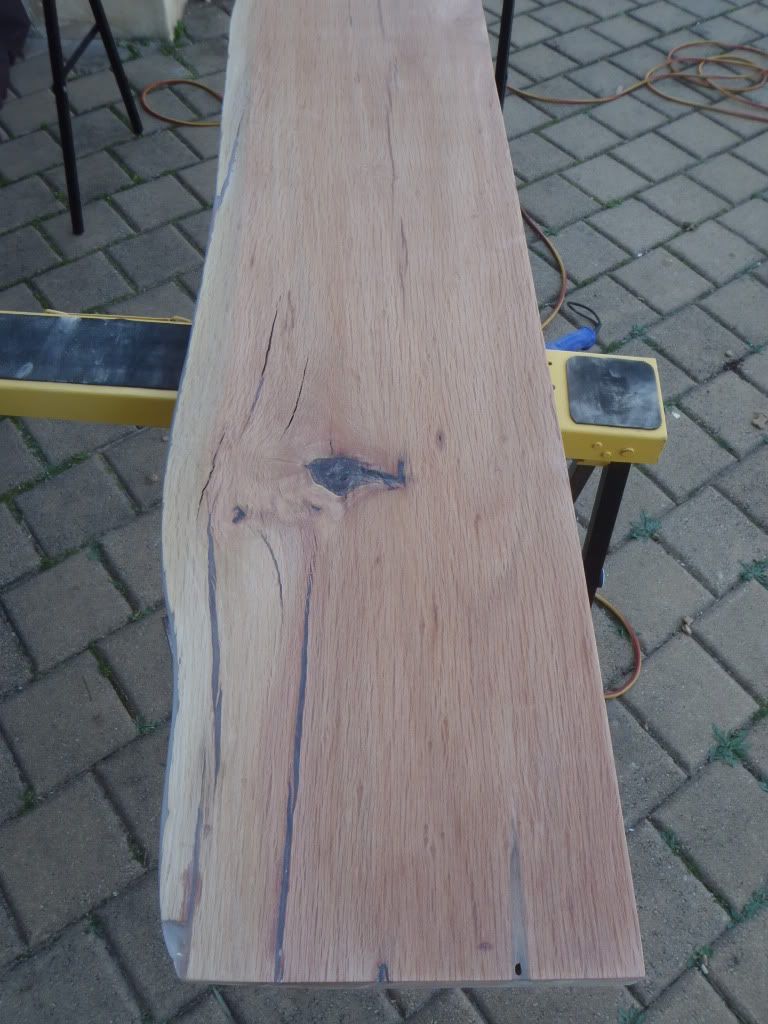
Now we have just bought our house so the budget is tight. I went to my local salvage yards looking for a slab of the right size and price. This is what I picked up for $70. Sheoak 2200mm long approx 500mm wide and 45mm thick with a lot of "features"
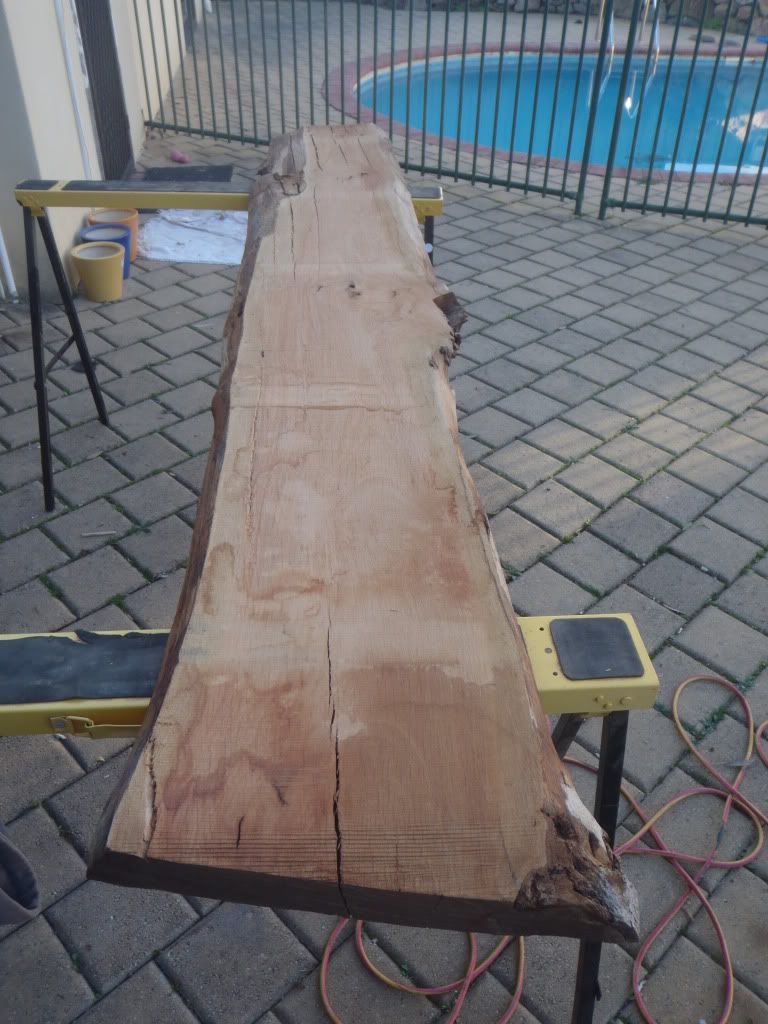
I went to work trying to level out the lumps and bumps on both sides with a belt sander and spirit level. After about 8hrs of 40grit, 6hrs of 80grit and 4hrs of 120grit I have a level and finish I am happy to work with.
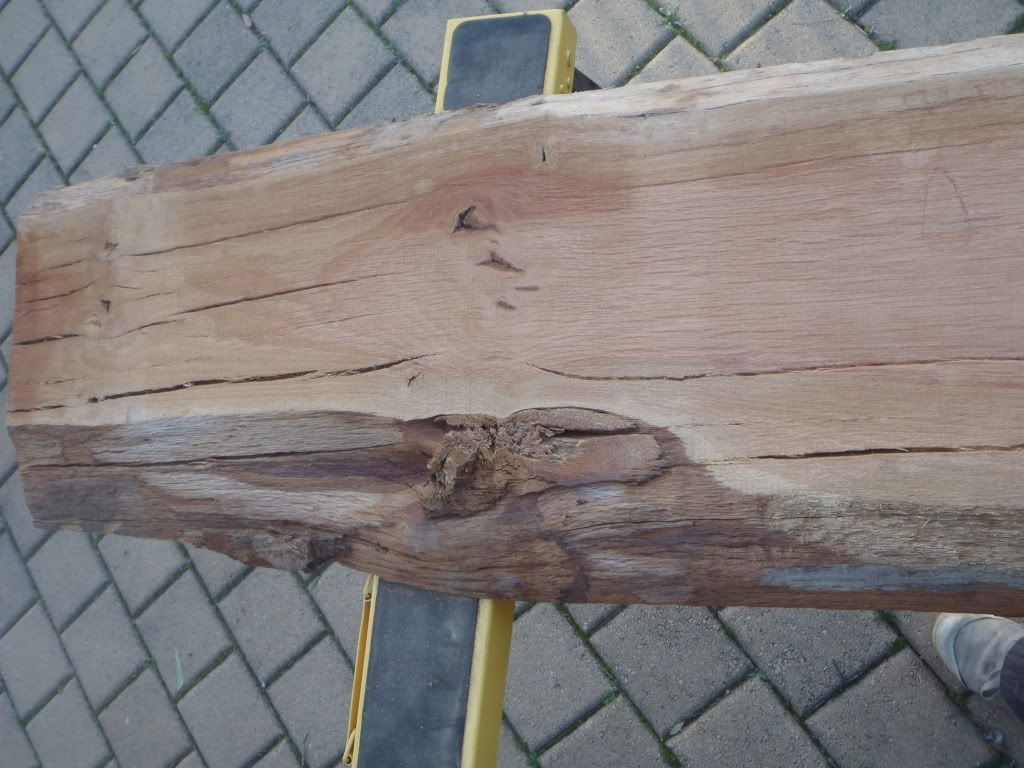
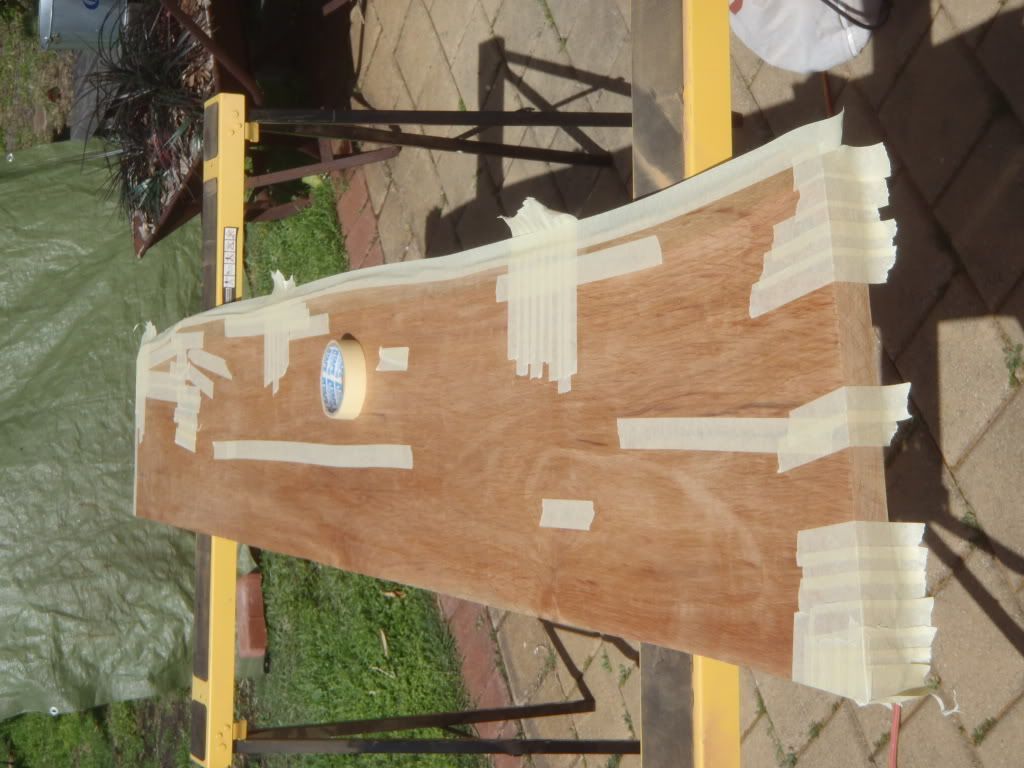
After alot of research thanks to the forum I decided that an epoxy finish would be my best option to prevent further cracking and help fill the major knot hole. My first attempt was to fill the knot hole on the top and a few of what I thought where minor cracks. What a mistake/mess, expoy everywhere except in the cracks. I had a bit more of a think and search for some options, sanded away the epoxy mess and started again. This time working from the bottom first. I masked all cracks, features and edges. Mixed a 250ml mix of Glass Coat epoxy and started to fill. I got about three quarters of the way through and relized 250ml wasn't going to be enough resin, my slab was just sucking it up. In a slight panic I raced down to the local hardware and purchased another batch of glass coat quickly mixed and applied. I wasn't overly happy with the finish. It had a few high and low spots and a little uneveness, but put it down to the time between applications lucky it is the bottom.
I peeled back the masking and was very happy the way the epoxy had filled the cracks and gaps in the slab,
I spent a fair bit more time softening the epoxy edge and finishing the top to 400grit. another layer of glass coat on the top and edges, I am happier with the top finish but not 100% happy with the way the glass coat settled, some low and high points that catch the light.
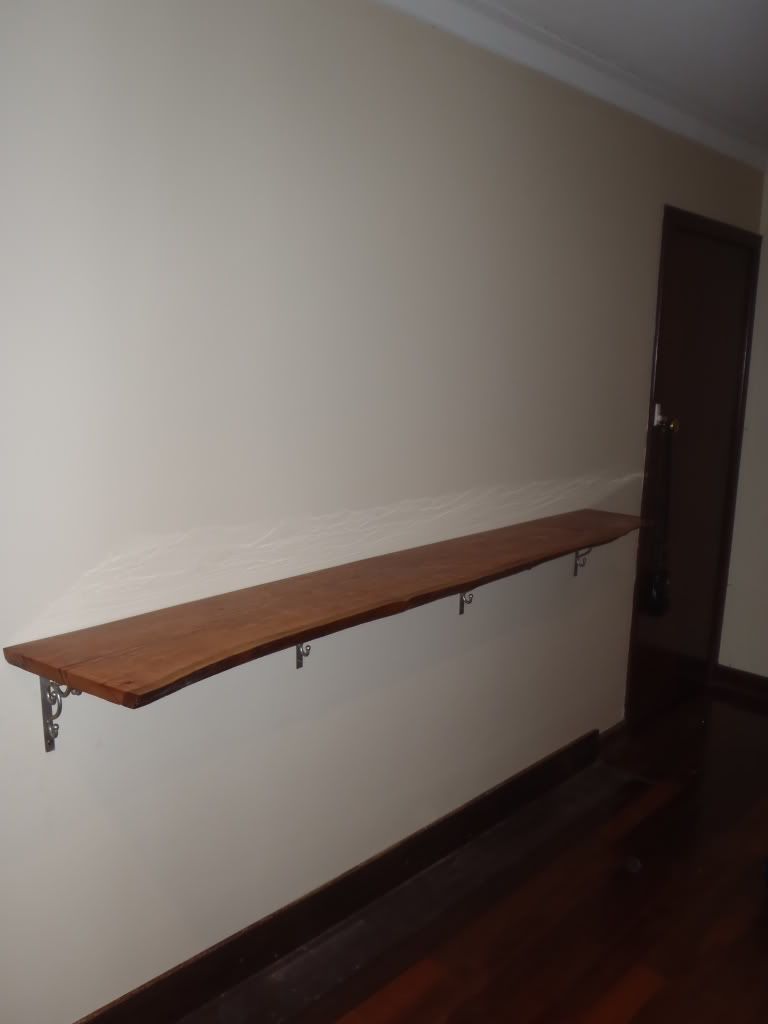
So here it is mounted and ready for use.

-
10th September 2011 02:44 AM # ADSGoogle Adsense Advertisement
- Join Date
- Always
- Location
- Advertising world
- Posts
- Many
-
10th September 2011, 08:47 AM #2
GOLD MEMBER
- Join Date
- Oct 2007
- Location
- vic clayton
- Posts
- 1,042
noice
 and welcome to the forum
Some people are like slinkies - not really good for anything, but they
and welcome to the forum
Some people are like slinkies - not really good for anything, but they
bring a smile to your face when pushed down the stairs .
-
10th September 2011, 09:05 AM #3
SENIOR MEMBER
- Join Date
- Nov 2004
- Location
- Port Pirie SA
- Age
- 52
- Posts
- 6,908
Looks good, money spent well

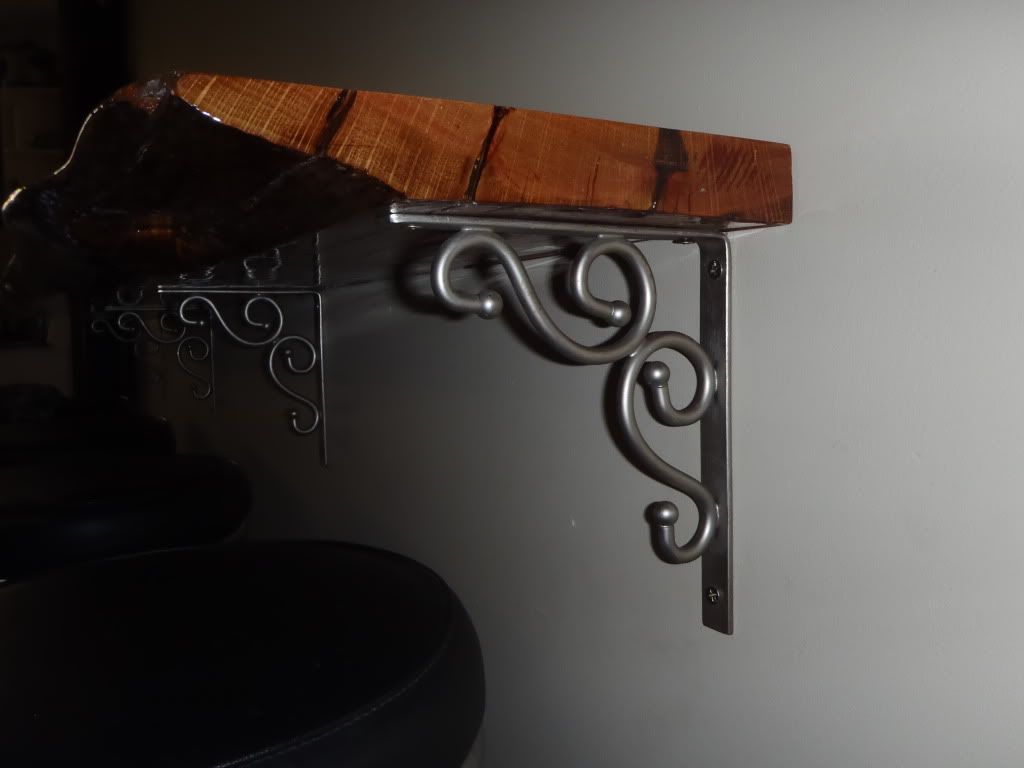
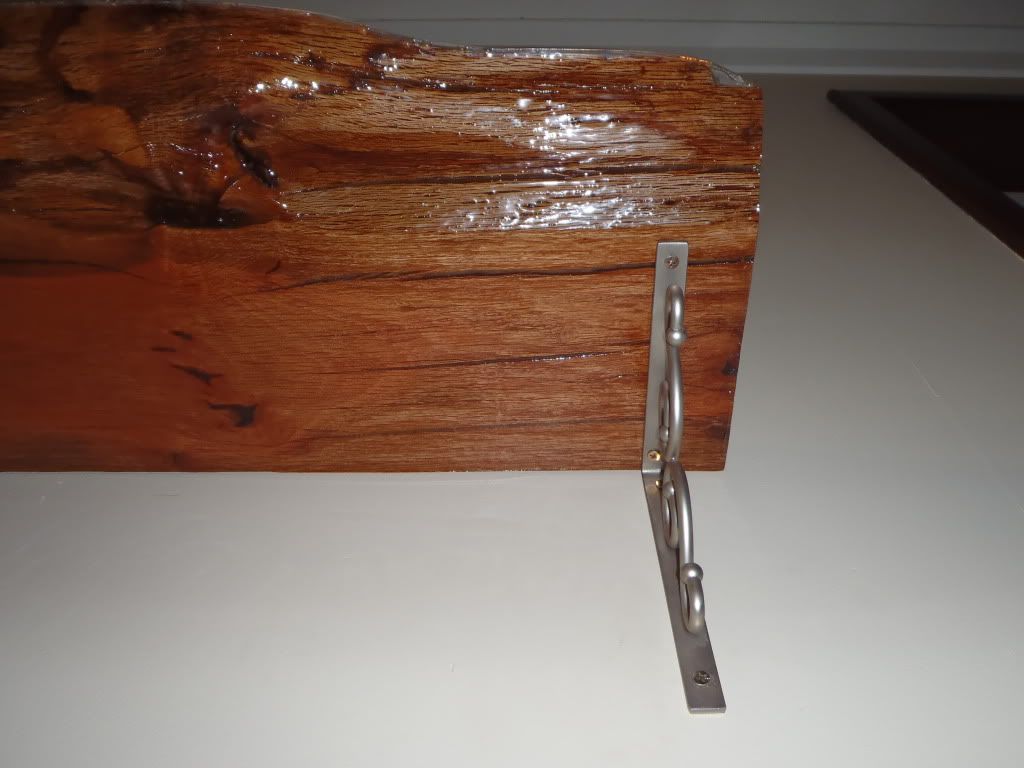
Those shelf brackets look a little small for the width of the sheoak... got a welder and angle grinder ....................................................................
")
-
10th September 2011, 09:45 AM #4
GOLD MEMBER
- Join Date
- Jan 2010
- Location
- Melbourne
- Posts
- 2,636
Great introduction to the forum Gunshy, welcome!
-Scott
-
10th September 2011, 09:48 AM #5
.
- Join Date
- Feb 2006
- Location
- Perth
- Posts
- 27,796
Firstly welcome to WWF.
I agree about the brackets, they don't quite balance the size of the slab - the rest looks good. Originally Posted by Harry72

-
10th September 2011, 06:14 PM #6
New Member
- Join Date
- Sep 2011
- Location
- Bull Creek
- Posts
- 3
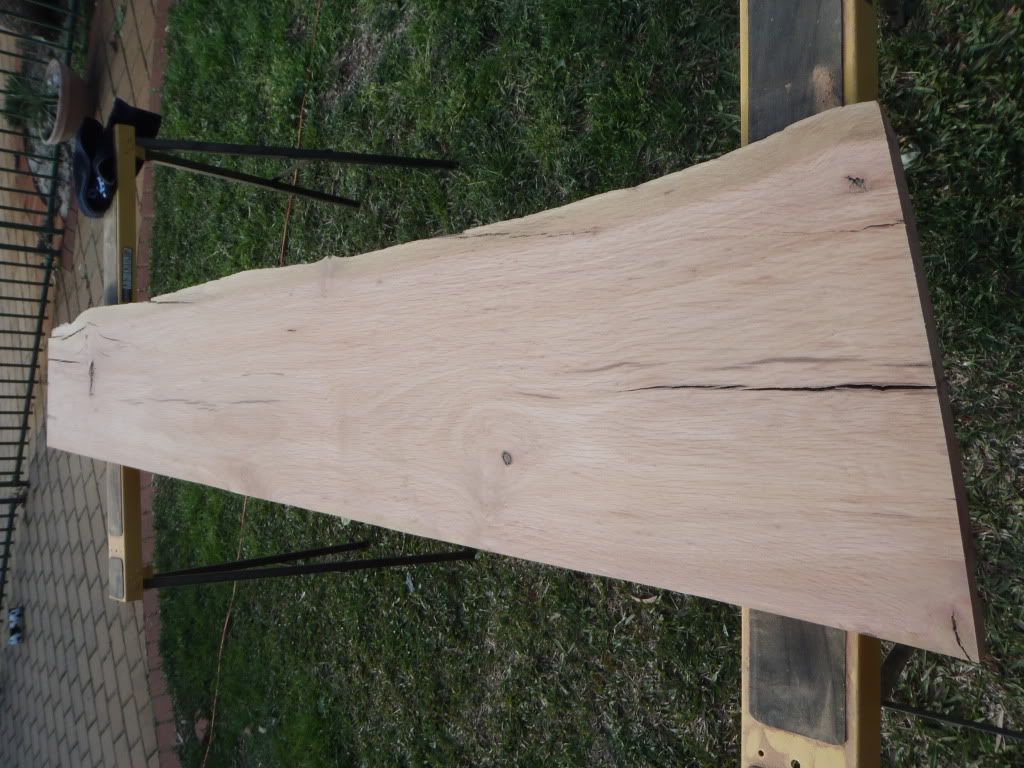
I was a little worried about that too, the problem I came across was the way the slab tapered, I didn't want to give away the width at one end to accomadate the natural edge, this should show it a little closer. Originally Posted by Harry72
P.S yes I have a grinder BUT ..... ZERO skill when it comes to welding. The price quoted to get custom welded wrought iron was a long out of the budget.
It was a bit af a tight spot compromise.
-
10th September 2011, 09:07 PM #7
Mildly Moderate
- Join Date
- Nov 2007
- Location
- Albury Well Just Outside
- Posts
- 13,315
Welcome to the forum. It does look like a neat job and great to see. I am not sure on the brackets as I never mounted a slab to a wall but others have concerns.
What's the next project?
-
10th September 2011, 11:10 PM #8
SENIOR MEMBER
- Join Date
- Nov 2004
- Location
- Port Pirie SA
- Age
- 52
- Posts
- 6,908
Ah I see, yep you would need 4 sizes of bracket. You might be surprised how much custom iron work doesnt cost but yes definably cost more than mass produced brackets!
....................................................................
-
10th September 2011, 11:53 PM #9
Old Fart (my step daughters named me)

- Join Date
- Sep 2010
- Location
- Mallala S.A.
- Age
- 76
- Posts
- 1,455
Welcome and congrats on a nice job. Looks good enough to eat of. Rekon it would make a better bar top tho.
-
11th September 2011, 01:50 AM #10
New Member
- Join Date
- Sep 2011
- Location
- Bull Creek
- Posts
- 3
I have a few planter boxes on order from the wife, I have put a small one together out of reclaimed jarah 2x4 and reclaimed 85mm jarah tongue and grove floor boards. Following that I have an outdoor table and two bench seats suitable to seat 10. It is going to be a long productive summer. Originally Posted by Christos
-
11th September 2011, 10:58 AM #11
Skwair2rownd
- Join Date
- Nov 2007
- Location
- Dundowran Beach
- Age
- 76
- Posts
- 19,922

G'day Gunshy and welcome aboard!
Very spiphphy job!!
There are some great medullary rays in that slab! Can only imagine what they woul have looked like if the slab had been cut on the quater.
-
11th September 2011, 11:22 AM #12
Woodworker Wannabe
- Join Date
- Jun 2007
- Location
- Brisbane
- Age
- 63
- Posts
- 332
+1
A great idea for my BILs bar and games room.
Well done
Derek
-
11th September 2011, 09:18 PM #13
Mildly Moderate
- Join Date
- Nov 2007
- Location
- Albury Well Just Outside
- Posts
- 13,315
Originally Posted by Gunshy
Cool more work in progress. Or am I being pushy? 
-
11th September 2011, 11:14 PM #14
wood butcher
- Join Date
- Dec 2008
- Location
- East Bentleigh
- Posts
- 200
Nice stuff Gunshy.
I love the smell of slab timber in the morning.
Keep up the good work!
Cheers
Bryan
-
12th September 2011, 10:22 AM #15
New Member
- Join Date
- Aug 2011
- Location
- New Zealand
- Posts
- 6
Great job. I'm very jealous of how fast you got on with it. I bought my slabs ages ago and I'm only now getting round to planing them smooth!
Good work!

 Reply With Quote


Similar Threads
-
What to do with crack in Blackwood slab?
By PG Hardwood in forum TIMBERReplies: 13Last Post: 6th February 2010, 10:50 AM -
Windscreen Crack-Why
By Strungout in forum MOTOR VEHICLESReplies: 7Last Post: 12th May 2009, 09:44 PM -
crack in a bowl
By benji79 in forum WOODTURNING - GENERALReplies: 8Last Post: 27th January 2007, 11:17 AM -
Fixing crack
By smidsy in forum WOODTURNING - GENERALReplies: 6Last Post: 30th September 2004, 08:14 AM
