

 Thanks:
  Likes:
  Needs Pictures: 0
 Picture(s) thanks:
Results 1 to 8 of 8
Thread: Kitchen doors
-
6th December 2016, 09:21 PM #1
 Be inspired. Be creative. Be bold.


- Join Date
- Apr 2001
- Location
- Perth
- Posts
- 10,826
 Kitchen doors
We built our house 20 years ago, and everything is a little tired now. So, directed by my wife (She Who Must Be Obeyed), I have set about updating the kitchen. The layout is going to change only a little - mainly to accommodate a new and wider fridge-freezer, and then add a more modern range hood. The main change will be to the doors and drawer fronts. Currently, they are a more traditional raised panel style in quartersawn Tasmanian Oak. These have darkened over the years beyond their original light colour to a deep tan. Lynndy wants modern and light. And so they will be Shaker and in Hard Maple (from the USA). This will be finished in a General Finishes QTHS water based topcoat to ensure a durable finish that will retain the very light colour.
I thought that I would post a few pictures here of the method I am using to build the doors, not because it is different or because it is striking (it is neither of these since the design is really simple), but because someone else may find this useful. Anyway we all like looking at the tools of others, right?
Those who know me recognise that this build is a departure from my usual handtool approach. I do use power tools, and have been around them for 30-40 years. I have a pretty full compliment in my shop at home, and they do get used. It's just that I prefer using handtools once the roughing out is done. This time, however, there was no way I could see myself building around 25 doors full of M&T joints with tenon saw and mortice chisel. We'd like the job done sooner rather than later. So I invested in a Festool DF500 Domino.
Here are some of the hand power tools I am using ..
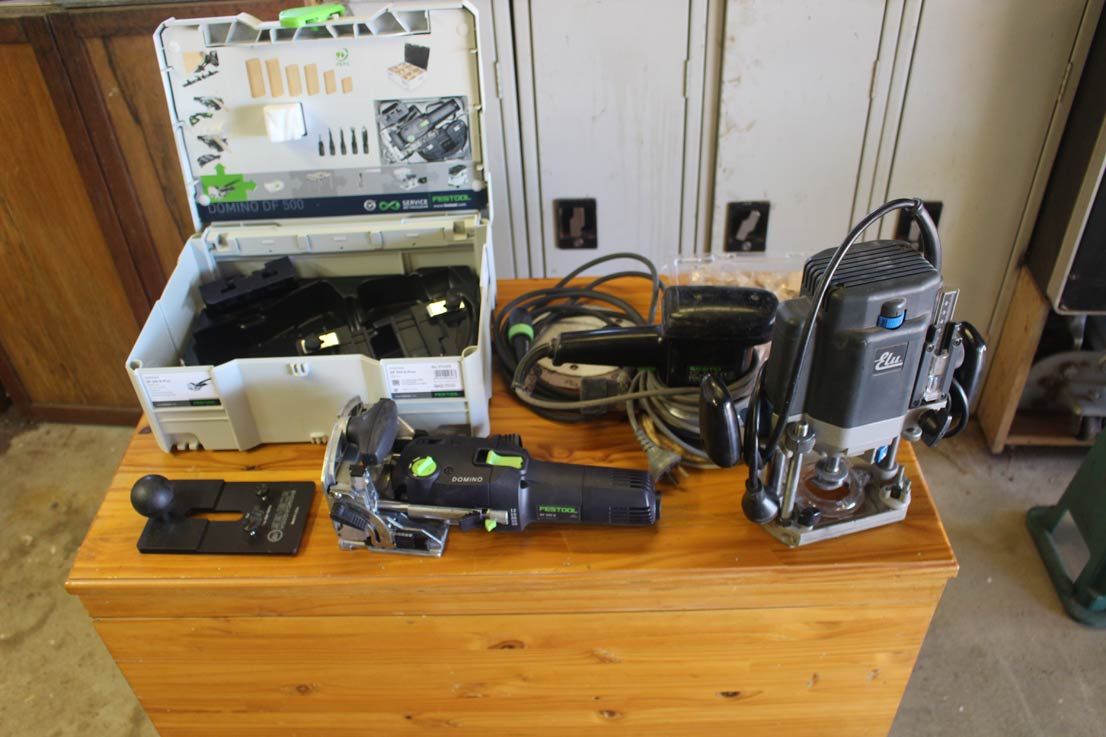
Incidentally, the ROS is a Festo ET2E, and the router is an Elu 177e ... which should tell you how long I have had them ...
Not to forget ...
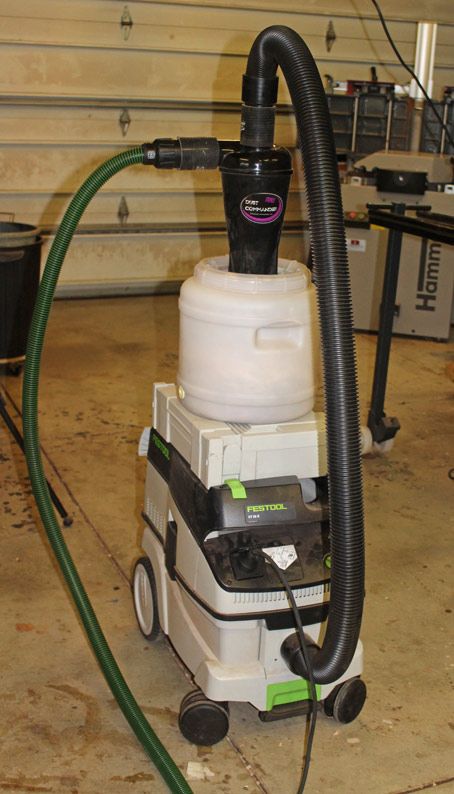
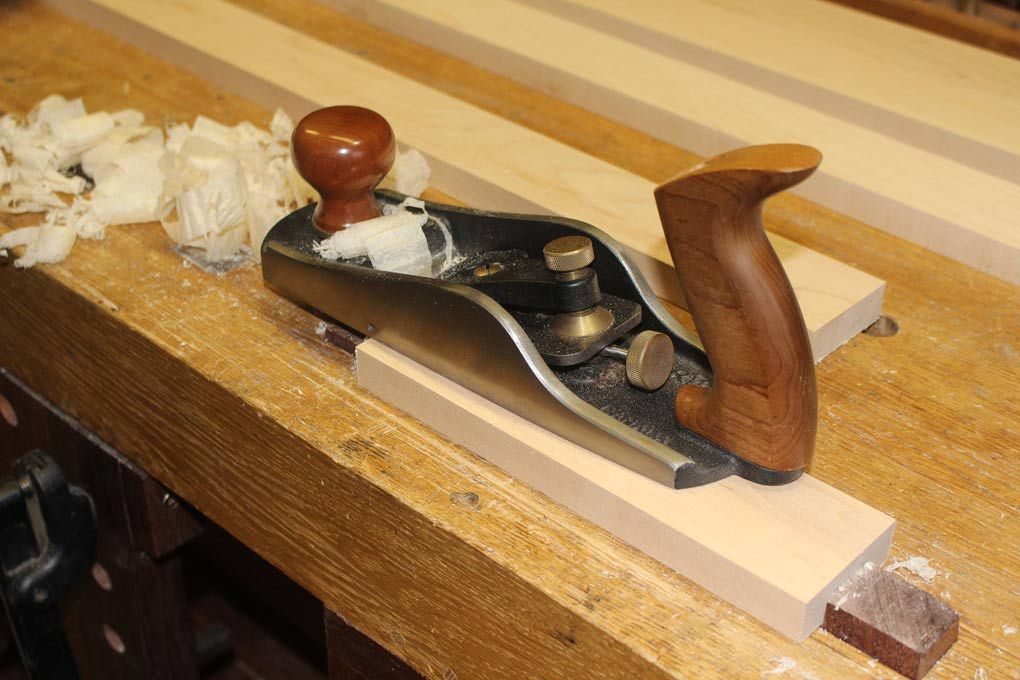
Other tools include a Veritas BUS for smoothing the frames (the sander was used on the panels with Mirka Abranet up to 400 grit) ...
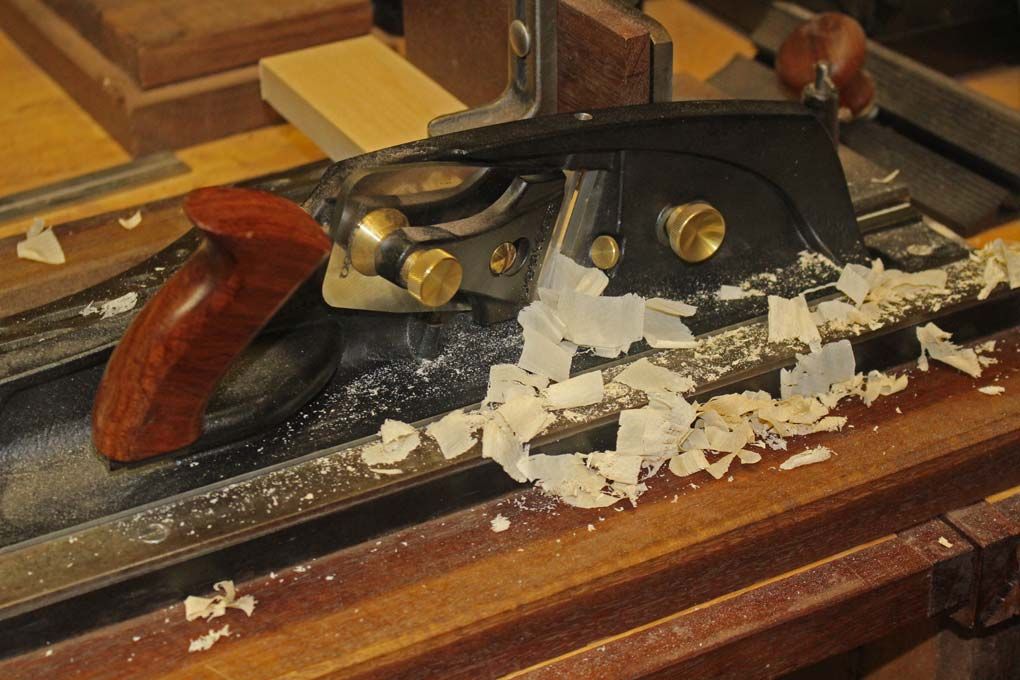
The ends of boards needed to be perfectly square. This is the Veritas Shooting Plane on a Stanley #52 shooting board ...
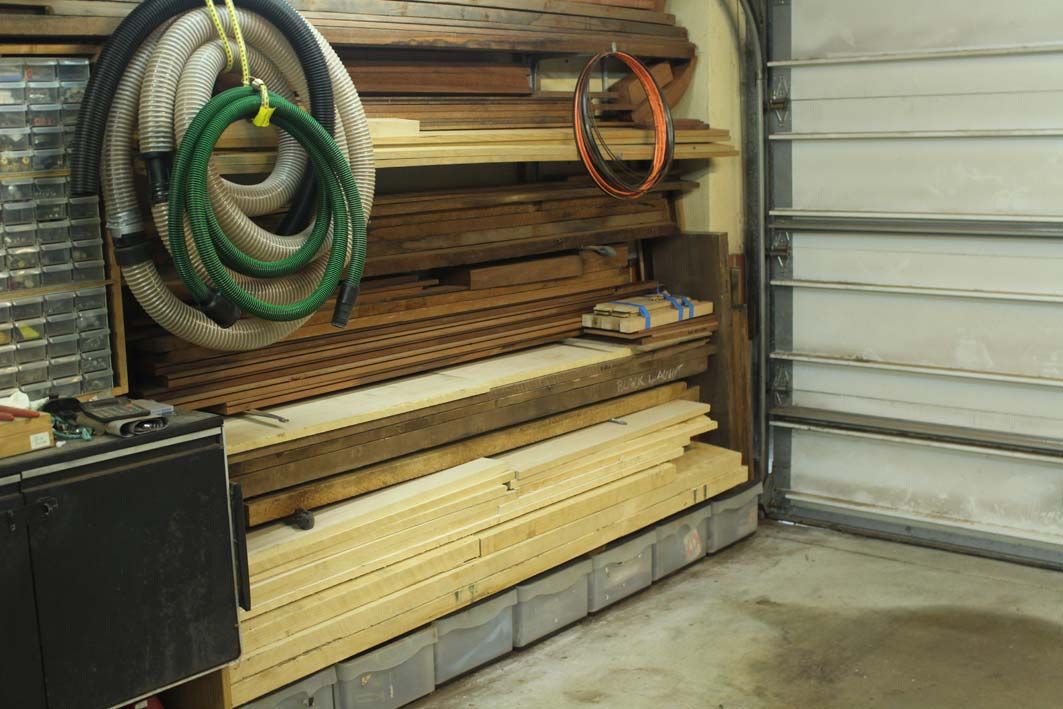
I managed to get in a decent stock of rough sawn 1" and 2" thick x 10" wide Hard Maple boards ..
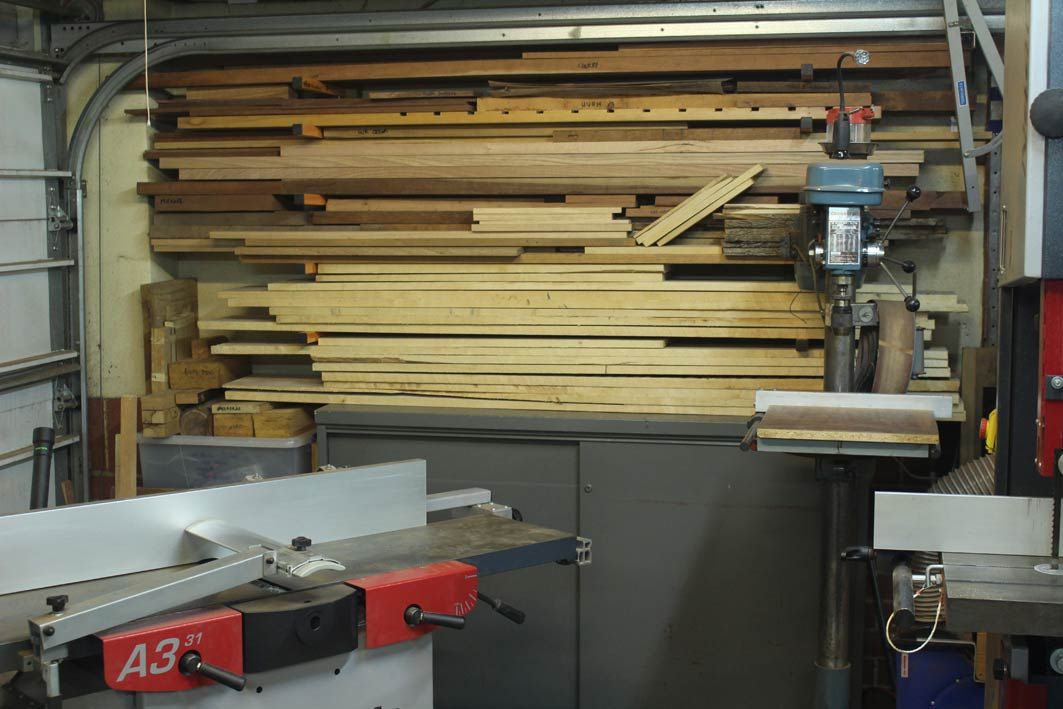
The boards were resawn on my Hammer 4400 and finished on a A3-31 to panels 1/4" thick or frames 3/4" thick ...
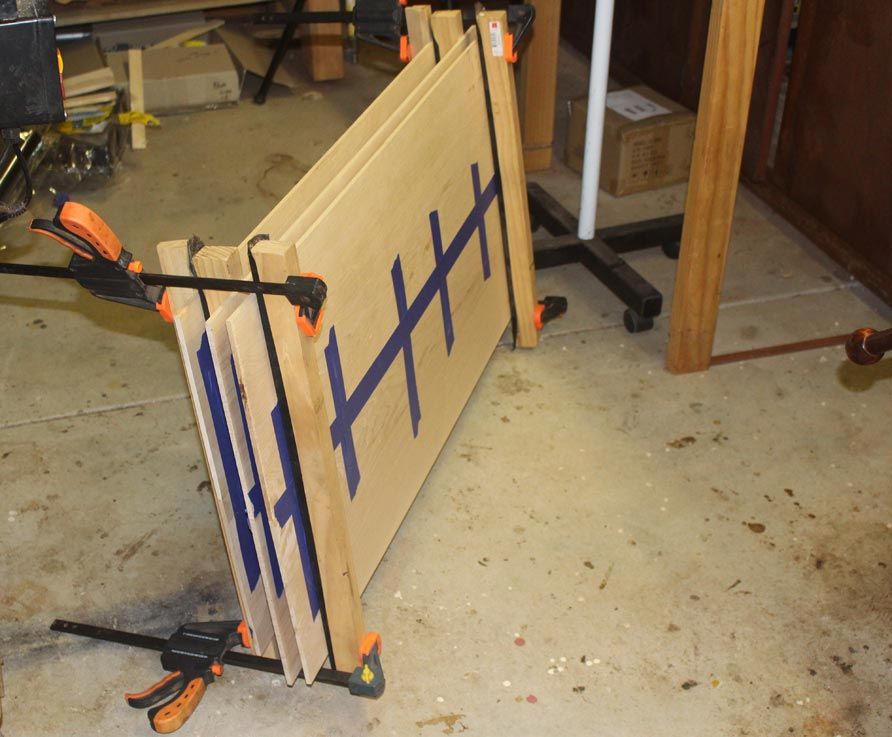
The panels are all bookmatched, and the joins pulled together with blue tape. No clamps required.

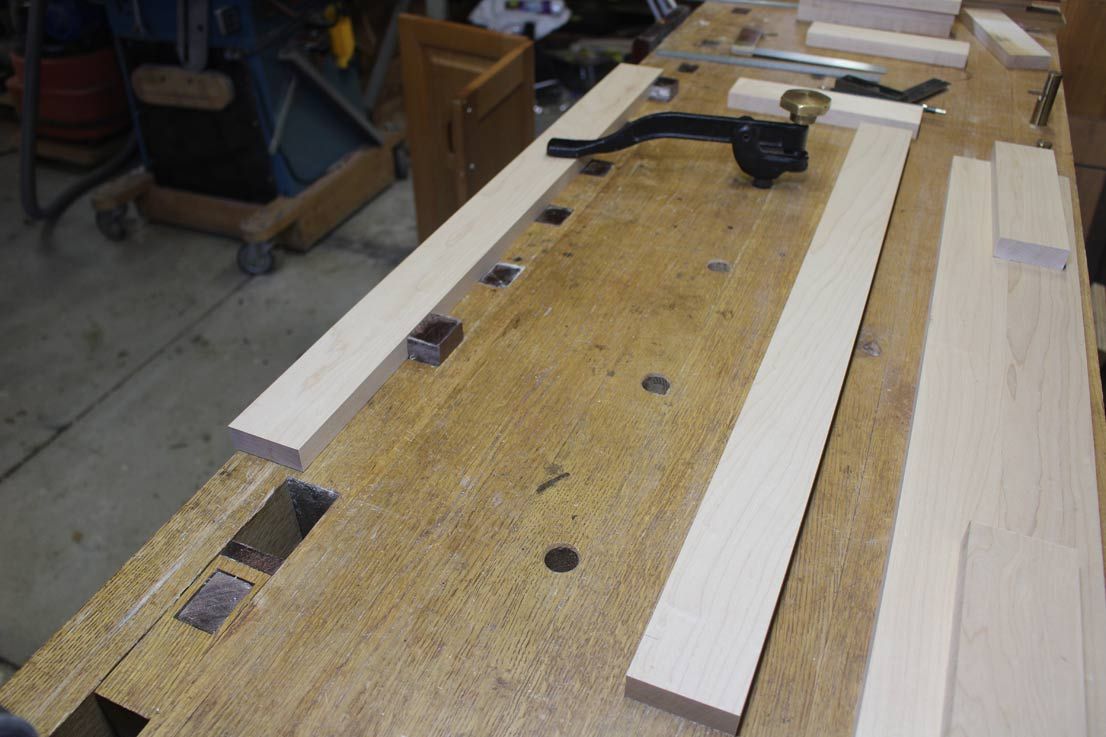
These are for the frames. I can build about 5 doors at a time.
The next step is to saw the pieces to length, and then Domino the frame together. This is a first for me (Domino virgin). How to hold the pieces? I've seen some of the fancy Festool benches and clamps. My system seems so much easier.
Push the board against the dogs on my bench, and use a single, centred Veritas hold down to clamp them firmly ...
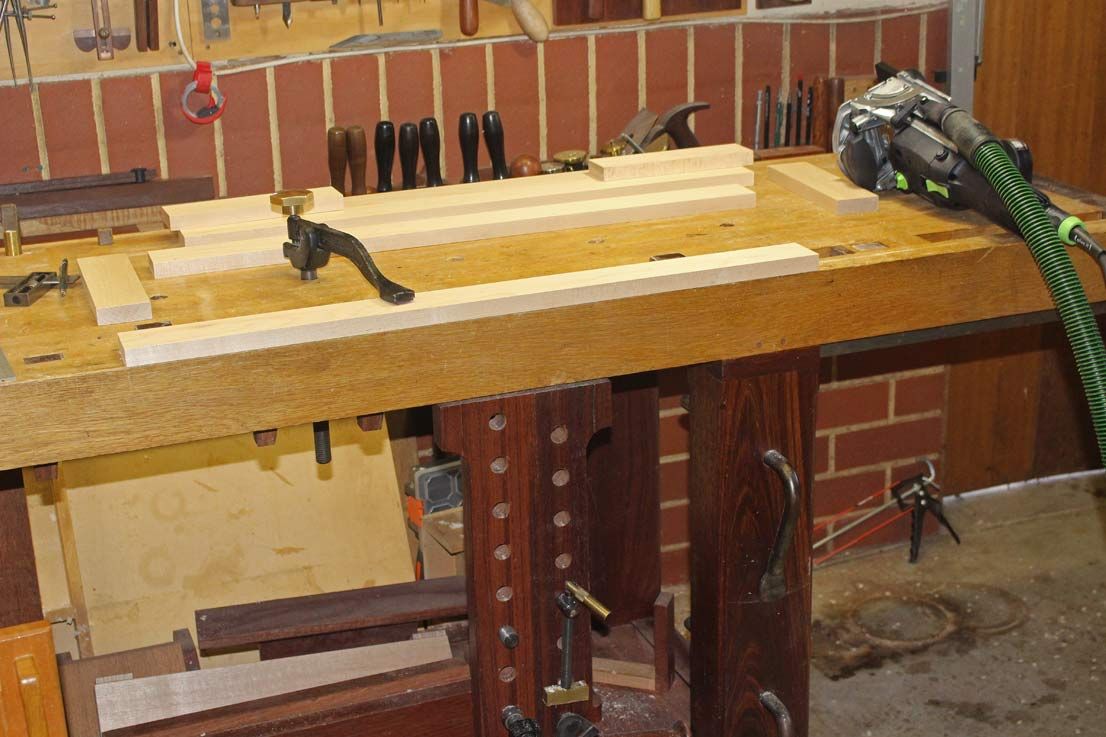
This makes it possible to Domino each end without resetting the board.

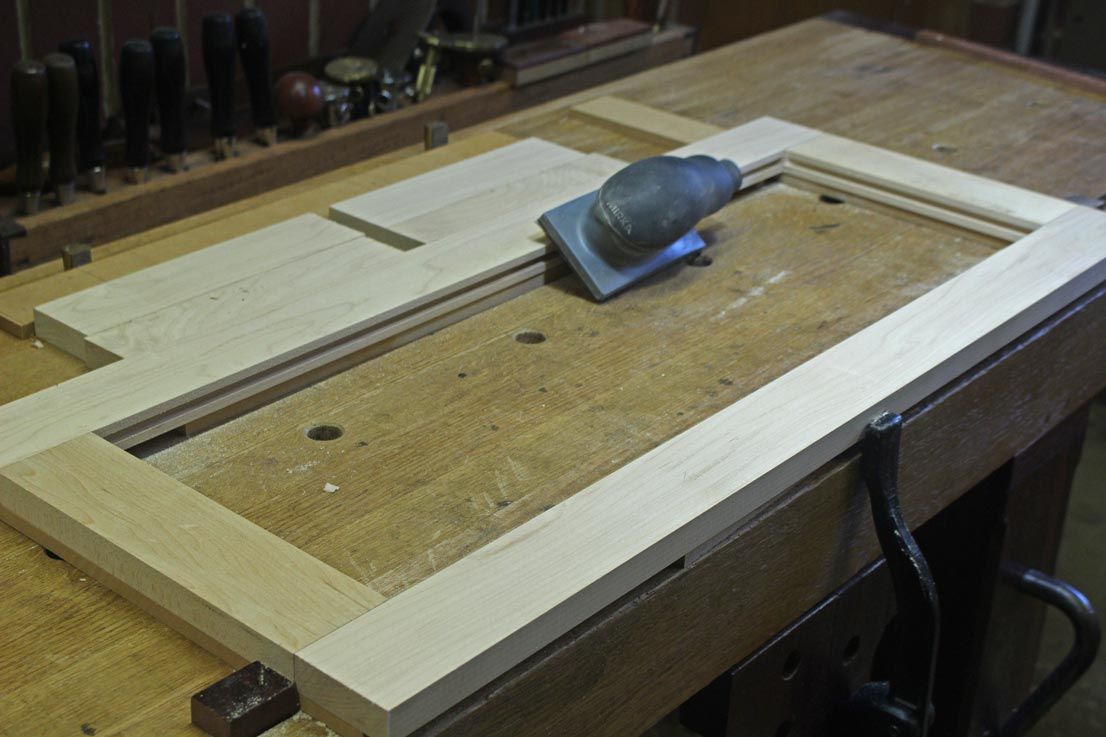
The parts are pushed together for a dry fit, clamped against dogs, and raised higher on MDF spacers (for the router bit to fit) ..
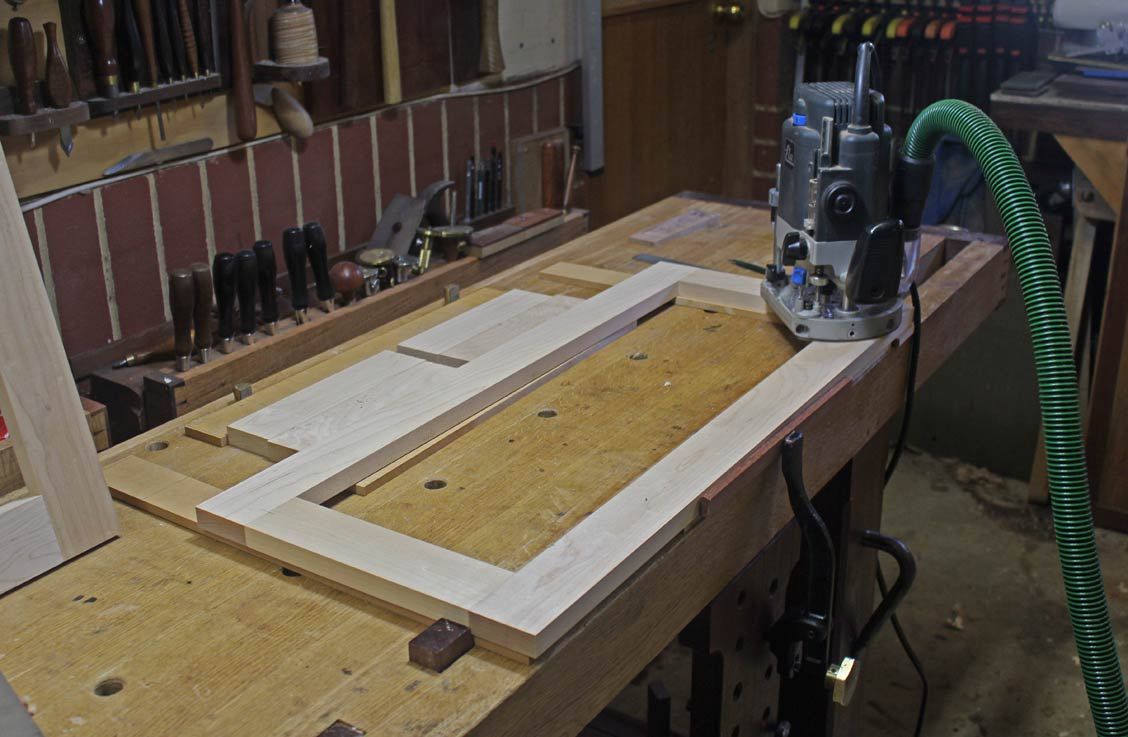
A 1/4" grooving bit is used to route out the 1/4" deep groove for the panel ...
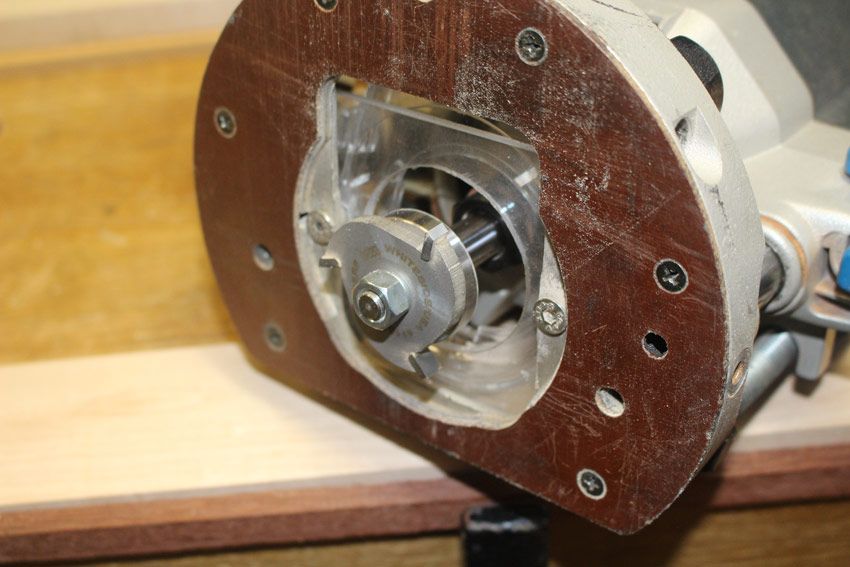
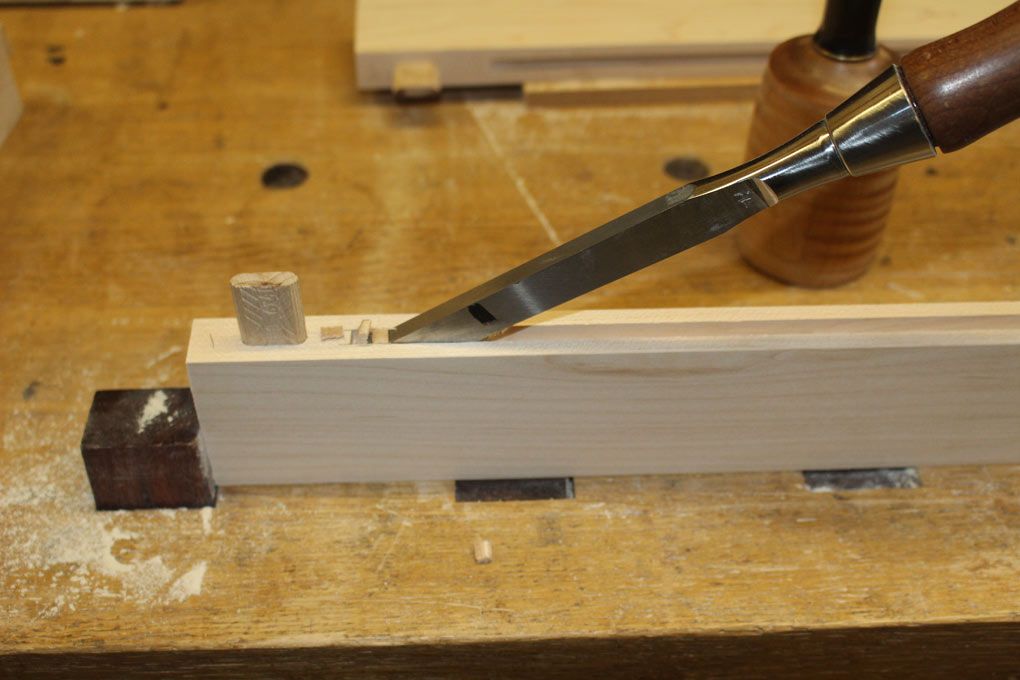
This leaves an uncut corner ...
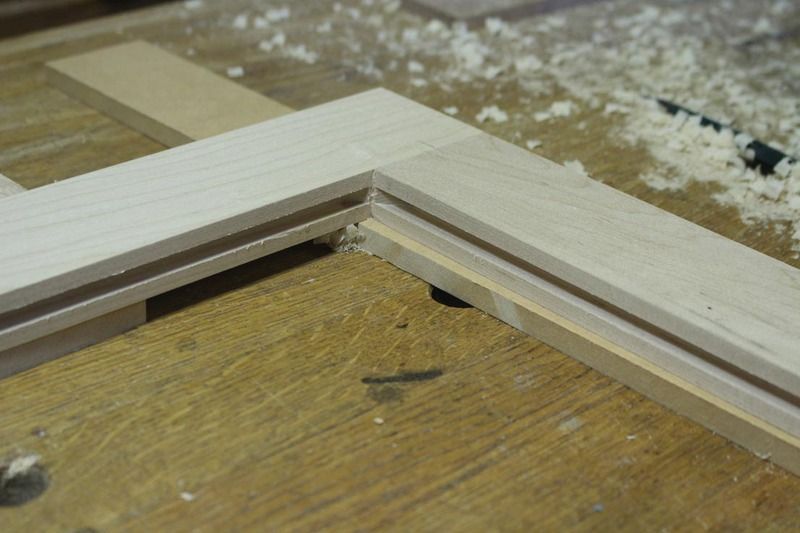
The choice is to use a smaller bearing, which will cut deeper in the corner. I tried this on one door, however I found that the process of swapping the bearings out could cause the setting to change slightly.
Consequently, I decided to chop out the corners with a mortice chisel. This proved to be faster than setting up the router and re-routing the corners ...
The inside edges arris of the frame were broken with a sander ...
Next-to-last, the panels could be cut to size and fitted to the frames. Allowance is made for expansion.
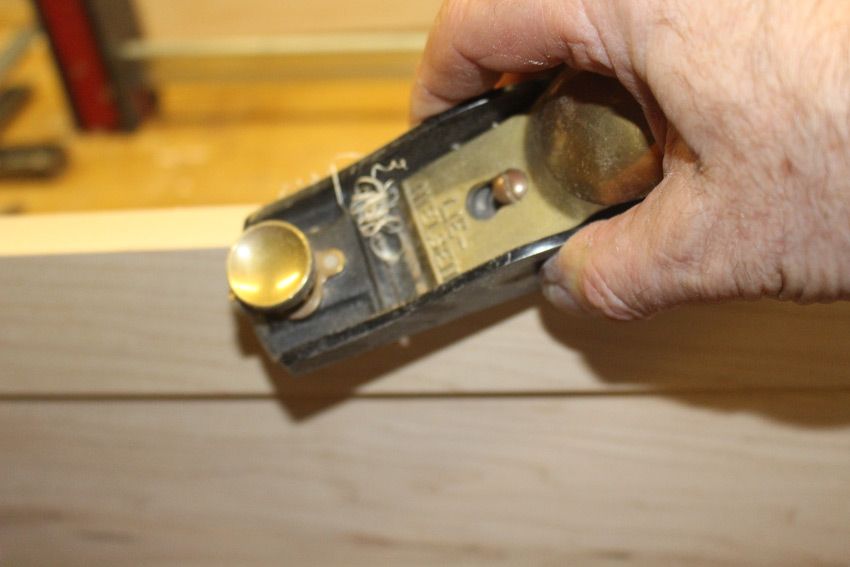
Finally, the outside arrises are chamfered with a block plane ...
Here are a few examples to date ..
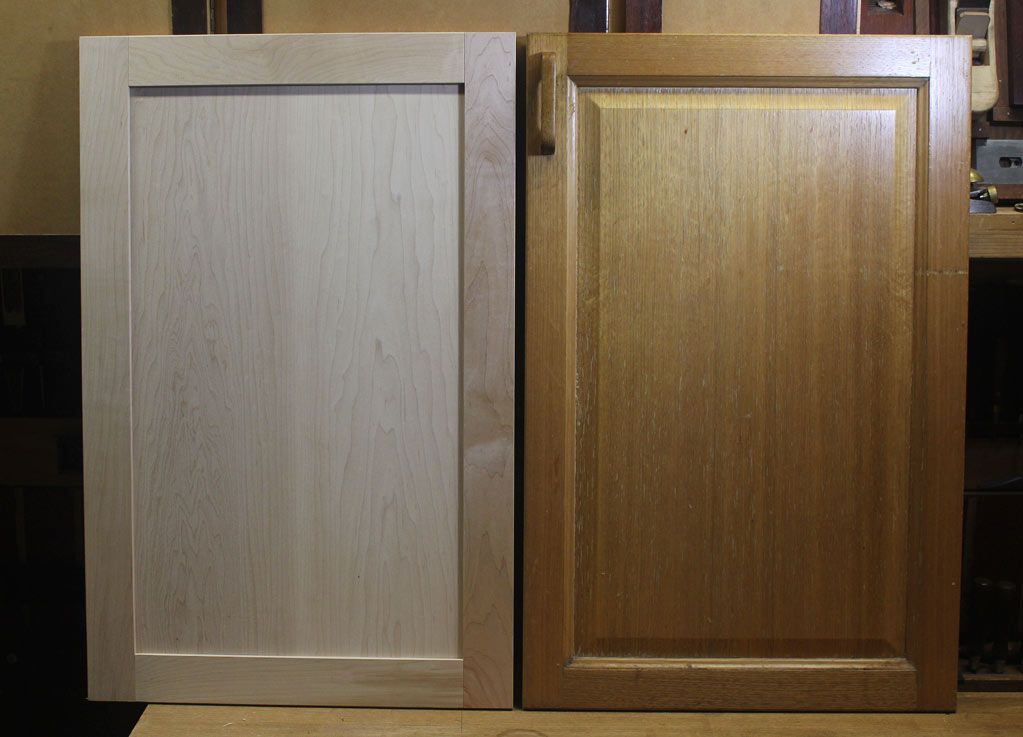

Just dry fitting. No finish. That will be done later. Hinges and hardware still to be fitted. Lots to do.
Regards from Perth
DerekVisit www.inthewoodshop.com for tutorials on constructing handtools, handtool reviews, and my trials and tribulations with furniture builds.
-
6th December 2016 09:21 PM # ADSGoogle Adsense Advertisement
- Join Date
- Always
- Location
- Advertising world
- Posts
- Many
-
7th December 2016, 02:43 AM #2
GOLD MEMBER
- Join Date
- Oct 2013
- Location
- Perth, Australia
- Posts
- 1,813
Looking good so far! Cheers for showing us how you get them done.
-
7th December 2016, 11:24 AM #3
Member
- Join Date
- Feb 2015
- Location
- sydney
- Posts
- 60
Looks good. Was your preference to avoid the router table a safety concern (i get fidgety around stopped grooves on atable) or convenience?
And after having anonymously gawked at your tool collection for a couple of years, where is the pig sticker from?
Oh and what was your conclusion on the finish?
Thanks
Lithro
-
7th December 2016, 01:45 PM #4
Be inspired. Be creative. Be bold.
- Join Date
- Apr 2001
- Location
- Perth
- Posts
- 10,826
Hi Lithro
Good questions.
Basically, I feel there is more control when I have a heavy router in my hands than moving a short board through a large spinning bit. Clamping the frame to the bench top creates a safe work situation.
One could use a straight or spiral bit in the router table, however multiple runs would be needed to get to depth. This increases the risk of losing precision, and the groove ending up too wide or damaged.
In the end I elected to use my hand skills and a mortice chisel. The chisel in question is one of the new Veritas mortice chisels. I was one of the testers when they were in pre-production mode - testing the blades and handle sizes. The ones I have are not the same size in the handle as the production versions, but the blades are magnificent. Easily the best available at this time.
Regarding the finish, I am still waiting delivery from the USA. I would have preferred a local product, but there was nothing that had a review or recommendation in a water based clear poly (which is necessary in a kitchen, where doors are wiped down with detergents). Further, since Hard Maple is from the USA, their products and recommendations seemed more appropriate.
Regards from Perth
DerekVisit www.inthewoodshop.com for tutorials on constructing handtools, handtool reviews, and my trials and tribulations with furniture builds.
-
8th December 2016, 12:02 AM #5
SENIOR MEMBER
- Join Date
- Dec 2012
- Location
- Australia
- Posts
- 684
Derek you put out some of the best, most helpful content on this forum. Thanks mate, it's very enjoyable to view
-
9th December 2016, 12:25 PM #6
 SENIOR MEMBER
- Join Date
- Jul 2014
- Location
- Brisbane
- Posts
- 937
Love the look of those doors. I'm moving houses in two weeks and the kitchen will need updating... this post just convinced me that I will find the time to do the doors myself and not have just another vinyl wrapped white door.
-
26th April 2017, 10:20 PM #7
Member
- Join Date
- Jun 2013
- Location
- Brisbane
- Posts
- 89
Hi Derek,
Thanks for the great post. I'm currently doing the same type of thing but for some cabinets in my workshop as a dummy run to see if I could handle the 'real thing' on our new kitchen. I'm also doing a shaker style door but I opted for the tongue and groove router bit for joining the rails and stiles. Like pictured below.
18051527_10158633593190512_321858057_n.jpg
I'm also only constructing these with pine frames and 1/4inch mdf panels as it's only for the workshop and they're going to be painted an olive green.
I know you haven't used face frames but do you have any recommendations for a nice hinge that would suit a face frame setup?
A few pics of current progress below.
18111313_10158633451875512_301197250_o.jpg
18090628_10158633452190512_191133930_o.jpg
18111236_10158633453950512_141761646_o.jpg
18119766_10158633454240512_65893184_o.jpg
-
27th April 2017, 01:03 AM #8
Be inspired. Be creative. Be bold.
- Join Date
- Apr 2001
- Location
- Perth
- Posts
- 10,826
I'm using Euro hinges. They are a must owing to their adjustability. The Blum come with a top rating. They do sell versions for face frames.I know you haven't used face frames but do you have any recommendations for a nice hinge that would suit a face frame setup?
Regards from Perth
DerekVisit www.inthewoodshop.com for tutorials on constructing handtools, handtool reviews, and my trials and tribulations with furniture builds.


 Reply With Quote

Similar Threads
-
Kitchen Doors
By matt1245 in forum WOODWORK PICSReplies: 11Last Post: 12th April 2005, 04:04 AM
