

 Thanks: 0
 Likes: 0
 Needs Pictures: 0
 Picture(s) thanks: 0
Results 1 to 11 of 11
Thread: My Study Fitout
-
17th January 2012, 08:16 PM #1
 Senior Member


- Join Date
- Nov 2008
- Location
- Hunter Valley
- Posts
- 208
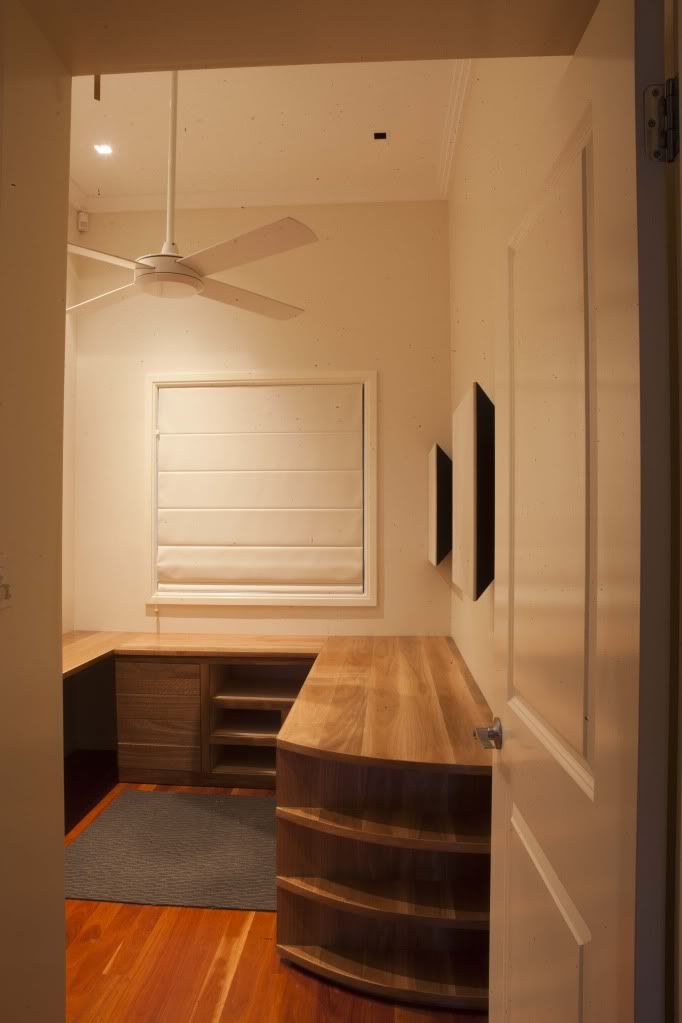
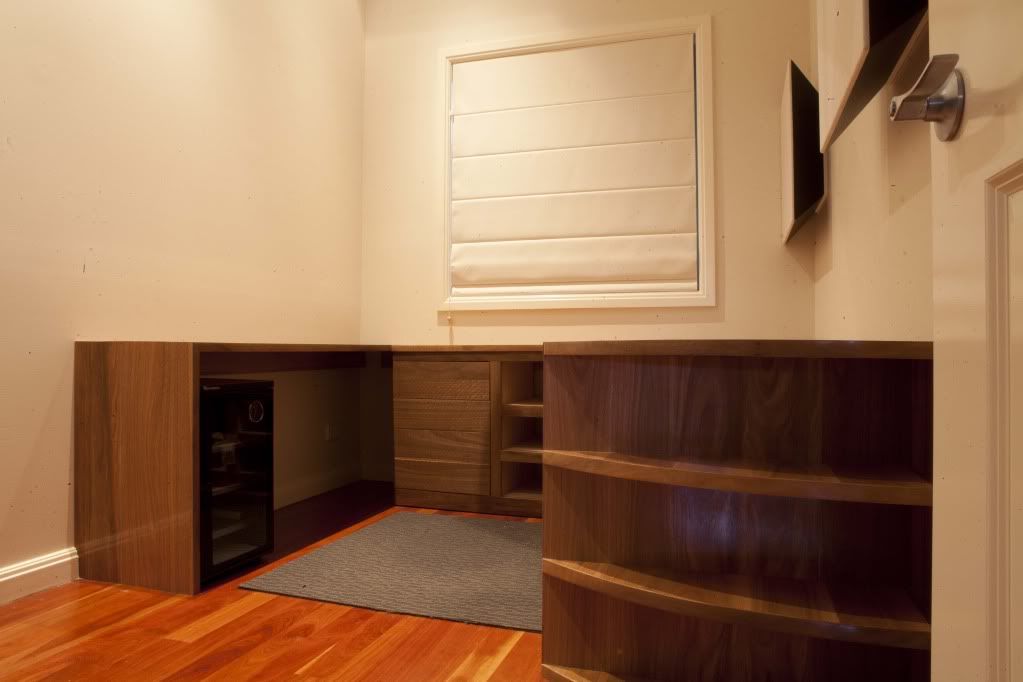
 My Study Fitout
Well folks, this is the first proper thing I have made for inside, some of you might remember The Ultimate Kennel project, but now that the garden is pretty much on its way the focus has turned to the inside.
I started this on Bathurst weekend 2009.....it has taken me forever. I have learnt quite a lot doing this.
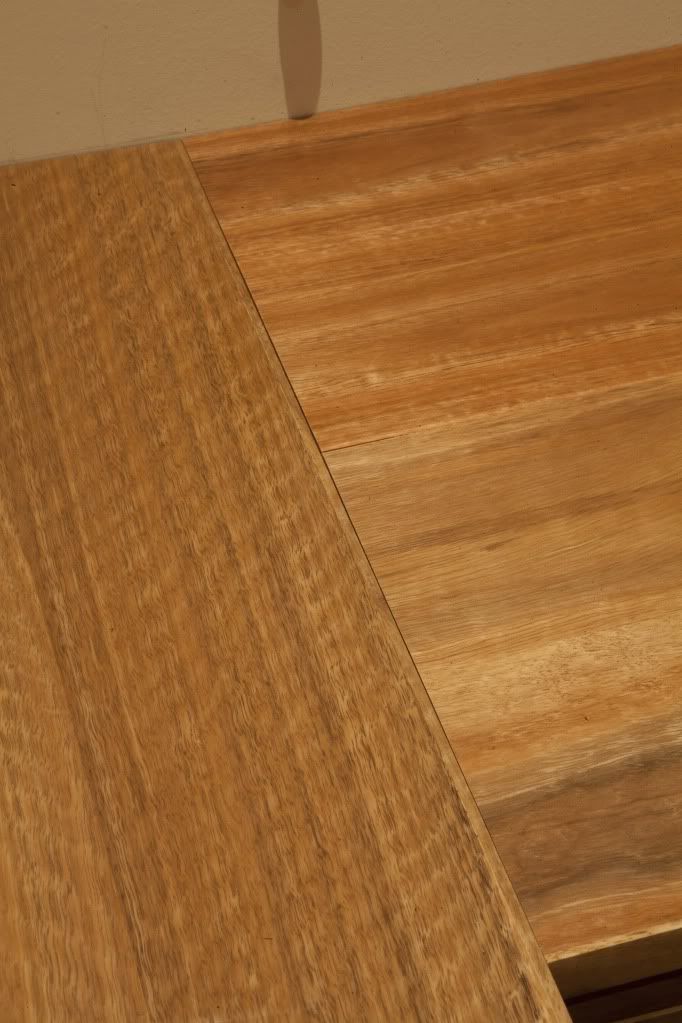
The desk is spotted gum floorboards - laminated to 7mm structural ply. Not a bad technique, only had one real problem (refer below). You won't see the ply once all the computers etc are in place
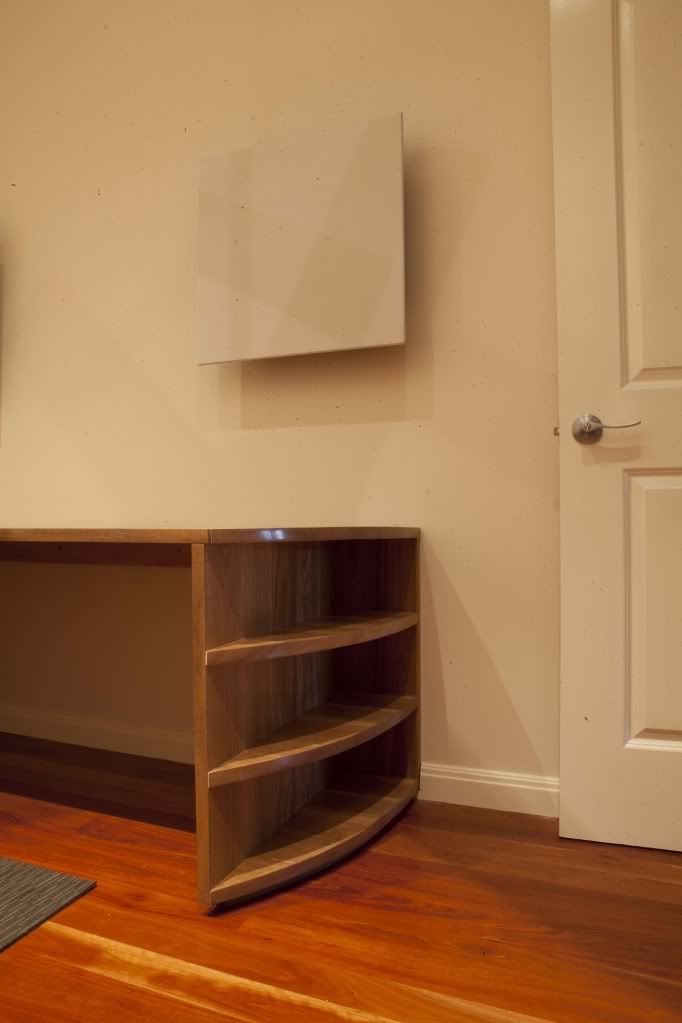
Lesson 1 - don't cut curves with anything but a band saw or better yet a router. I cut the curves for the desk with my jigsaw, its a darn good top of the line Bosch, but OMG what a pain it was. The saw or rather my lack of skill didn't cut straight i.e. the edge had a bow in it in that it wasn't 90 degrees to the top surface, I suspect I went too quickly - total pain for when adding the edging. You can see where I had to use filler to fix my mistakes....lesson learnt, wont do it again
Lesson 2 - how to cut thing repeatable strips with a Festool TS-75. Easy if you set it up right. Basically I laid on MDF on saw horses and clamped timber stops and the guide to that. Worked like a charm.
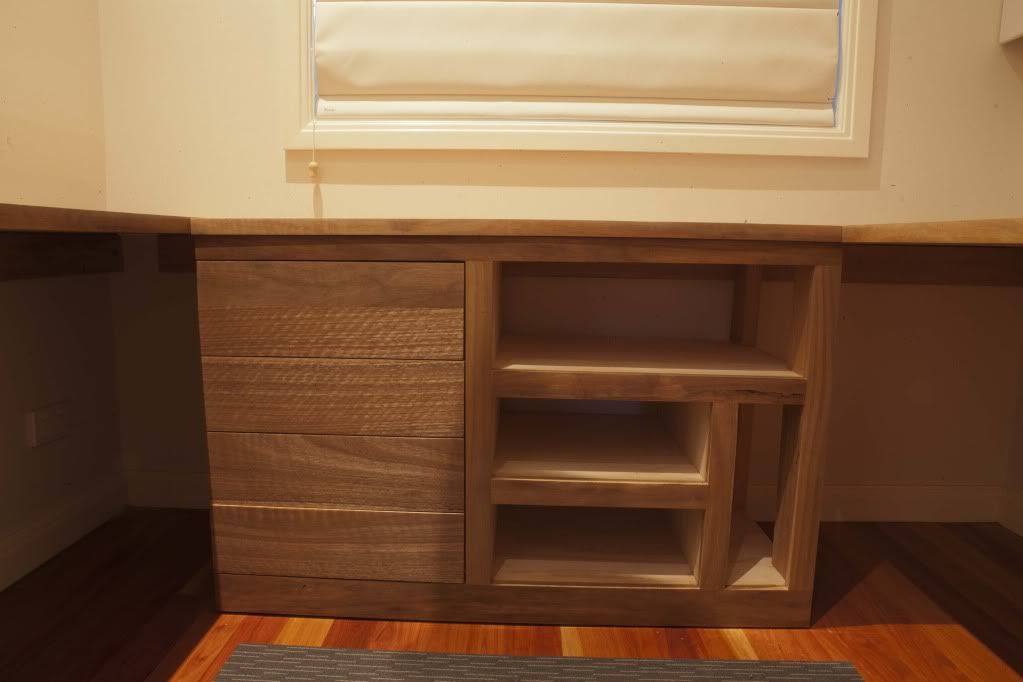
Lesson 3 - buy a stray gun. I painted the darn bookcase by hand.....took forever
Lesson 4 - be really careful sanding into corners of the edging. Some of the shelves have tiny little "cut-outs" or warping near the corners
Lesson 5 - I did a lot of cutting after the finish was applied. I used blue painters tape to stop chip out - worked very well. Thanks to the guys at Ideal Tools for that tip
Tools used:
- TS75
- ETS 5mm x 150mm sander
- Bosch jigsaw
- I got myself a multimaster for cutting in around skirting - awesome little tool
- A new drill for doing the swansdown mop - Bosch 1300 watt jobby, this thing would take your arm off before stalling. Hopefully never buy another drill
Finish:
- Hard shellac (about 20 coats I'd say). I start at 400 grit, do 1 in 4 thinned mix, did as many coats until I ran out of mix, then worked up to 2000.
- EEE buffed off - love this step, its like the great unveiling. Wouldn't do it without a swansdown mop

This is the only real problem. I think I might take the top out, clamp this down for a week or so, might bend it back.
-
17th January 2012 08:16 PM # ADSGoogle Adsense Advertisement
- Join Date
- Always
- Location
- Advertising world
- Posts
- Many
-
17th January 2012, 08:51 PM #2
Hammer Head
- Join Date
- Jan 2005
- Location
- Sydney
- Posts
- 1,205
amazing, good job


-
17th January 2012, 09:09 PM #3
Member
- Join Date
- Oct 2010
- Location
- Broome, WA
- Posts
- 91
I've always been kinda partial to built-in bookshelves that take up an entire wall (and surround doors)...nice work.
-
17th January 2012, 09:11 PM #4
Wood Planner
- Join Date
- Apr 2008
- Location
- Lalla, Tasmania
- Posts
- 1,350
It's not my style but I like it and you have done a good job, well done.
SBPower corrupts, absolute power means we can run a hell of alot of power tools
-
18th January 2012, 10:34 PM #5
GOLD MEMBER
- Join Date
- Jan 2010
- Location
- Melbourne
- Posts
- 2,636
Great use of space Elill and very simple. I do like the minimal look.
-Scott
-
19th January 2012, 08:30 AM #6
Senior Member
- Join Date
- Nov 2008
- Location
- Hunter Valley
- Posts
- 208
Thanks for the comments all.
It is quite functional and best of all it was cheap - about a grand for all materials
-
19th January 2012, 09:23 AM #7
Skwair2rownd
- Join Date
- Nov 2007
- Location
- Dundowran Beach
- Age
- 76
- Posts
- 19,922

Great Job there Elil!!
Beautiful flooring to go with the shelving.
-
19th January 2012, 12:58 PM #8
SENIOR MEMBER
- Join Date
- Nov 2004
- Location
- Port Pirie SA
- Age
- 52
- Posts
- 6,908
Nice work looks good
....................................................................
")
-
19th January 2012, 01:53 PM #9
SENIOR MEMBER
- Join Date
- Mar 2009
- Location
- Sydney
- Posts
- 530
Wow. 20 coats of shellac. That's perseverance.
Great job for $1,000 worth of materials. Looks really good.
You'd be a fairly neat bloke? I bet your shed is tidy.
-
19th January 2012, 08:20 PM #10
Senior Member
- Join Date
- Nov 2008
- Location
- Hunter Valley
- Posts
- 208
Cheers! Originally Posted by scottbr

I wish I had a tidy "shed". At present I have a very messy second half of a double garage. In my mind though I have an awesome workshop
No in all seriousness, I am planning on making some large cabinets/benches with large casters to go along the back and or side. I have a lot of poly finished inch thick jarrah veneer from the outgoing desk (which I had two of - long story). So I am planning something sexy with that....problem is time and money, as usual. I dont have a Festool MFT so want to make something similar in terms of use
This is my favourite part of the garage:

-
19th January 2012, 09:47 PM #11
Lignum Vexator
- Join Date
- May 2007
- Location
- North of the coathanger, Sydney
- Age
- 68
- Posts
- 9,417
Nice desk - well done
regards
Nick
veni, vidi, tornavi
Without wood it's just ...

 Reply With Quote


Similar Threads
-
Basement workshop lining and fitout
By numbat in forum WOODWORK - GENERALReplies: 23Last Post: 20th March 2005, 01:49 PM -
Work Bench area fitout
By MajorPanic in forum THE WORK BENCHReplies: 8Last Post: 14th March 2004, 07:06 PM
