

 Thanks:
  Likes:
  Needs Pictures:
  Picture(s) thanks:
Results 1 to 15 of 24
Thread: fixing a ceiling hole
-
12th February 2007, 12:22 AM #1
 Senior Member


- Join Date
- Oct 2006
- Location
- perth
- Posts
- 270
 fixing a ceiling hole
Hi all
I have just removed the ceiling fan from the Kitchen, now I have a hole
I was told to have a look in the ceiling for the peice that was cut out, I will do that. In the mean time, if I do find it how do I hold it in place whilst I patch around it and 2nd if I cannot find it what can I do.
Celeste
-
12th February 2007 12:22 AM # ADSGoogle Adsense Advertisement
- Join Date
- Always
- Location
- Advertising world
- Posts
- Many
-
12th February 2007, 07:21 AM #2
Shed Animal
- Join Date
- Jul 2006
- Location
- Croydon Vic
- Age
- 56
- Posts
- 110

My solution would be the following but where's Rod when you need him?
If you havent got the circle then you'll need to get another small scrap of plaster and cut out a circle almost the right size but a bit smaller, gently sand/file the edges of both to produce a slight taper so you've got somewhere for the finishing compound to go (so you're not trying to smooth a butt join). Then fasten a couple of small pieces of batten up in the roof to have something to plaster adhesive the circle to. (this is what holds it there) When its dry, finish the repair by using the 3 steps with finishing compound, sanding lightly. Don't try and fill too much too quickly as the compound shrinks slightly as it dries. Slowly build up to a nice flat surface.
Rod will probably jump on now and explain it in much better english. Tis too early for me!
SF
-
12th February 2007, 11:35 AM #3
 Intermediate Member
- Join Date
- Apr 2006
- Location
- Brisbane - Southside
- Posts
- 41
this is would i'd do. Firstly cut the hole to make it square that way it will be easier to cut a fill in piece. Make sure you buy the correct thickness of plasterboard. I think ceilings are usually 13 mm. Cut some strips to glue on top of the edges of the hole from inside the ceiling. This will give something to glue the fill in piece too. Use cornice compound for gluing. Once the edge pieces are dry, glue the fill in and then finish off with top coat etc.
-
12th February 2007, 12:08 PM #4
.
- Join Date
- Feb 2006
- Location
- Perth
- Posts
- 27,795
Here's my solution, that doesn't required you to go up into the roof.
Cut two pieces of MDF in the shape of two triangles that are big enough so that when they are put together they form a square that covers the hole by +25 mm or so, but small enough to pass through the hole. To aid them passing through the hole you can cut a bit of one of the corners - see picture.
Insert one of the triangular pieces up through the hole so that it covers half the hole and mark out area that will come into contact with the existing plaster. Remove, apply glue and pass up though the hole and fix into place. If the ceiling is really dusty and/or you feel you need more positive pressure to hold it in place use some clamps or a couple of plaster screws and recess them into the plaster (see picture).
Drill a finger hole in the other piece in a suitable place (see picture) and repeat the above. The finger hole is just so you can manipulate the MDF into place and to hold it down while gluing. To apply pressure you can use screws or hang a weight from the finger hole.
Now cut a new piece of plaster/gyprock and glue that into place. If you are worried about it falling while drying use a plaster screw into the MDF to hold it in place.
After that its the usual finishing off. Oh yeah, and as squashedfrogs mentioned, the tapered edges for the plaster insert is the way to go.
Cheers
-
12th February 2007, 12:22 PM #5
SENIOR MEMBER
- Join Date
- Apr 2005
- Location
- Sydney
- Age
- 63
- Posts
- 1,619
I'd do it sort of like Bob's way but I'd use a single piece of plasterboard.
Cut the hole square first. Then cut another rectangle about 2" longer than the square hole, and just slightly narrower than the diagonal of the square. Put a bugle head screw through the centre and butter the edges of the piece with cornice cement. Push it up through the hole on a diagonal, maneuver it into place and pull it down by the thread of the screw. scrape off any cornice cement that oozes into the patch hole. In half an hour when the cement has set, push the screw up into the ceiling and use cornice cement to glue in a patch and set over it. After scraping it flush, apply another coat then sand. It may need a third coat to get it really smooth.
You may need to peel the backing paper off the patch and scrape it a bit thinner so it doesn't sit proud of the ceiling with the thickness of the cement behind it, but if it's just a small hole then it might be easier to just forget about the patch (after you've put the backing piece in) and just fill the whole lot with cornice cement.
-
12th February 2007, 12:32 PM #6
Dances with splinters
- Join Date
- Jul 2005
- Location
- Oberon, NSW
- Age
- 63
- Posts
- 13,360
Cor! So many ways to do the same simple job!

I'd do it slightly differently again... but it's all the same basic technique (a piece in the hole with bits on the back to hold it there) so I won't elaborate.
- Andy Mc
-
12th February 2007, 09:57 PM #7
quality + reliability
- Join Date
- Jul 2006
- Location
- Melbourne
- Posts
- 709
sorry been busy.
You all have some degree of merit, however the simple solution is to screw a couple of cleats across the hole. Any bit of timber will do the job.
To cut the circle just measure across to get the diameter halve it and deduct 5mm. If the hole is 300mm then 150 - 5 = 145mm. Get a bit of "something" (even a bit of plasterboard) measure along 145mm and put a nail through it at the 145mm mark. Get an off cut of plasterboard, (your local supplier will give you a bet free), use a pencil on the end of the "something" and scribe the circle using the nail to keep it centered. Works perfect every time.
Screw the circle to the cleats across the hole and stop usp as described on my site. Don't try peeling paper back or sanding edges, AND I MEAN NEVER!!!!
When trowelling a circle don't over lap the tape as you tape it in. After taping for the 2nd coat fill out from the outer edge a full trowel width arround the hole just covering the tape. Don't do the center yet, do the center with another coat. You will be surprised at how this makes it easer to get a flat surface.
I then do sweeping coats of top coat over the whole area so the patch ends up square, starting from one side and finishing up on the other, (if this makes sense) if not I'll do a diagram.
If you are in Melbourne I have to do exactly what you are doing in Greensborough this week. Most likely Thursday. You can come and have a look if you want!! LOL. Opps sorry just saw you are in Perth.
CheersGreat plastering tips at
www.how2plaster.com
-
13th February 2007, 07:22 PM #8
Senior Member
- Join Date
- Oct 2006
- Location
- perth
- Posts
- 270
Hi Rod
Thanks for that,
Shame I am not in Melb.
I had a look around your site and I cannot find anything on hard wall - plaster repairs.
I have a kitchen that had floor to ceiling tiles, I have removed them and I have a whole lot of spots where the plaster has come off with the tiles, sizes range from 10mm to 60mm across. see photo - above window, its also the wall on the right you can not see.
I gather, I could patch each one or float. I am going to have wall cabinets which will hide a lot of it.
What product should I use and any tips.
Celeste
-
13th February 2007, 11:22 PM #9
SENIOR MEMBER
- Join Date
- Apr 2005
- Location
- Sydney
- Age
- 63
- Posts
- 1,619
Is that hard wall plaster or render? If it is hard wall plaster, is it lime or cement render behind it? If it's lime then you're better off scraping the whole lot off and re-rendering. It comes off really easily with just a bolster. You usually don't even need to use a hammer on the bolster. If it's render painted with gloss paint then you may need to scabble the walls and re-render to do it properly. You may be able to skim the surface with cornice cement and top-coat but Rod's the expert on that if he's got anything to say about it. I've done that on old terrace houses before and it fixed up some pretty shocking walls without too much hassle.
If it's render then you may be able to paint the holes with a bit of diluted bondcrete, or just damp the hole a bit, and render it with a 4:1 sharp sand/cement mix. Throw some mud in, leave it to dry for half an hour, scrape it off level and go over it very lightly with a damp sponge. It won't give you a perfect marry in, but it's the best you'll get without re-doing the entire wall. Hard wall is a renderer's specialty though using slaked lime.
-
14th February 2007, 12:49 AM #10
Senior Member
- Join Date
- Oct 2006
- Location
- perth
- Posts
- 270
Hi Prawnhead Originally Posted by pawnhead

I am not always sure of the correct terms, it's brick, then render and then plaster (float?) - only the plaster has come off, it is only about 5-7mm thick.
So far, when I have the odd 10-15min, I have been filling the holes with one of those fillers, sorry cannot remember what its called but it from wattyl it's supposed to be for small to large cracks in plaster, it has a bit of a putty smell, light grey and a little sturder than those white fluffy ones (you know the designer DIY ones - spakfiller etc).
Anyway, I thought I could fill, sand, seal then paint.
The area you will see the most of is above and around the window - so if it is a bit wobbly I will suede the wall. suede hides heaps of imperfections in plaster. I have a funny feeling that there was wall paper under the tiles, the plaster that is there seems to have a papery finish?
I have a bag of plaster of paris - can I use this to skim (I guess thats like icing a cake) a final coat?
Celeste
-
14th February 2007, 11:19 AM #11
quality + reliability
- Join Date
- Jul 2006
- Location
- Melbourne
- Posts
- 709
Hi Celeste,
Hard wall plaster repairs are treated the same way as lathen plaster repairs. http://www.plasterbrokers.com/restlath.html
If this does not help let me know.
P.S. Plaster of paris is not used for repairs. All types of plaster have different setting times and user characteristics, for specific uses. Plaster of paris when troweled will set very fast and peel if you try to work it as it sets.
The best plaster for patching is cornice adhesive. I has all the right characteristics to be user friendly. It will trowel smooth, fill quite lage gaps, scrapes back smooth without peeling while "green".
Green is the term used for plaster that is set but still wet.
Spakfillers etc will do the job ok for very small jobs, but it workes out very expesive to use if you have to buy more than one tub. For $22 you can buy a 20kg bag of cornice adhesive!
Cheers.Great plastering tips at
www.how2plaster.com
-
14th February 2007, 04:45 PM #12
Senior Member
- Join Date
- Oct 2006
- Location
- perth
- Posts
- 270
Hi rod Originally Posted by rod@plasterbrok
thanks for that, a great help - I will get some cornice cement tomorrow.
I know all about how fast plaster sets - many years ago I was finishing a house my late hubby and I were building. The plaster glass was on the ceilings but the joins were not done, so I purchased some plaster and mixed up a big batch 10 min later OH O! its all set and I had only done about 2 feet. So, after that I mixed very small amounts - it took quite a while to do 5 beds,bath, laundry and a large hall - thank god I had cedar ceilings in the very large kitchen/family and formal lounge.
I couldn't manage the cornices on my own, I did try tho - hired some one to finish the walls and do the cornices.
Celeste
-
14th February 2007, 08:56 PM #13
SENIOR MEMBER
- Join Date
- Apr 2005
- Location
- Sydney
- Age
- 63
- Posts
- 1,619
You've got the best advise there celeste.
That's a pretty comprehensive website you've got going there Rod. The only problem that I can see is that you'd be doing yourself out of some work if too many people read it all.
I'm no expert on patching and paintwork, but that cornice cement is great stuff. It initial sets pretty quickly and it's the right price.
-
15th February 2007, 09:59 AM #14
quality + reliability
- Join Date
- Jul 2006
- Location
- Melbourne
- Posts
- 709
Thanks pawnhead.
Believe me I am never doing myself out of work!! We have a fantastic contracting service that is always busy (new homes only). I only do the odd job here and there myself. Mostly difficult jobs our normal contactors can't do, or creating recessed ceilings etc. Mainly because I love doing it and miss it when I am just selling board and quoting jobs.
Cheers RodGreat plastering tips at
www.how2plaster.com
-
15th February 2007, 11:48 PM #15
SENIOR MEMBER
- Join Date
- Apr 2005
- Location
- Sydney
- Age
- 63
- Posts
- 1,619
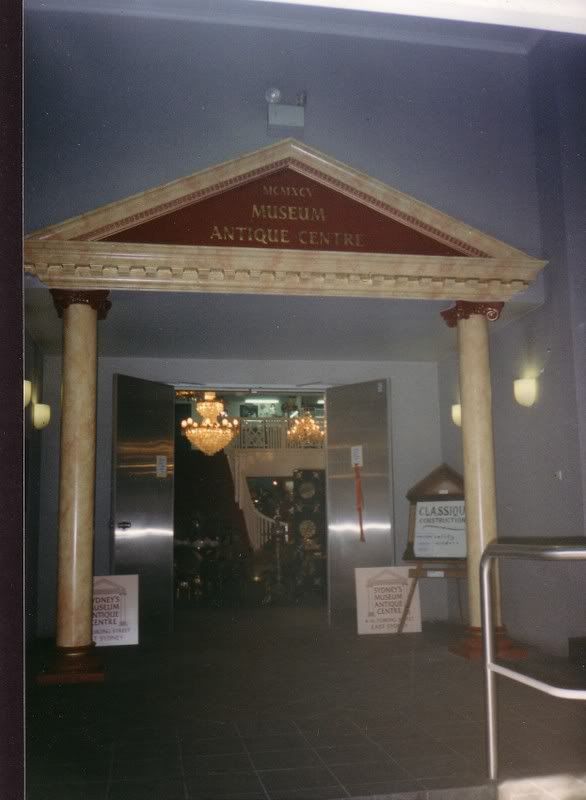
Yeh, I like getting my hands dirty with a challenge myself. I had a contract once to install partitions amongst other building works for Sydney’s Museum Antique Centre. I built the walls, but I subcontracted out the plaster boarding which was straightforward mdf stop end work. There was quite a lot to be done, but I did the challenging part from my own design of the entry portico. I just used large fancy plaster cornices, some half columns plastered together, and plaster capitols and bases. The painters finished it with a marbling effect and it looked good. Here's a pic : - Originally Posted by rod@plasterbrok

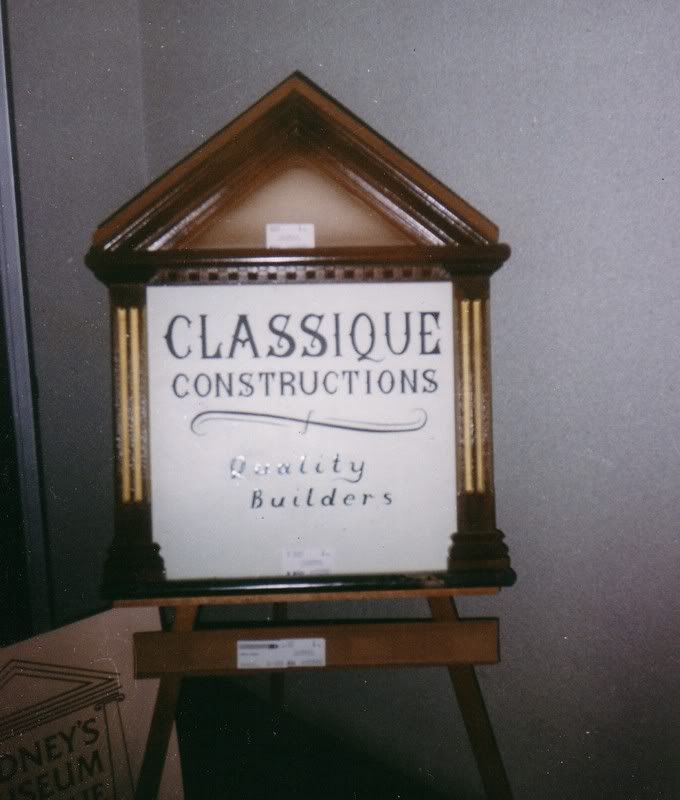
I also built a matching sign and had a go at sign writing to advertise my business for the opening : -
That's also the same job where my subbies used preformed bulkheads which we discussed in that other thread. Sir John Gorton performed the opening and there were many other notables there. I built a fancy front desk with timber scrolls and mouldings but I didn’t get a picture unfortunately.
I most enjoy doing large fancy cornices and it’s quite expensive to get someone else to fix them. I haven’t looked right through your website, but what are your opinions on using citric acid (lemon juice) as a retardant in old cornice cement? I’ve found that with old cornice cement, it goes off very quickly and I heard the tip from a plasterer. I tried it once and a few drops worked a treat, but I’d imagine that it’s not recommended. I know that if you use dirty tools, or dirty water (plaser contaminated) then a mix goes off really fast, but if everything is spotless then it goes off too slow to work the detail in fancy plaster work. You need to get it as it’s setting, to shape it successfully with the pointing trowel. Once it’s set you can wet and scrape, but you can’t do a lot when it’s sloppy.


Similar Threads
-
selling up tool sale
By tasy_ted in forum METALWORK FORUMReplies: 1Last Post: 17th July 2005, 08:49 PM -
Pocket hole screw fixing
By Dennis Hill in forum HAND TOOLS - POWEREDReplies: 15Last Post: 1st December 2002, 11:33 PM
