

 Thanks:
  Likes:
  Needs Pictures: 0
 Picture(s) thanks: 0
Results 16 to 30 of 35
-
11th November 2011, 10:38 PM #16
 China
China


- Join Date
- Dec 2005
- Location
- South Australia
- Posts
- 4,475

Looking good!
-
11th November 2011 10:38 PM # ADSGoogle Adsense Advertisement
- Join Date
- Always
- Location
- Advertising world
- Posts
- Many
-
13th November 2011, 10:08 AM #17
GOLD MEMBER
- Join Date
- Mar 2007
- Location
- Munruben, Qld
- Age
- 83
- Posts
- 10,027
More pics, more pics please.
 Reality is no background music.
Cheers John
-
26th November 2011, 08:55 AM #18
Senior Stinkologist
- Join Date
- Nov 2001
- Location
- Parkside - South Australia
- Age
- 45
- Posts
- 3,318
Not dead yet - but sick of sanding!
As the tile says I am not dead yet, but I am a bit sick of sanding!
I did miss a weekend working on the box as I needed some sandpaper but it was the weekend of the big Christmas parade here in rAdelaide and getting across town was not an easy task - so I gave up.
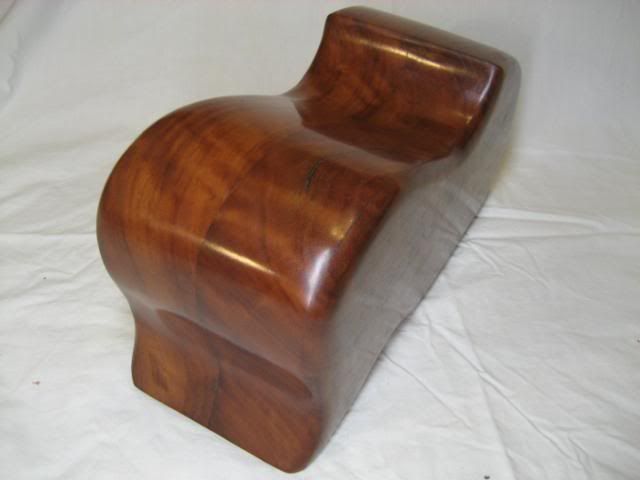
Anyway I am back on the horse. When we last left off the box was basically completed with the exception of final shaping and sanding. The basic rough shaping for the drawers had been completed and the box body needed a similar treatment.
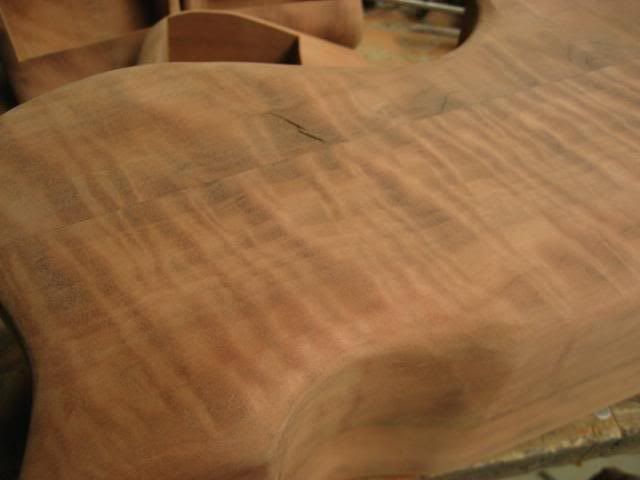
A similar treatment that was applied to the drawers is applied to the body with the intention to round over the edges, ideally meeting in the middle where possible. This task is undertaken with anything that will help. In my case a rasp, chisel, sandpaper and one of those little drum sanders attached to a flexible shaft (which has been very handy!).
Anyway back to images:
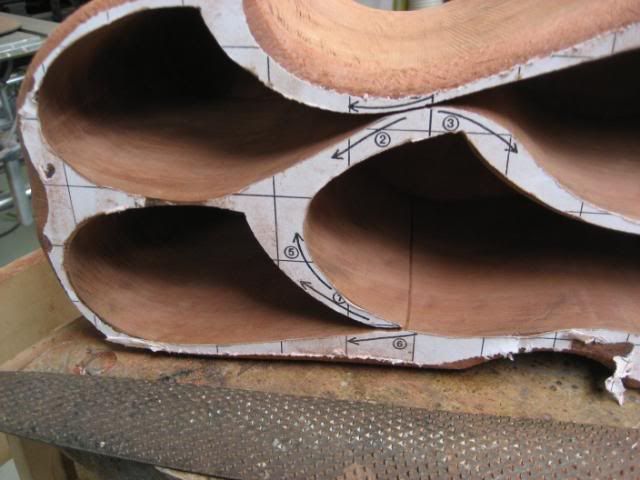
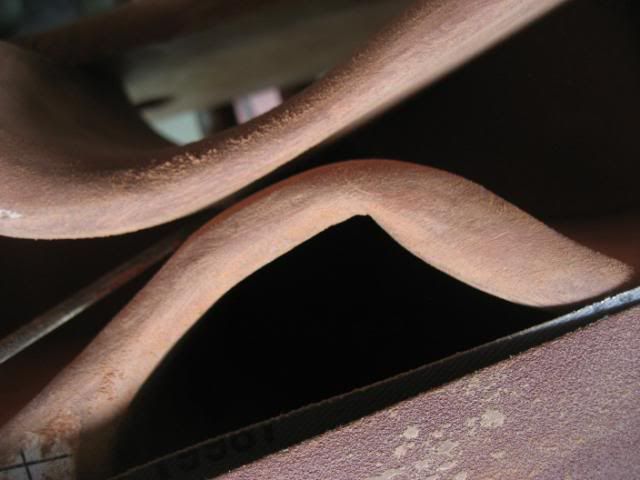
Starting to round over.
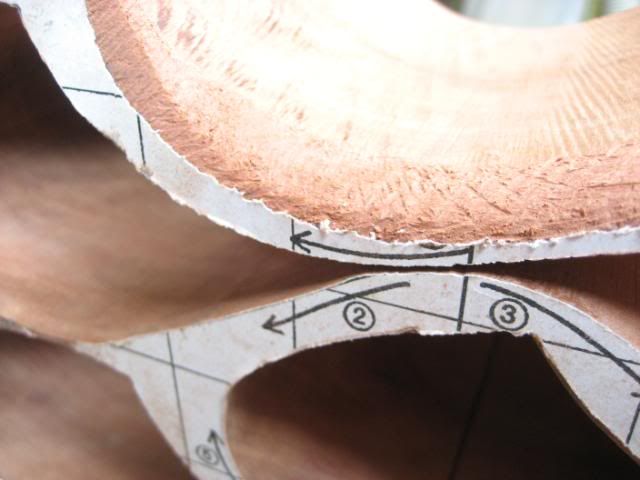
Concentrating on rounding the top over.
Attaching the same area from another angle.
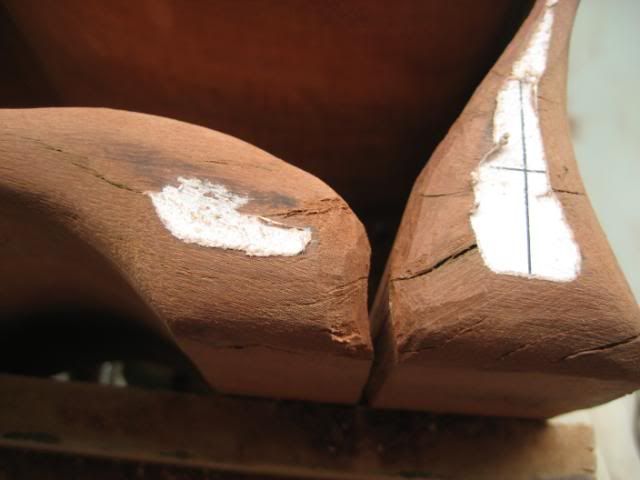
My preference is to really highlight the entry and exit cuts required to free the drawers. This involves rolling over both edges. Sometimes it helps to wedge a chisel or screwdriver into the kerf (further into the box opening) to open the gap slightly to help get sandpaper in so the round over can appear to flow deeper into the box (if that makes sense).
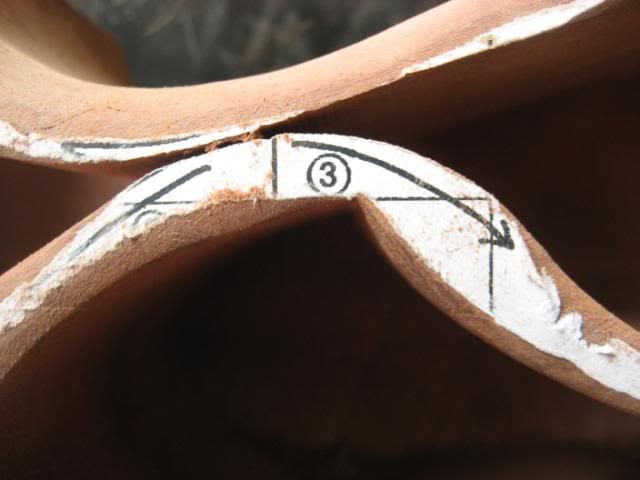
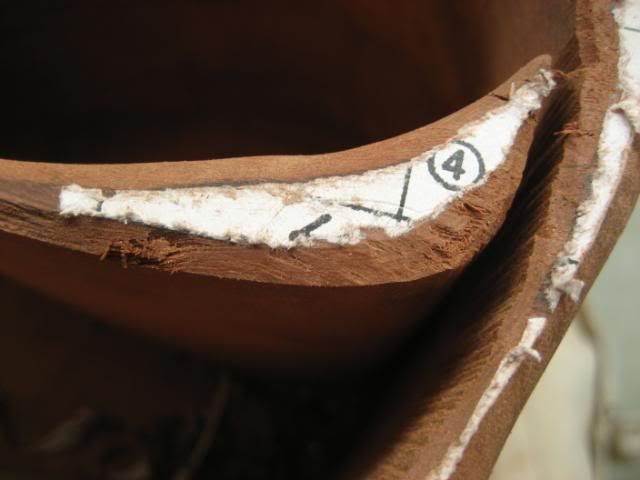
This area is nearing completion of the shaping with sandpaper. I find belt sander belts good to use for general sanding. You can see a chisel wedging open the kerf to enable the sandpaper to get into the opening.
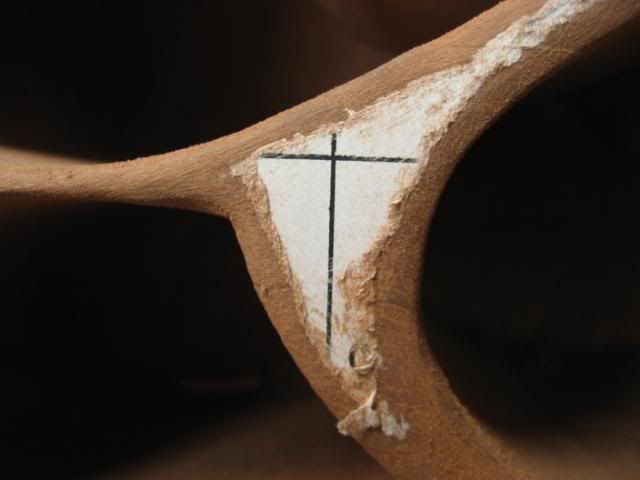
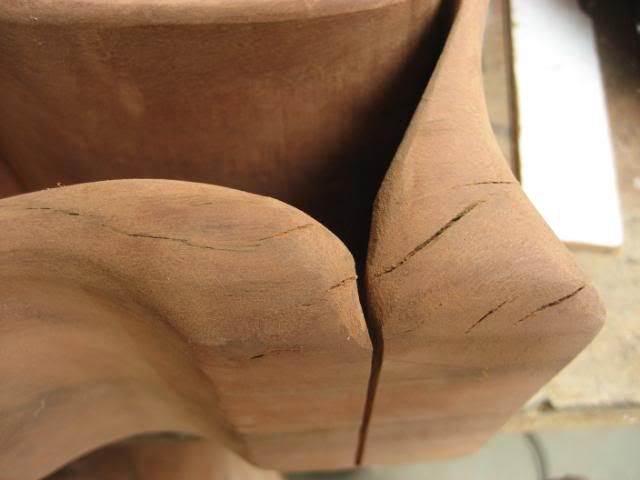
Other kerf openings get a similar treatment:

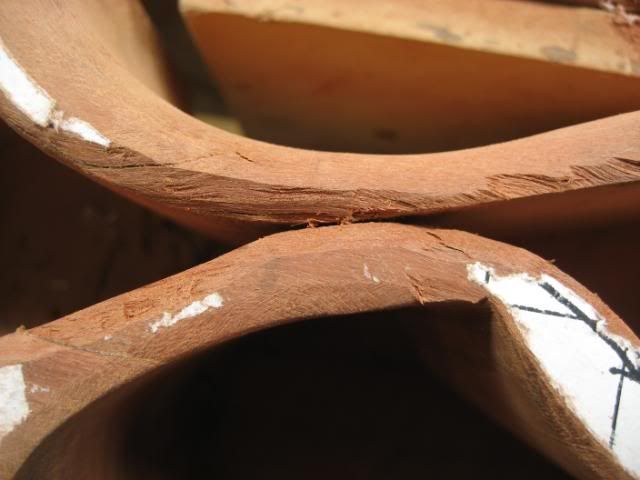
Other junctions also get the rounding treatment. Trying to get a sweeping round over from all directions. The small part to the left is the dividing section between the upper and lower drawers to the left. I find that using my rounding technique here on this box design doesn't work particularly well to do the lack of meat in this area. I still round from both sides however it results in more of a point than I would typically like. Perhaps next time I will leave a bit more timber here by slightly adjusting the drawer size. It is not a deal breaker however.
 Now proudly sponsored by Binford Tools. Be sure to check out the Binford 6100 - available now at any good tool retailer.
-
26th November 2011, 09:37 AM #19
Senior Stinkologist
- Join Date
- Nov 2001
- Location
- Parkside - South Australia
- Age
- 45
- Posts
- 3,318
As this box has four drawers there are more kerf openings resulting in more work. Most boxes would however have an entry kerf, here are a few shots of this one being worked on:
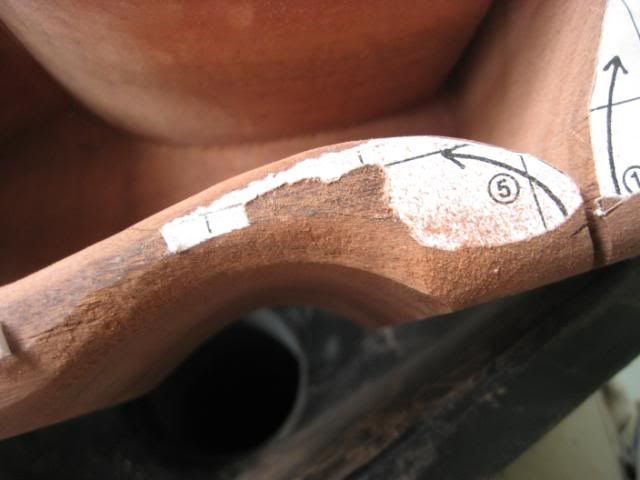
I quite like this little junction that has been created by the shape of the drawers and it is a credit to the design skills of Lois Keener Ventura.
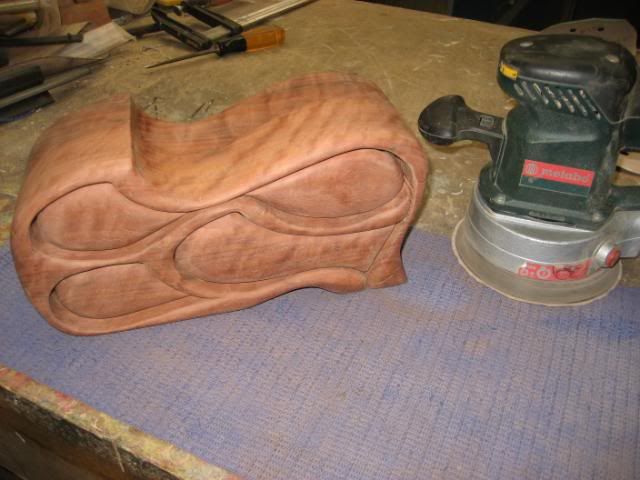
Almost done ..... just some sanding left. This is very time consuming and I try to use my orbital sander as much as possible to work through the grits. Whilst it is heavy to hold in one hand, and perhaps not the best way to use the machine it works well. The sanding pad can get damaged if you knock into corners too often but I have only had to replace the backing pad once in about 4-5 years at which point the velcro had basically given up the ghost anyway.
I worked through the grits from 80 to 400, taking care with the lower grits as they still have the potential to "help" refine your earlier shaping quite quickly. As you move up the grits it is less of an issue which helps speed up the process.
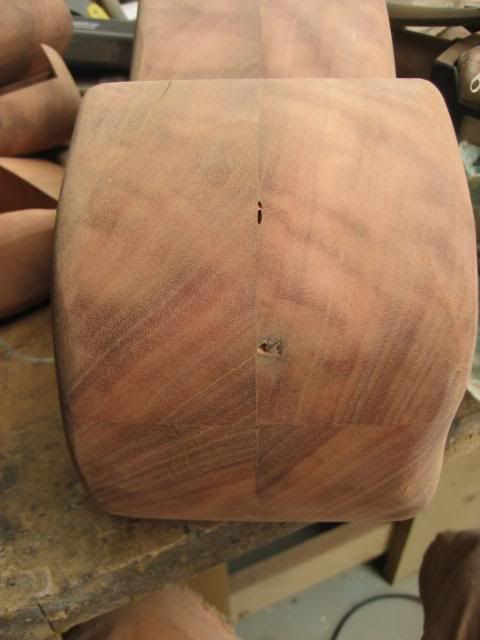
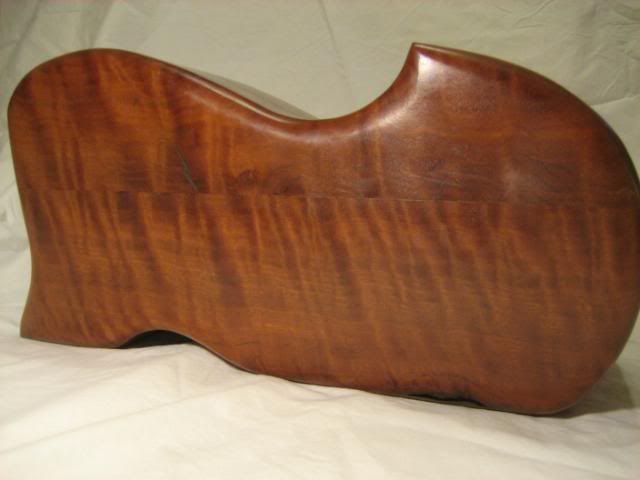
After sanding the back I was starting to get concerned that perhaps I put the best timber grain out of view:
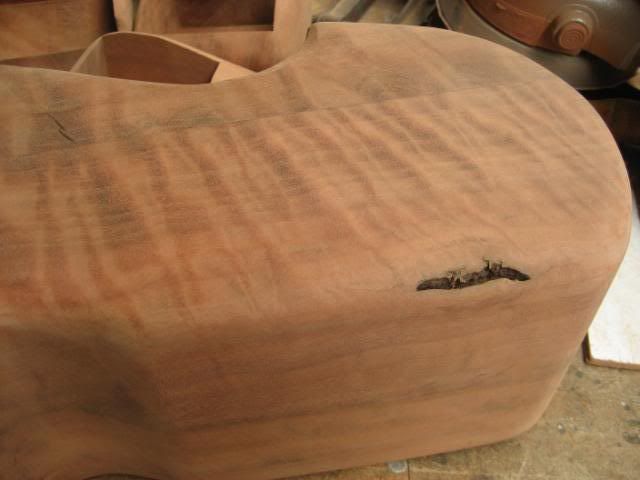
There is a small gum vain at the back but I will just leave it as I think it enhances the timber and I often find that the small imperfections add interest.
Speaking of imperfections I did find this little issue along the joint line of the timber. Given how hard it was to join the timber, and the fact I wasn't able to use the correct machinery, it wasn't a surprise.
I normally don't fill holes but I had some black filler and I find this suits the redgum so I filled this one and any other small openings / cracks that I could find.
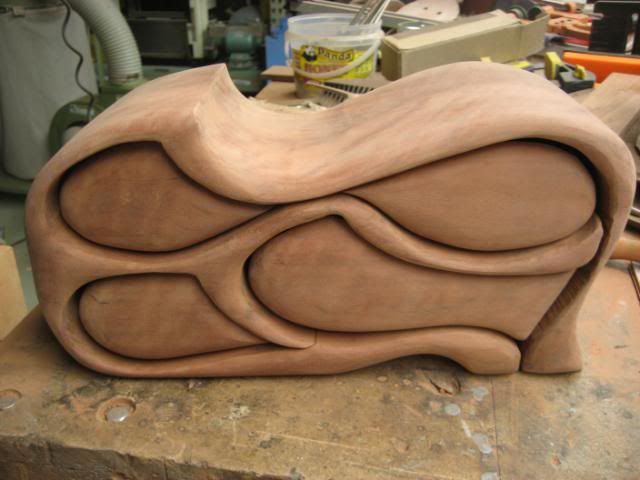
After about 6 hours of sanding it was time to apply the first coat of Danish oil.

Unfortunately I think my Danish oil is on the decline however it has still come up well. I was hoping to keep track of my time taken but possibly fortunately I haven't. As an estimate to this point it would be around 13-14 hours
Despite such a long post we are still not home yet folks. There are the drawer pulls to be made, flocking of the inside of the drawers, more coats of Danish oil to be applied, the Ubeaut wax treatment, buffing, date stamping and branding ..... stay tuned if you are not comatose yet!Now proudly sponsored by Binford Tools. Be sure to check out the Binford 6100 - available now at any good tool retailer.
-
26th November 2011, 10:08 AM #20
Senior Member
- Join Date
- Apr 2009
- Location
- Deloraine
- Posts
- 283
bandsaw box
HI SS
What a fantastic work in progress a very good choice of wood for that project , It is interesting to see the result of the Danish oil how many coats do you intend to use .
john
-
27th November 2011, 07:12 PM #21
China
- Join Date
- Dec 2005
- Location
- South Australia
- Posts
- 4,475
looking realy good
-
27th November 2011, 08:50 PM #22
GOLD MEMBER
- Join Date
- Jul 2004
- Location
- Laurieton
- Posts
- 2,251
Enjoyed the journey. Well done.
Bob
"If a man is after money, he's money mad; if he keeps it, he's a capitalist; if he spends it, he's a playboy; if he doesn't get it, he's a never-do-well; if he doesn't try to get it, he lacks ambition. If he gets it without working for it; he's a parasite; and if he accumulates it after a life time of hard work, people call him a fool who never got anything out of life."
- Vic Oliver
-
28th November 2011, 12:12 PM #23
wood butcher
- Join Date
- Dec 2008
- Location
- East Bentleigh
- Posts
- 200
Wacko, Sir Stinky.
What a great box and effect. This is stuff that when I see it afterwards I think, how did the clever bugger do that. Now I know. Nice wip.
Cheers
Bryan
-
28th November 2011, 01:15 PM #24
Senior Stinkologist
- Join Date
- Nov 2001
- Location
- Parkside - South Australia
- Age
- 45
- Posts
- 3,318
Thanks all ....
Fortunately most of the hard work is out of the way and now it is just the finishing touches.
John - I will end up with 4-5 coats of Danish oil. So far I am up to three I think. It is easy enough to pop down to the garage each night and whack another coat on.
My current Danish oil must be getting old as it is much more solid than a new bottle. As such I think it is forming more of a lacquer film than normal.
Generally I find it seeps in more before building up a finish coat. I don't want to have an obvious lacquer appearance so I will assess it again tonight and decide to stop or put another coat on.
Given how much I have on at the moment I hope to have it wrapped up by the end of the week!
Cheers
StinkyNow proudly sponsored by Binford Tools. Be sure to check out the Binford 6100 - available now at any good tool retailer.
-
28th November 2011, 09:07 PM #25
Senior Member
- Join Date
- Apr 2009
- Location
- Deloraine
- Posts
- 283
bandsaw box
HI ss, Thank you for the information next box i make with redgum i will try the danish oil, just finnished making 3 huon pine leaf boxes and 1 tiger myrtle box with three draws , at some stage when i can get enough time i will make a photo box and post some piccs.
regards john.
-
1st December 2011, 10:42 PM #26
Senior Stinkologist
- Join Date
- Nov 2001
- Location
- Parkside - South Australia
- Age
- 45
- Posts
- 3,318
Slowly Slowly Hidden Tiger
Edging along slowly:
The inside of the drawers are painted with black craft paint in readiness for the flocking. I know the flocking glue will cover the inside of the box however there is a lot of end grain so I like to seal it with some paint to give the glue a bit more of a chance and that it will cover any area that I may miss with the glue when flocking.
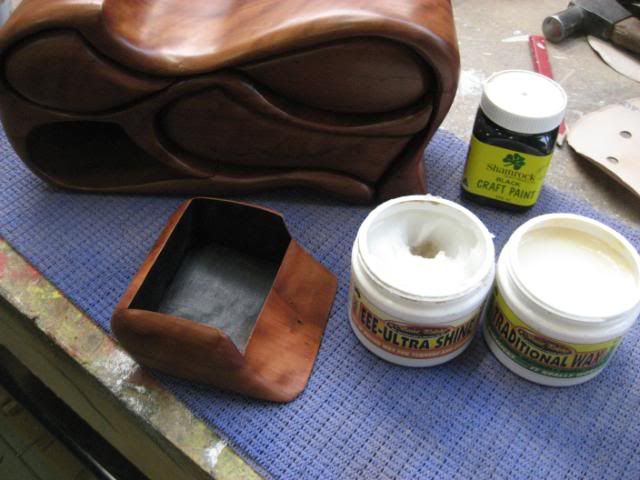
The next step after the Danish oil is our hosts EEE and traditional wax. I haven't used the EEE in some time and it has certainly separated and now it is difficult to tell the EEE from the traditional wax.
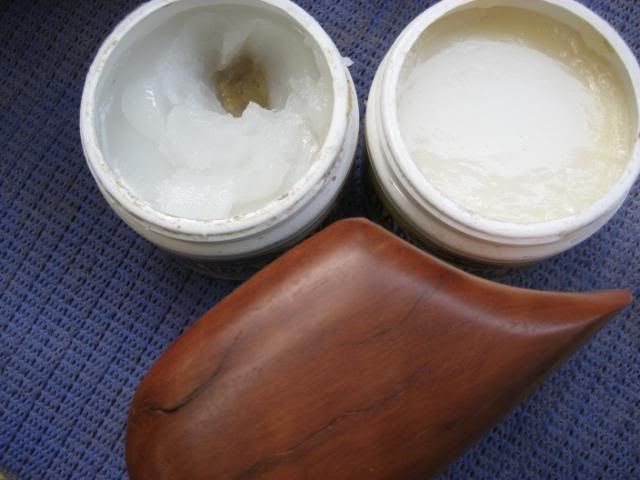
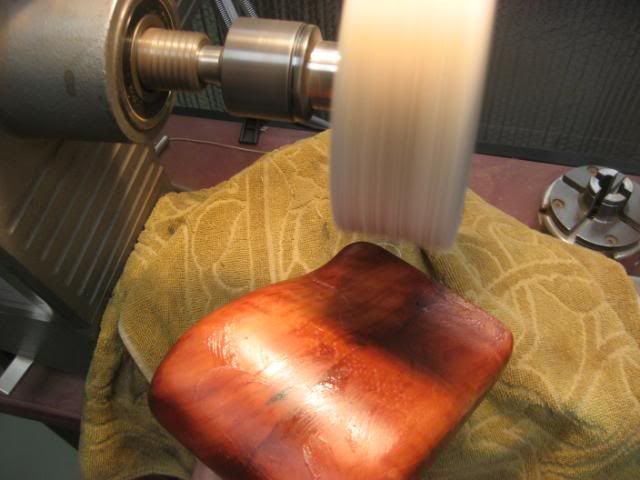
Anyway on wards and upwards. The EEE was applied and then it was off to the lathe for buffing. Despite mixing the EEE certainly wasn't as good as it normally is and seemed very much like the traditional wax than the cutting compound.
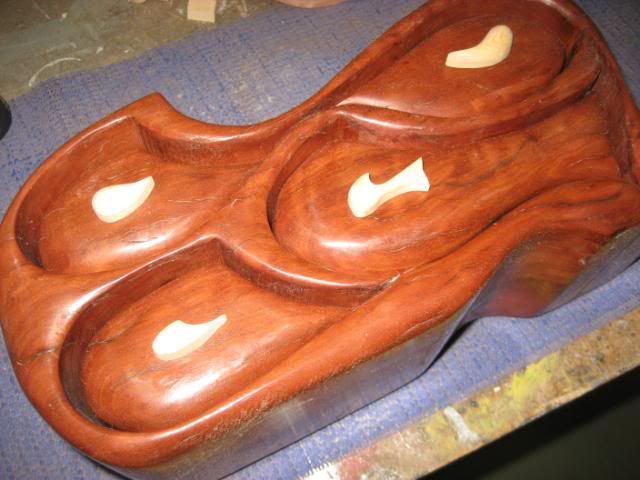
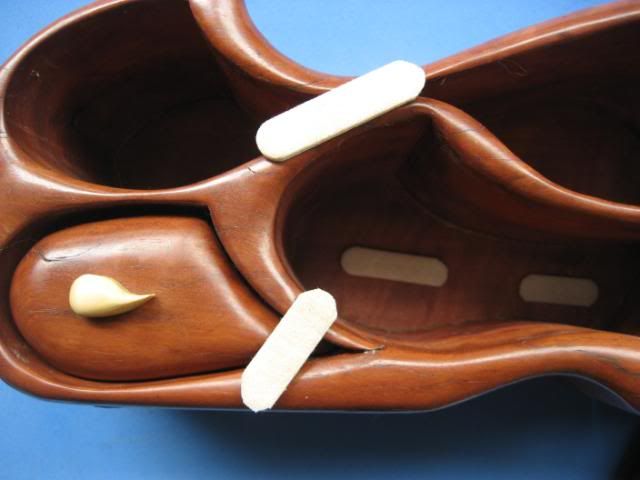
Next up is the handles. I don't really like the handles in the design so I draw up something myself. This also makes it a little different to all of the other Lois Keener Ventura boxes out there. For my handles I try to produce a shape like the drawer, but a little smaller. I had some spare Huon so I thought I would give a good contrast. I will see how it looks and change if needed.

The old GMC scrollsaw just managed to cut the handles. The handles are shaped in a similar way to the drawers and are now awaiting a coat of oil. I am still not sure if I like them or not so I called it a night at that point and will get to the flocking tomorrow. The box is covered in a little huon dust so it isn't looking the best just at the minute. I will apply some traditional wax tomorrow and buff again.
Now proudly sponsored by Binford Tools. Be sure to check out the Binford 6100 - available now at any good tool retailer.
-
2nd December 2011, 07:55 AM #27
Senior Member
- Join Date
- Apr 2009
- Location
- Deloraine
- Posts
- 283
bandsaw box
HI SS
A very nice contrast with the different shapes of huonpine
john
-
10th December 2011, 07:54 AM #28
Mildly Moderate
- Join Date
- Nov 2007
- Location
- Albury Well Just Outside
- Posts
- 13,315
After you have applied the finish how are you going to attach the handles via screws?
-
12th December 2011, 07:29 PM #29
GOLD MEMBER
- Join Date
- Mar 2007
- Location
- Munruben, Qld
- Age
- 83
- Posts
- 10,027
This is a very inspirational WIP and something like this has been needed for a long long time. Thank you for taking the time to do this WIP and for taking the time to show us graphically your techniques and methods, it has been very educational and as someone else commented almost a tutorial. A great WIP indeed.
Reality is no background music.
Cheers John
-
12th December 2011, 10:49 PM #30
Senior Stinkologist
- Join Date
- Nov 2001
- Location
- Parkside - South Australia
- Age
- 45
- Posts
- 3,318
Flocking Hell!
Ok ...... after quite some time it is the final installment. It has been somewhat slow progress with time being split between renovations and box making:
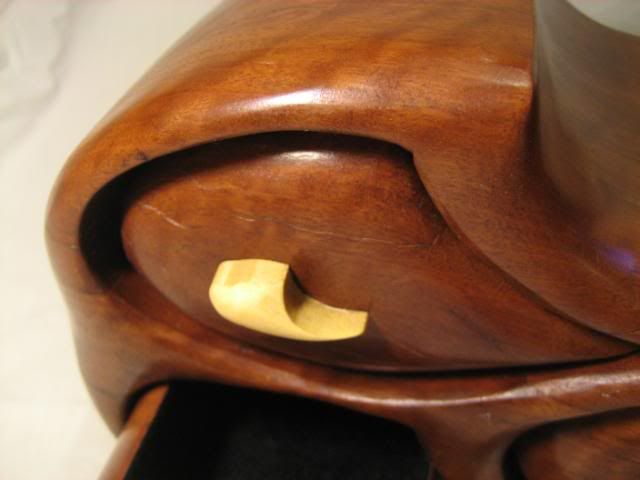
Christos .... to answer your question in the past I have just used Loctite (superglue) to attach the handles and it has worked despite the finish being applied first. On this one however I used bamboo skewers to help endure that the handles would stay on:
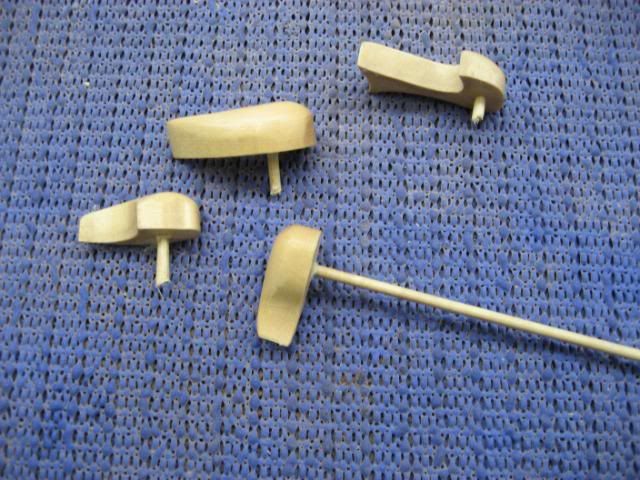
They were also handy to hold onto when giving the handles a buff on the swansdown mop.
After the handles were attached I then flocked the internal of the drawers. As the title alludes to I was in flocking hell! As mentioned earlier I apply black paint first to help seal the grain to give the glue more of a chance. Well on the weekend I applied my glue and then filled the drawers with flock. I find it best to paint on the glue, then fill the drawer with flock from one ice cream container making sure to cover all the sides, and then tip the flock into a second container.
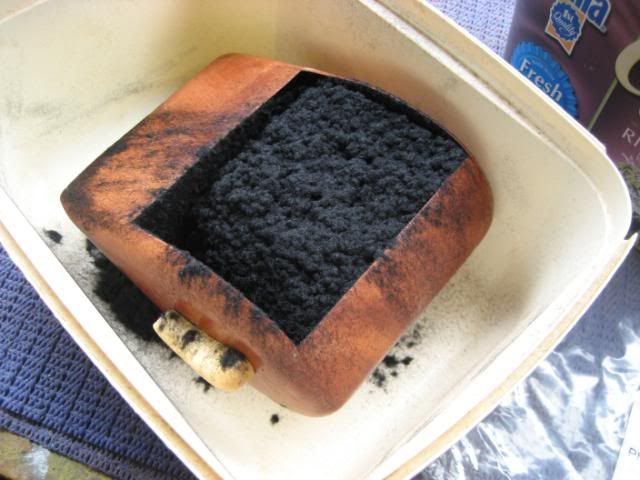
After the glue has dried I then use the dust extractor to suck out any remaining loose flock, and then job done. Well I did this process only to find tonight when I went to suck out the loose flock I managed to suck basically all of the flock out I only do one drawer at a time to ensure that the glue doesn't dry before the flock is applied but for some reason or another it didn't stick. I tried again tonight when it was cooler so I can only hope that will work.
Due to the back of the box being cut off, and the front and back of the drawers you will loose a little depth of the drawers due to the kerf of each cut. It is not always necessary however on this box I stuck some self adhesive felt material in the back of each drawer void to provide a little cushion when the drawer is closed and also to bring the drawers forward a little more in line with the front of the box.
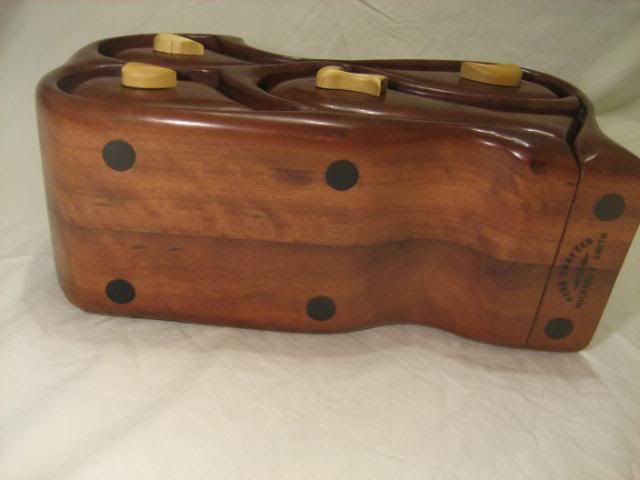
The final touch is some foam buffers on the bottom, stamping the date and burning in the makers mark:
And then finally:


Unfortunately the camera and the lighting doesn't pick up the detail all that well. Perhaps I shouldn't leave the camera on the workbench when I am working. If I get a chance I will try and take a shot under natural light. The redgum has gone slightly brown and lost some of its redness unfortunately. The grain still comes through which is a plus.
Well thats it folks. Thanks for your interest.Now proudly sponsored by Binford Tools. Be sure to check out the Binford 6100 - available now at any good tool retailer.

 Reply With Quote


Similar Threads
-
Redgum / Redgum Burl / Blackwood - Plant Stand
By Lignum in forum FURNITURE, JOINERY, CABINETMAKING - formerly BIG STUFFReplies: 17Last Post: 12th March 2011, 01:18 PM -
Bandsaw Box 1 - Redgum
By Eowyn in forum BANDSAWN BOXESReplies: 12Last Post: 30th October 2007, 01:27 PM -
Workbenches - How heavy is heavy enough?
By jisk in forum WOODWORK - GENERALReplies: 81Last Post: 7th August 2007, 09:33 PM -
Carbatec 14" Heavy Duty Bandsaw ???
By Zoot in forum HAND TOOLS - POWEREDReplies: 2Last Post: 22nd February 2006, 06:39 AM -
bandsaw meets heavy machine base
By soundman in forum BANDSAWSReplies: 10Last Post: 22nd April 2005, 10:28 AM
