

 Thanks:
  Likes:
  Needs Pictures: 0
 Picture(s) thanks:
Results 1 to 9 of 9
Thread: Seen the light again.
-
24th May 2017, 08:54 AM #1
 Senior Member


- Join Date
- Sep 2012
- Location
- Ex Nr Carcassonne S France Now NW Wiltshire, Blighty.
- Posts
- 497
 Seen the light again.
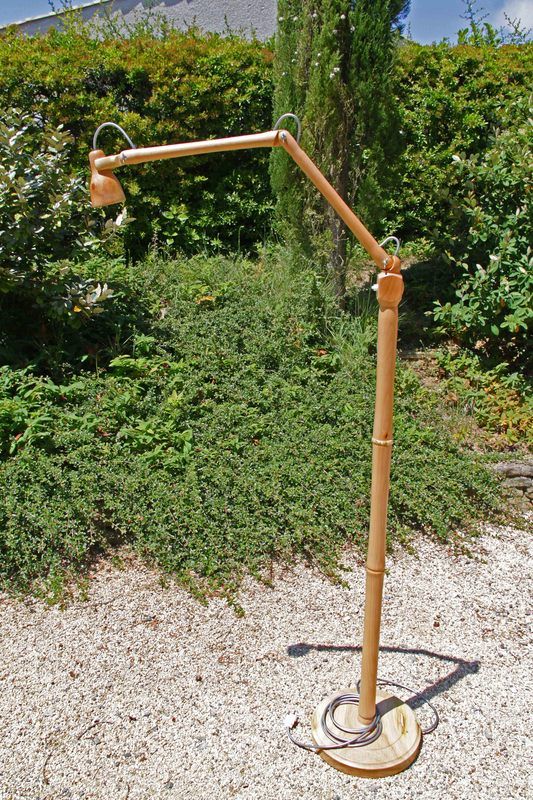
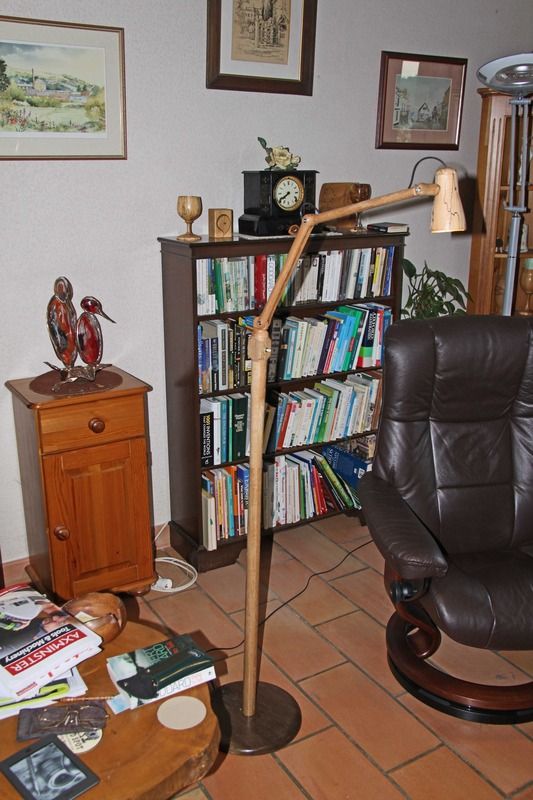
Well, for the forth time really. I love turning lamps. Angle poise to be precise and this is the biggest one yet.
Beech stem and arm peices, oak base and leylandii shade. I was given a not very nice looking lump of oak on a visit to a wood supplier in Carcassonne a couple of years back when I bought a couple of beech planks, 2" x 8" x 10' for some other job. I have some of the beech left over, so I decided to make this lamp.
The base is about 12" diameter and took 1/2 of the oak
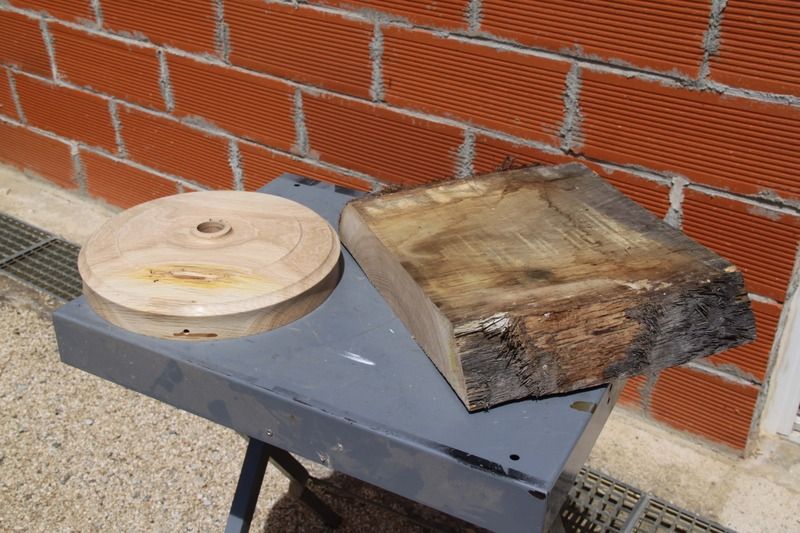
And that just fitted over the bars on my Record CL1 lathe. I had no idea if it would be OK, but I thought what the hell? I think it turned out well.
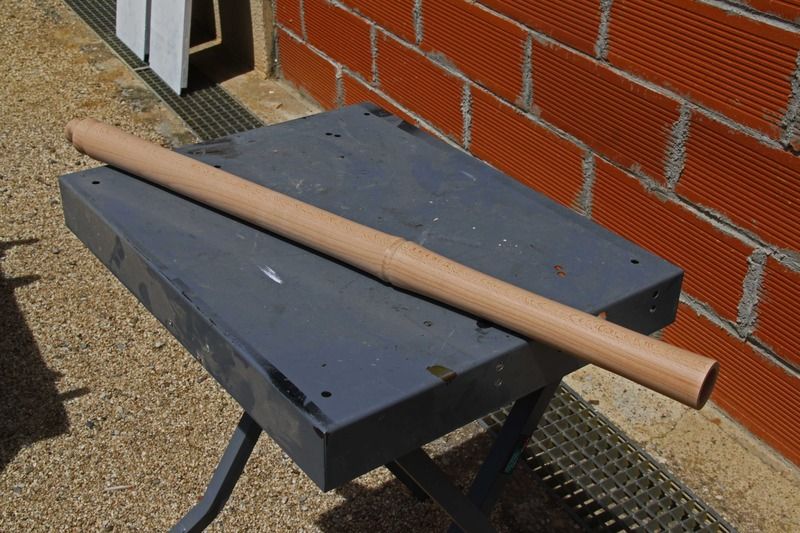
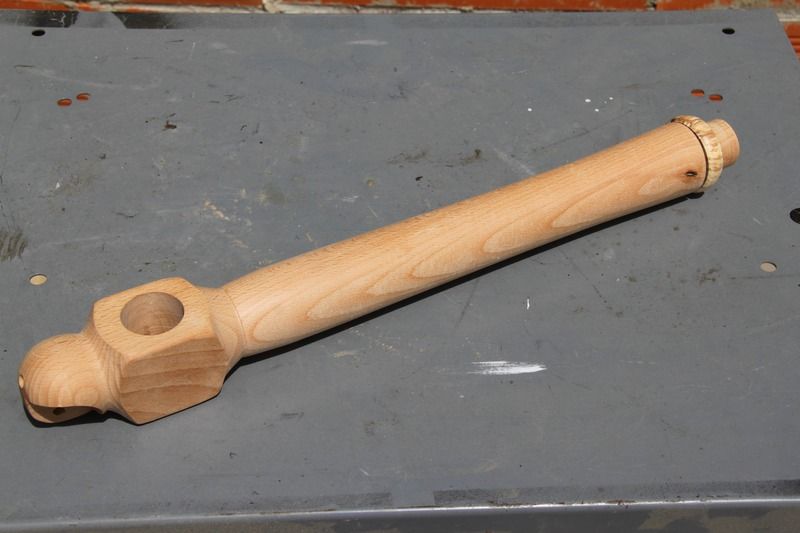
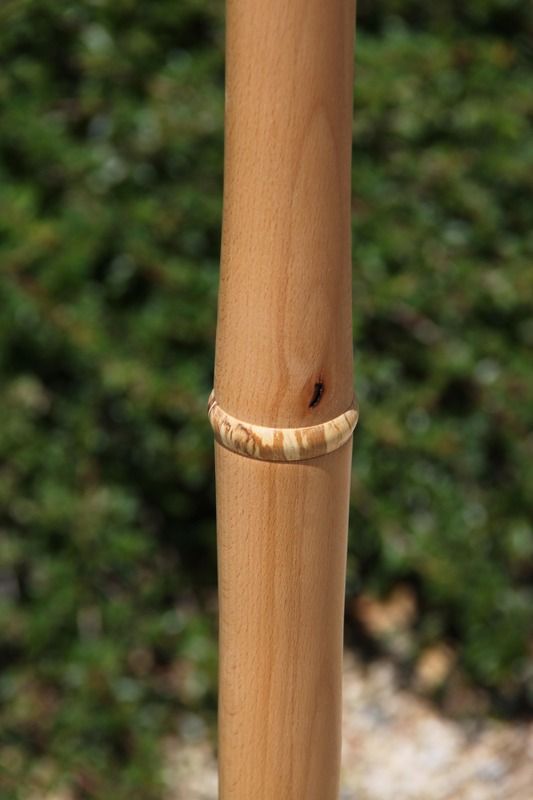
Next, the upright stem had to be cut to slightly less than 36" because of the length of the lathe bed. Two peices make uou the stem. Each of the uprights were then cut in 2 length ways and a groove routed out to take the cable, then glued back together. That ensures that the hole is dead centre, plus I ain't got a drill that long! I roughed the stem parts with my roughing gouge. I tried to finish it with my 1" oval skew, but it kept ripping the grain out and that skew IS sharp. I think that it must have been the lay of the frain althoug I haven't come across that before?
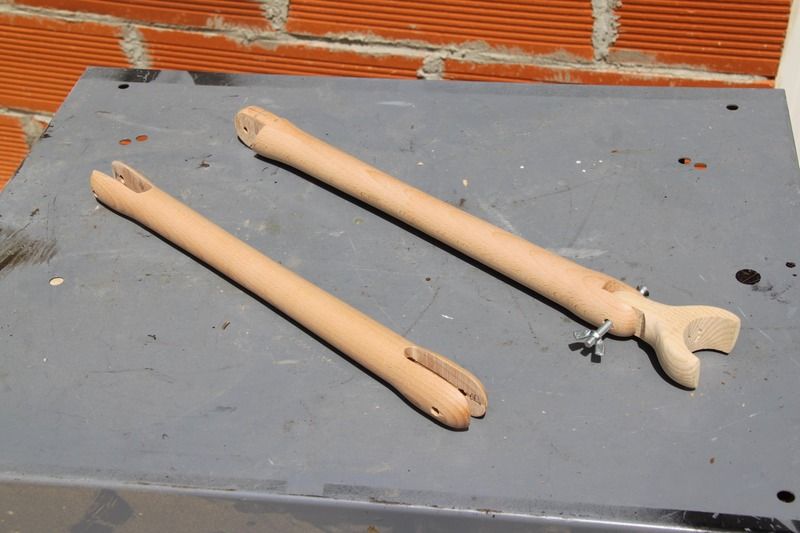
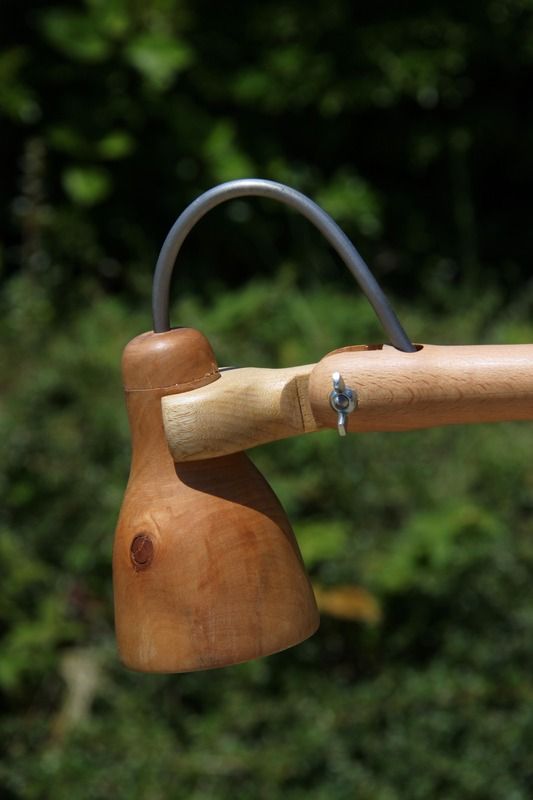
I put a contrasting spalted beech ring in the join of the 2 parts. The stem is quite plain other than that. Next, the top arms. The other lamps I have done have had one solid and one split arm, but I wanted to do both as solid. So I cut each arm down the centre again, routed the groove and glued back together, but on one I stopped the groove short of the ends and drilled in from the side. This arm would be the 'male' and slotted into the 'female' fork.
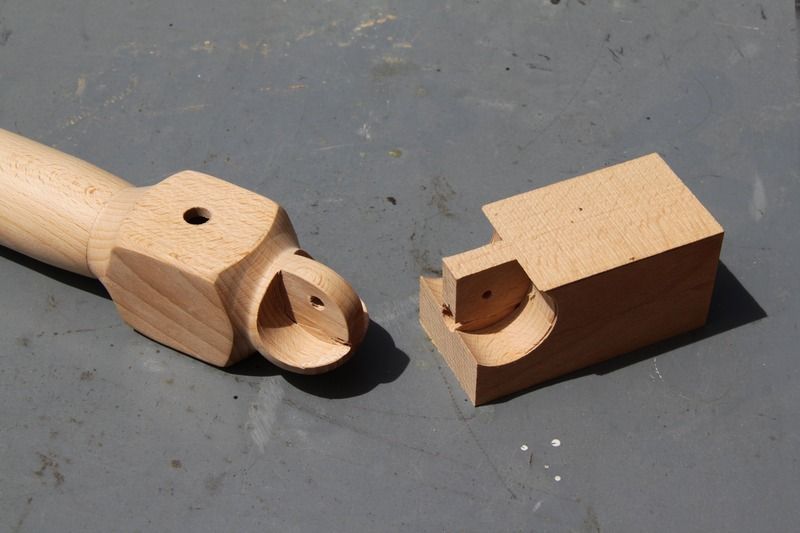
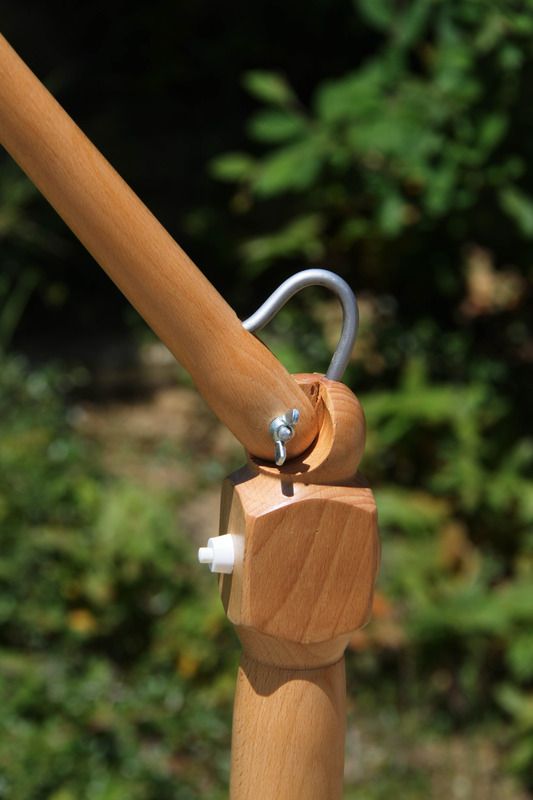
With a bit cut off of the stem I used it to house the switch and for the bottom arm to hinge on. I used the final waste bit to make a pattern to drill the 'hinge'. Sounds odd, but it worked fine. The hinge was cut with a Forstner bit.
Then it was glued in place on the stem. It doesn't show there but the grain lines up nicely too.
The shade was fun? And a plug was turned to cover the back of the switch mount and one for the base hole where the cable is fed out through the base
A 'saddle' cut and turned to mount the shade, that's a piece of ash I had lying around
All wired up ready to assemble. I thought I would have trouble feeding the cable through the 'stopped' hole arm, but it was straight forward and no problem
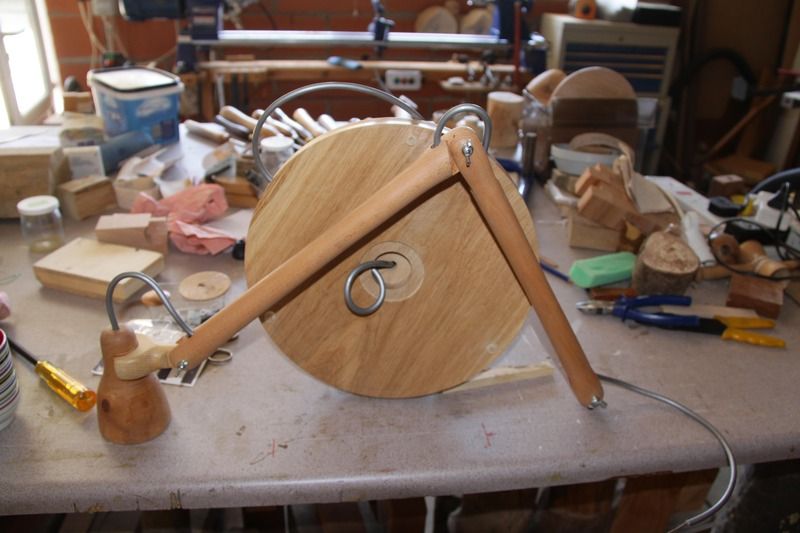
It all fits together well
And I am really pleased with the outcome. I drilled 3 very shallow holes in the base to fit 3 small round clear soft plastic feet. 3 because it will always stand solid especially as one of them is directly to the front where the weight is!
 My ambition is to grow old disgracefully. So far my ywife recons that I'm doing quite well! John.
http://johnamandiers.wixsite.com/johns-w-o-w-1
-
24th May 2017 08:54 AM # ADSGoogle Adsense Advertisement
- Join Date
- Always
- Location
- Advertising world
- Posts
- Many
-
25th May 2017, 02:31 AM #2
GOLD MEMBER
- Join Date
- Sep 2008
- Location
- North Carolina, USA
- Posts
- 2,327
That is a beautiful design and execution!! WOW!!! I am most impressed with the movable joints.
So much timber, so little time.
Paul
-
25th May 2017, 07:59 AM #3
GOLD MEMBER
- Join Date
- Aug 2012
- Location
- Imbil
- Posts
- 1,167
Hi Jonzjob,
Very nice work indeed great lamp well done. You must be pleased with the result.
Regards Rod.Rod Gilbert.
-
25th May 2017, 08:24 AM #4
Senior Member
- Join Date
- Sep 2012
- Location
- Ex Nr Carcassonne S France Now NW Wiltshire, Blighty.
- Posts
- 497
Thank you for your comments folks. This was the first one I did. It's for my better 1/2s writing desk
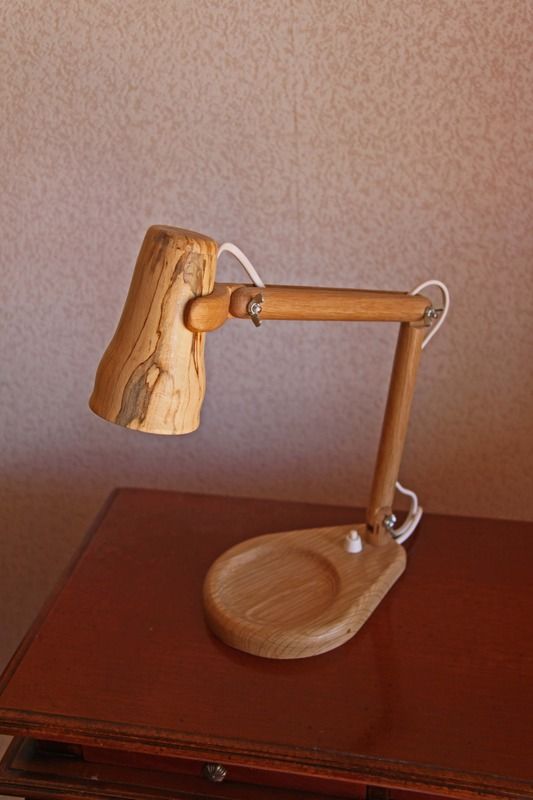
Followed by one for our MacBook desk with a box under it to hold a couple of HDDs
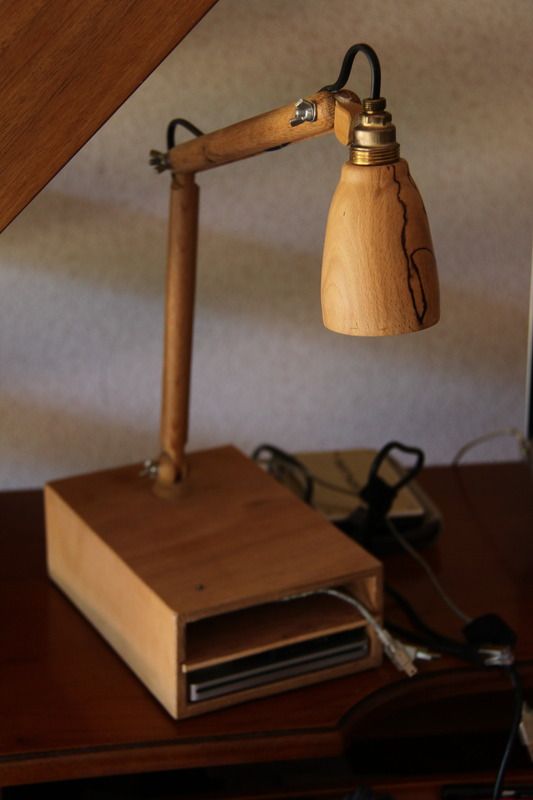
And the first standard lamp. The first 3 have all got spalted beech shades.
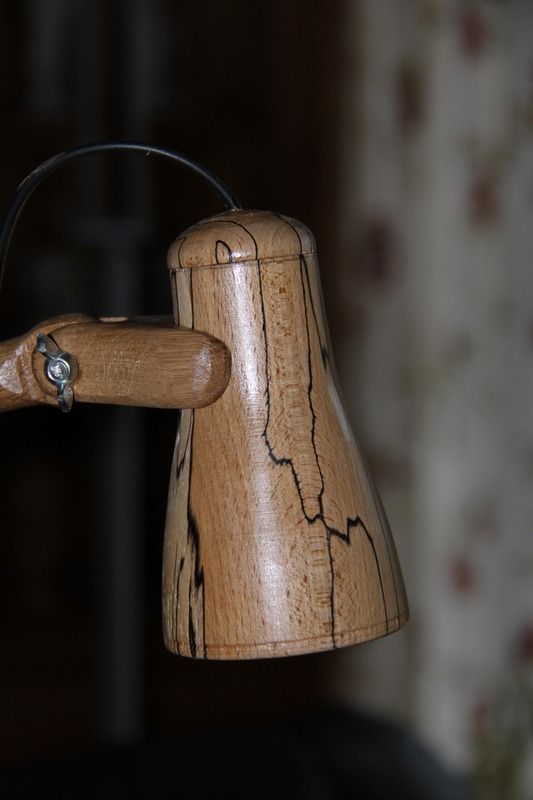
Paul, the knuckle type joint on the top of the switch housing just proves that you can drill 1/2 a hole with a Forscener bit and that was drilled in the side of a ball shape. I had to really clamp it hard down in my pillar drill, use a slow speed and cut very slowly. But it worked better than I had dared to hope for. The fork on the arm was cut first on my band saw and the knuckle was 'inched' down to fit that fork. It looks harder than it really is? I think??My ambition is to grow old disgracefully. So far my ywife recons that I'm doing quite well! John.
http://johnamandiers.wixsite.com/johns-w-o-w-1
-
25th May 2017, 09:49 AM #5
Life's Good, Enjoy each new day & try to encourage
- Join Date
- Dec 2009
- Location
- Faulconbridge, Lower Blue Mountains
- Age
- 68
- Posts
- 11,181
Beautiful work John....both lamps are superb sir..cheers Peter
-
25th May 2017, 07:31 PM #6
Retired Chippy
- Join Date
- Jun 2004
- Location
- Mareeba Far Nth Qld
- Age
- 83
- Posts
- 3,070
Very impressive, excellent design and very well executed..

JimSometimes in the daily challenges that life gives us, we miss what is really important...
-
25th May 2017, 09:58 PM #7
Skwair2rownd
- Join Date
- Nov 2007
- Location
- Dundowran Beach
- Age
- 76
- Posts
- 19,922
Two elegant and orty pieces!!
-
9th June 2017, 02:52 AM #8
Senior Member
- Join Date
- Sep 2012
- Location
- Ex Nr Carcassonne S France Now NW Wiltshire, Blighty.
- Posts
- 497
For a different type of lighting and "What do you make for SWMBO who has everything?"
I made one of these
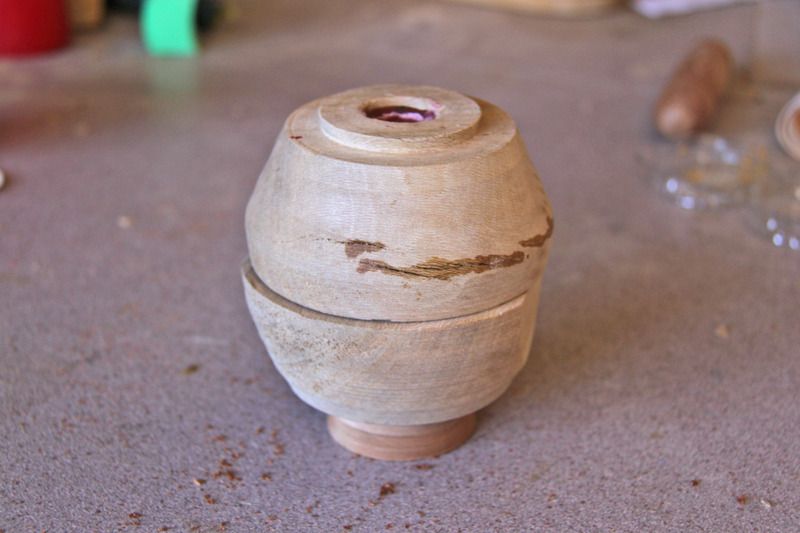
Well, she ain't got one init!
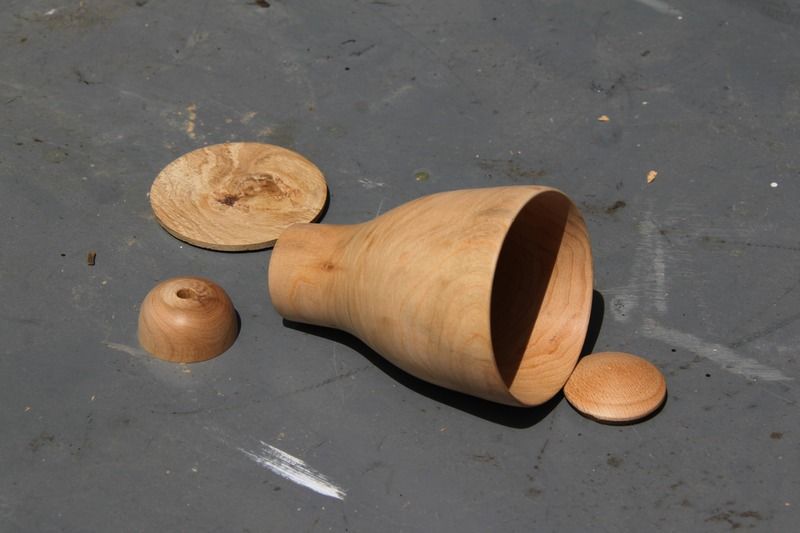
It's in 2 bits like this
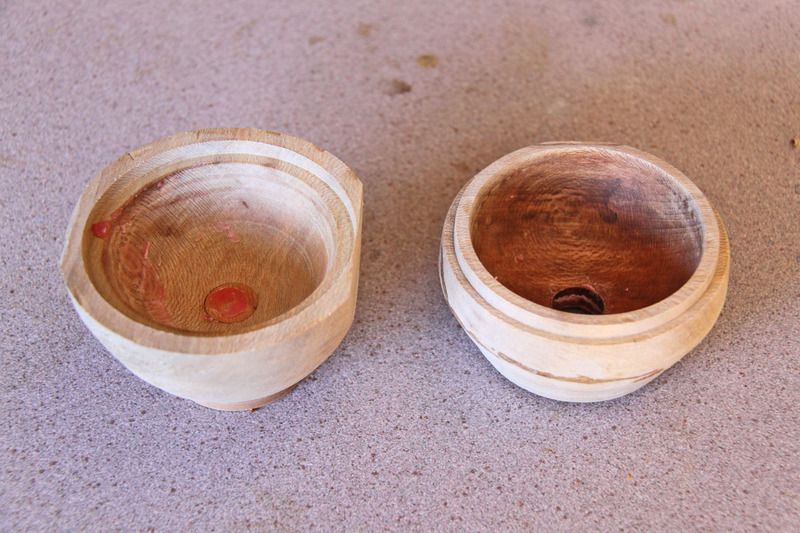
You also need these bits
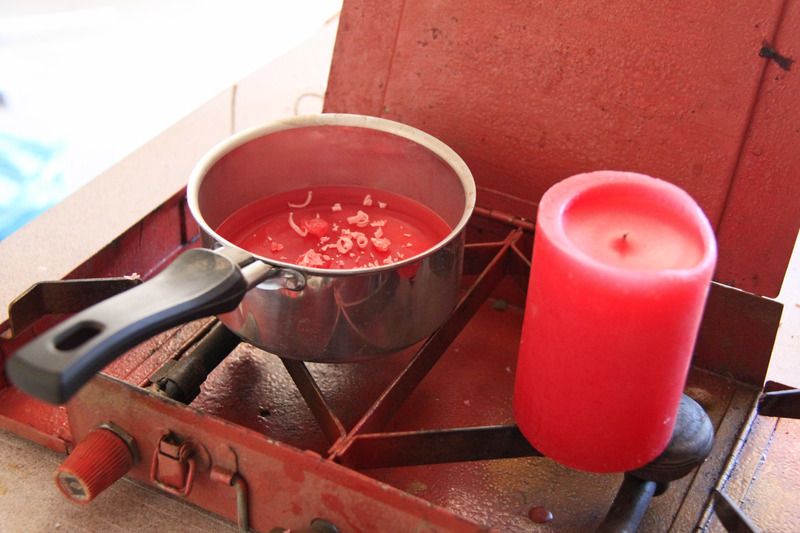
And you put the 2 bits together and after you have got the last red bit nice a warm you carefully pour some of it into the hole in the top of the 2 bits now put together and finish up with one of these
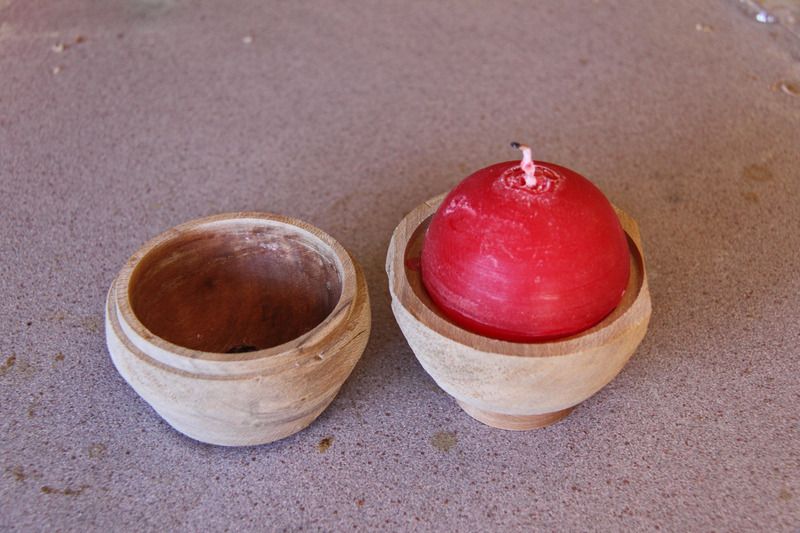
And it goes in here
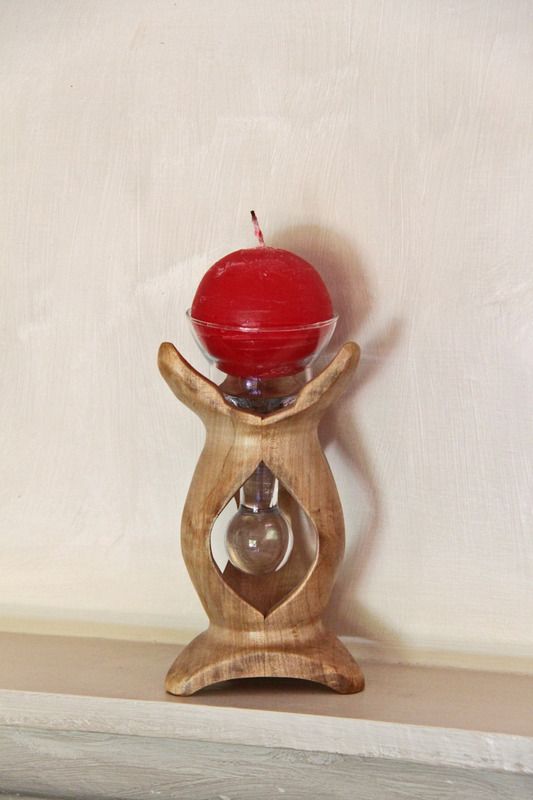
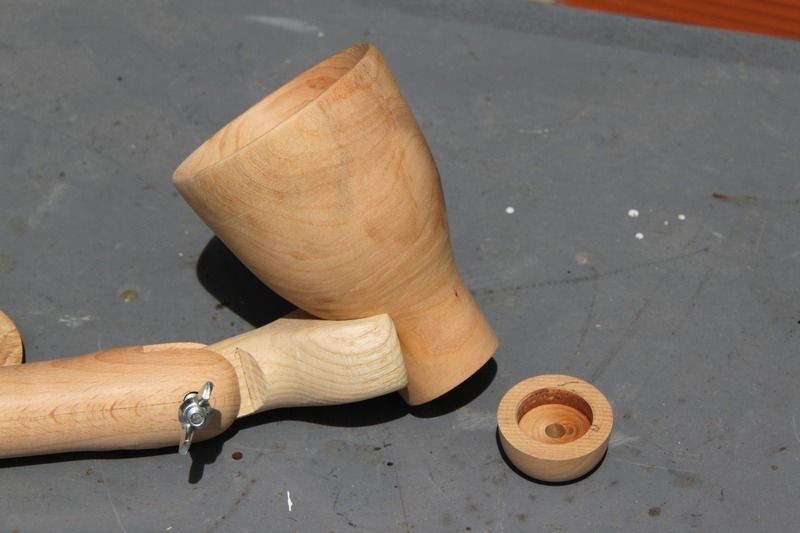
If you look a bit further up this thread there's the original blue candle, but SWMBO is not a great fan of blue. Try as we may we could not find even another blue one. So I got my brain cell in gear, sat down and thought why not, especially as we had a couple of those red candles gong spare? We both think that it looks better for 'the lady in red' ? (Thinks !! I could write a song about that?
The glass bit was from an arty/farty type candle holder we have had for years. The wood is tulip wood from alongside the Canal du Midi close to us. The turning was done by the 'inside out' method. It was the second attempt, I didn't like the first. I'm not sure if I have posted the candle holder before with the blue candle in it?My ambition is to grow old disgracefully. So far my ywife recons that I'm doing quite well! John.
http://johnamandiers.wixsite.com/johns-w-o-w-1
-
10th June 2017, 02:31 AM #9
Senior Member
- Join Date
- Sep 2012
- Location
- Ex Nr Carcassonne S France Now NW Wiltshire, Blighty.
- Posts
- 497
A big thank you for all of the likes, etc. on this post folks. Not too sure what else to say
 My ambition is to grow old disgracefully. So far my ywife recons that I'm doing quite well! John.
http://johnamandiers.wixsite.com/johns-w-o-w-1


 Reply With Quote


Similar Threads
-
Let their be light!
By Hoover in forum THE SHEDReplies: 11Last Post: 4th November 2011, 08:23 AM -
The Light
By killerbeast in forum WOODTURNING - GENERALReplies: 19Last Post: 28th March 2008, 03:23 PM -
Let there be light
By TrevorOwen in forum HAND TOOLS - POWEREDReplies: 7Last Post: 14th November 2005, 02:13 PM
