

 Thanks: 0
 Likes: 0
 Needs Pictures: 0
 Picture(s) thanks: 0
Results 16 to 30 of 63
-
30th June 2012, 07:02 PM #16
 Senior Member


- Join Date
- Jul 2005
- Location
- Victoria Australia
- Posts
- 116

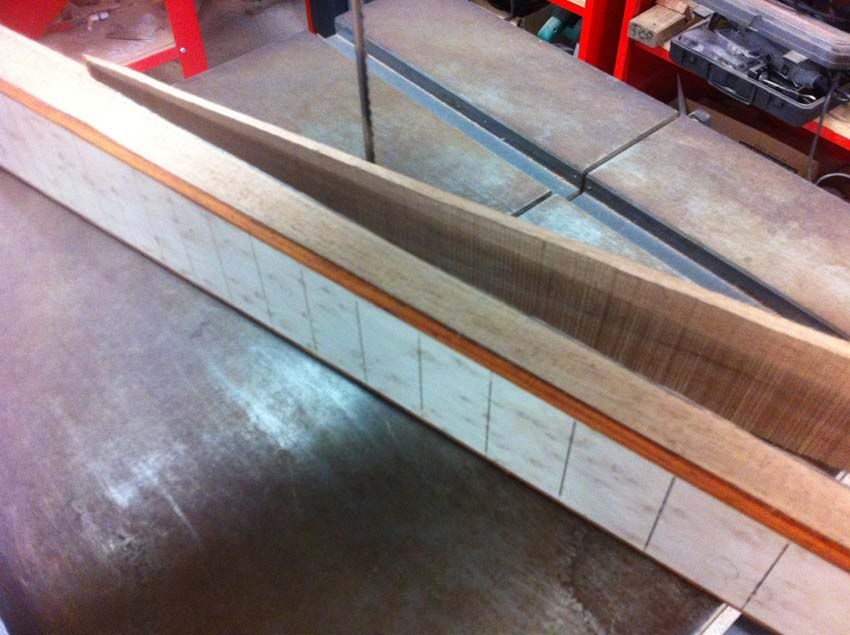
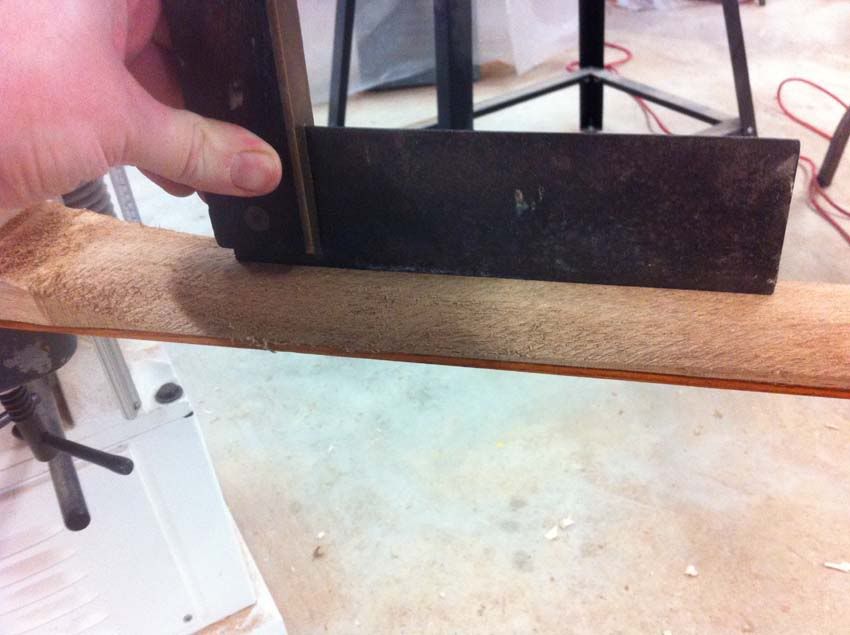
Put in a bit of time today.
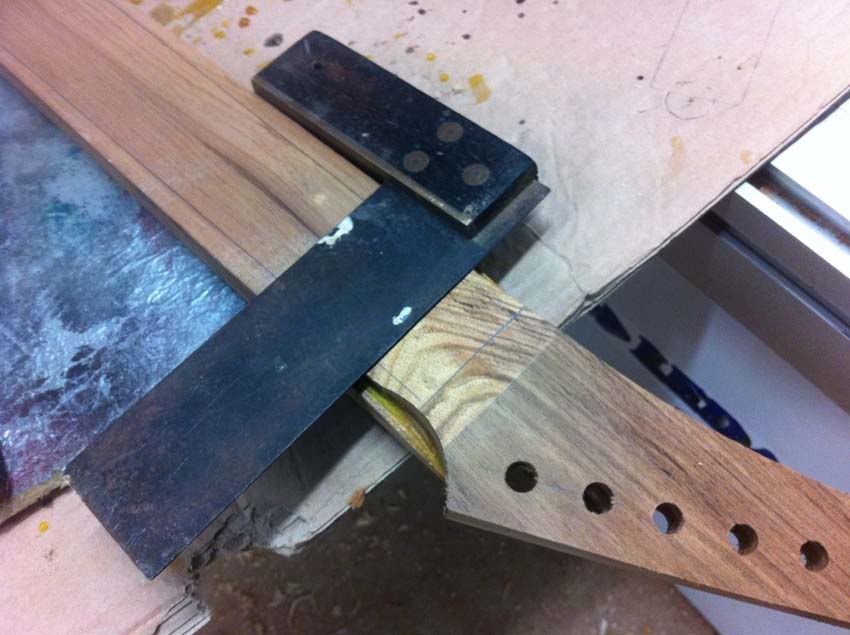
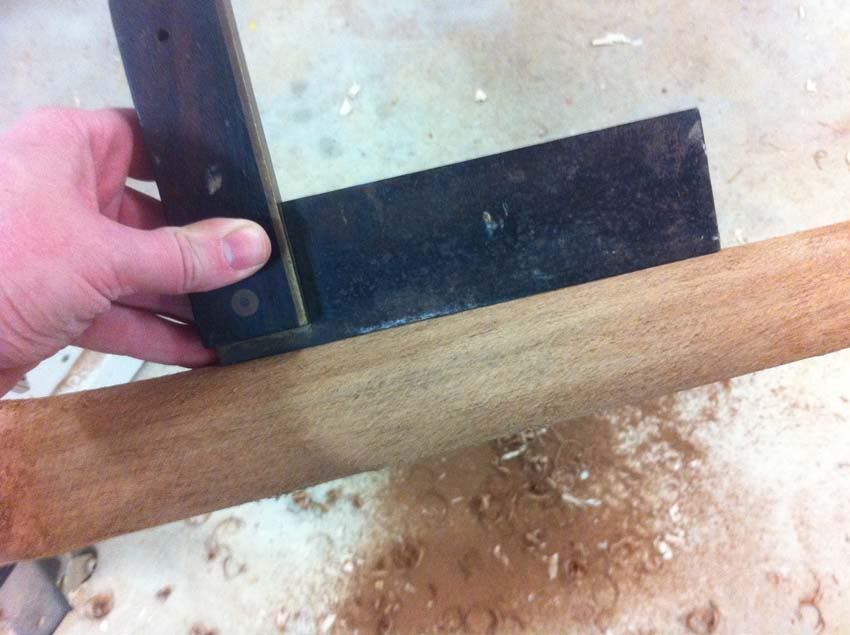
First job, square off a line where the nut and fingerboard will meet:
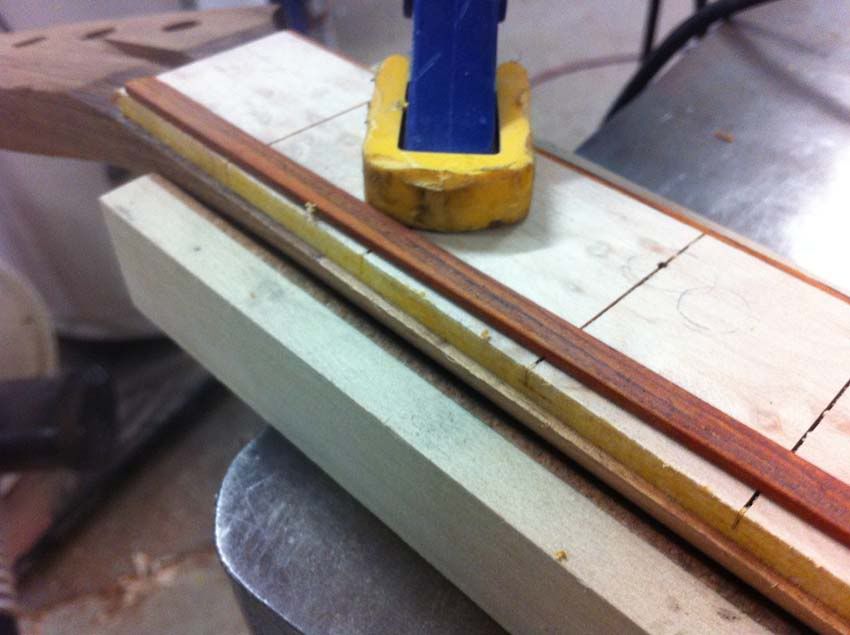
Now the truss rod channel:
I use a block of wood (squared) in between my neck and the guide so as the headstock can clear the guide. I do this in two passes with a upcut spiral bit.
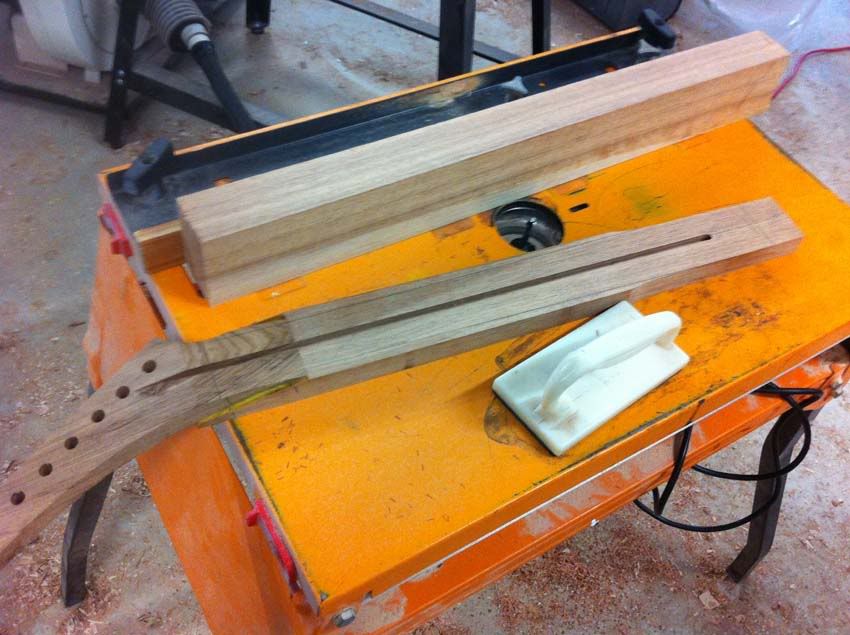
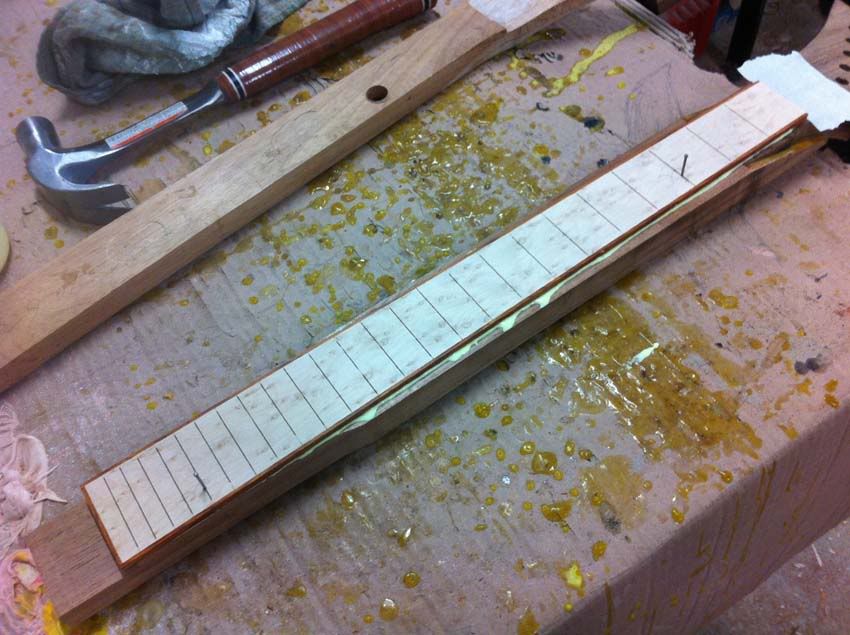
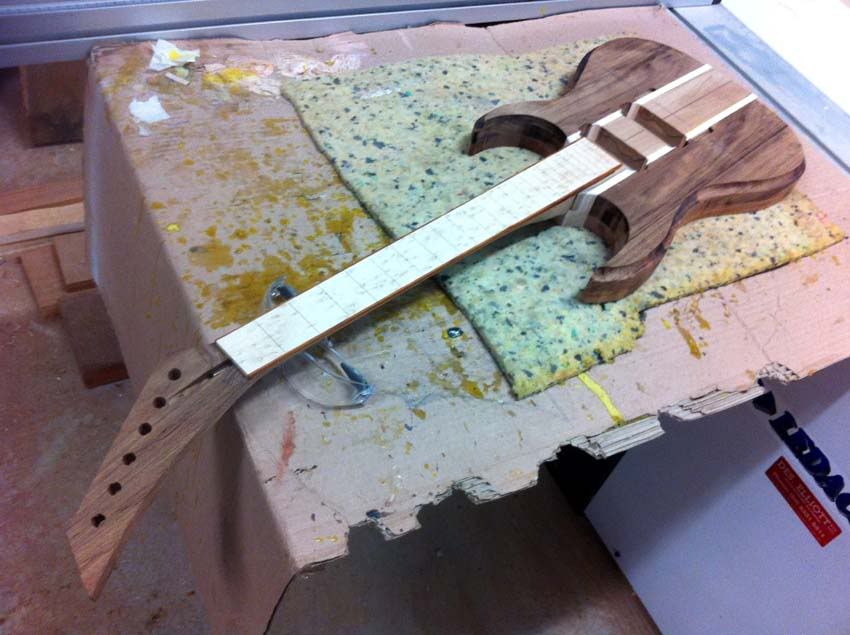
I then take the fingerboard, after marking all the centerlines I dry clamp it to the neck, then drill two holes into the fret slots. These holes dont penetrate the neck very much and not enough that they will be anywhere near where I carve. These act as locating pins so the neck doesnt slide when glued and clamped:
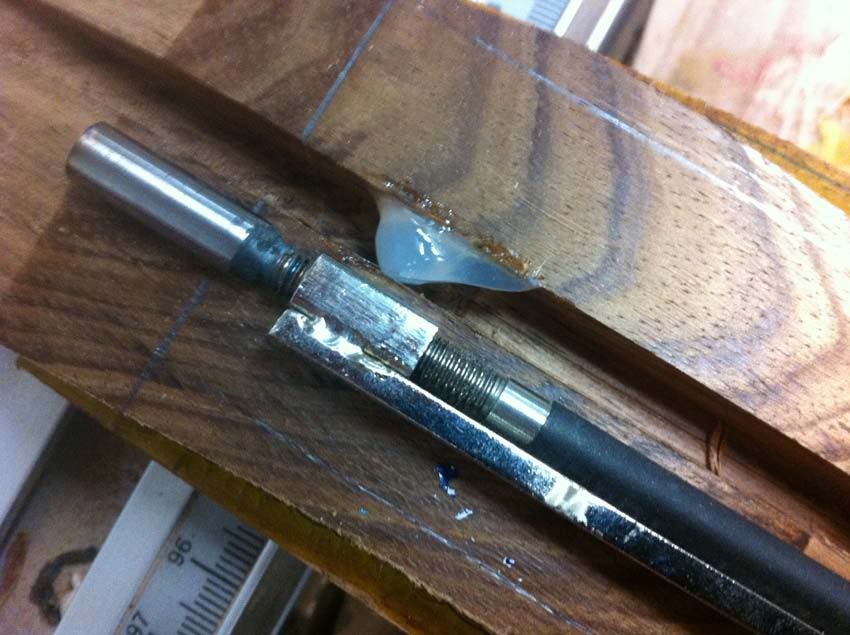
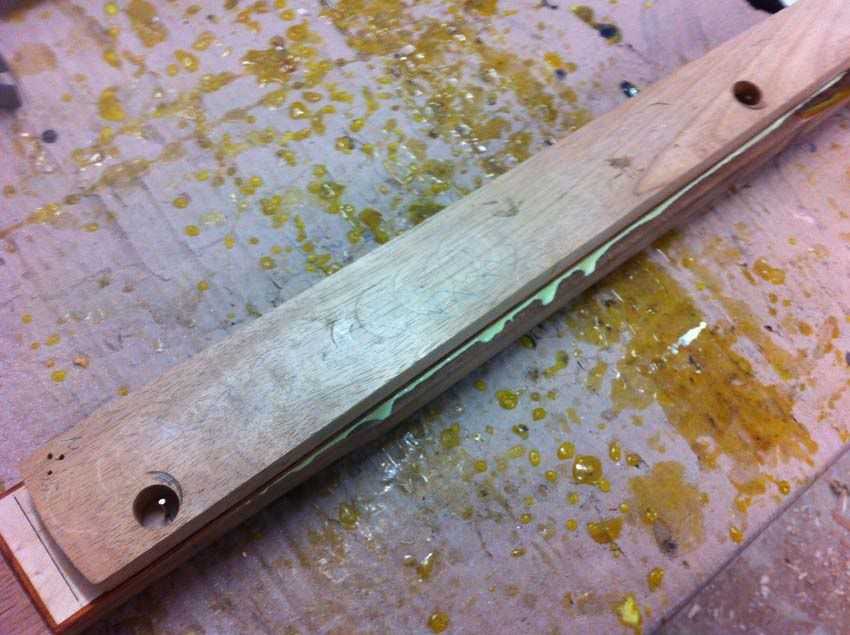
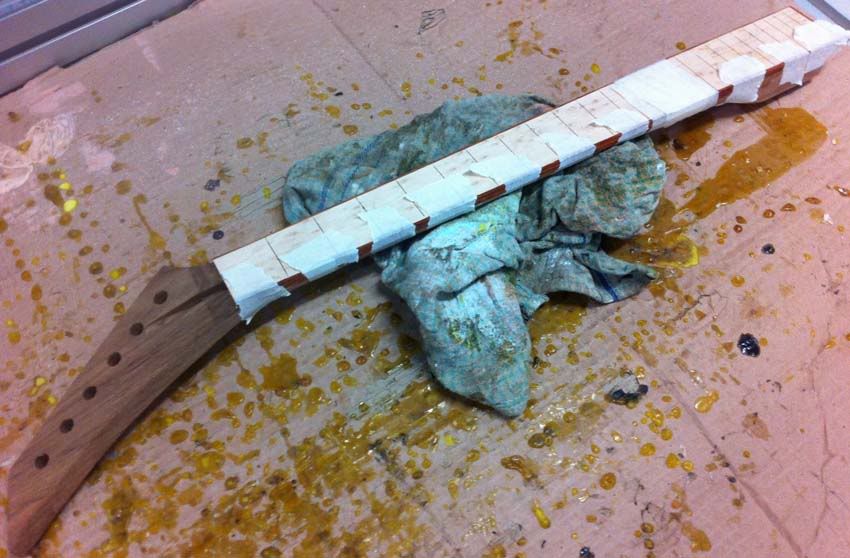
A dab of silicone at either end of the truss rod. Ive never had one rattle, but if theres ever movement twenty years down the track, this will prevent a rattle:
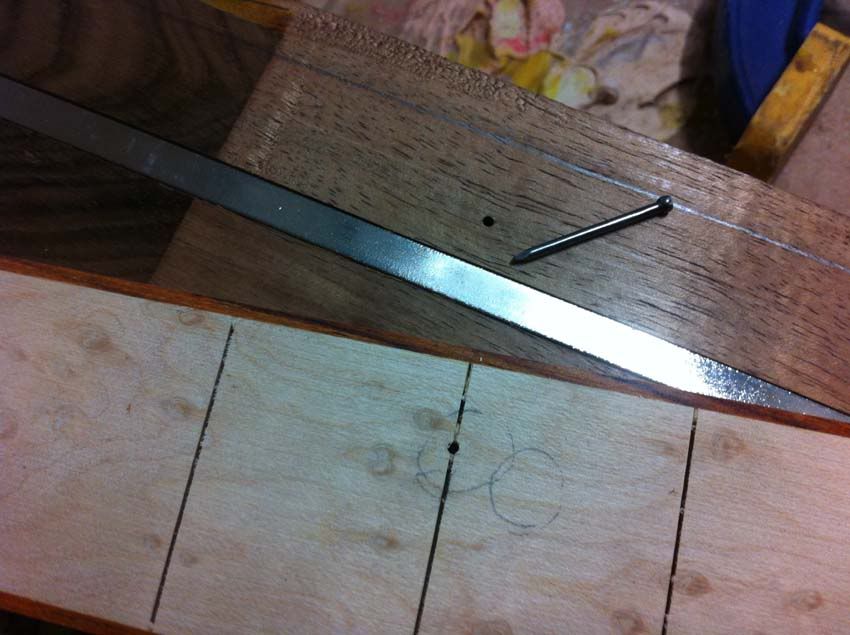
Glue and locate the nail holes, hammer then in gently making sure not to split the fingerboard:
My clamping caul is an old neck I screewed up, so I know the fingerboard surface on it is flat as its been over planer, then I've got two holes drilled to line up with the nails:
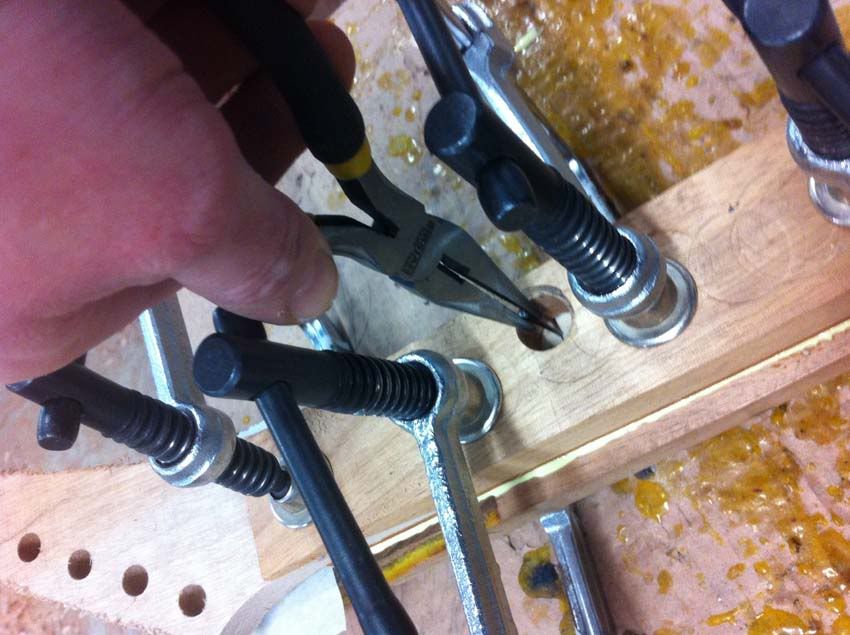
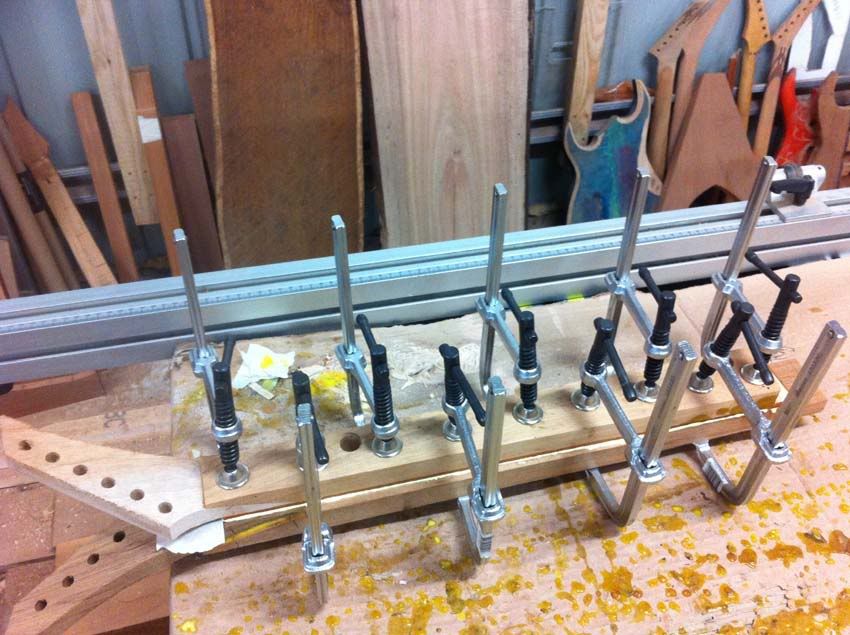
After clamping, I remove the nails before the glue starts to cure:
-
30th June 2012 07:02 PM # ADSGoogle Adsense Advertisement
- Join Date
- Always
- Location
- Advertising world
- Posts
- Many
-
30th June 2012, 07:08 PM #17
Senior Member
- Join Date
- Jul 2005
- Location
- Victoria Australia
- Posts
- 116
Then I moved to the body:
First pass on the router table:
Remove the template and use the first pass as my new template:
You can see in this pic how small the router bit is that I'm using. It was a longer bit I had machines down to 5mm. I use this for all cavites, recessed floyds etc
After several small passes the body is rough cut by the router, then I ran a curved bit:
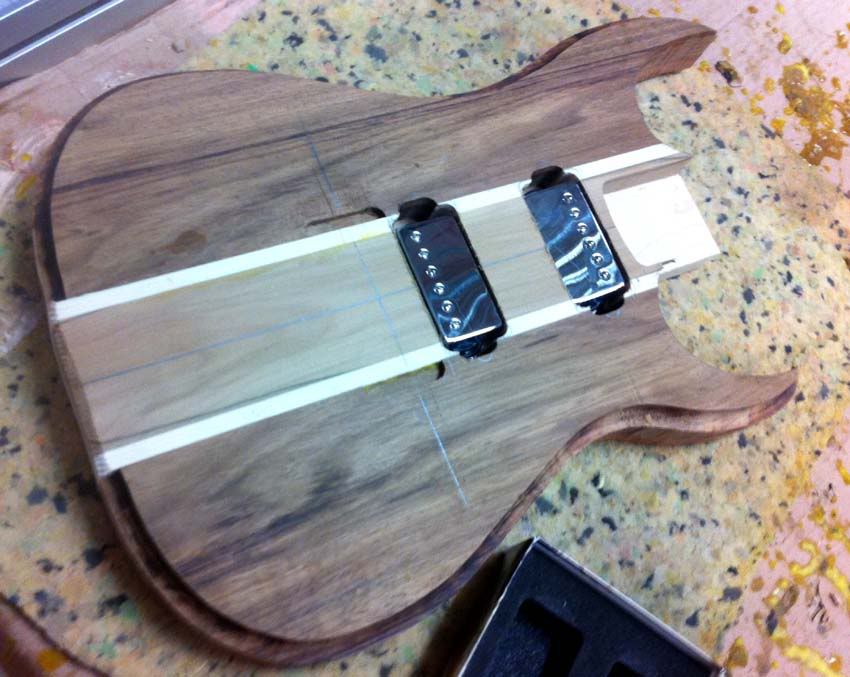
After marking out my scale line I locate the pickup positions and then drill holes large enough for the router bit to fit into - these also act as my depth guide. For this guitar I wanted 20mm deep cavities:
I then moved on to start the floyd cavity but my router bit bearing decided to destroy itself (happens every now and then) and took out my floyd template at the same time. The damage to the guitar was extremely minimal thankfully and easy to cover up, so now I just have to get a new bearing and template before I can move on too much with the body, as I need all routing to be done before I start the trop carve.
-
3rd July 2012, 01:47 PM #18
Senior Member
- Join Date
- Jul 2005
- Location
- Victoria Australia
- Posts
- 116
I haven't got much done on this today as I've been working on another two guitars this morning, but I managed to get the neck rough carved.
I mark out the profile depth in greylead and a 1m rule and then on the bandsaw cut close to the fretboard from top profile, then cut on the outside of the depth line I ruled:
Clamped at the heel or body end I then proceed to spoke shave the full length for about a minute, then the rest is all done by rasp, using calipers to check that my depth is as I want, until the stage where it looks profiled enough that I need to start getting it straight - I check the levels with a straight edge at every part of the neck:
In these pics, you can see that I haven't shaped near the binding yet. Close, but not touching. I do this last by running a large bastard file along the edge then round it back into the neck. Reduces screw ups.
Once content its all close to profile and straight I then detail it with a large Bastard file followed by 40 grit - where I spend more time at the heel and headstock areas.

-
3rd July 2012, 01:52 PM #19
GOLD MEMBER
- Join Date
- Apr 2011
- Location
- Dandenong, Vic
- Posts
- 2,029
Very interesting to watch.
Thanks for in depth instructions.
Will need to attempt one one day...
-
7th July 2012, 06:20 PM #20
Senior Member
- Join Date
- Jul 2005
- Location
- Victoria Australia
- Posts
- 116
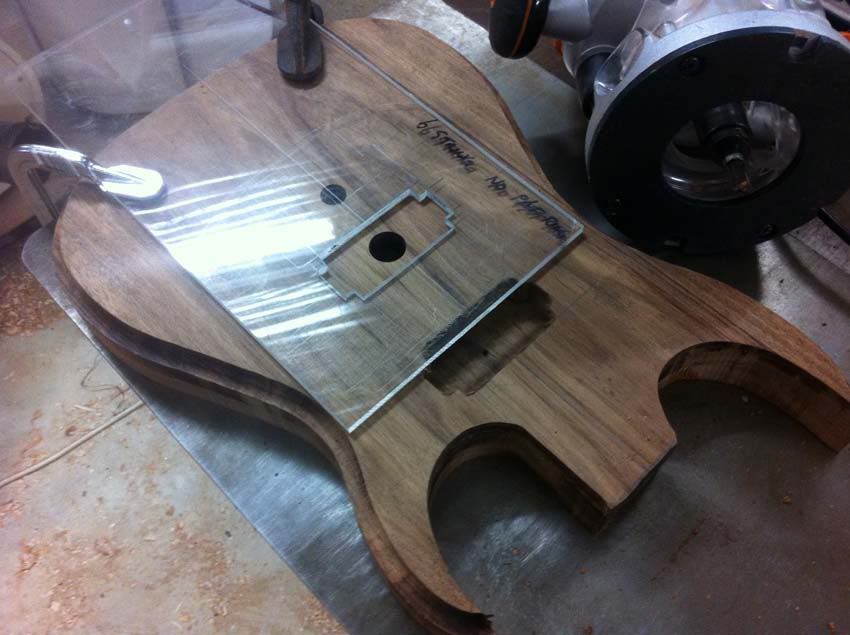
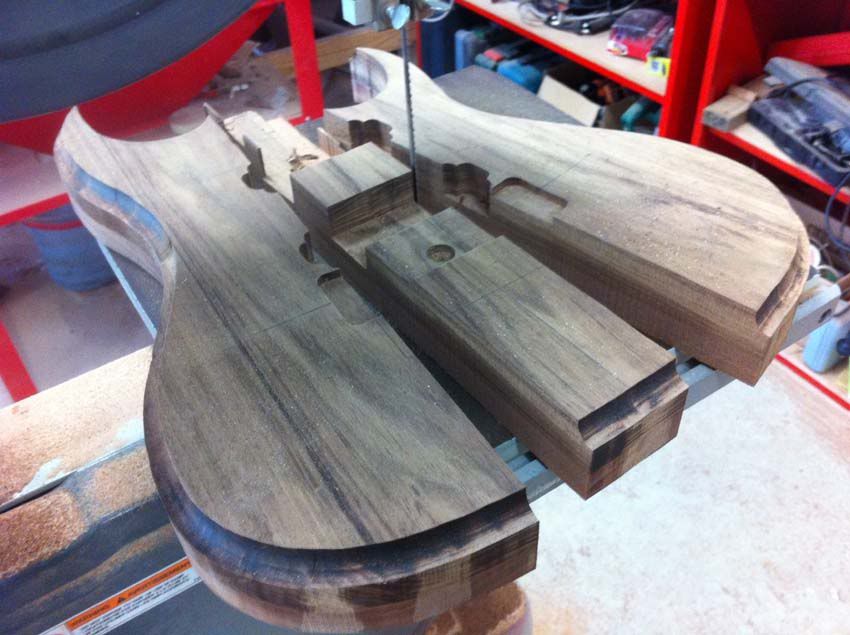
Today I decided to route the neck pocket so I could carve more on=f te actual neck back to the heel area.
Should have stayed in bed. Router bit #1 came loose from the collet. Titan Collets are a piece of crap. I've been meaning to buy a new one for ages. Anyway - it made a mess of where the neck was to glue into the pocket.
This I decided was repairable, so I continued on and router bit #2 decided it was going to tear out right along side edge of the neck pocket. This is unacceptable.
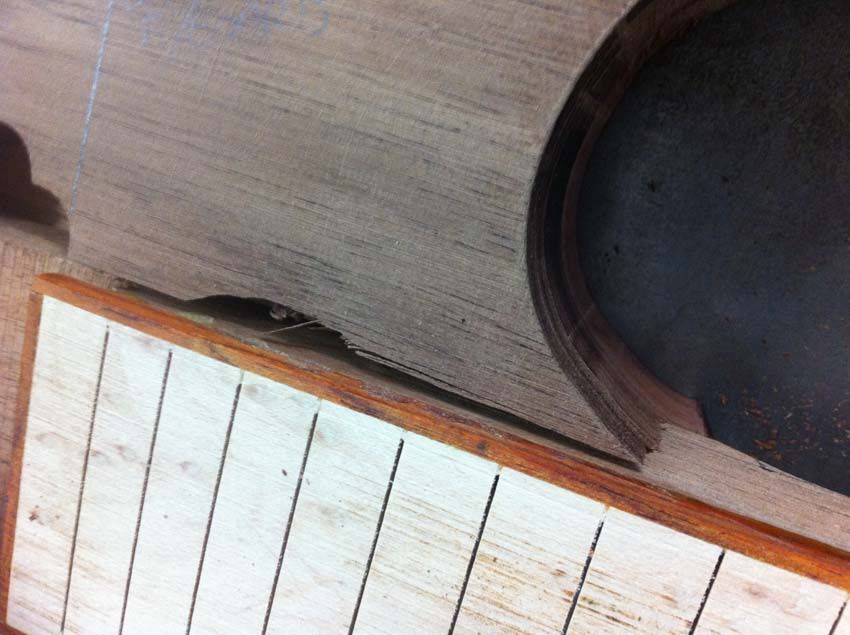
After some deep thought, swear woprd mediation and a few ideas bouncing around I came up with this solution:
Get rid of the damaged bits:
Laminate some Sassafrass and Maple:
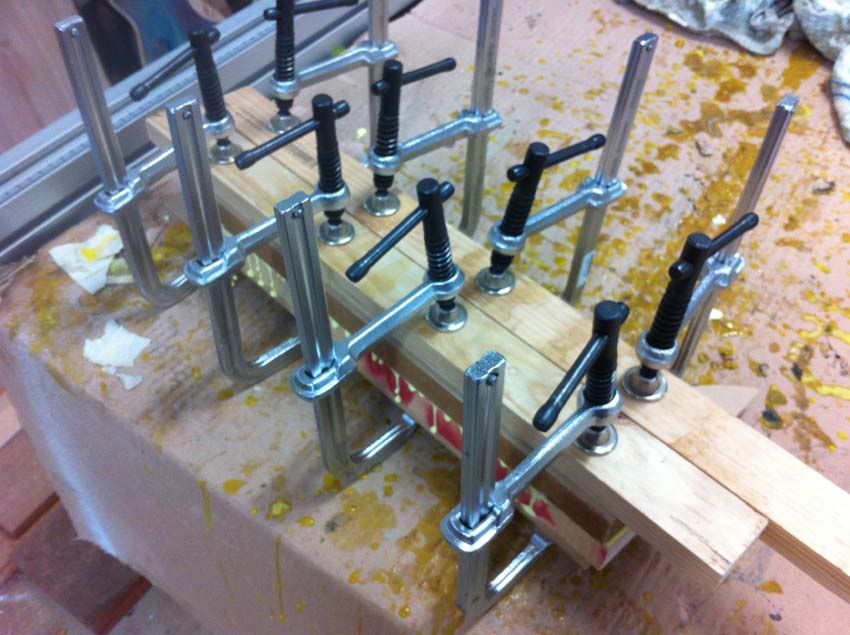
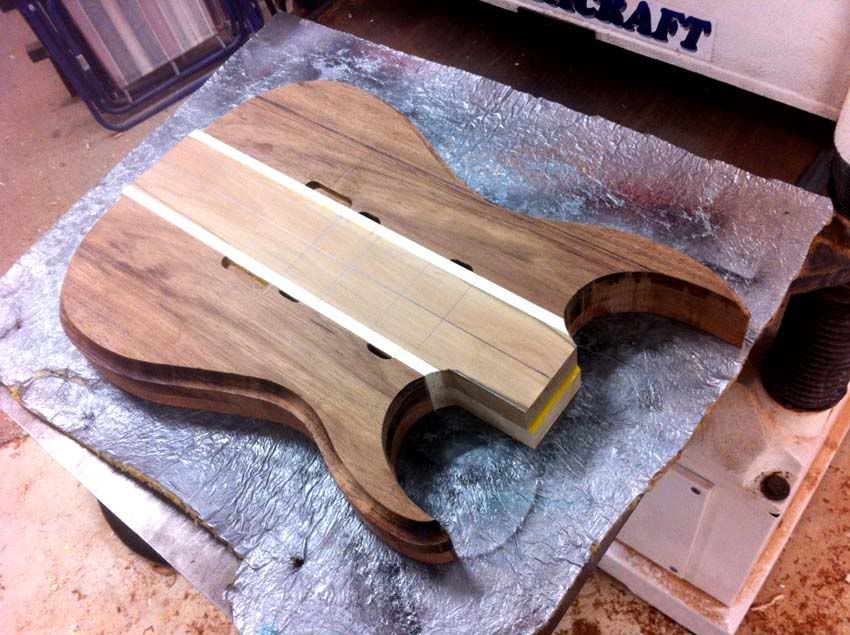
More maple onto the body pieces:
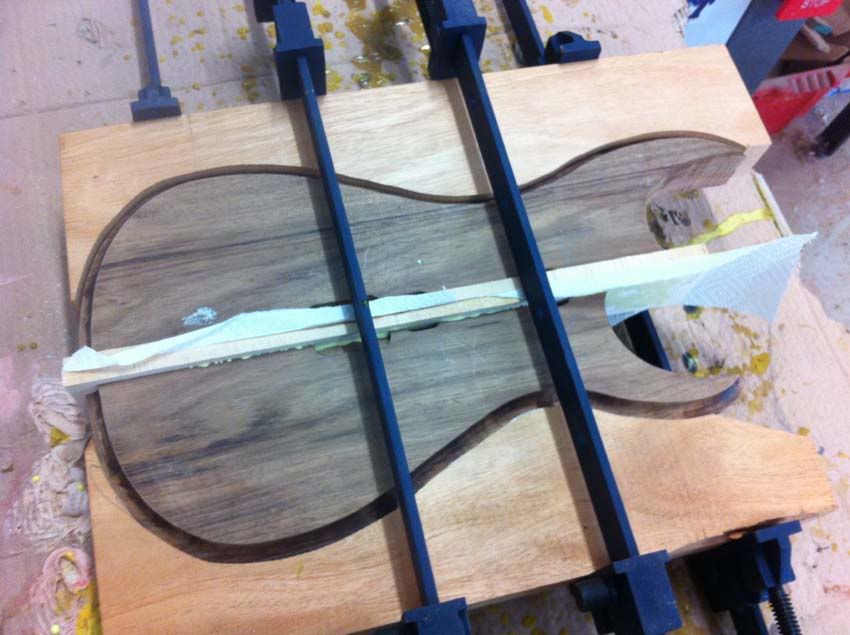
This is how it sleeps. More updates next week.
-
7th July 2012, 09:50 PM #21
Senior Member
- Join Date
- Jan 2010
- Location
- East
- Posts
- 167
Had a very similar problem with doing a truss rod slot in a neck the other day and I pretty much had the same solution - cut out the damage and glue in something new. Although it has set me back a square or two, I do like the look of it. Sometimes there's a rose attached to the thorn

-
8th July 2012, 12:15 AM #22
Senior Member
- Join Date
- Jul 2005
- Location
- Victoria Australia
- Posts
- 116
It's tempting to do a truss rod slot in one pass - but do it in two smaller passes. Originally Posted by IWieldTheSpade

Also - I've noticed (and I only did this once) theres a right and wrong direction to push the neck into the router table for the truss slot. one way will cut like butter, the other way will fight and turn out like crap.
I now use a upcut spiral bit for truss slots. Nothing wrong with a normal bit for them, I just wanted to try something new and since I've spent the money on it I keep using it!
-
9th July 2012, 03:47 PM #23
Senior Member
- Join Date
- Jul 2005
- Location
- Victoria Australia
- Posts
- 116
-
11th July 2012, 04:28 PM #24
Senior Member
- Join Date
- Jul 2005
- Location
- Victoria Australia
- Posts
- 116
Baby steps on this one as I've had another guitar in paint stages, meaning I've had to not do woodwork on those days.
-
11th July 2012, 07:14 PM #25
Senior Member
- Join Date
- Jan 2010
- Location
- East
- Posts
- 167
Nice save

-
12th July 2012, 08:59 AM #26
GOLD MEMBER
- Join Date
- Dec 2008
- Location
- Bradbury
- Posts
- 1,429
Well saved lol. I hate router bits lol. Every time I get the sharpened, I've learnt to tighten the bearing as it's always loose. I'm also finding after one sharpen, it's no longer a flush trim bit. It always leaves a step which is pissing me off.
-
12th July 2012, 10:10 AM #27
Senior Member
- Join Date
- Jul 2005
- Location
- Victoria Australia
- Posts
- 116
I know what you mean. I seem to go through router bits like they're free or something. I prefer new to re sharpened.
I'd really like a pin/overhead router but they are out of reach financially. For that kind of money, unless one pops up cheap second hand I'd rather invest in cnc.
-
12th July 2012, 10:21 AM #28
GOLD MEMBER
- Join Date
- Nov 2003
- Location
- Sydney
- Age
- 53
- Posts
- 8,879
I always keep the depth of cut to the absolute minimum, and have a habit of cleaning the cutters (router disconnected!) using steel wool and turps every 2 – 3 passes. I know it is a bit @nal but it is the only way to protect your router bits and stock. Tas Blackwood is very hard on tools so it even more important to do so.
Visit my website at www.myFineWoodWork.com
-
12th July 2012, 01:29 PM #29
Senior Member
- Join Date
- Jul 2005
- Location
- Victoria Australia
- Posts
- 116
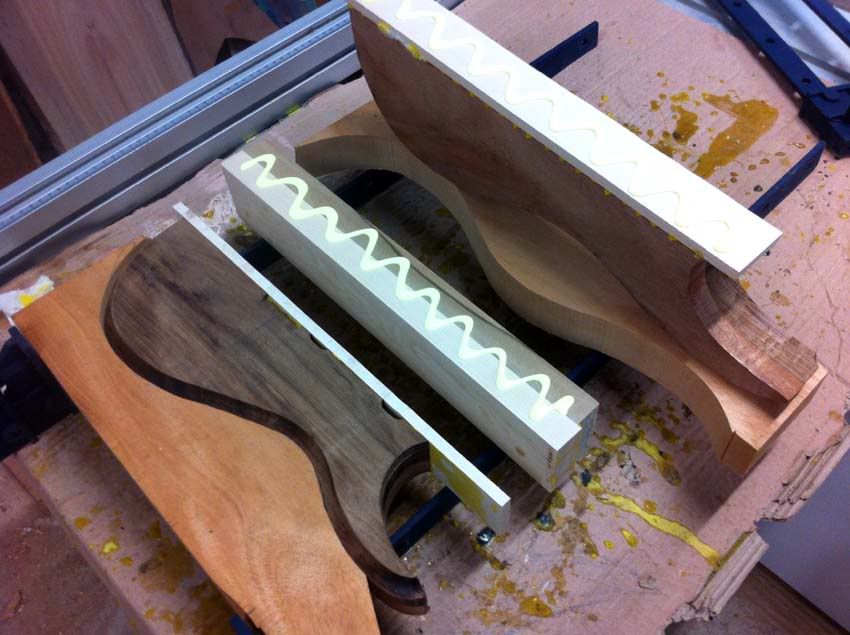
Bit more catching up today:
I cut the heel back on the neck to turn it onto a bolt on rather than a set neck.
I had to oversize the pickup cavities so they would line up correctly this time. They were about a mm and a half out, so they are now about the standard size where you would need a pickup ring. Before they were a tighter fit so no ring was needed.
-
13th July 2012, 01:48 PM #30
Senior Member
- Join Date
- Jul 2005
- Location
- Victoria Australia
- Posts
- 116
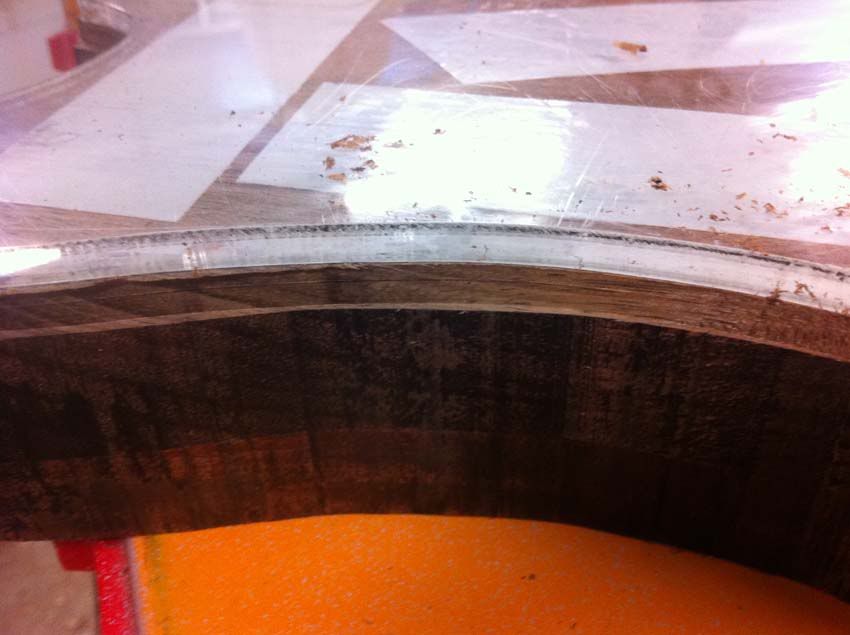
After finishing shaping the heel of the neck (reshaping to bolt on heel) I noticed that I'd damaged the binding. Bugger.
Heat gun and paint scraper and about 30-60 seconds later it looks like this:
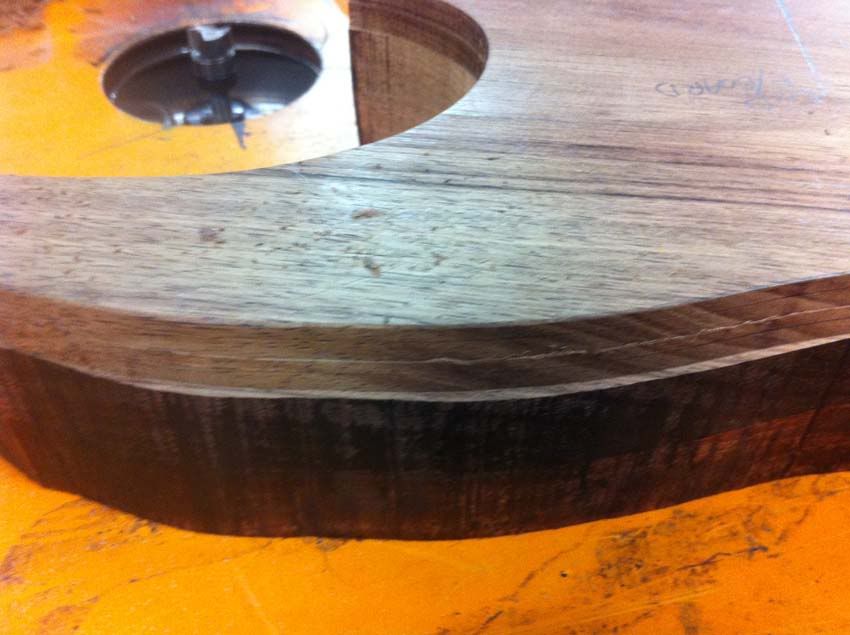
New binding on after cleaning up the two surfaces with a small chisel, using it as a scraper:
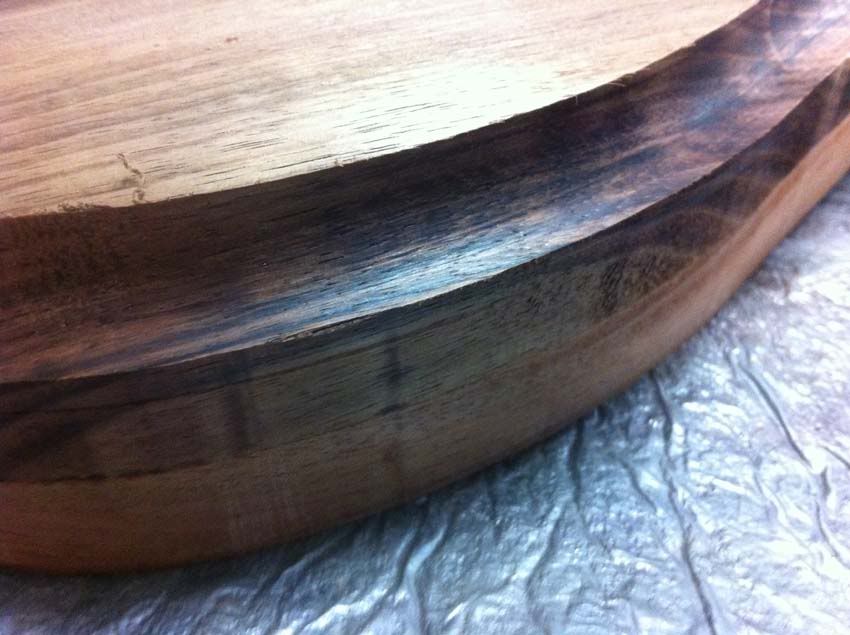
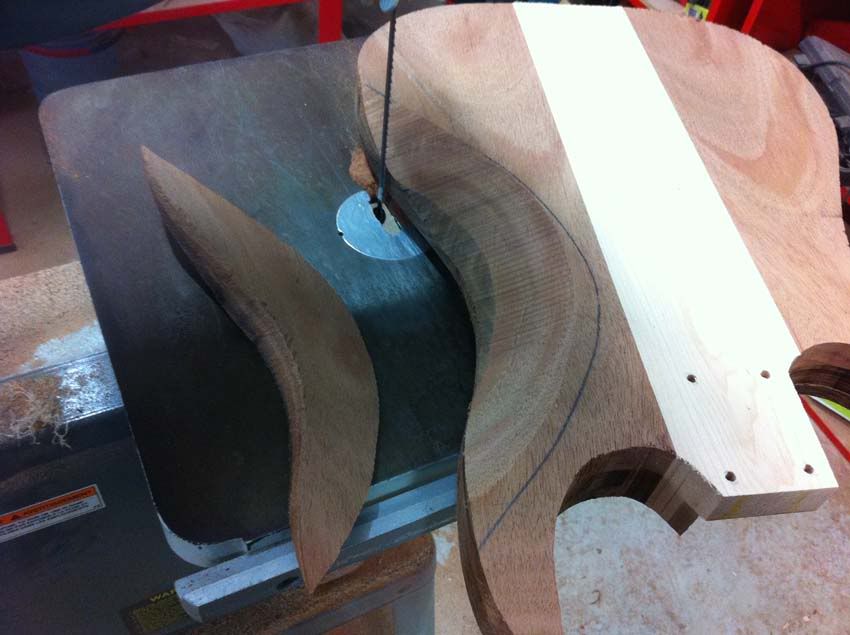
Comfort curve:
Template:

Band saw rough cut:
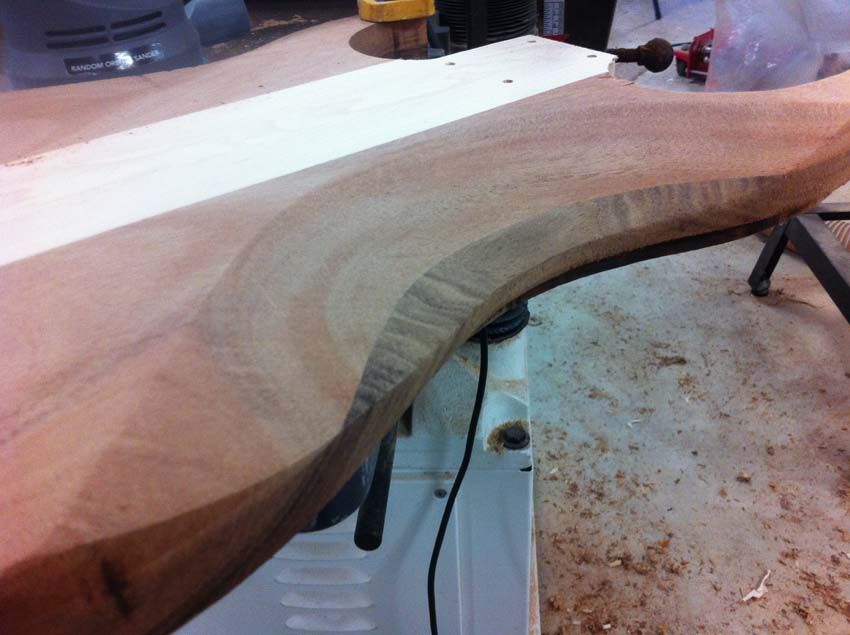
After some furious rasping and some 40 grit sanding:
At this stage I consider this comfort curve "roughed out" - I'll finish the lines (make them flow smoother) in my finish sanding stage when I get the guitar ready for paint.


 Reply With Quote


Similar Threads
-
Narrow Leaf Blackwood v Tasmanian Blackwood
By snapman007 in forum TIMBERReplies: 2Last Post: 3rd September 2011, 10:31 AM -
Tasmanian Blackwood vs. Koa
By Chris 623 in forum MUSICAL INSTRUMENTSReplies: 19Last Post: 1st July 2011, 09:56 AM -
Tasmanian Blackwood
By STAR in forum TIMBERReplies: 11Last Post: 13th March 2008, 09:54 PM -
Tasmanian Blackwood ???
By Sandy Johnston in forum TIMBERReplies: 6Last Post: 9th June 2002, 12:58 PM
