

 Thanks: 0
 Likes: 0
 Needs Pictures: 0
 Picture(s) thanks: 0
Results 31 to 45 of 111
-
10th July 2010, 09:14 PM #31
 Mildly Moderate


- Join Date
- Nov 2007
- Location
- Albury Well Just Outside
- Posts
- 13,315
 Don't get me wrong, I am not having a go at the pics just wanted to know. I do like them.
 Originally Posted by Blue-deviled

-
10th July 2010 09:14 PM # ADSGoogle Adsense Advertisement
- Join Date
- Always
- Location
- Advertising world
- Posts
- Many
-
11th July 2010, 12:03 AM #32
Dan @ TheLoveOfWood
- Join Date
- Jan 2008
- Location
- Australia
- Posts
- 752
This may be a little hard to explain without a diagram... but here we go.
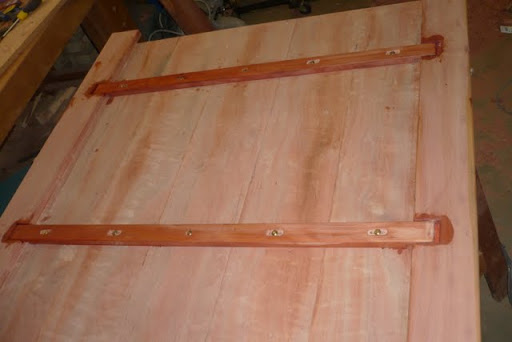
Although the top is 20mm thick I wanted to add some cross bracing re-enforcement. To do this I'm using 40mm x 18mm pieces of myrtle. (Though some might argue using quarter sawn tas mryle for bracing is excessive...)I prepared 5 pieces but I think 4 will work well.
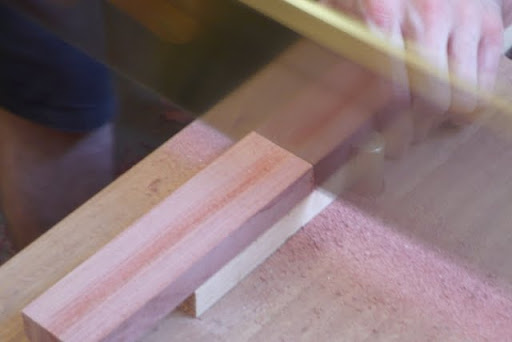
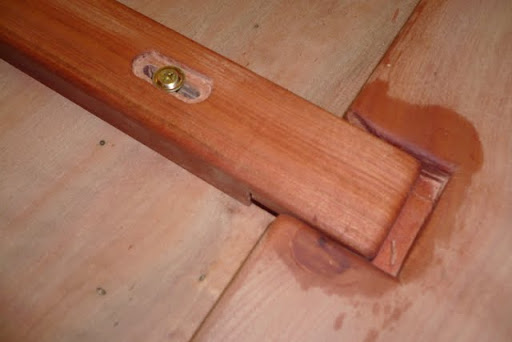
I've removed 5 cm of materal which will had a matching slot in the thicker edging pieces.
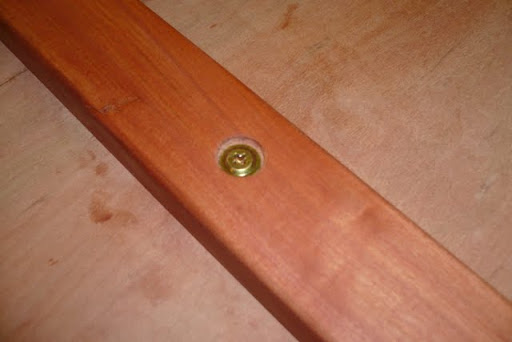
The plan is to use 5 x 25mm brass screws. One centered and four evenly spaced. Of course, I will oversize the outside four holes to be 2cm slots, allowing for expansion.
The grain of the legs will parallel the braces removing concern for expansion at that point.My blog: ~ for the love of wood ~ - http://theloveofwood.blogspot.com/
-
11th July 2010, 12:44 AM #33
Heavy Machinery
- Join Date
- Mar 2008
- Location
- Lambton, Newcastle, NSW, Australia
- Posts
- 4,957
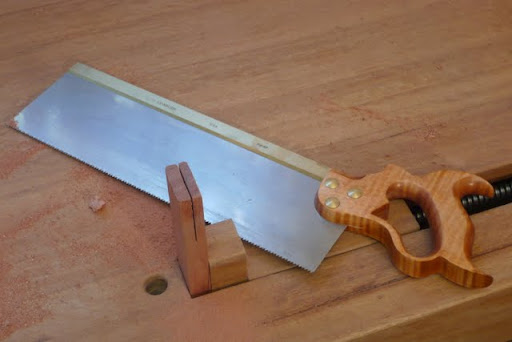
You need a bench hook Dan! 10min with a few bits of scrap and you have more control and save your shiny new bench from damage.
-
11th July 2010, 01:11 AM #34
Dan @ TheLoveOfWood
- Join Date
- Jan 2008
- Location
- Australia
- Posts
- 752
I know I know... it's on the to do list....
My blog: ~ for the love of wood ~ - http://theloveofwood.blogspot.com/
-
11th July 2010, 01:13 AM #35
Heavy Machinery
- Join Date
- Mar 2008
- Location
- Lambton, Newcastle, NSW, Australia
- Posts
- 4,957
Yeh but its only a 5min job and your cuts will be easier, better and safer. Just do it!!
-
11th July 2010, 10:03 AM #36
gravity is my co-pilot
- Join Date
- Apr 2010
- Location
- Melbourne
- Posts
- 562
I'm liking the table, but I'm really liking seeing the 'bench in action!
-
11th July 2010, 10:27 AM #37
Jim
- Join Date
- Feb 2008
- Location
- Victoria
- Posts
- 3,191
Lol, any advance on 5 minutes. Originally Posted by Claw Hama
You're right though, they do save a lot of problems as well as time.
Cheers,
Jim
-
11th July 2010, 11:27 AM #38
Heavy Machinery
- Join Date
- Mar 2008
- Location
- Lambton, Newcastle, NSW, Australia
- Posts
- 4,957
I just couldn't stand to see him scratch his beautiful new bench
 . And its just so much easier to hold your work.
-
11th July 2010, 03:43 PM #39
 Franklin Ferrier
- Join Date
- May 2007
- Location
- Gold Coast
- Age
- 70
- Posts
- 2,736
From the look of the figure in the top, this is going to be an impressive table.

-
11th July 2010, 07:58 PM #40
Mildly Moderate
- Join Date
- Nov 2007
- Location
- Albury Well Just Outside
- Posts
- 13,315
Now this is scary. My dad use to say to me almost all the time it just a 5 minute job, when he wanted something done It never was a 5 minute job and 20 minutes later I would still be doing things. Originally Posted by Claw Hama

-
11th July 2010, 10:25 PM #41
gravity is my co-pilot
- Join Date
- Apr 2010
- Location
- Melbourne
- Posts
- 562
I just used to borrow my dad's, and that five minute job has been waiting 20 years... Originally Posted by Christos
Last edited by Blue-deviled; 12th July 2010 at 04:49 PM. Reason: spelling due to football & tdf
-
16th July 2010, 07:32 PM #42
Dan @ TheLoveOfWood
- Join Date
- Jan 2008
- Location
- Australia
- Posts
- 752
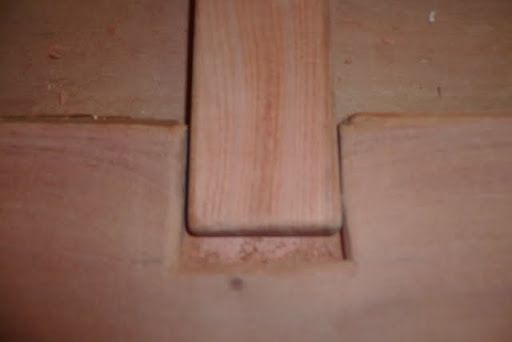
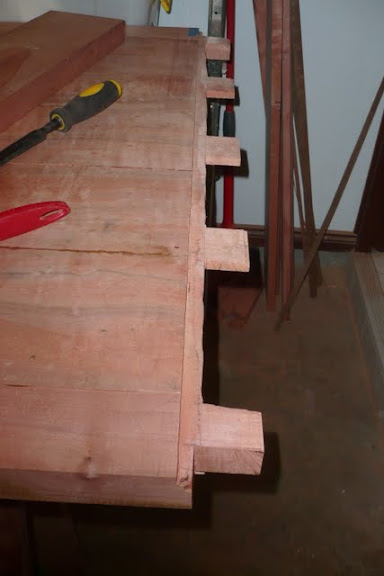
Here's the rather unusual under table bracing. 2 of 4 done. (Had to patch a knot before completing the last 2.)

 My blog: ~ for the love of wood ~ - http://theloveofwood.blogspot.com/
-
18th July 2010, 05:30 PM #43
Dan @ TheLoveOfWood
- Join Date
- Jan 2008
- Location
- Australia
- Posts
- 752
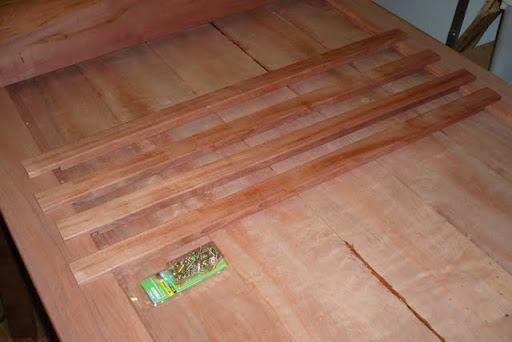
A day of sawing in the shed. More to come later.
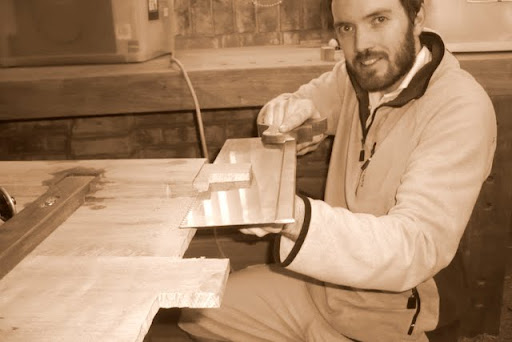

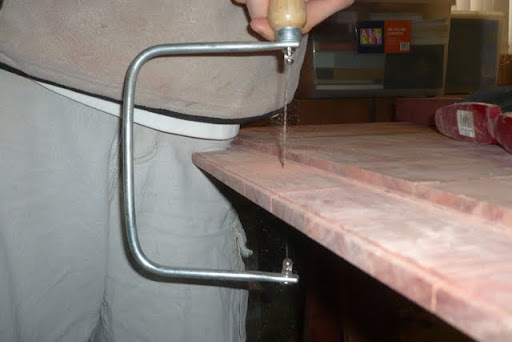
Random tip: ~ the love of wood ~: Layout TipsLast edited by BozInOz; 18th July 2010 at 05:31 PM. Reason: Better photo...
My blog: ~ for the love of wood ~ - http://theloveofwood.blogspot.com/
-
18th July 2010, 06:42 PM #44
Dehydrated Hydrographer
- Join Date
- Jun 1999
- Location
- Westleigh, Sydney
- Age
- 77
- Posts
- 9,549
-
24th July 2010, 01:18 PM #45
Dan @ TheLoveOfWood
- Join Date
- Jan 2008
- Location
- Australia
- Posts
- 752
Last week I've made some solid progress on the top. I have all four braces now installed and made headway on the breadboards. The breadboards need some fine tuning to get a good fit. I don't want to make them too lose so I'm waiting for a bit of time to re-sharpen the plane for some trial and error.
I've uploaded pics to the blog of the steps involved.


Part 1 - The design
Part 2 - The Mortises
Part 3 - The TenonsMy blog: ~ for the love of wood ~ - http://theloveofwood.blogspot.com/


 Reply With Quote


Similar Threads
-
A Shaker table for Mother's Day
By derekcohen in forum WOODWORK PICSReplies: 8Last Post: 9th May 2010, 06:54 PM -
Shaker Sewing Table
By Glennet in forum WOODWORK PICSReplies: 24Last Post: 26th November 2009, 10:40 AM -
Small shaker-ish table
By Poppa in forum WOODWORK PICSReplies: 8Last Post: 8th April 2008, 01:05 PM -
Shaker Table Shaking
By Buzza in forum FINISHINGReplies: 0Last Post: 2nd February 2006, 05:04 PM -
Shaker table
By Geoffexpat in forum WOODWORK PICSReplies: 17Last Post: 1st December 2005, 09:21 AM
