

 Thanks: 0
 Likes: 0
 Needs Pictures: 0
 Picture(s) thanks: 0
Results 1 to 15 of 15
Thread: Photographing your work
-
24th March 2007, 05:14 PM #1
 Retired


- Join Date
- Dec 2005
- Location
- Oz
- Posts
- 1,058
 Photographing your work
I got a couple projects that I've just done. They're not the normal wood work type stuff and are proving difficult to photograph. Is there anyone on the Sunshine coast with a photography setup that would be interested in giving me a hand.
-
24th March 2007 05:14 PM # ADSGoogle Adsense Advertisement
- Join Date
- Always
- Location
- Advertising world
- Posts
- Many
-
24th March 2007, 07:37 PM #2
GOLD MEMBER
- Join Date
- May 2005
- Location
- Brisbane North
- Age
- 51
- Posts
- 1,299
What sort of project are you talking about? What sort of camera are you trying to use? What type of environment are you trying to capture them in?
-
24th March 2007, 10:25 PM #3
Retired
- Join Date
- Dec 2005
- Location
- Oz
- Posts
- 1,058
I've been doing a lot of turning in ally lately so the reflective nature makes is difficult to get a decent pic. My camera is a Canon S2 IS. Not the greatest but definitely not the worst... I've never been into photography so I have no idea how to take a good picture... and was hoping for some help to come up with a solution.
-
24th March 2007, 10:33 PM #4
......say what?
- Join Date
- Feb 2005
- Location
- Melbourne, Australia
- Age
- 46
- Posts
- 2,346
Hi Toolin, I was in the same boat as you. Average point and shoot digi and could never get a decent shot.
Did some reading, rigged up a light tent with a white bed sheet and played with the aperture settings and the shutter speed using the bright morning sunlight.
You need to diffuse the light to soften everything.
Best shots I have ever taken.
 .....
.....
I know not with what weapons World War III will be fought, but World War IV will be fought with sticks and stones.
Albert Einstein
-
24th March 2007, 10:49 PM #5
......say what?
- Join Date
- Feb 2005
- Location
- Melbourne, Australia
- Age
- 46
- Posts
- 2,346
Just had a look at your camera on the net and it appears to be a pretty good one. You can use it fully manual including manual zoom?
My suggestion is to do some research on using light boxes and diffusing/softening light and have a play with getting a really good clean shot of something simple like a teaspoon or a small hand plane. Keep shooting it to see the different effects of changing the aperture and changing the shutter speeds.
Good photography is all about the lighting.
Plus once you get good at it, you wont have to worry about paying anyone or waiting for someone to come around and shoot it for you. Hope this was some help. I know not with what weapons World War III will be fought, but World War IV will be fought with sticks and stones.
Albert Einstein
-
24th March 2007, 10:56 PM #6
Retired
- Join Date
- Dec 2005
- Location
- Oz
- Posts
- 1,058
 Originally Posted by martrix

That's why I put out a call. I was hoping to get some tangible input on the whole process of taking good pics of your work. Most photo equipment i.e. flash units (for lack of a better word) are expensive. So I'd like to see what others are using before I commit. And since most here are amateurs I thought there would be someone out there that would share the knowledge...
-
24th March 2007, 10:58 PM #7
GOLD MEMBER
- Join Date
- Dec 2006
- Location
- Virginia, USA
- Age
- 63
- Posts
- 1,904
I just received my new setup last evening. Spent all night playing with it. It's from www.tabletopstudio.com or something like that and it is a foldable white fabric cube that comes in four or five different sizes. I purchased a complete kit that included two cubes (a 30" and a 12"), two big mercury lights on tripods and a host of accessories for $229. Lights up the subject completely with no shadows. And, since you don't use the flash on the camera, no hot spots. I'm using a Canon 30D.
-
24th March 2007, 11:10 PM #8
......say what?
- Join Date
- Feb 2005
- Location
- Melbourne, Australia
- Age
- 46
- Posts
- 2,346
Had a skim over that site. Great link Cisco, everything you need to know is there for shooting product with a digi. Originally Posted by ciscokid
 I know not with what weapons World War III will be fought, but World War IV will be fought with sticks and stones.
Albert Einstein
-
24th March 2007, 11:14 PM #9
GOLD MEMBER
- Join Date
- Dec 2006
- Location
- Virginia, USA
- Age
- 63
- Posts
- 1,904
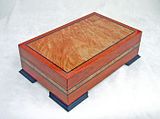
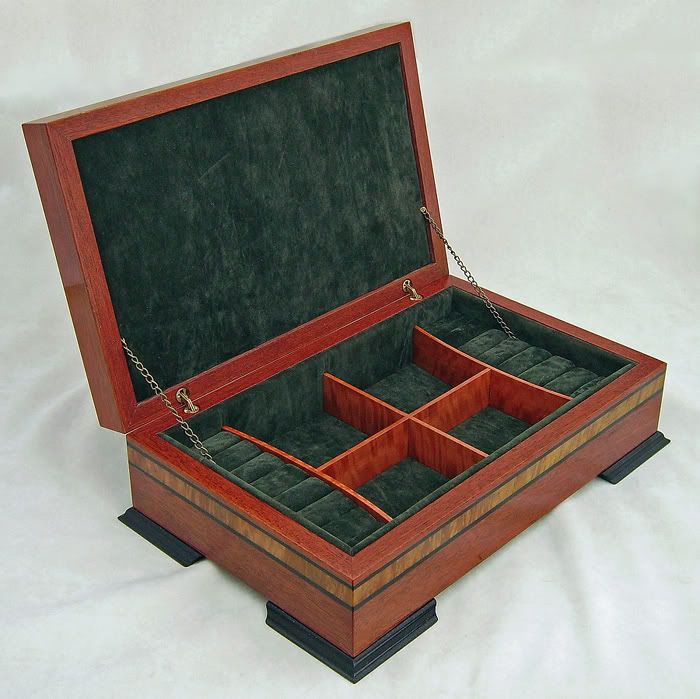
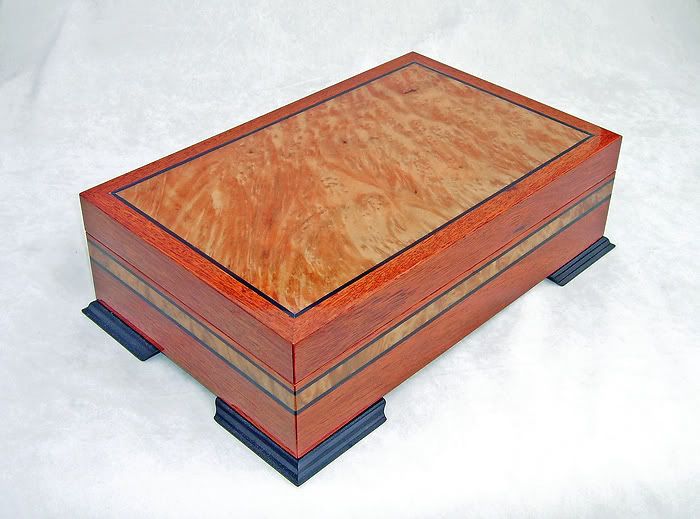
A couple of shots from the studio. The apron is wrinkled because I just unpacked it. The instructions say that, if you do not want the wrinkles, an iron on a polyester setting will remove them. Also, while a white backdrop is standard, the company has a whole host of artistic ones available. More playing today to get the lighting better. I find that keeping the camera on manual settings works better than the pre-canned settings.
-
24th March 2007, 11:35 PM #10
Retired
- Join Date
- Dec 2005
- Location
- Oz
- Posts
- 1,058
Originally Posted by ciscokid
If I'm ever in Virginia will you show e your setup
-
25th March 2007, 12:15 AM #11
......say what?
- Join Date
- Feb 2005
- Location
- Melbourne, Australia
- Age
- 46
- Posts
- 2,346
Originally Posted by Toolin Around

Photography techniques for highly reflective silverI know not with what weapons World War III will be fought, but World War IV will be fought with sticks and stones.
Albert Einstein
-
25th March 2007, 01:29 AM #12
GOLD MEMBER
- Join Date
- Dec 2006
- Location
- Virginia, USA
- Age
- 63
- Posts
- 1,904
Precisely, Martrix. The photo in the extreme lower left corner of that link you just posted is exactly what came in the package I bought. Light cube, aprons, and two special lights with tripods. There are also some miscellaneous clips and things for suspending objects. Table not included, but hey, we're all woodworkers here!

-
25th March 2007, 10:30 AM #13
Sum ergo cogito (Cogito)
- Join Date
- Oct 2006
- Location
- Tallahassee FL USA
- Age
- 82
- Posts
- 4,650
Back in the dark ages of film, highly polished metal subjects were often lightly dusted with talcum powder. Not so much that it didn't look like metal anymore, but just enough to reduce reflections of the camera, lights, and such. See if your library has any books on industrial photography for more tips.
JoeOf course truth is stranger than fiction.
Fiction has to make sense. - Mark Twain
-
25th March 2007, 11:59 AM #14
timber ninja
- Join Date
- Aug 2006
- Location
- Hills District, Sydney
- Age
- 51
- Posts
- 602
Hi toolin around
If you are intersted in photographing smaller items I reccommend you check out a couple of articles from some back issues of The Australian Woodworker NO 128 and 129. The articles cover building a mini studio and using inexpensives lighting to create different effects.
I have just had a crack at trying to improve my photograpy and found that it can be a steep and expensive learning curve...but with some research and experimenting you can do it on the cheap and achieve pretty good results.
So far one key thing I have found is as matrix mentioned is to diffuse the light. The two main ways to do that is to shoot the light source thru something translucent ( such as cisco's light cube)or reflect the light off something(such as white cardboard)...I use a bit of both. The lights I use, I either already had or just bought from bunnings.
Check out the link below to see some of my earliest results
http://www.woodworkforums.ubeaut.com...ad.php?t=45718
Since going the build your own route I have been researching some more in an attempt to set up a studio to take photos of larger items and discovered that there is a whole heap of accesories on ebay that are reasonbly priced (I think they had light tents simlar to cisco's for around $20...but dont quote me on that") ). So far my large studio set up consists of one of those twin 500w halogen work lamps ($23 at super cheap) and a white "shoot thru" umbrella (around $15 on ebay)to diffuse the lights.
). So far my large studio set up consists of one of those twin 500w halogen work lamps ($23 at super cheap) and a white "shoot thru" umbrella (around $15 on ebay)to diffuse the lights.
All I need to complete my studio is a seamless background and maybe a relfector to soften shadows.......oh ....and a digital SLR
cheers
BD
-
25th March 2007, 03:59 PM #15
Senior Member
- Join Date
- Apr 2005
- Location
- South Australia
- Age
- 81
- Posts
- 131
Dont know how serious you are or how frequently you plan on taking shots of your work, I agree with the other posters in this thread a good lighting setup is the ideal but as a quick fix to knock out most of the reflection from shiny objects think about a circular polarising filter, wont cost an arm and a leg is small and has other uses, i.e. landscapes, taming reflections off water etc, and should be available from most camera stores in the size you require. Originally Posted by Toolin Around
Jon. Jon.
Jon.


 Reply With Quote


Similar Threads
-
Adelaide for work
By bennylaird in forum NOTHING AT ALL TO DO WITH WOODWORKReplies: 24Last Post: 23rd February 2006, 10:24 AM -
16 Reasons Why Alcohol Should Be Served At Work...
By normell in forum WOODIES JOKESReplies: 1Last Post: 22nd November 2005, 10:14 AM -
some photos of work in progress
By Zed in forum WOODWORK PICSReplies: 11Last Post: 3rd October 2005, 12:03 PM -
Fine Wood Work Association (WA), and some pictures
By derekcohen in forum WOODWORK - GENERALReplies: 4Last Post: 4th July 2005, 07:46 PM -
Any secrets to finishing natural edged work?
By Glenn M in forum WOODTURNING - GENERALReplies: 4Last Post: 25th June 2001, 08:48 PM
