

 Thanks:
  Likes:
  Needs Pictures:
  Picture(s) thanks:
Results 1 to 10 of 10
Thread: New router table project
-
21st October 2012, 06:10 PM #1
 Novice


- Join Date
- Sep 2012
- Location
- Jerrabomberra, NSW
- Posts
- 14
 New router table project
First post, so by way of introduction I thought I would start a project thread for my current build.
As background, I've just returned home to Australia after living in Europe for 7 years and because of the style of house I was living in, in The Hague, the tools have been packed away since the end of 2005.
So having returned home and setup in a new house, I've started rebuilding a workshop as I slowly pull out all of my tools. Decided as the first project to build a new router table as my roubo bench is going to be transported from my house in Sydney to our new place in Canberra.
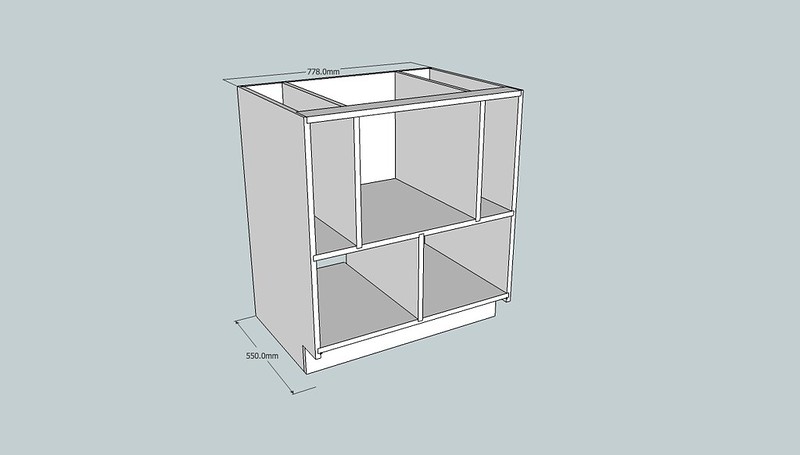
So step 1 was into sketch-up to draw up a basic plan based around the famous "Norm's Router Table". The carcass design was straight forward:
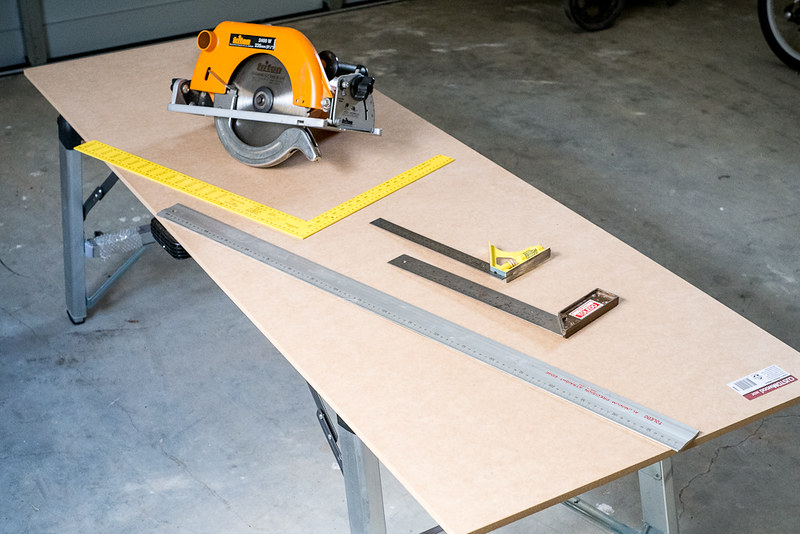
So then I had to figure out, with no bench and still waiting for the table-saw to arrive, how I was going to make sure I was cutting straight and square.
So that's where I began in the garage.
-
21st October 2012 06:10 PM # ADSGoogle Adsense Advertisement
- Join Date
- Always
- Location
- Advertising world
- Posts
- Many
-
21st October 2012, 10:15 PM #2
Novice
- Join Date
- Sep 2012
- Location
- Jerrabomberra, NSW
- Posts
- 14
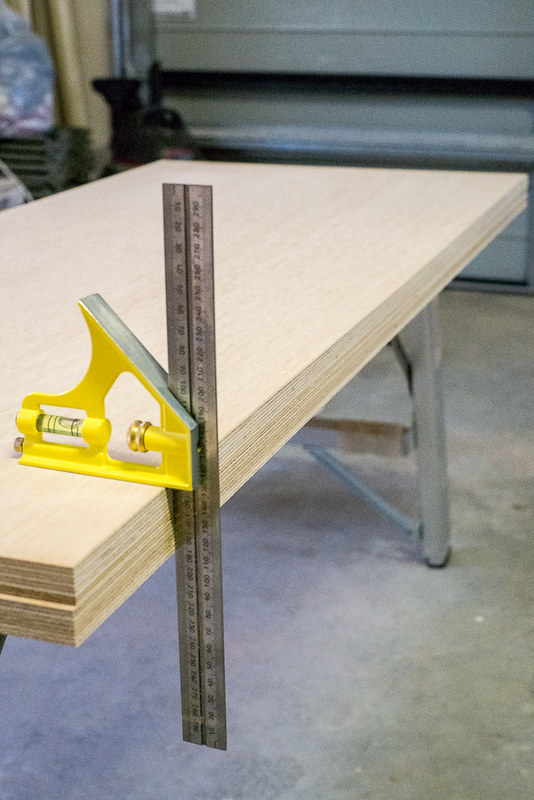
Ok, so in the garage I took out a straight edge, circular saw and a few squares.
But I had a few things to sort out:
1. was my straight edge straight (I was fairly confident it would be)
2. were my squares square (I wasn't so sure this would be the case)
3. was my blade still sharp after 7 years in storage
4. was the blade flat
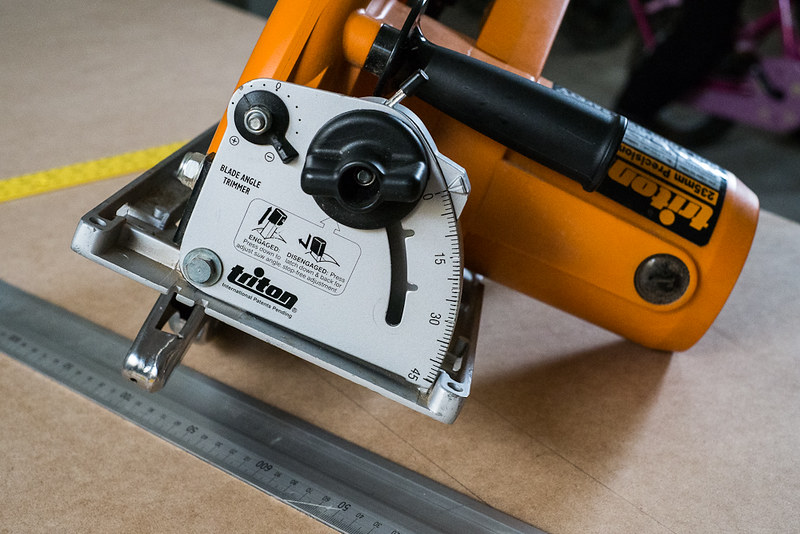
5. was the blade perpendicular to the base of the saw (luckily with my Triton, it's adjustable):
Net result was:
1. straight edge was straight
2. two squares were ok and one wasn't (it's been retired now)
3. saw blade was ok which surprised me and the saw just needed a bit of tuning to make sure everything was square.
While Triton have been through the ringer during my expat period, I don't have any complaints about the tools I've purchased over the years and the built in adjustments made the tuning a breeze:
-
21st October 2012, 10:42 PM #3
Novice
- Join Date
- Sep 2012
- Location
- Jerrabomberra, NSW
- Posts
- 14
Now I knew I had a good straight edge, a couple of squares and a tuned saw.
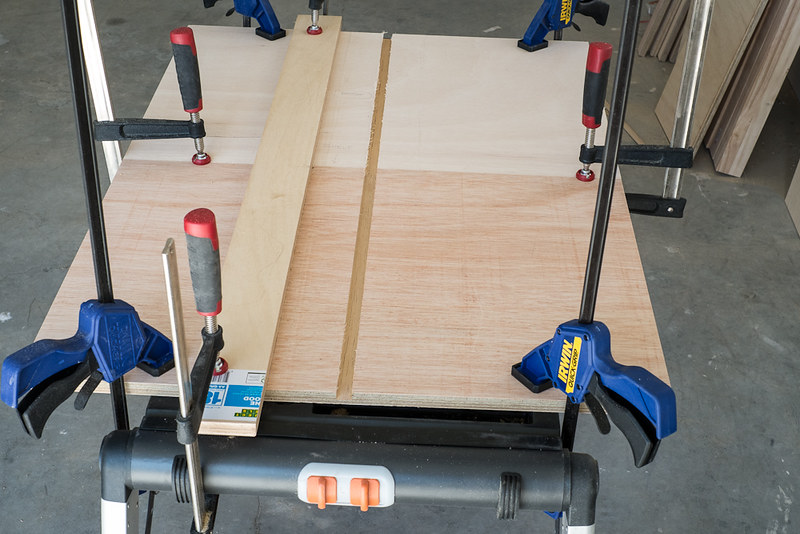
Only problem was I needed to rip sheets longer than my straight edge and deeper than the attachable fence on my saw would allow. In my old workshop this would have been easy, but as I'm just putting it all together again, the only option was to build a ripping guide out of mdf.
Fairly simple setup and construction:
1. secured a sheet of mdf to a cheap workbench I picked up at Bunnings
2. ripped off a piece
3. established a straight line as a guide about 5" in on the remainder of the sheet
4. using my straight edge as a guide, I glued and nailed the ripped piece along the line so that I had an 8' straight edge
5. ripped the guide on either side of the edge with the table saw
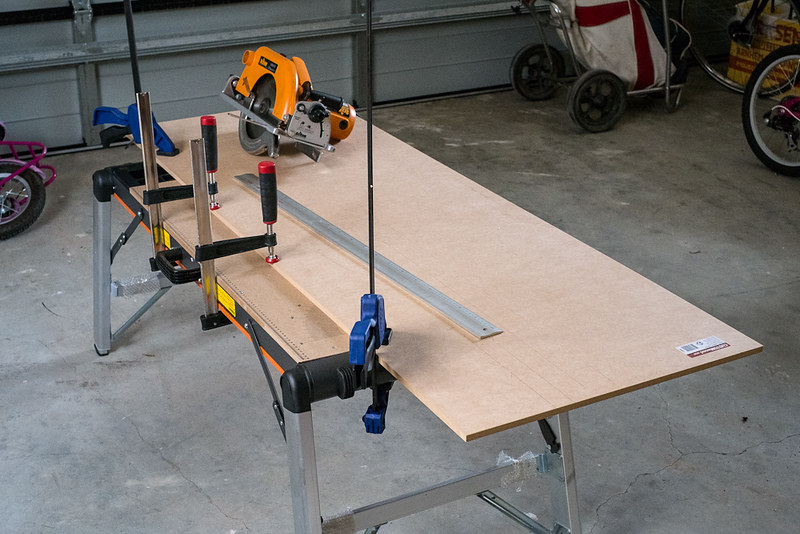
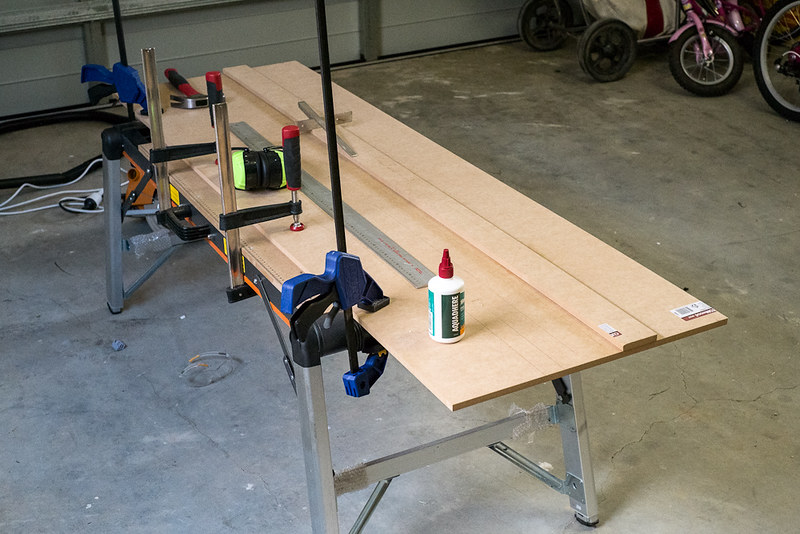
That allowed me to establish a reference edge along the 18mm ply sheets I'm using for the table:
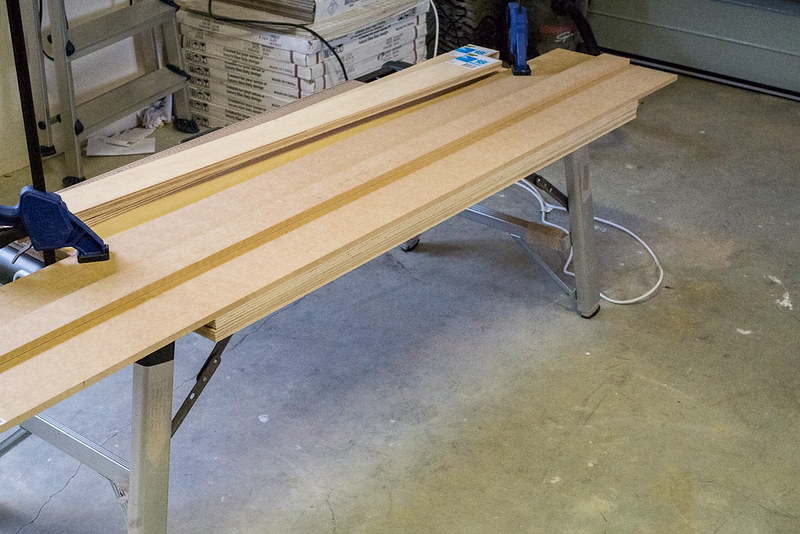
So the first cut in preparing the carcass gave me a nice straight and square edge on the sheets for the sides:
-
22nd October 2012, 02:03 PM #4
Novice
- Join Date
- Sep 2012
- Location
- Jerrabomberra, NSW
- Posts
- 14
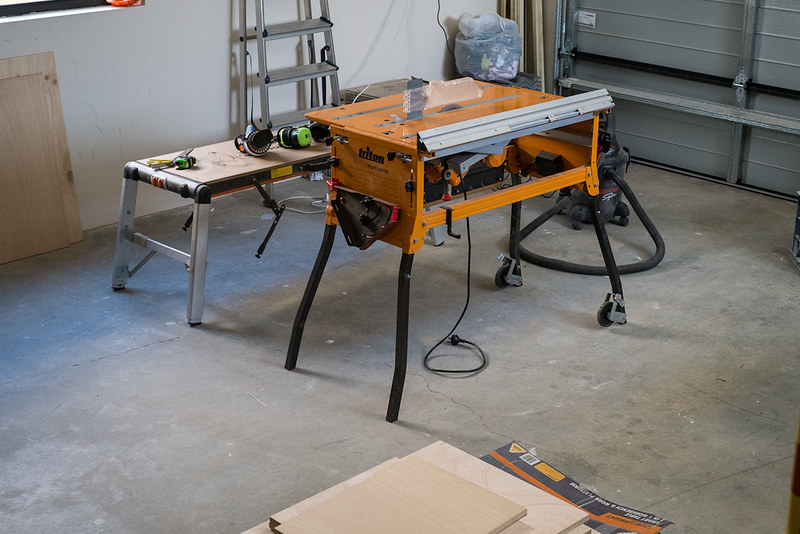
Next up was just the process of cutting all the pieces, though cross-cutting was interesting with such a limited set of tools and equipment (a bit of a jerry-rig involving a milk crate and pelicase as a support):

With most of the pieces sized, I switched over to the Workcentre to size the remaining pieces (you can see most of the sized material sitting on the wooden box at the bottom of this next shot):
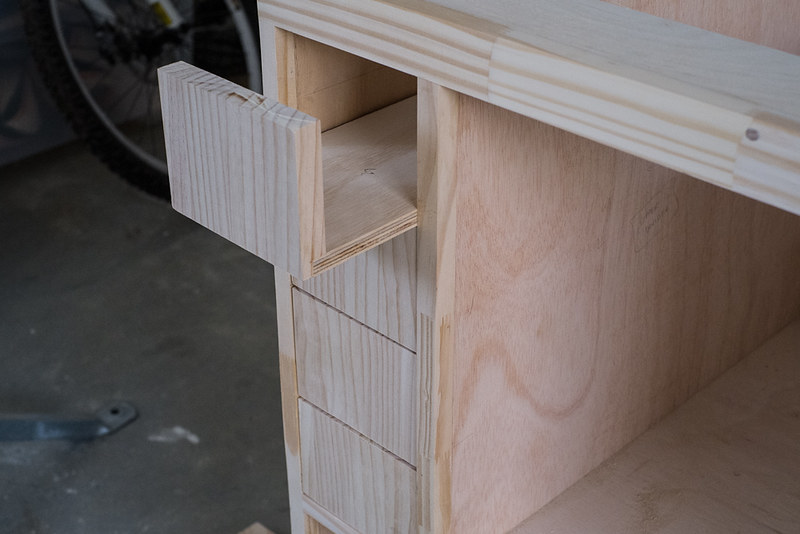
With all of the stock sized, I switched to the router to cut the rabbets and dados. Mostly I secured pieces together to make sure the channels lined up perfectly:
Then dry-fitting:
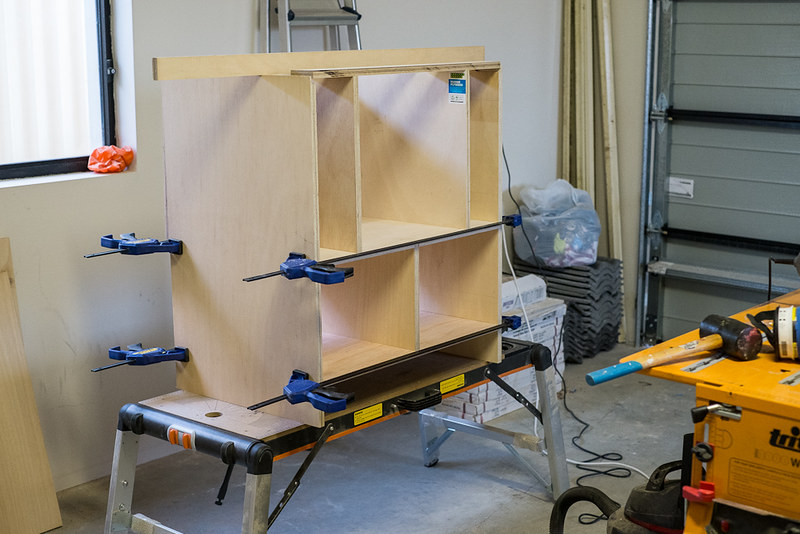
and after glueing and adding a pine face frame, the drawer runners were added:
which as of 1 1/2 days work this weekend, gave me this:
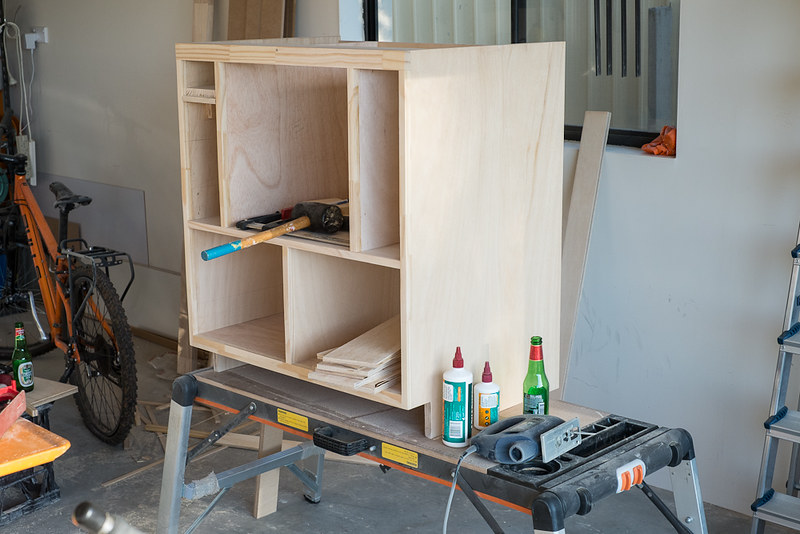
The drawers a pretty straight forward with no sides and once an additional piece is drilled and added, these will hold my router bits.
The joinery of the drawer faces is a simple rabbet:
So tonight I'll be building and fitting two large drawers for the bottom and fitting a door on the right-hand side.
Still some hardware to be purchased, including a switch I can fit on the right side, but so far going OK.
Will be making the top by laminating 2 pieces of 18mm ply with a plastic laminate added on top of that. Hoping to have it all finished by this Saturday.
Will post some more updated images tonight.
-
22nd October 2012, 09:18 PM #5
Mildly Moderate
- Join Date
- Nov 2007
- Location
- Albury Well Just Outside
- Posts
- 13,315
Interesting build so far. Will be watching this one.
-
22nd October 2012, 09:42 PM #6
Novice
- Join Date
- Sep 2012
- Location
- Jerrabomberra, NSW
- Posts
- 14
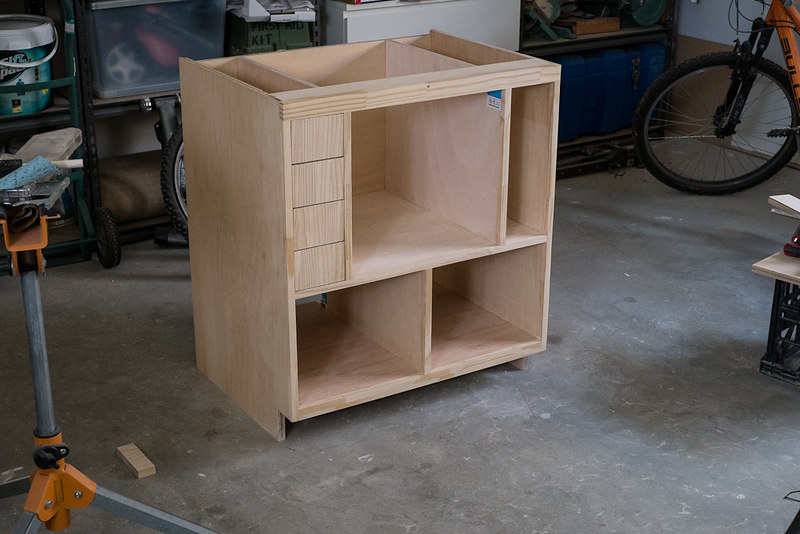
Progress as of now (not a great photo):

The stain went on this morning after I sealed all surfaces (carcass only) with shellac last night.
Made the drawers this evening, but still have to attach the false fronts made of pine and the runners (sitting on the centre shelf).
Tomorrow night the plan is to finish the drawer fronts (all drawers) and the door for the right side, together with sealing and staining.
Should also be able to start on the table top with at least laminating the ply sheets together.
Will post an update (with some closer shots as well) tomorrow night.
Thanks for looking.
-
23rd October 2012, 12:24 AM #7
SENIOR MEMBER
- Join Date
- Aug 2011
- Location
- victoria
- Posts
- 524
 Originally Posted by peterst6906

nice work.
I'm watching with interest .
I will have to made one my self but more simple table .
have funs
Peter
-
28th October 2012, 07:15 AM #8
GOLD MEMBER
- Join Date
- Oct 2003
- Location
- Canberra
- Age
- 48
- Posts
- 1,484
Nice work Peter
I'll watch the rest of this with interest. A couple of questions - what switch are you thinking of? I am building a modular router/drop saw/thicknesser table and am contemplating a switch like that.
And are you using a router plate?
TravSome days we are the flies; some days we are the windscreen
-
28th October 2012, 07:49 AM #9
Senior Member
- Join Date
- Aug 2008
- Location
- Canberra
- Posts
- 420
Looks like you are doing a great progress! What sort of ply do you use for the table (and where did you get it in Canberra)?
-
5th November 2012, 04:33 PM #10
New Member
- Join Date
- Jan 2008
- Location
- Darwin
- Posts
- 3
Nice work.


 Reply With Quote

Similar Threads
-
The Router Table Project
By DemetersRest in forum ROUTING FORUMReplies: 7Last Post: 24th March 2012, 12:35 PM -
New experimental project with the router
By Template Tom in forum ROUTER JIGSReplies: 6Last Post: 23rd April 2010, 09:36 PM -
TRITON 3-1/4 HP Router, Model TRC001 or Newer version for router table?
By Uzi in forum TRITON / GMCReplies: 3Last Post: 22nd December 2009, 11:14 PM -
Triton Router table RTA300 VS Carba-Tec Cast Iron Top Router Table
By pellcorp in forum TRITON / GMCReplies: 17Last Post: 30th April 2009, 02:43 PM -
What is a good router table/router table accessories?
By SilverSniper in forum ROUTING FORUMReplies: 22Last Post: 4th March 2009, 10:05 AM
