

 Thanks:
  Likes:
  Needs Pictures:
  Picture(s) thanks:
Results 1 to 6 of 6
Thread: Handsaw help
-
7th January 2011, 02:22 PM #1
 Novice


- Join Date
- May 2008
- Location
- New Zealand
- Posts
- 14
 Handsaw help
So I need a little help with a hand saw I have....
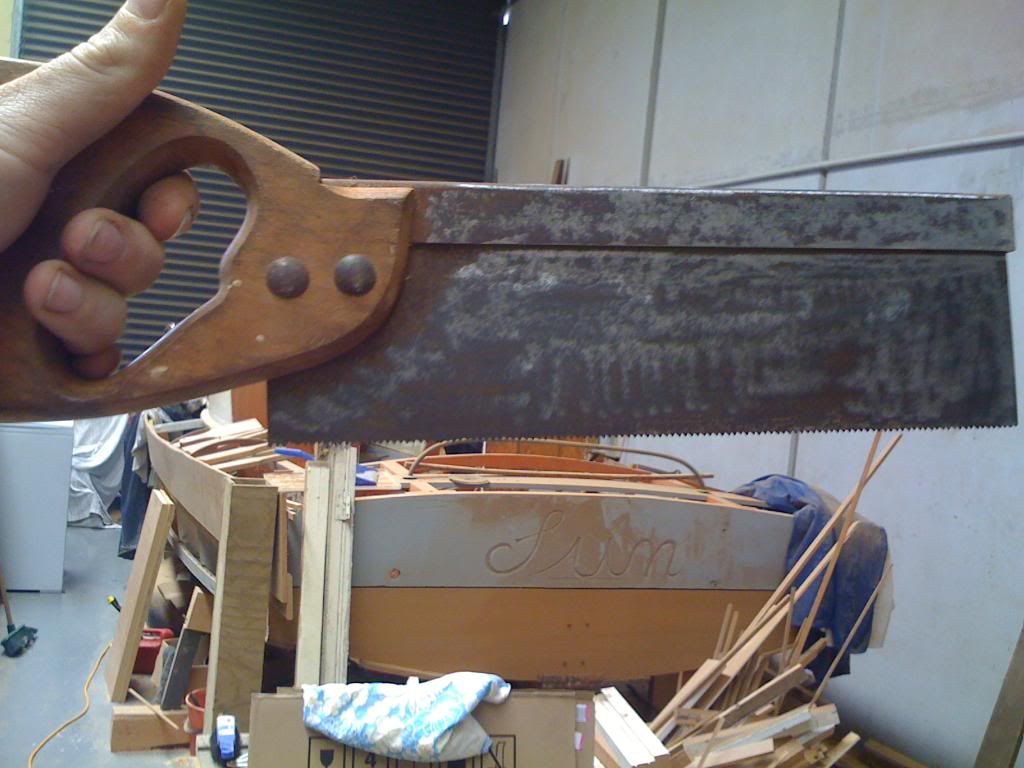
It's a no name steel backed 10" saw.... and I want to rehab it.... I've never done this before.
So along with the saw I have some of the following....
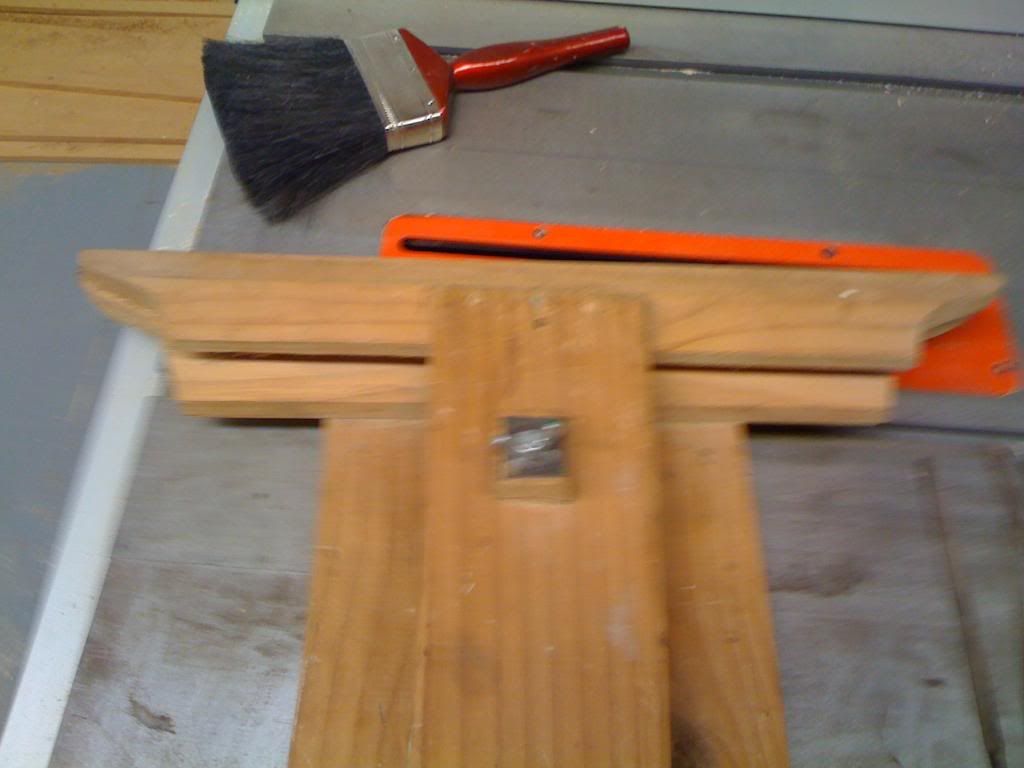
saw clamp correct???
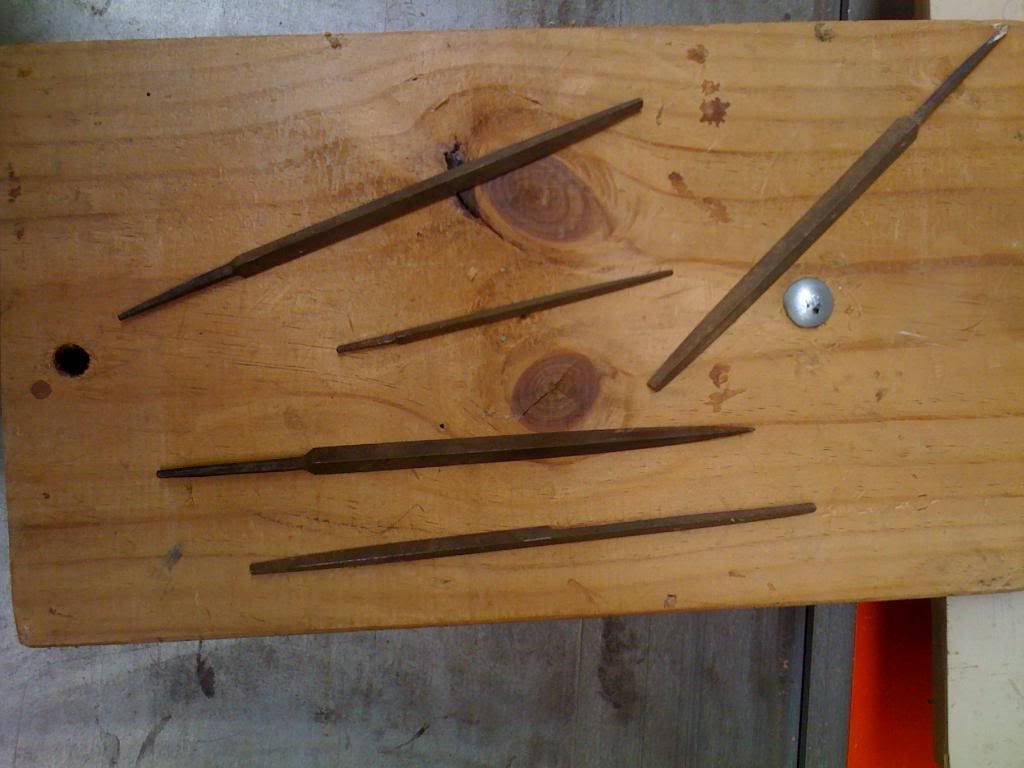
I have no idea of what file to use but these are some I have.
and this.....
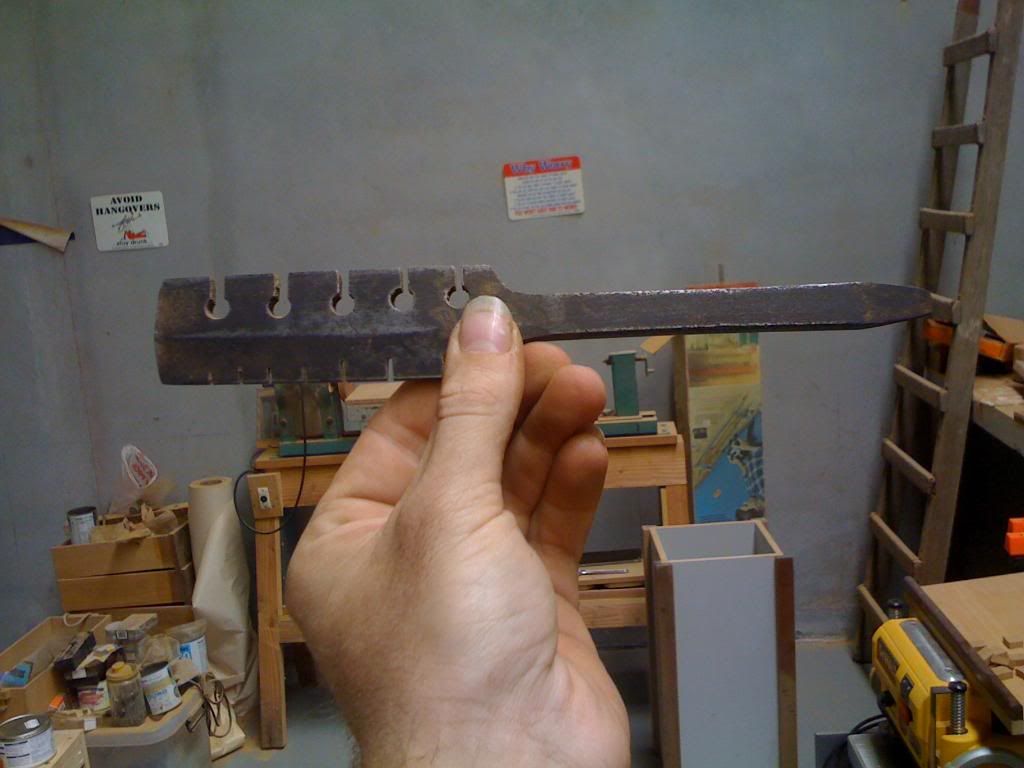
I have no idea what it's for but think it's a saw style tool???
So I need to pick up a saw set I think I may have one somewhere.... most of my saw equipment came from my grandfather when he passed away he was a joiner and clark of works.... unfortunatly I never got him to teach me how to sharpen a saw.
ok so i've got a base.... where do i start from here??
I think the saw is 12tpi that is I measure from valley to valley along the saw and there are 12 points in a inch space correct??
also do I need to flatten out the teeth ie get the all level??
any help pls.
-
7th January 2011 02:22 PM # ADSGoogle Adsense Advertisement
- Join Date
- Always
- Location
- Advertising world
- Posts
- Many
-
7th January 2011, 02:55 PM #2
Jim
- Join Date
- Feb 2008
- Location
- Victoria
- Posts
- 3,191
The tool is a old type of sawset and I gather needs skill in use, more than is needed with the pliers type set. I think the saw is a spear and jackson - one of their cheaper type which would have had their name on the cardboard blade cover and in black on the blade. I've always liked spear and Jackson myself.
Cheers and good luck
Jim
-
7th January 2011, 02:58 PM #3
Jim
- Join Date
- Feb 2008
- Location
- Victoria
- Posts
- 3,191
ps. you should have advice coming out of your ears soon.
Jim
-
7th January 2011, 03:45 PM #4
GOLD MEMBER
- Join Date
- Jun 2008
- Location
- Victoria, Australia
- Age
- 74
- Posts
- 6,132
Hi BFR,
The most valuable saws are those with family history and to have something of your grandfather's is worth restoring.
I wouldn't rush in and start sharpening just yet.
Start off by cleaning up the blade, remove the handle, take care not to damage the screws.
Get a hard block and bit of 400 wet and dry and some kerosene, it will take a while and it's a messy process, so lay down a few sheets of newspaper first. You can use a razor blade to remove some of the heavier rust patches, but after a while you will have a nice shiny blade, polish using some scotchbrite pads, and finally finish off with cloth with a bit of wax.
Now for the handle...
Get some lacquer thinners and remove the paint spatters by brushing the lacquer thinners on the paint spots and wiping off, keep going and clean and dirt and grime, if it was a valuable antique I would probably stop there, and keep the patina, but just cleaning is all you need to do. Don't go crazy with sanding, just get it nice and clean, then a couple of coats of shellac, and a light wax.
You can clean the screw, If you have a drill press, you can put the screws in the drill press and run them up against a bit of 400 wet and dry...
Sharpening...
The teeth don't look too bad, I would get the smallest file in that selection you showed, but a handle on the file, and set up a guide block... Hmmm, wait, go to Welcome to the Vintage Saws! and read up on the technique for using a block of wood on the end of the file to give the correct angle.
Get a large flat file, and lightly joint the teeth, just until you can see a tiny flat spot on the top of each tooth. then mark all the teeth with a texta pen.
The next stage depends on whether the saw is file rip or crosscut..
Lightly go over each tooth with the file at the correct angle and **JUST** remove the flat spot.
If it's filed rip, I do all the teeth from one side, but if it's crosscut, I do every second tooth (the ones facing away from me), and turn the saw around to to the other teeth.
I wouldn't bother setting the teeth, I would hazard a guess that they are already set way too much anyway.
Just lightly touch up each tooth, is all we are trying to do here. So take your time and keep it a light touch.
Now take a few test cuts and see how it tracks, if it tracks to the right, get a hard block of wood with some 600 wet and dry, and with the saw lying flat on the bench, and the block flat on the blade, do ONE light pass over the teeth. (on the right hand side) Going from the heel of the saw to towards the toe. Then do some more test cuts. Usually one light pass is all it takes.
Hope to see some pictures, when you get it all done.
Regards
Ray
-
7th January 2011, 11:19 PM #5
Sum ergo cogito (Cogito)
- Join Date
- Oct 2006
- Location
- Tallahassee FL USA
- Age
- 82
- Posts
- 4,650
A trick of the trade
Polishing the blade has a benefit beyond cosmetic. When you cross cut, observe the reflection of the timber, and try to keep it in line with the material on the other side. Any deviation observed is double the actual deviation, and this makes it easier to cut perfectly square - even without a mitre box.
Cheers,
JoeOf course truth is stranger than fiction.
Fiction has to make sense. - Mark Twain
-
8th January 2011, 08:41 AM #6
Jim
- Join Date
- Feb 2008
- Location
- Victoria
- Posts
- 3,191
The most valuable saws are those with family history and to have something of your grandfather's is worth restoring.
Ray is spot on. There is nothing more satisfying than using a tool knowing that you are only one in a line. It aids concentration I find.
Cheers,
Jim

 Reply With Quote

Similar Threads
-
Jointing a handsaw.
By planemaker in forum HAND TOOLS - UNPOWEREDReplies: 2Last Post: 5th January 2011, 11:51 PM -
handsaw sharpening.
By Travis Edwards in forum HAND TOOLS - UNPOWEREDReplies: 15Last Post: 9th March 2010, 06:14 PM -
handsaw to scraper
By woodsurfer in forum METALWORK FORUMReplies: 5Last Post: 14th August 2009, 10:28 PM -
Handsaw nomenclature
By Woodwould in forum WOODWORK - GENERALReplies: 8Last Post: 19th October 2008, 08:30 AM -
handsaw sharpening
By weisyboy in forum HAND TOOLS - UNPOWEREDReplies: 12Last Post: 11th July 2008, 12:27 AM
