

 Thanks: 0
 Likes:
  Needs Pictures: 0
 Picture(s) thanks: 0
Results 1 to 15 of 51
Thread: Plane Design
-
16th December 2012, 01:41 PM #1
 SENIOR MEMBER


- Join Date
- Oct 2012
- Location
- Australia
- Posts
- 765
 Plane Design
I made this 1/2 scale wax plane mock up to get a feel for a design for plane I want to make at some stage. The back and front hollows would be in-filled with sheoak and finished level with the metal which I'm thinking would be bronze or Stainless. If I make it out of bronze I can cast it and finish with files and a little machining for the bed of the blade, if stainless I would have to machine the rough shape with the mill from a solid piece of stock and then A LOT of filing. The sole is very thick about 20-25mm to accommodate an adjustable mouth and to give it some extra weight.
Here is a rendering of an earlier design for a larger plane to illustrate what I mean about the infill.
what do you guys think? I'm still not real happy with some of the lines..
-
16th December 2012 01:41 PM # ADSGoogle Adsense Advertisement
- Join Date
- Always
- Location
- Advertising world
- Posts
- Many
-
16th December 2012, 03:40 PM #2
 GOLD MEMBER
- Join Date
- Nov 2004
- Location
- Millmerran,QLD
- Age
- 73
- Posts
- 11,136
Wow Josh
I think that is toolmaking on a higher plane .
.
For both ease and aesthetics I would place a vote for bronze. Bronze and brass both compliment timber beautifully and are plenty hard enough.
Your designs look futuristic. How do you position the timber infil. It looks as though it would have to be "poured." That's definitely a technique of which I am unfamiliar!
How is the casting achieved. Is the wax replaced by the molten metal in a plaster or other mould? Sorry, there's more questions than answers .
.
Regards
PaulBushmiller;
"Power tends to corrupt. Absolute power corrupts, absolutely!"
-
16th December 2012, 04:16 PM #3
Immature member
- Join Date
- Aug 2007
- Location
- Mainland N.Z.
- Posts
- 877
If my opinion is worth anything (I've never designed or built a plane) then I'd say that the plane appears a little umm solid, chunky compared to the other version.
The other version is all sorts of cool, sort of a "Delahaye Razee".
We don't know how lucky we are......
-
16th December 2012, 04:37 PM #4
SENIOR MEMBER
- Join Date
- Oct 2012
- Location
- Australia
- Posts
- 765
HA!
It is definitely futuristic because it is not made yet :P
True I agree that bronze is very nice set next to timber and it has a nice warm feel in the hand. I have a little ebony set aside (actually Ray got it for a saw handle but it is a little too thin for that maybe he will not mind parting with it). I'll do a rendering and see what it might look like.
As far as the timber inlay goes, the technique is still a little bit of a mystery to me as well but I will be able to figure that out when I try it. I do have a couple of ideas though. If I end up casting it the pockets will have a slight taper so I was thinking I make a square block with the rounded corners that is longer than the pocket is deep but at the same taper, so then it would be a matter of rubbing the inside of the pocket with something like transfer blue and jambing the wooden plug in and taking of the blue until it is a snug fit, it would not have to be a perfect fit all the way to bottom as I could use an epoxy to fill in at the base of the pocket but it would want to be snug around the top edge. Then it would be a case of rasp and filing it all down flush with the metal. It will be a fiddly job, but I think it will look nice.
There is a couple of paths I could go down as far as the casting goes. A while back I picked up some very fine zircon sand to do some lost wax casting but I have never given it a proper go. If I was going to make more than one of these I would probably go down the path of making a negative mold of the master plane body pattern out of silicon, Then cast the wax patterns of the silicon mold that way I could carve some designs on different casting. Then I put it into the plaster and sand mix (invest), burn out the wax and pour in some bronze. even If I did go down that path, I would make the first and most likely only one by sand casting a process that I'm getting better at. I would make a split pattern then mount it on a match plate to make the pattern easier to extract from the sand and also lets me play around with the gating. The pattern itself would be made out of some type of plastic or modelling board basically anything that will sand very smooth and stay stable.
-
16th December 2012, 04:57 PM #5
SENIOR MEMBER
- Join Date
- Oct 2012
- Location
- Australia
- Posts
- 765
Thanks all opinions welcomed good or bad.. Originally Posted by seanz

It looks a bit like that, maybe I should draw some more inspiration from the lines from cars, now there is an interesting idea for a collections of planes.
They are in fact both a very chunky but the rendered version is twice as long as the wax one.
There are some details that would effect the overall look that are missing atm from my mind and they are the design of the back edge of the iron and the lever cap. I'm am also tossing up if I should have a adjusting mechanism.
-J
-
16th December 2012, 05:13 PM #6
GOLD MEMBER
- Join Date
- Jun 2008
- Location
- Victoria, Australia
- Age
- 74
- Posts
- 6,132
Hey!!, I was saving that bit of ebony... Originally Posted by Brobdingnagian
Regards
Ray
-
17th December 2012, 07:51 AM #7
GOLD MEMBER
- Join Date
- Mar 2004
- Location
- Brisbane (western suburbs)
- Age
- 77
- Posts
- 12,133
Hmmm, they certainly look interesting, and the diamond stuffing would be very spiffy (I think Ebony & brass or bronze are made to go together!), but I'm a bit nervous about the practicality of your designs. The block plane appears to be the better of the two in that regard, but the rendered version looks to me like it would be a challenge to use for any length of time. You have quite a short toe, and a long heavy rear, which is going to make for difficult registration at the beginning of the cut when you have no handle or easy way to hold the back end up a bit to keep the toe flat on the work. Once fully engaged, no problem, as the weight will be working with you.
This is pure conjecture based on a picture, so I may be completely out to lunch, but I reckon some rough working models would be a good idea before putting a lot of work into the real thing....
Cheers,IW
-
17th December 2012, 12:05 PM #8
GOLD MEMBER
- Join Date
- Nov 2004
- Location
- Millmerran,QLD
- Age
- 73
- Posts
- 11,136
Ian Originally Posted by IanW
Good idea. Were you thinking roughed out in timber with just the sole finished off? That would be sufficient to test balance and practical operation.
Regards
PaulBushmiller;
"Power tends to corrupt. Absolute power corrupts, absolutely!"
-
17th December 2012, 02:53 PM #9
Senior Member
- Join Date
- Feb 2012
- Location
- Adelaide
- Posts
- 451
Originally Posted by Bushmiller
that would be one way or you could make one from resin after making a mould.
can i ask what it is intended for (a smoother obviously by the looks but perhaps more specifically its intended use/purpose) and what specs it might have e.g blade bed angle, thickness, cap iron or not ect
cheers
chippy
-
17th December 2012, 05:26 PM #10
SENIOR MEMBER
- Join Date
- Oct 2012
- Location
- Australia
- Posts
- 765
Originally Posted by RayG

Yeah that is the plan, full scale mock up from timber or wax, fine tune the shape, feel, balance and always leave the option to maybe scrap it and start again. Originally Posted by IanW
You made me think a little more about where the weight should be, in the wax model it is about middle of the length. I have also done a few tweaks in the CAD model to see how far I can push the weight forward (reducing the depth of pockets at the front increasing the ones at the back and hollowing out a bit behind the bed. I can get the centre of mass 5mm behind the bed at 20mm from the sole. My gut feeling tells me it should be about the tip of the blade. I have had a look at the other planes around the shop and the all seem to be heel heavy.
Resin might not be a bad way to go, I have some casting acrylic around somewhere. Originally Posted by ch!ppy
Your right it is a smoother, a small smoother, I was aiming for something a little shorter that a Stanley#2 but with a wider blade (50mm x 6.5mm-7mm) set at 50-55 degrees, no cap iron, an adjustable mouth, maybe a depth adjuster, maybe tapered blade and no lever cap, very heavy something around 2-3kg. The starting point was to have nothing that lets you torque the body (hence the no handle thing and the extra ribbing).
It's real purpose it to have yet another thing to daydream about and play with in the workshop. At the moment I'm grinding the group order chisels so I'm dreaming about other projects.
-J
-
17th December 2012, 07:02 PM #11
GOLD MEMBER
- Join Date
- Aug 2009
- Location
- Armadale Perth WA
- Age
- 55
- Posts
- 4,524
! Personal. Originally Posted by IanW
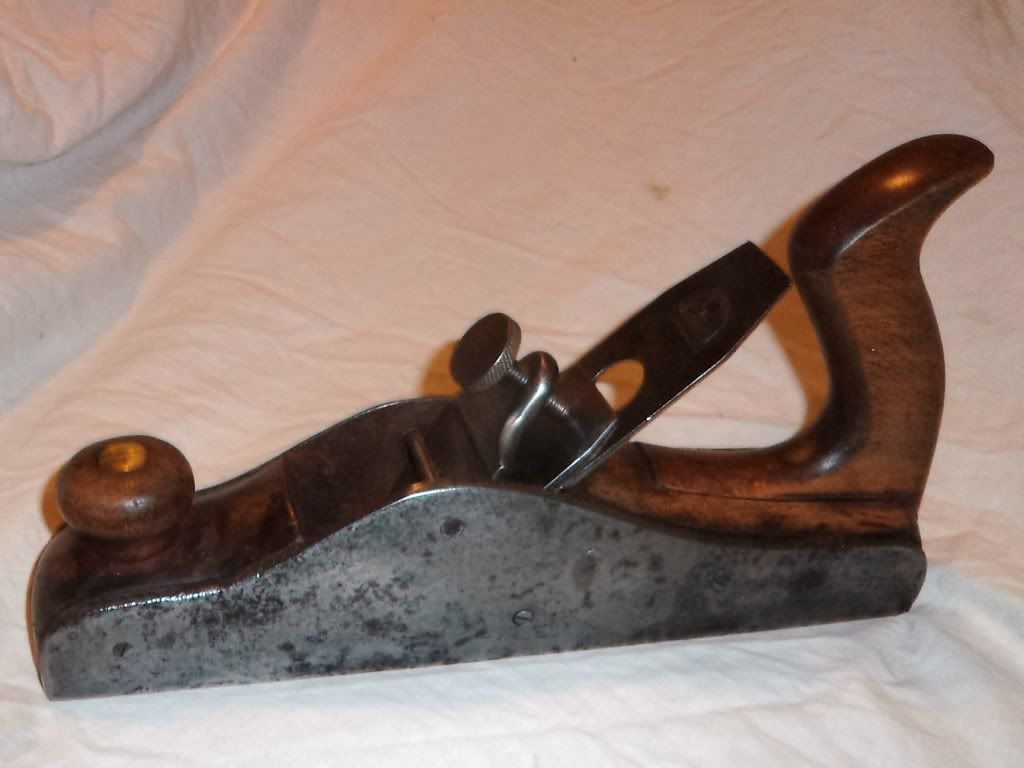
Could this be it's great-grandpa?
Antique Vintage Infill Plane Needs Restoration 11 3 4" Long Old Woodworking | eBay
-
17th December 2012, 07:19 PM #12
GOLD MEMBER
- Join Date
- Mar 2004
- Location
- Brisbane (western suburbs)
- Age
- 77
- Posts
- 12,133
[QUOTE=Brobdingnagian;1587069......You made me think a little more about where the weight should be, in the wax model it is about middle of the length. I have also done a few tweaks in the CAD model to see how far I can push the weight forward (reducing the depth of pockets at the front increasing the ones at the back and hollowing out a bit behind the bed. I can get the centre of mass 5mm behind the bed at 20mm from the sole. My gut feeling tells me it should be about the tip of the blade. I have had a look at the other planes around the shop and the all seem to be heel heavy.
[/QUOTE]
I think most planes would be 'heel-heavy' & while a centre of gravity at or slightly behind the blade tip sounds good, not sure if many 'regular' planes would achieve this (I can hear a troop of blokes rushing out to the shed to test the point of balance of their planes! ), I think my main point was that with no rear tote to make it easy to hold the rear up, the initial registration of your larger plane might be a bit awkward, that's all. I'd be trying to do my mock-up in something heavy, so that you get the feel of the production model, though I supose the balance points/COG should remain pretty much the same whatever the material...
Cheers,IW
-
19th December 2012, 12:22 AM #13
SENIOR MEMBER
- Join Date
- Oct 2012
- Location
- Australia
- Posts
- 765
A better Grip
another day grinding and drafting.
I tweaked the design a little I call this on the Mark IX as it is the 9th time I have started from a paper sketch
This design is a little harder to make but more appealing to me 1/2 boat 1/2 tiger :S. I'm still not happy with the look of the front handle; I think it need to be higher and more knob like and I need to elegantly fit in the screw for the adjustable mouth.
Specs:
Blade 6.5mm x 50mm x 100mm @ 55 degrees
Body: Aluminium bronze 180x65x75mm (LxWxH)
Weight: 2.6kg
Infill: Ebony (well black plastic for the rendering)
Centre of mass: 23mm behind the tip of the blade and 21mm up from the sole
Once again thoughts are always appreciated...
PS: the idea of having the lever cap stick up past the blade was mistake in my math, but now I kind of like it, plus i think i can fit a lateral adjustment lever into it.
-
19th December 2012, 06:00 AM #14
GOLD MEMBER
- Join Date
- Aug 2009
- Location
- Armadale Perth WA
- Age
- 55
- Posts
- 4,524
The points that pop up in my tiny mouse-like brain ...
1. Wow!
2. I'd think you would want to be able to tap the blade to refine the position (downwards) ... and what about the good ol' whack on the back?
3. Depending on how you tend to hold it, the left rear of the front knob could smooth that vertical corner a bit more?
4. re the adjustable mouth ... maybe some sort of cam moving the blade, or just a cam to fix or free the insert.
5. Wow!
Cheers,
Paul
-
19th December 2012, 02:28 PM #15
SENIOR MEMBER
- Join Date
- Oct 2012
- Location
- Australia
- Posts
- 765
Thanks Paul,
You raise some very good points that escaped me after coffee number five; my left brain was in over drive I guess.
As it is I have no way of adjusting the position of the blade. Unless I fit in a depth adjuster I would have to lose the lever cap mohawk and add a steel pin or flat at the back for the good old whack.
I had a play with the cam moving the plate like on a block plane but was not happy with where I had to put he cam, but i had not thought of moving the blade. All that said I think I have sussed my preferred mechanism for the adjustable mouth, it is a two screw design much like a Stanley mitre plane: top screw loosens the sliding plate and the front screw adjusts the position. The problem is how to make it not look out of place, and the only answer i can think of atm is to make it stand out rather than blend it in.
In truth getting to here is only about 1/10 the battle with the design, Other than the problems above I will have to add fillets and drafts and clamping plates to make it possible to make without effecting the intent of the look. I can then think about making and testing the pattern and actually seeing if it works as intended (if it is too clumsy or out of balance etc).

 Reply With Quote


Similar Threads
-
Record model 735 plane? + a mini plane
By MICKYG in forum WOODWORK PICSReplies: 5Last Post: 28th February 2009, 08:12 AM -
Jack plane converted to scrub plane...???
By Greg_stewy in forum HAND TOOLS - UNPOWEREDReplies: 4Last Post: 7th June 2007, 10:59 AM -
New Plane Design
By Scribbly Gum in forum HAND TOOLS - UNPOWEREDReplies: 3Last Post: 23rd May 2007, 02:59 PM -
LN Skew Block Plane or LV Shoulder Plane
By mat in forum HAND TOOLS - UNPOWEREDReplies: 3Last Post: 25th October 2006, 06:46 PM -
Kudos to Lee Valley- Scrub Plane; and Shoulder plane question
By lyptus in forum HAND TOOLS - UNPOWEREDReplies: 5Last Post: 12th July 2005, 08:07 PM
