

 Thanks: 0
 Likes: 0
 Needs Pictures: 0
 Picture(s) thanks: 0
Results 121 to 135 of 562
-
14th January 2010, 09:46 PM #121
 i-Sails Australia


- Join Date
- Apr 2009
- Location
- Hunter Valley NSW
- Age
- 69
- Posts
- 1,759
 Strength wise your 2 options are fine, but I like aesthetics in a wooden boat....simple aesthetics. The front knee is the one place where you get to show off some woodwork, and I find that the bow of the Goat does attract ones gaze. This is why, I wouldn't do either of the above, and stick with the plans.
 Originally Posted by callsign222

How good are you with a chisel? You could quite easily pare away the thickness of the bow knee timber with a 1/4" and 1/2" chisel. That they must be sharp is a "given". Just make a neat saw cut to the required depth with a tenon saw down the glue line parallel with the ply. Short strokes. Make a couple more inboard from those. Take care not to chew into the ply! Then take a deep breath and slowly pare away the stem. I mean pare, not a whack with a mallet!
Episode 21- Pare Essentials on Mevio
From the pic on your blog, I see the stem is exactly level with the gunwale. Another thing you can do is pair away only 1/2 the thickness of your bow knee from the stem top, and remove the other 1/2 thickness from the front underside of the knee itself. Apart from the cuts along the glue line, you don't need to be too accurate as when the knee goes on all will be hidden and the epoxy will fill the gaps and provide the strength.

A bit more effort maybe, but worth it I think.
-
14th January 2010 09:46 PM # ADSGoogle Adsense Advertisement
- Join Date
- Always
- Location
- Advertising world
- Age
- 2010
- Posts
- Many
-
15th January 2010, 12:16 AM #122
Better Recognize
- Join Date
- Jun 2009
- Location
- New Hampshire
- Posts
- 960
Ok, I'll give this one a few days to think about!
I'm up in Concord (actually, Bow) so I'll be sailing on either Sunapee, Winnipesaukee, New Found, and the CT River down in southern CT (parents live there and where I grew up-- on the river!). I'm also contemplating some Maine Coast Trail sailing. So all over, I'm expecting to put miles on the yet-to-be-found trailer!
Oh yeah, and Great Bay of course! My in-laws are contemplating a move to Great Bay, on the water, so that'll be a good place!
-
15th January 2010, 06:39 AM #123
SENIOR MEMBER
- Join Date
- Sep 2007
- Location
- Savannah GA USA
- Posts
- 583
If your stem stops short of the top of the gunwale you can cut away some wood from the underside of the knee to allow the knee to extend to a point and cover the end grain of the stem. A perfect fit will be difficult but it's really unnecessary--get close and fill the gaps with thickened pox. That's what I did on my Goat but I had the stem down from the gunwale by about 11/16ths so I only had to remove a good sixteenth from the bow knee.
I wouldn't do this if the thickness of the material remaining is much less than, say, a half-inch, BTW. If the knee is thinned much past 1/2 inch to clear the stem it will be a tad too fragile to survive flexing and the inevitable swelling and shrinking, IMO.
Edit--Sorry, I missed the bit about the stem coming up flush with the gunwale as shown in the pic above. That's a game-changer but I agree Bruce's suggestion will give you the prettiest bow. I don't think I'd attack the stem-top with a chisel, though (I'm not much of a chiseler ). I'd probably try to take it down with a router and a mortising bit. It would start as a free-hand operation so it would require very good control. As long as your initial cuts are very shallow it could be done, however. You would end up with a small radius at the front which you could either remove with a sharp chisel or just round off the point of the bow knee.
The "Cosmos Mariner,"My Goat Island Skiff
). I'd probably try to take it down with a router and a mortising bit. It would start as a free-hand operation so it would require very good control. As long as your initial cuts are very shallow it could be done, however. You would end up with a small radius at the front which you could either remove with a sharp chisel or just round off the point of the bow knee.
The "Cosmos Mariner,"My Goat Island Skiff
http://s176.photobucket.com/albums/w168/MiddleAgesMan/
Starting the Simmons Sea Skiff 18
http://www.flickr.com/photos/37973275@N03/
-
15th January 2010, 10:55 AM #124
Happily receives emails.
- Join Date
- Jul 2005
- Location
- 'Delaide, Australia
- Age
- 65
- Posts
- 8,138
I am continually impressed by the level of advice here!
MIK
-
17th January 2010, 12:56 PM #125
Better Recognize
- Join Date
- Jun 2009
- Location
- New Hampshire
- Posts
- 960
What is the reason to taper the base of the empty box mast down to 70mm? Couldn't the mast be left at full width and the partner and step cut open to match?
AND
If I have a few WRC 1x6's to make the daggerboard/rudder, will smaller staves glued together be stronger than maintaining the plank in once piece except for some joinery? I mean, I could easily do a strip of hardwood on the leading edge, two very large WRC staves, and then another strip of hardwood on the trailing edge. OR I could rip my 1x6's and then reglue them together, but this seems somewhat silly.
Also, does the 1265mm number at the bottom go all the way up to the soon-to-be-cut-off corner up top, or do I need to add the 135mm?
-
18th January 2010, 07:29 AM #126
SENIOR MEMBER
- Join Date
- Jul 2008
- Location
- Fenwick, Michigan
- Age
- 75
- Posts
- 908
I can't help you with the question about tapering the lower end of the mast.
Come to think of it, I'm not sure I can help with the other questions - because I could be wrong!
My understanding is narrower staves glued together make the foil stronger. But when you rip the staves mark them so you can alternate/reverse the grain in adjacent staves. In other words, don't just rip the staves and then glue them right back together. Alternating the grain helps to prevent warping and twisting.
When I made my foils I was describing the process of cutting the staves, my clamping arrangements and other details to a co-worker. His eyes started to glaze over... Suddenly, his eyes cleared and he asked, "Are you really going to cut a board into pieces just so you can glue it back together again? Are you crazy?"
Add the 135mm to the 1265mm.
Have fun!Building Gardens of Fenwick, a Welsford Parthfinder
Gardens of Fenwick
Karen Ann, a Storer GIS
Goat Island Skiff - Sacramento
-
18th January 2010, 08:42 AM #127
Senior Member
- Join Date
- Dec 2008
- Location
- McAllen, Texas, USA
- Age
- 64
- Posts
- 154
Just to be expand...
The idea behind building the larger plank from ripped staves is that:
You are really engineering a more uniform composite with wood as its component material. Just like plywood, but with a different internal structure.
Smaller pieces shrink and expand less.
Larger pieces have more internal stresses and will tend to warp and check (develop those long splits you see when wood dries out) more from the effects of moisture.
Most common lumber is rift sawn (sawing slices not paying much attention to the grain direction. Rings tend to be cupped to one face or another) Ripping into pieces actually gets closer to quartersawn which puts the part that expands and contracts in a less influential direction.
Alternating the grain direction makes it where the tangential expansion of one stave counteracts the expansion of the next instead of adding to it. Think little ripples instead of big waves.
You could build it from one plank. Of course it would probably stick in the case every time you used it.
It is not hard to do and was one of the parts I found most enjoyable. But of course I already knew how and had the proper tools for it.
To flatten it out, the real trick is to get ugly with it. The real tool (for hand work) is a scrub plane. It has a wide, open mouth and a curved blade that gouges out big chunks of wood. If you do not have one available:
Use a plane with the mouth set as wide as possible. Set for a really aggressive cut. You are focusing on stock removal and not a pretty finish. Chunks of wood, not ribbons. Start out at 45 degrees to the grain and work down the length at that angle. Swap sides and do it again from the other side. It may take several passes. Once it is fairly even then switch and plane along the grain to even up the parts where the grain riped out. Then flip it and do the other side. Once you have a fairly even surface on both sides, then get out the profile gauge for the foil and begin shaping to the proper profile.
Once you get the feel for it, roughing out the blanks from the glued up staves is about a 30 minute job.
-
18th January 2010, 09:27 AM #128
Better Recognize
- Join Date
- Jun 2009
- Location
- New Hampshire
- Posts
- 960
Great replies, thanks for teaching me something! I had a hunch it was stronger, but I didn't know why. The only thing I could come up with would be too much stress/leverage on one portion, which could compromise the one middle joint. My brother in law's joiner is here, maybe I could use that and get a real nice tight fit.
SOoooo, why are we tapering the base of a mast to fit a partner and step when we could make the partner and step match the mast?
-
18th January 2010, 10:18 AM #129
Senior Member
- Join Date
- Dec 2008
- Location
- McAllen, Texas, USA
- Age
- 64
- Posts
- 154
(Total speculation)
It is not really that the base of the mast is smaller. It is that it works the other way. It is that the mast size is smaller and an extra width is added in the middle to support the stress at the partner. The extra wood at the foot of the mast is not needed and is not adding anything to the structure. Just extra weight to lug around.
-
18th January 2010, 11:23 AM #130
SENIOR MEMBER
- Join Date
- Sep 2007
- Location
- Savannah GA USA
- Posts
- 583
The smaller base will make it easier to insert the mast--perfect alignment not required. As it falls in place it snugs up automatically at the partner.
The "Cosmos Mariner,"My Goat Island Skiff
http://s176.photobucket.com/albums/w168/MiddleAgesMan/
Starting the Simmons Sea Skiff 18
http://www.flickr.com/photos/37973275@N03/
-
6th February 2010, 02:15 PM #131
Better Recognize
- Join Date
- Jun 2009
- Location
- New Hampshire
- Posts
- 960
What's up boat builders!?
Hey, I just glued down my front seat today, and it went very well considering that gluing and I don't get along very well.
However, my mind farted on me big time, and when I read Mik's plans on how big to build the fillet scraper (3 times the ply thickness for radius) I did this crazy equation:
6mm = 3cm = 9cm radius and 18cm diameter = Michael Storer is crazy strange!
I am obviously wrong. 6mm = 1.8cm radius = 3.6cm diameter fillet scraping tool = Michael Storer is much more reasonable than previously thought.
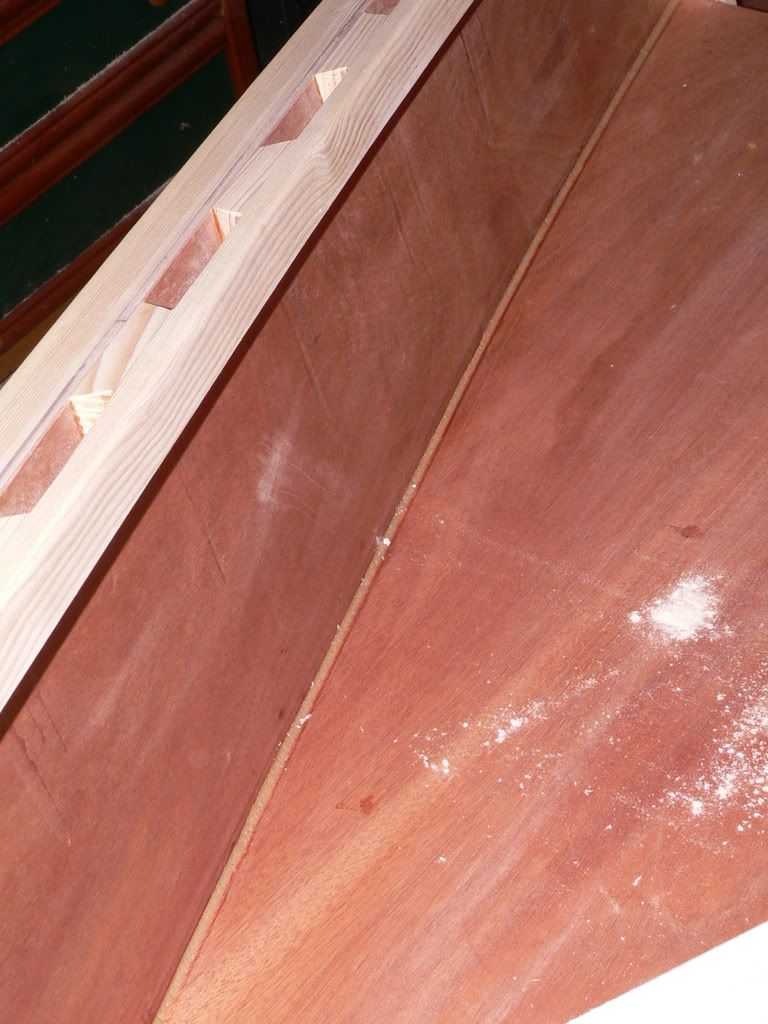
Please see pictures for what I eyeballed with a spoon. Sufficient? Or should I add more?
I kind of hope it's sufficient because I figured this out after I became a little tipsy with a few beers on an empty stomach, and I'd rather not go back and glue now due to said tipsyness...
-
6th February 2010, 02:17 PM #132
Better Recognize
- Join Date
- Jun 2009
- Location
- New Hampshire
- Posts
- 960
-
6th February 2010, 03:31 PM #133
SENIOR MEMBER
- Join Date
- Sep 2007
- Location
- Savannah GA USA
- Posts
- 583
Your fillets should be just fine. Mine are somewhat smaller...I think.
 The "Cosmos Mariner,"My Goat Island Skiff
http://s176.photobucket.com/albums/w168/MiddleAgesMan/
Starting the Simmons Sea Skiff 18
http://www.flickr.com/photos/37973275@N03/
-
6th February 2010, 04:16 PM #134
Better Recognize
- Join Date
- Jun 2009
- Location
- New Hampshire
- Posts
- 960
Thanks, MAM. I'm golden, I just cut out a little fillet jig and held it up to compare, my fillets are very close, so I'm all set. Re-gluing averted!
-
6th February 2010, 05:38 PM #135
SENIOR MEMBER
- Join Date
- Jul 2008
- Location
- Fenwick, Michigan
- Age
- 75
- Posts
- 908
Callsign222 -
Those fillets look good to me!Building Gardens of Fenwick, a Welsford Parthfinder
Gardens of Fenwick
Karen Ann, a Storer GIS
Goat Island Skiff - Sacramento


 Reply With Quote


Similar Threads
-
Screwcutting for beginners
By Kody in forum METALWORK FORUMReplies: 49Last Post: 1st January 2010, 02:31 PM -
Chisels for Beginners
By hitch in forum WOODTURNING - GENERALReplies: 2Last Post: 21st June 2008, 12:15 AM -
Astronomy for Beginners
By pawnhead in forum NOTHING AT ALL TO DO WITH WOODWORKReplies: 19Last Post: 5th January 2007, 11:26 AM -
A Project for Beginners
By Bob H in forum INTARSIAReplies: 2Last Post: 24th November 2004, 01:20 AM -
Beginners course
By Noidea in forum WOODWORK - GENERALReplies: 1Last Post: 8th March 2004, 09:37 AM
Tags for this Thread
apologies,
art,
attempting,
beautiful,
beginner,
beginners,
build,
building,
concord,
contingent,
crafts,
directed,
england,
experience,
fun,
gis,
hack,
log,
lot,
mind,
online,
piece,
sail-meet-up,
sailing,
simple,
specifically,
storer,
tools,
vein,
wood-working
