

 Thanks: 0
 Likes: 0
 Needs Pictures: 0
 Picture(s) thanks: 0
Results 16 to 30 of 50
Thread: My Trailer Build - Car carrier
-
27th February 2010, 10:24 AM #16
 Trailer Bloke & Mild Mannered Moderator


- Join Date
- May 2007
- Location
- Tooradin, Vic.
- Age
- 52
- Posts
- 1,885

 Originally Posted by Kyle


That's a new one for me. In all my years at AL-KO and Melbourne Trailer & Caravan Supplies, I never once witnessed any sort of protective coating being placed on the hubs and drums, either before or after the machining process. Cast Iron does not rust the same way steel does. Maybe imported drums are coated for their journey here to Australia, or some retail places may think they're doing the right thing if the drums are going to sit on the shelf for a while, but unless they're immersed in water or left outside, then they're perfectly fine unprotected. Originally Posted by kyle
Glad you got yours working Kyle.

Y.Too many projects, so little time, even less money! Are you a registered member? Why not? click here to register. It's free and only takes 37 seconds! Doing work around the home? Wander over to our sister site, Renovate Forum, for all your renovation queries.
-
27th February 2010 10:24 AM # ADSGoogle Adsense Advertisement
- Join Date
- Always
- Location
- Advertising world
- Age
- 2010
- Posts
- Many
-
27th February 2010, 03:12 PM #17
18th year apprentice
- Join Date
- Oct 2006
- Location
- Melbourne
- Age
- 47
- Posts
- 187
Correct. They are imported drums and the entire drum had been sprayed with an oil. Originally Posted by Yonnee
-
1st March 2010, 10:21 PM #18
Intermediate Member
- Join Date
- Feb 2010
- Location
- Warrnambool
- Posts
- 25
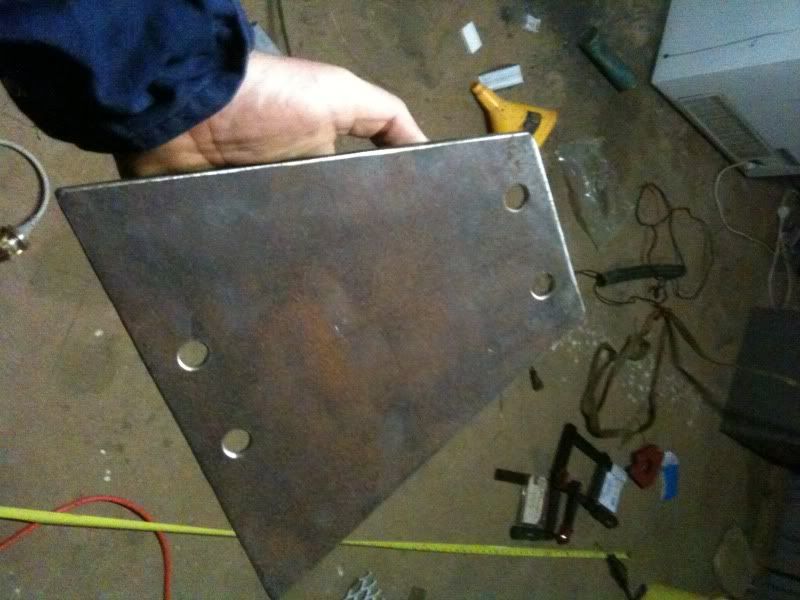
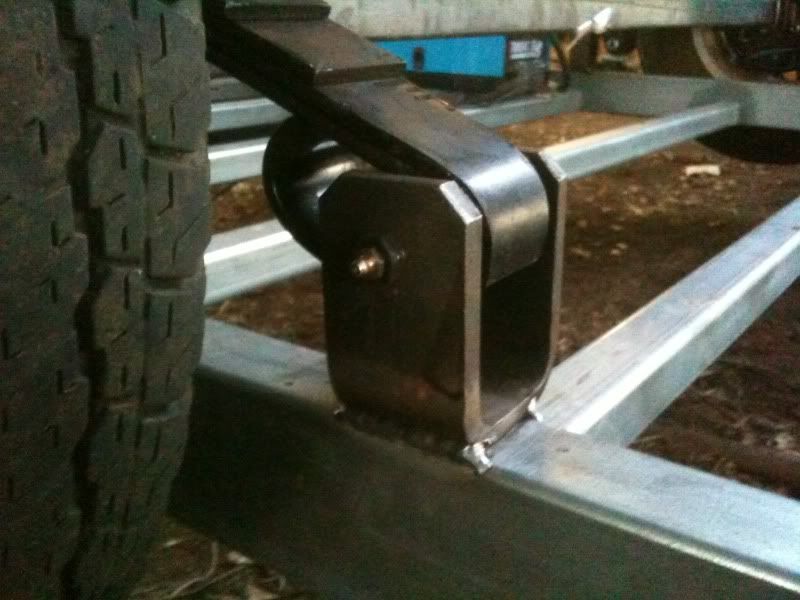
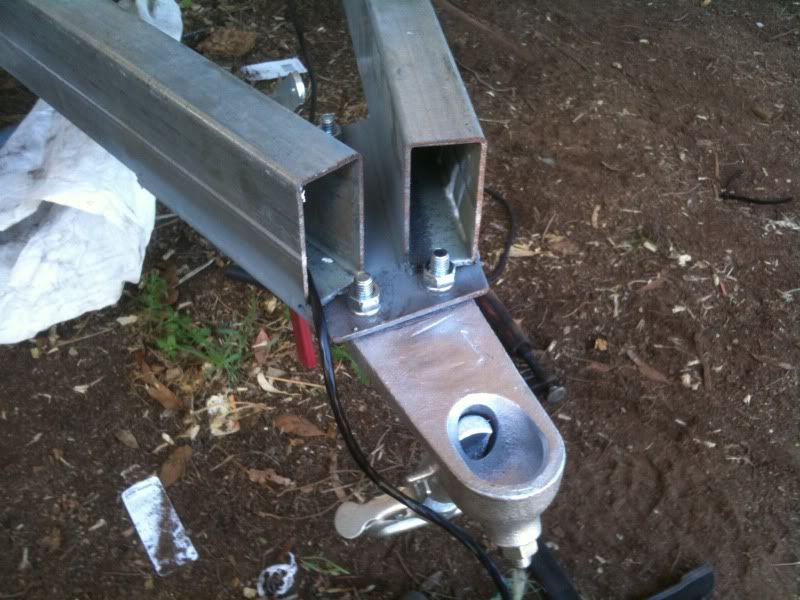
Cut out a plate to mount the hitch to tonight. Standard 4 bolt mount for a trailer coupling. Plate is 5mm steel
Cut out the draw bar from the 100*50*4 and sitting in place
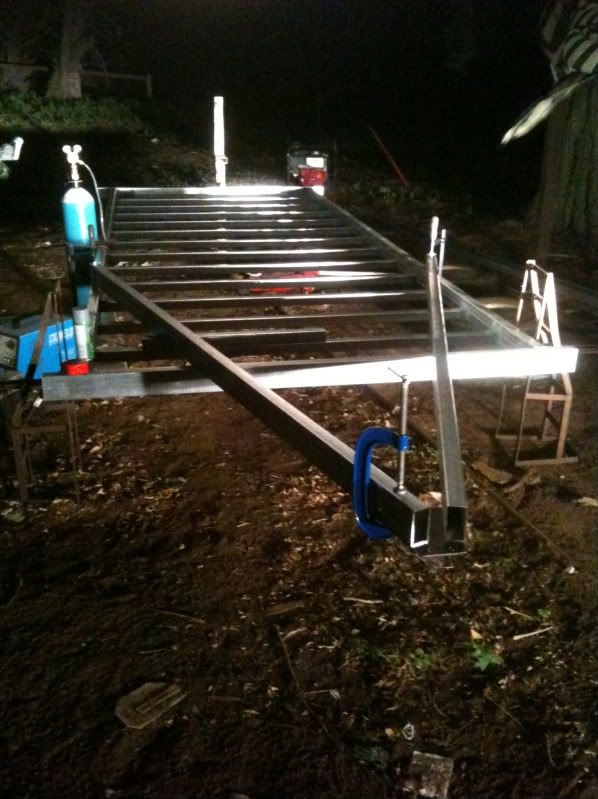
How the hitch plate is mounted. Remember the trailer is currently upside down.
Need to call tomorrow and find out an eta on the running gear. I don't really want to flip the trailer if i dont need to. Also i need to wait for some less windy weather. Mig + gas doesnt really work in the howling wind!
-
1st March 2010, 10:36 PM #19
Trailer Bloke & Mild Mannered Moderator
- Join Date
- May 2007
- Location
- Tooradin, Vic.
- Age
- 52
- Posts
- 1,885
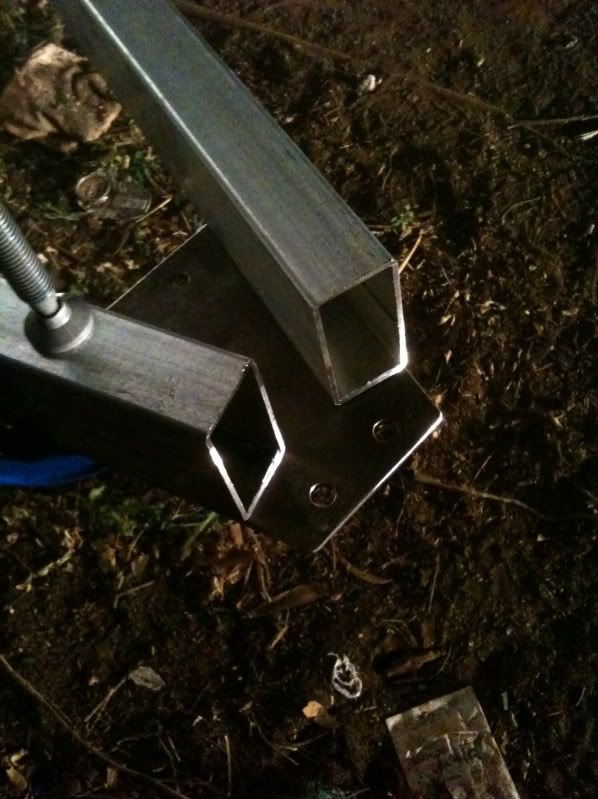
Just a thought...
I've always welded the two closest edges of the end of the drawbar together. Always seen it done, always done it. The way you've got it set up would probably be OK with the thickness of the coupling plate that you have, but any major twisting of the trailer while it's being towed is sure going to test the strength of your welding.Too many projects, so little time, even less money!Are you a registered member? Why not? click here to register. It's free and only takes 37 seconds! Doing work around the home? Wander over to our sister site, Renovate Forum, for all your renovation queries.
-
2nd March 2010, 06:58 PM #20
Intermediate Member
- Join Date
- Feb 2010
- Location
- Warrnambool
- Posts
- 25
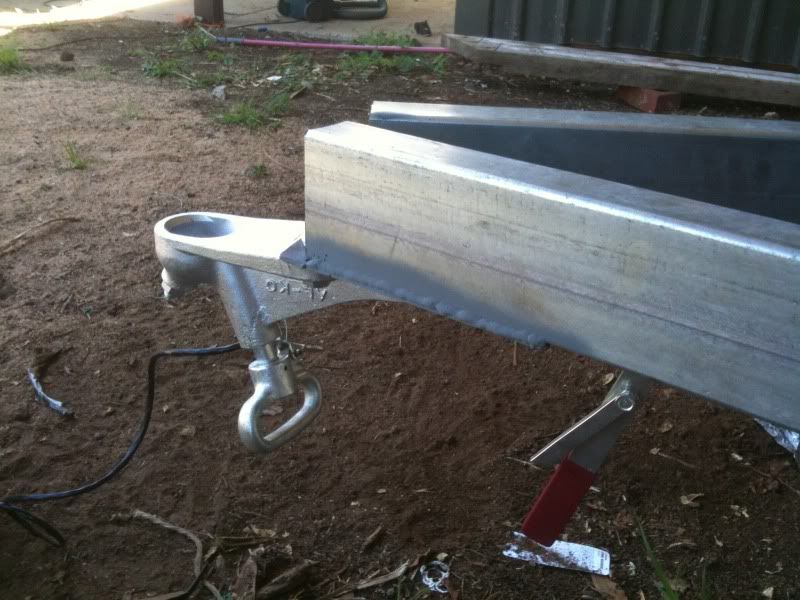
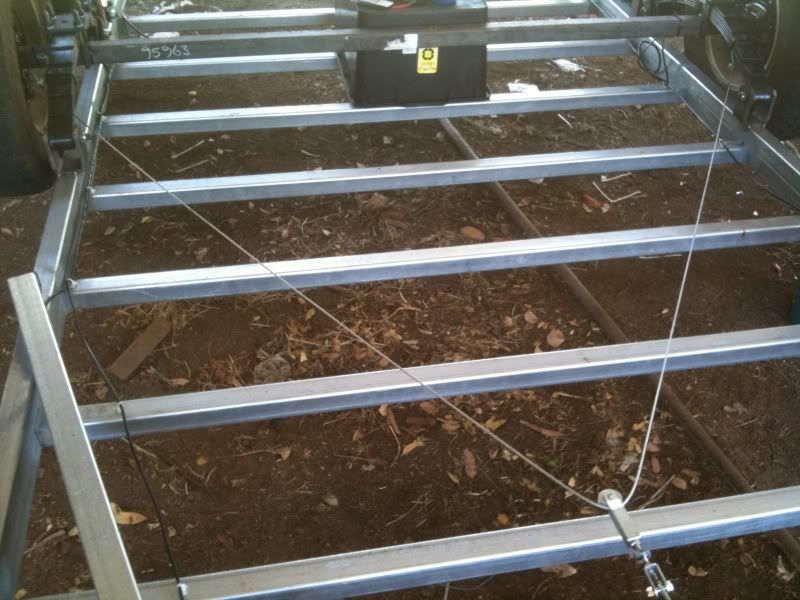
Thanks for the advice Yonnee. My other pics were a bit deceiving without the cross member shown.
Heres what I did today
Welded on the draw bar
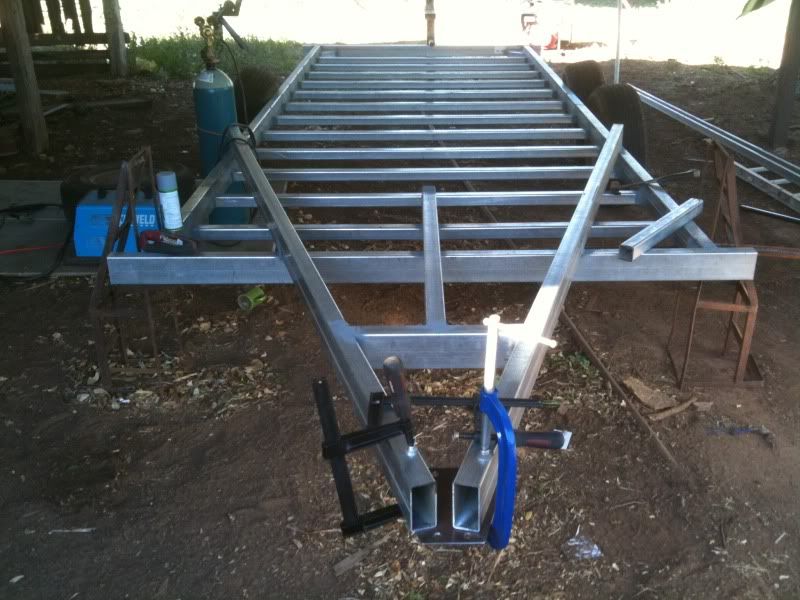
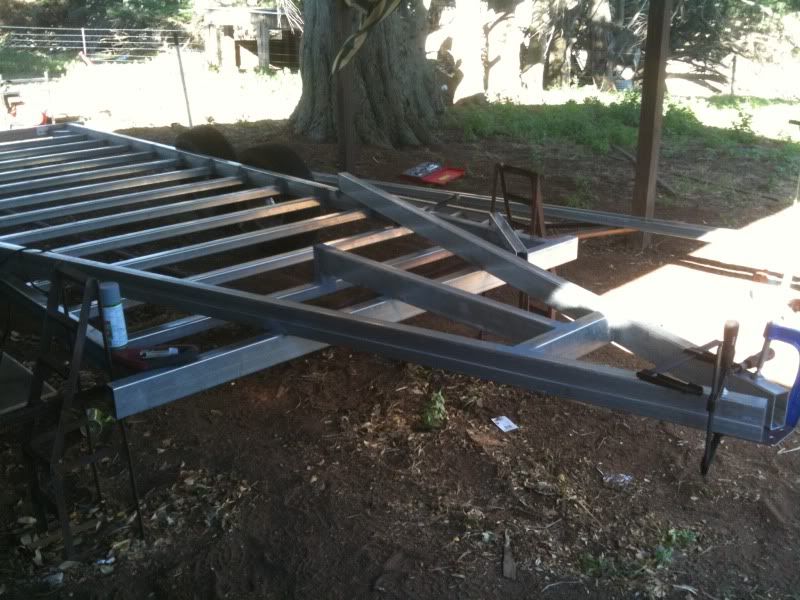
An idea of how it will look with wheels
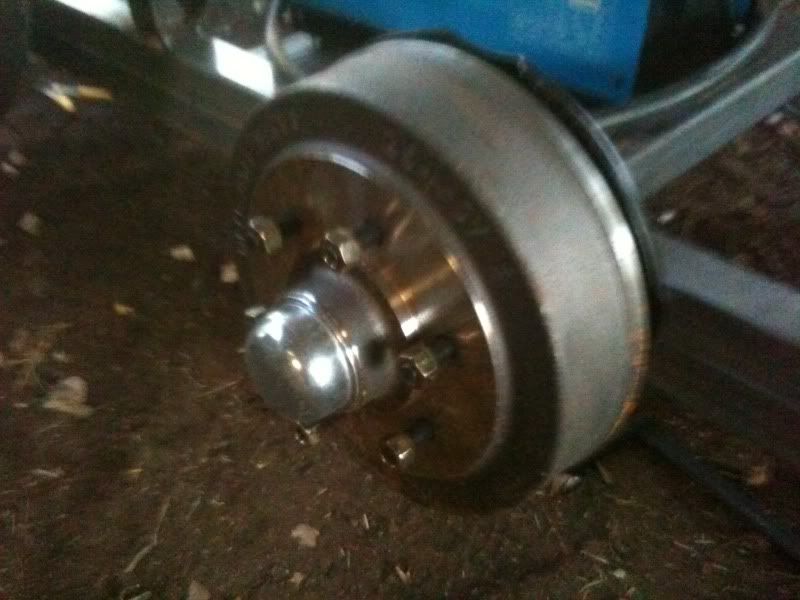
Axles and stuff is still a few days away. Studs turned out to be 12*1.5
-
2nd March 2010, 07:47 PM #21
Trailer Bloke & Mild Mannered Moderator
- Join Date
- May 2007
- Location
- Tooradin, Vic.
- Age
- 52
- Posts
- 1,885
That should help.
Coming along nicely.Too many projects, so little time, even less money!Are you a registered member? Why not? click here to register. It's free and only takes 37 seconds! Doing work around the home? Wander over to our sister site, Renovate Forum, for all your renovation queries.
-
2nd March 2010, 10:55 PM #22
2 years from inception to completion
- Join Date
- Nov 2009
- Location
- Melbourne
- Age
- 67
- Posts
- 60
Looking great. Your at the same stage as I am with my trailer. Lots of satisfaction to see it all coming together.
 I used 8 mm plate for my coupler mount and welded the ends together as Yonnee has suggested. Also the 2 front bolts on the coupler go through the plate and the top of the drawbar too. Are the corner gussets on similar type trailers, as I thought of putting some on mine but not sure if Im going overboard on the engineering. Have you got all the info on where to mount the centre hangers for the springs and measuring everything from the front end of the drawbar? Is that a transmig 165 you've got there? I bought one a while ago but haven't had a play with it yet. I'm still on stick. If you've got a second or 2 could you give me a few settings you use on various thickness' of steel.
Keep the photo's coming.
Cheers.
Richard.
-
3rd March 2010, 04:32 AM #23
Intermediate Member
- Join Date
- Feb 2010
- Location
- Warrnambool
- Posts
- 25
I'd love a 165, unfortunatly it's a 135. I didn't have a lot of money when i bought it and it was the biggest 'known reliable' brand i could afford.
Definitly go for the gas. I've spent ages using gasless wire and its chalk and cheese vs having gas. Pretty much go off their charts for welding settings. At the moment I am using High - 2 on the switches with a wire speed of 6.5 with .9mm wire. Gives a nice hot weld. Some thinner stuff I weld i've turned the wire speed down to 5 but generally 6 - 6.5 is a good place. This is for welding 3mm steel. After this I wouldnt mind getting a 200amp mig.
The centre mounts are 8.5" back from the centre point of the chassis. it's a little over 17'
-
3rd March 2010, 04:34 AM #24
Intermediate Member
- Join Date
- Feb 2010
- Location
- Warrnambool
- Posts
- 25
Any pics? Originally Posted by buildspacetrain
-
3rd March 2010, 09:35 AM #25
Hoarder of Timber
- Join Date
- Jun 2006
- Location
- East Warburton, Vic
- Age
- 54
- Posts
- 14,189
-
3rd March 2010, 03:18 PM #26
Intermediate Member
- Join Date
- Feb 2010
- Location
- Warrnambool
- Posts
- 25
haha yeah I seen that. early morning and i was about to head to work. bit slow at that time!
-
11th March 2010, 08:39 PM #27
Intermediate Member
- Join Date
- Feb 2010
- Location
- Warrnambool
- Posts
- 25
Picked up axles, springs, breakaway kit and brake controller.
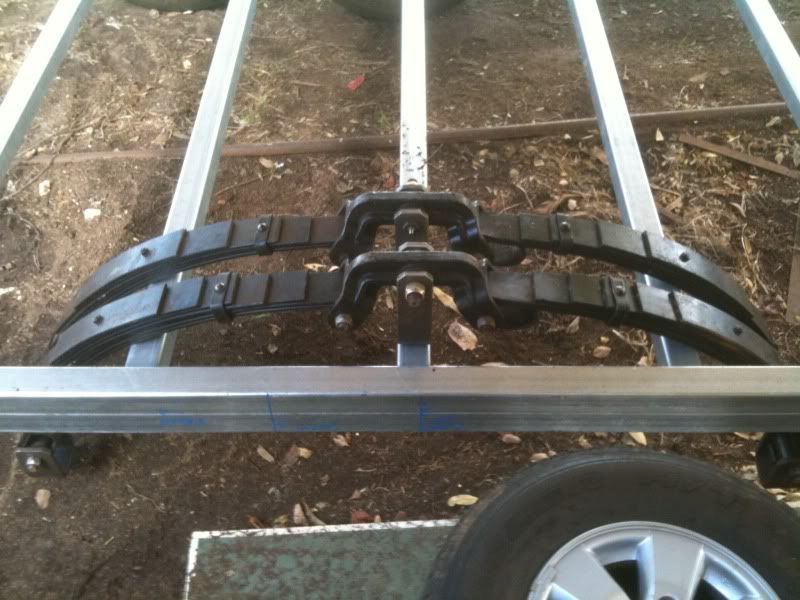
spot the difference.
Not happy!
Welded suspension hangers on today and mounted one axle.
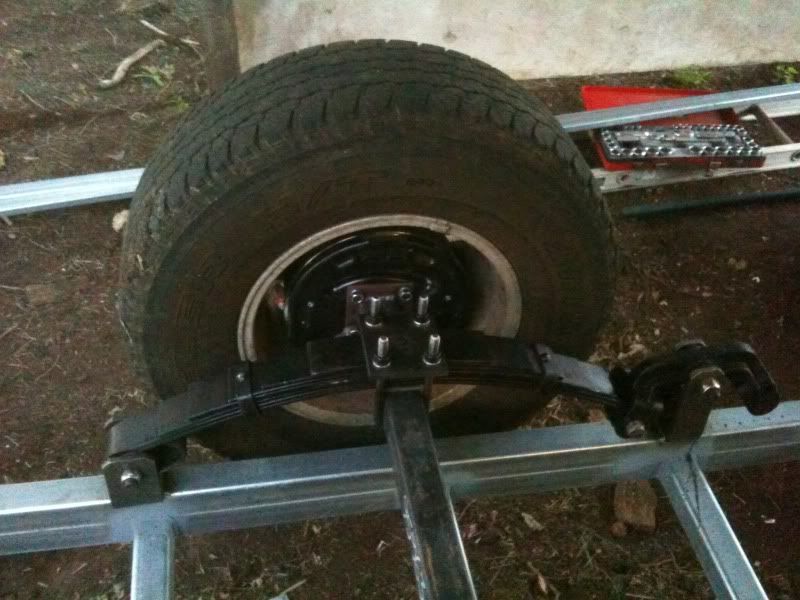
#### photo
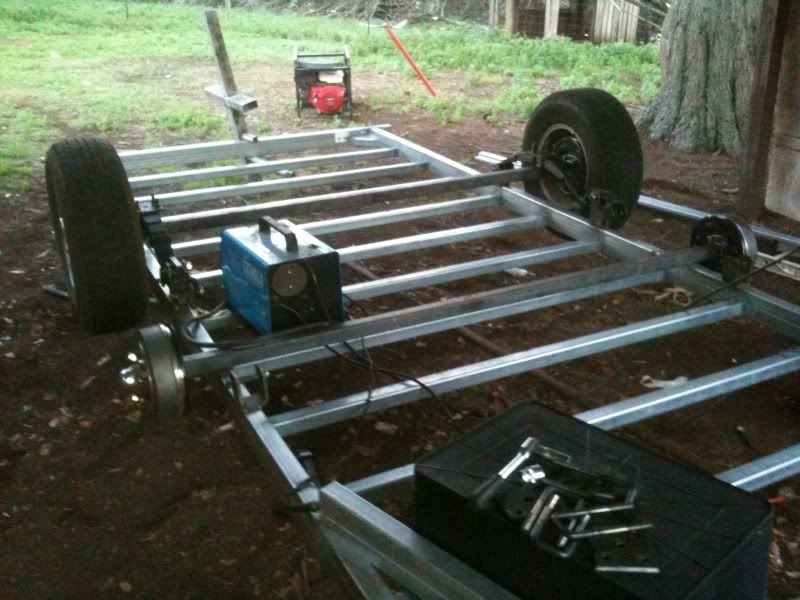
Also found that there are only enough nuts and spring washers to mount one axle. So I'll need to get more sent along with two 7 leaf springs
-
11th March 2010, 10:11 PM #28
Trailer Bloke & Mild Mannered Moderator
- Join Date
- May 2007
- Location
- Tooradin, Vic.
- Age
- 52
- Posts
- 1,885
Love the spring set...

Not only did they supply a 6 leaf set, but one to suit passenger car wheels, not Off-Road wheels. (See how in the first picture, the 6 leaf set has the centre spring bolts much closer together?) So you'd better make sure they send you the right off-set springs too.
Too many projects, so little time, even less money!Are you a registered member? Why not? click here to register. It's free and only takes 37 seconds! Doing work around the home? Wander over to our sister site, Renovate Forum, for all your renovation queries.
-
11th March 2010, 10:31 PM #29
Intermediate Member
- Join Date
- Feb 2010
- Location
- Warrnambool
- Posts
- 25
I sent a copy of the pic to Marshalls and got a call at 8am the next morning. Very apologetic and they will courier a set of springs to my door. I told him i'd just pick up from the nearest depot instead. They've been great so far and apart from this can't fault their service.
I fitted the wheels and I am 4mm narrower than the 2500mm so that was good.
-
13th March 2010, 08:50 PM #30
Intermediate Member
- Join Date
- Feb 2010
- Location
- Warrnambool
- Posts
- 25
I ended up driving back to Bacchus Marsh to swap the bit over. They tried to make me take $40 for fuel but I refused. I got two stubbie holders instead. lol.
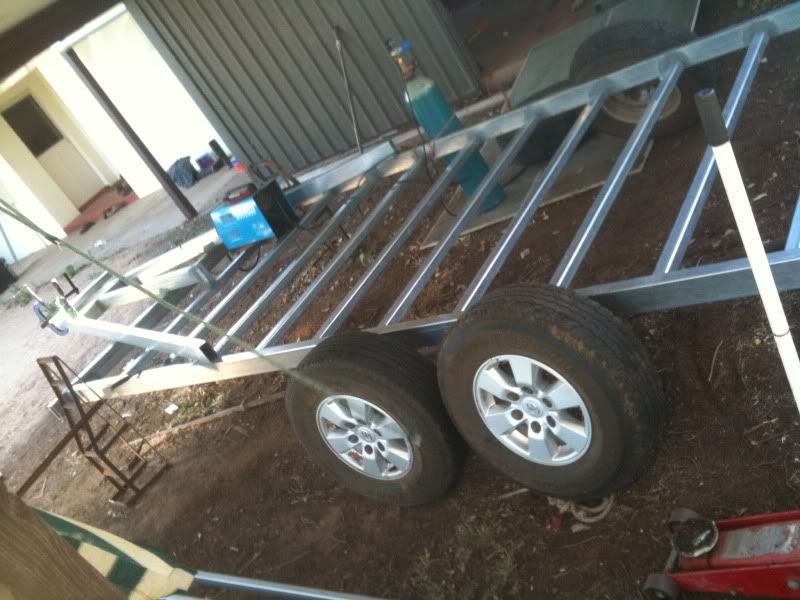
Made some good progress today
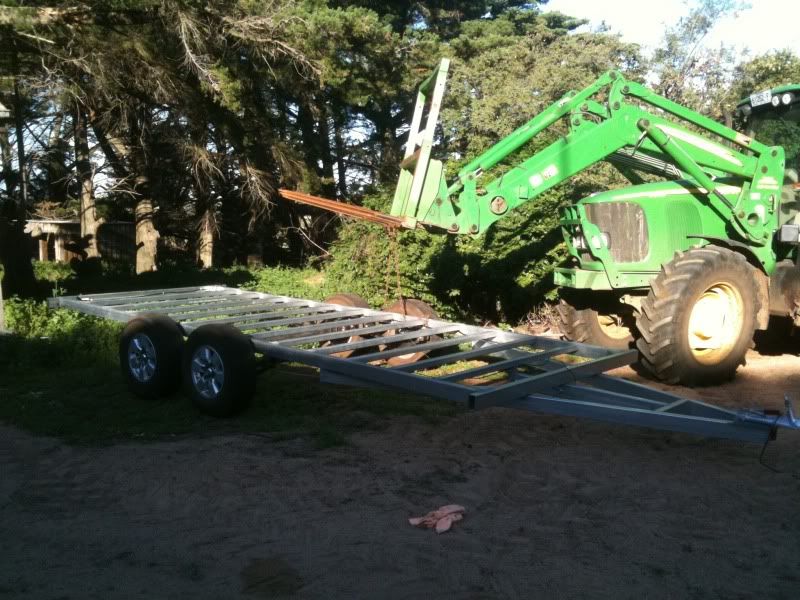
Mounted the other axle.
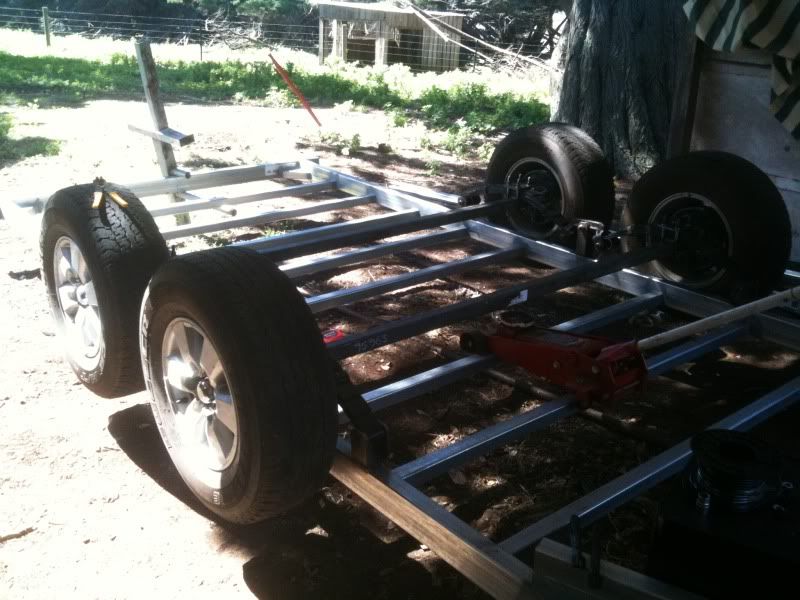
Welded on hitch plate and mounted hitch. I jibbed bunnings $1.76 by buying 4 2.5*1/2 inch bolts with the nuts wound onto them instead of paying the 44c each for them. Score.
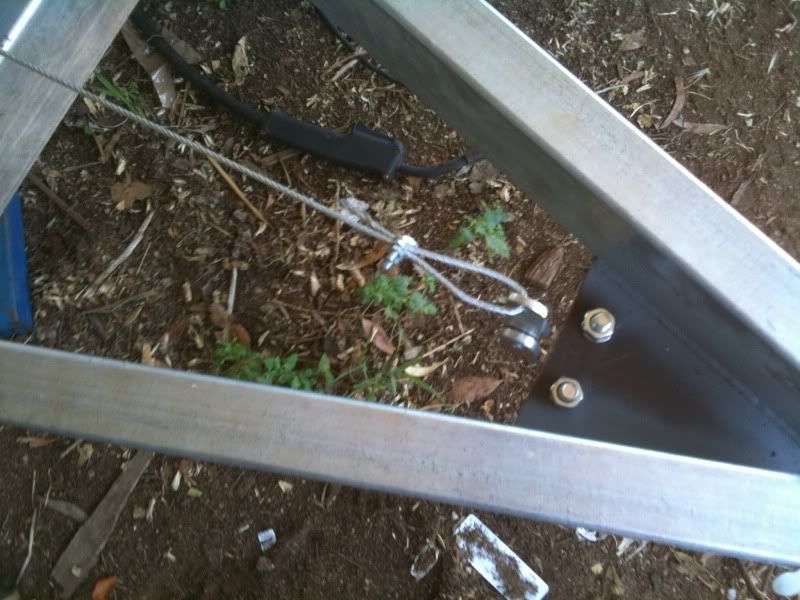
Ran the parkbrake cable and adjusted.
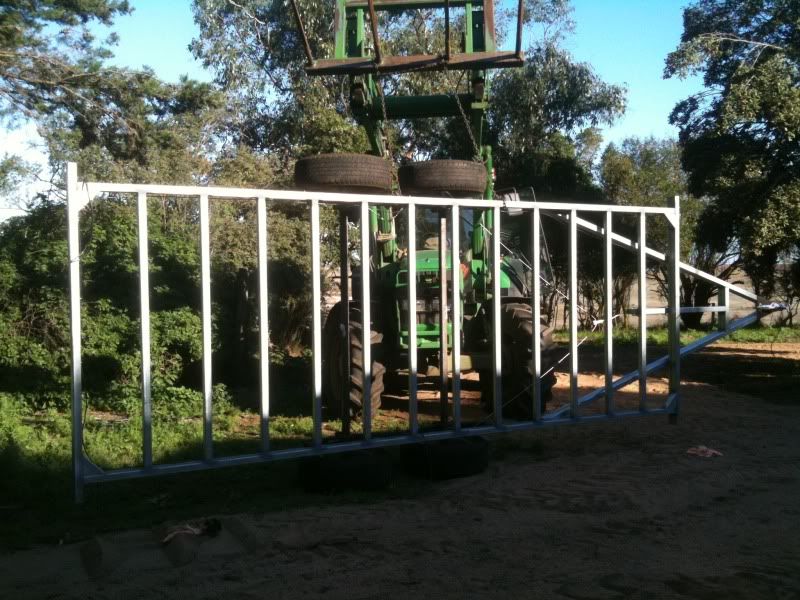
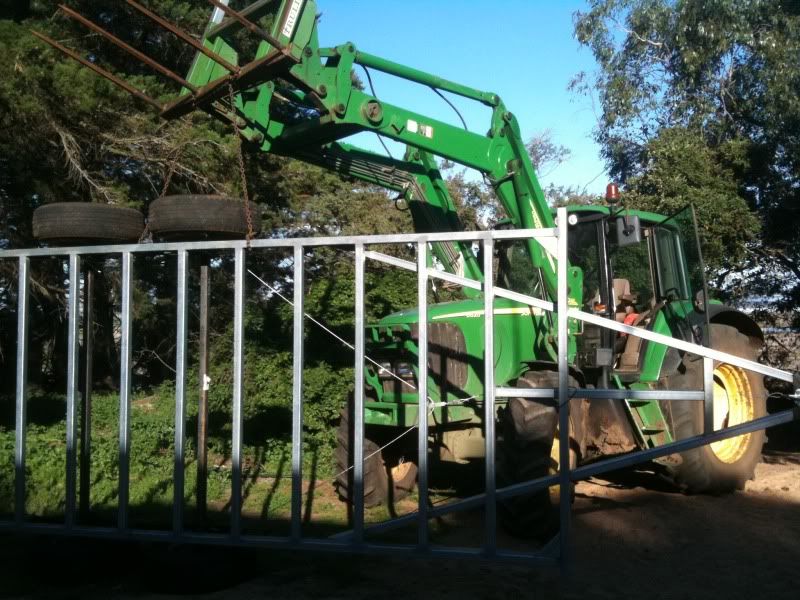
and flipped it over!


Similar Threads
-
Build me a dog trailer
By jatt in forum TRAILERS & OTHER FABRICATED STUFFReplies: 17Last Post: 29th September 2011, 07:42 AM -
Trailer Build
By dazzler in forum TRAILERS & OTHER FABRICATED STUFFReplies: 71Last Post: 8th November 2009, 09:03 AM -
Ute trailer build!
By motegi in forum TRAILERS & OTHER FABRICATED STUFFReplies: 7Last Post: 14th May 2009, 12:54 AM -
trailer build
By bobsreturn2003 in forum TRAILERS & OTHER FABRICATED STUFFReplies: 6Last Post: 4th March 2009, 03:31 PM -
Think I might build a trailer.
By timbo123 in forum TRAILERS & OTHER FABRICATED STUFFReplies: 5Last Post: 1st October 2008, 11:03 PM
