

 Thanks: 0
 Likes: 0
 Needs Pictures: 0
 Picture(s) thanks: 0
Results 31 to 45 of 50
Thread: My Trailer Build - Car carrier
-
14th March 2010, 01:26 PM #31Dave J Guest

Nice trailer,
Just a bit of advise
I'd be getting some high tensile bolts for the hitch.
Years ago we put hardware bolts in a trike split rim. The mate ended up in hospital for a few days after the bolts sheared and it exploded. He had months of recovery, 22 years on he still has trouble whith that leg.
Dave
-
14th March 2010 01:26 PM # ADSGoogle Adsense Advertisement
-
18th March 2010, 09:59 PM #32
 Intermediate Member


- Join Date
- Feb 2010
- Location
- Warrnambool
- Posts
- 25
Update. Unfortunatly iPhone was taking some very average pics tonight!
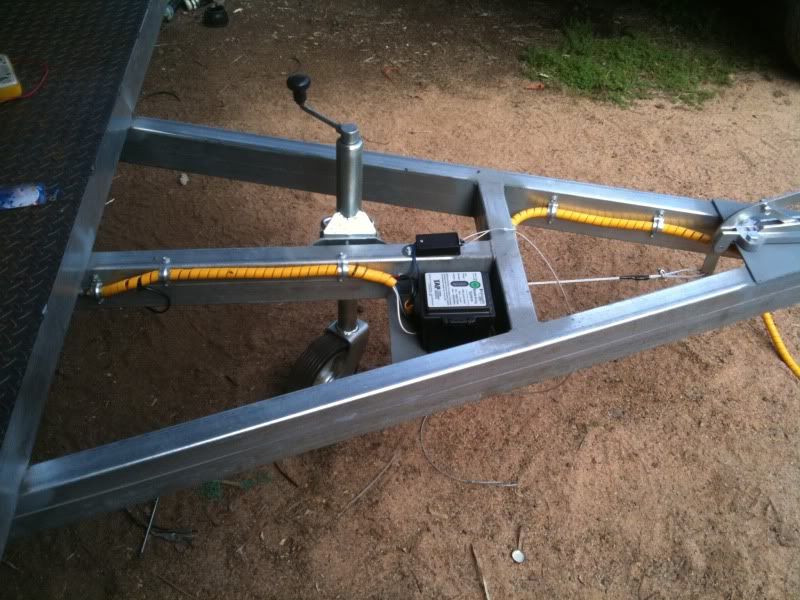
Welded on the jockey wheel. Decided to mount it on the inside of the draw bar instead of the usual place on the outside of the A arm
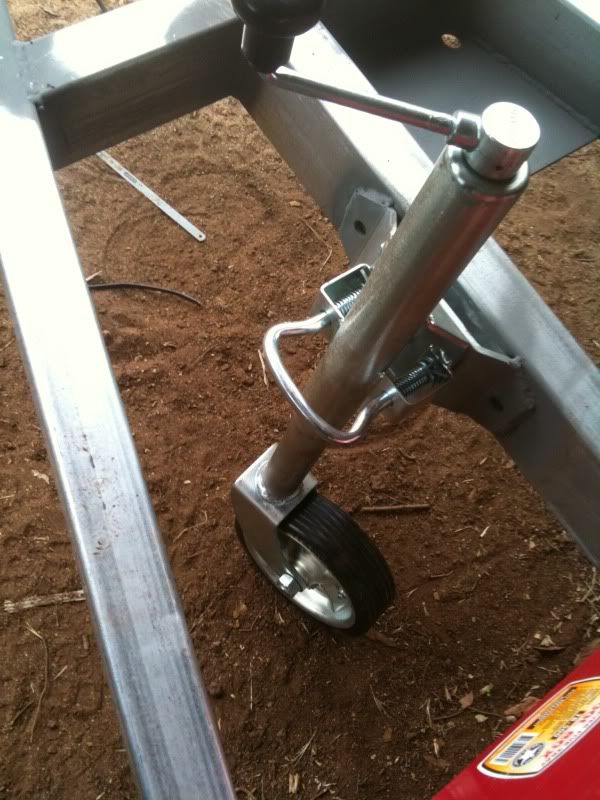
In this pic you can see how it will sit when folded up. The handle has to sit at the top which is a fool proof feature i guess

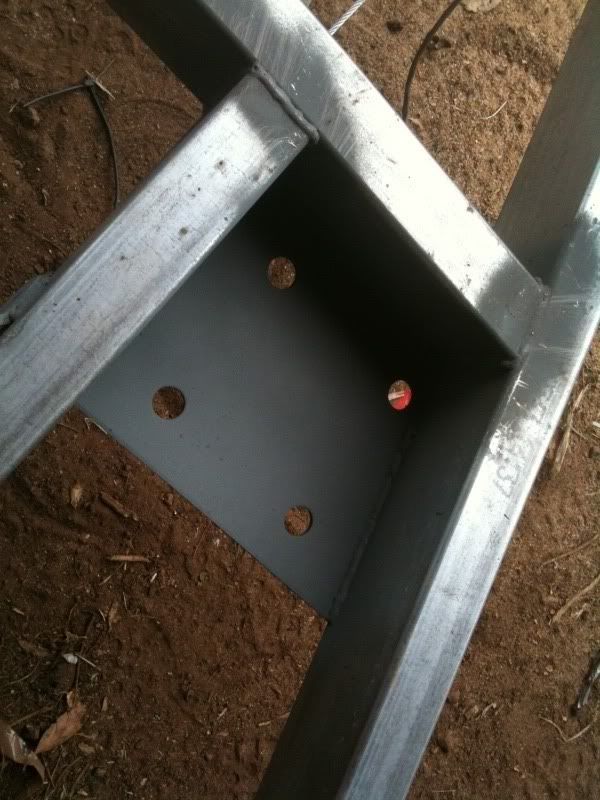
Welded a plate in for the breakaway battery to sit on.
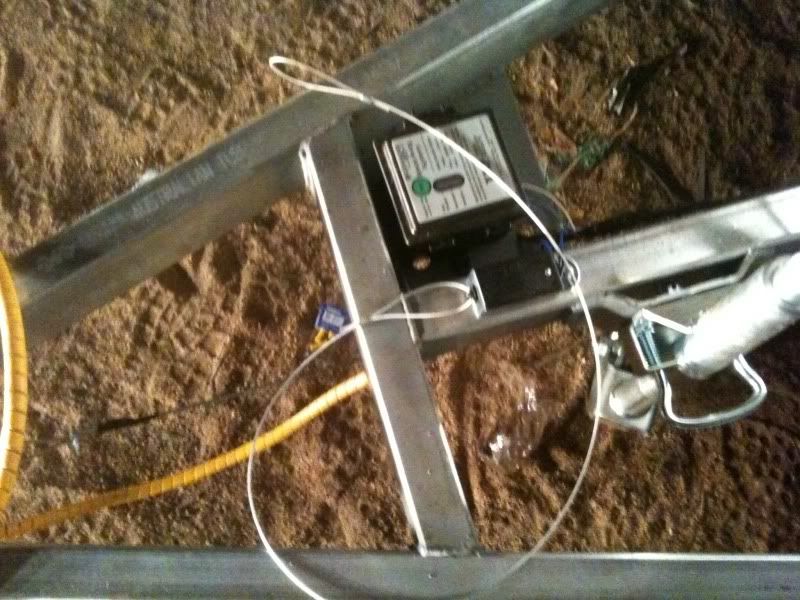
Breakaway battery and switch mounted. How this system works is the brake controller provides power to the brakes normally and a seperate 12v line charges the battery. The battery has a 12v feed line into the brake power line with the plunger switch in between. In the event the trailer detatches from the tow vehicle the plunger is pulled out which causes the battery to put 12 v (full lock up power) to the brakes. The requirement is that the brakes must apply and remain applied for 15min as well as lighting the brake lights.
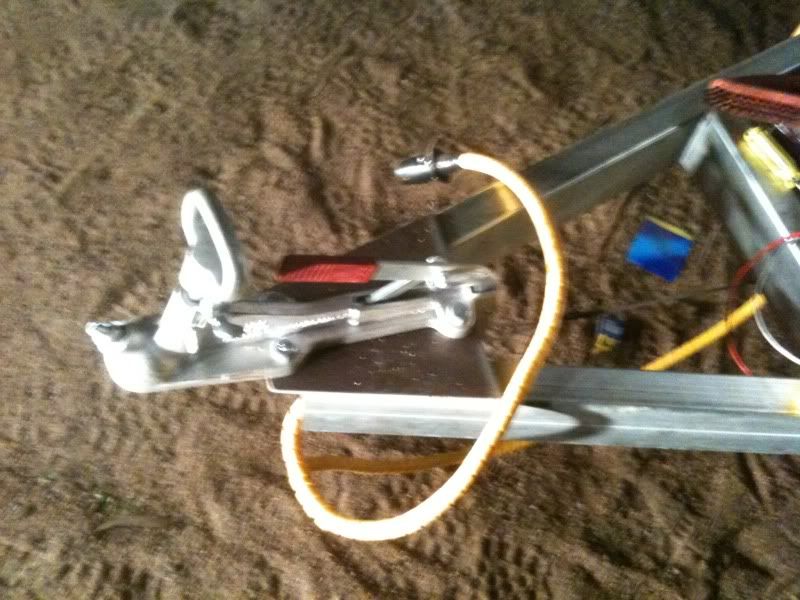
7 pin plug wired up. The yellow stuff is a hard plastic a that is commonly used in hydralic equipment where hoses move and rub and is wrapped around hoses to stop damage.
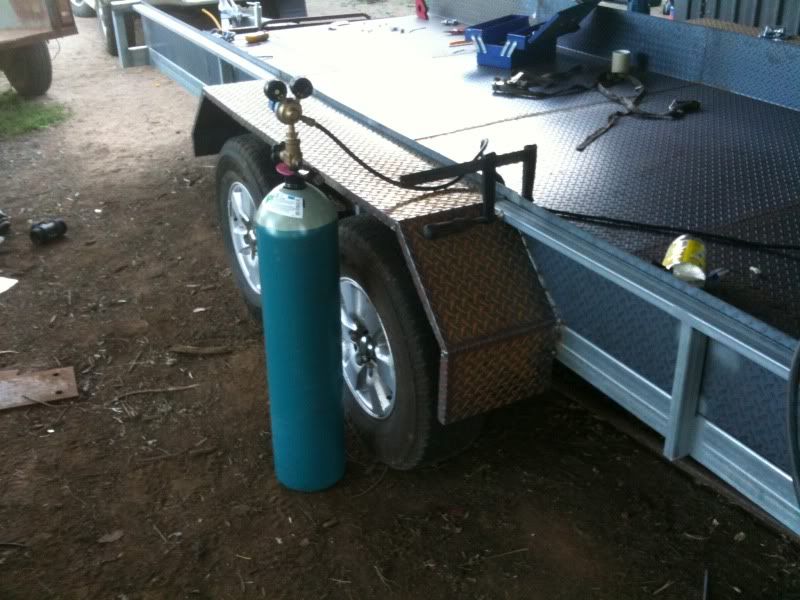
Floor folded up! 5 sheets of 2400*1200 checkerplate were needed. 4 full sheets were used the 5th was cut down leaving some leftover to make mud guards from. All joins in the checkerplate meet at the cross members.
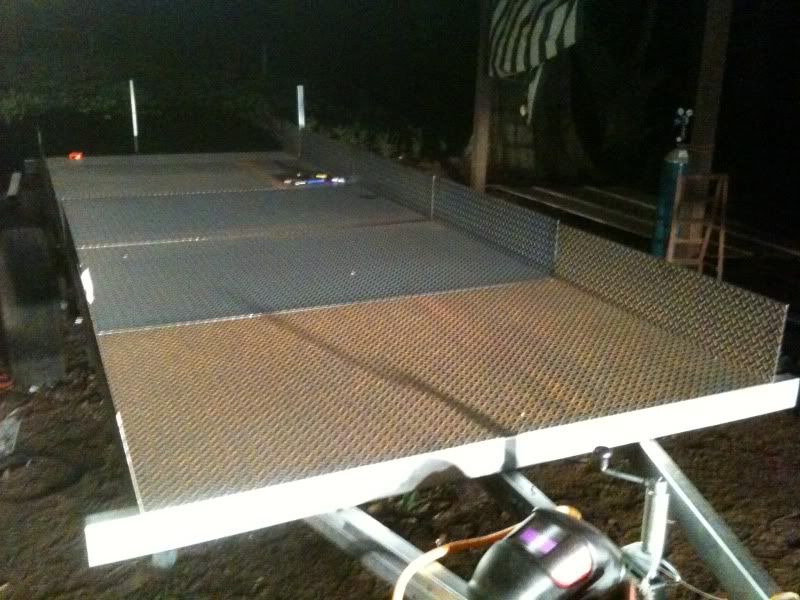
Tomorrow the mig will get a workout welding the floor together. I will need to lift the trailer on its side to weld the floor to the cross members. Welding upside down sucks. Then to fold up the mudguards and mount.
I got a Vin from vicroads and have stamped it on the drawbar. When it's finished I need to get it weighed and take it to vicroads for a rego.
-
18th March 2010, 10:02 PM #33
Intermediate Member
- Join Date
- Feb 2010
- Location
- Warrnambool
- Posts
- 25
Took your advice! Got another 4 high tensile bolts. The post above is a direct copy of what i posted on a car forum/club i am part of. Just so you know that I know you guys know how the electric breakaway works. The guys in my car club mostly dont. Originally Posted by Dave J

-
18th March 2010, 11:22 PM #34Dave J Guest
Looking good, any idea of what it will weigh when it's finished?
When I had guards folded up for a custom box trailer years ago, I got the sheet metal bloke to fold the outside edges of the guards 20mm 45deg-20mm 45deg to give the edge an angle instead of the boring 90deg most trailers have. Since then I have seen trailers with up to 50mm on the 45 angle and a 10-20 edge which also looks good.
Keep up the good work.
Dave
-
19th March 2010, 04:07 PM #35
Trailer Bloke & Mild Mannered Moderator
- Join Date
- May 2007
- Location
- Tooradin, Vic.
- Age
- 52
- Posts
- 1,885
I'll put my $0.02 in regarding coupling bolts. Having spoken at length to Trigg Brothers Couplings about this very issue, whenever they test their own couplings (in-house testing to Australian Standard), they only ever use quality mild steel bolts, as under impact load (as in an accident) they will stretch, whereas higher tensile bolts are more brittle and can shatter. And the higher the tensile strength, the more brittle they are.
Personally, for a trailer that size, I would use high tensile bolts, but only to grade 5. For a small box trailer, only ever mild steel, BUT... only if I knew where they came from! I would have no problem using Ajax bolts for example, but I doubt that I'd trust mild steel Chinese bolts.Too many projects, so little time, even less money! Are you a registered member? Why not? click here to register. It's free and only takes 37 seconds!
 Doing work around the home? Wander over to our sister site, Renovate Forum, for all your renovation queries.
-
22nd March 2010, 02:30 PM #36
New Member
- Join Date
- Feb 2009
- Location
- Toowoomba
- Posts
- 8
Hi Yonnee,
Hi tensile bolts being brittle are really only a problem if they have been treated by a third party. From there you can get what is called hydrogen embrillement and the tensile strength of the bolt is compromised with often spectacular results.
The "chinese" bolts may be as good or not, but often they are post treated and not in the same factory and the quality can be questionable.
It is this reason taht some think hi-tensile ARE a problem, where as it is the source that IS the problem. Stay with known quality brands and do not post treat them and they will be fine.
Treated bolts by the quality manufacturer will be fine.
Cheers Cam
-
22nd March 2010, 08:56 PM #37
Intermediate Member
- Join Date
- Feb 2010
- Location
- Warrnambool
- Posts
- 25
I estimate 800kg. Originally Posted by Dave J
I thought about your idea but the guards I was doing myself so to do a 45 and 45 was just a bit of stuffing around for me.
The bolts ... well you all have me confused!!!
I got the second lot of bolts (HT) from cobden tools and trailers and it is what they use so thats good enough for me. Not ignoring the advice from here however!
A couple of things done today.
Got some saddle clamps for the cables and mounted.
Welded floor sheets together. Took a couple of hours to do that and a bit of playing to get the welder settings right. Only tripped a 20amp circuit breaker once. I thought the welder would need some time out but it didnt bat an eyelid.
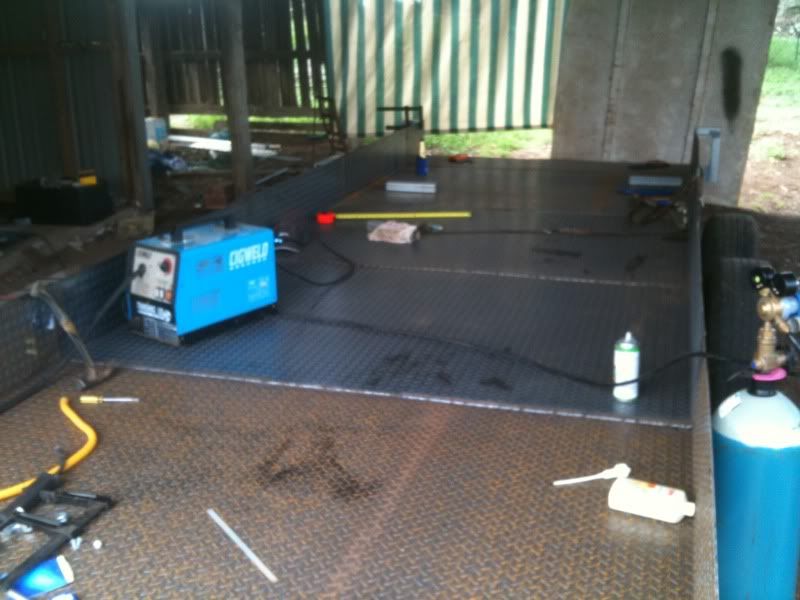
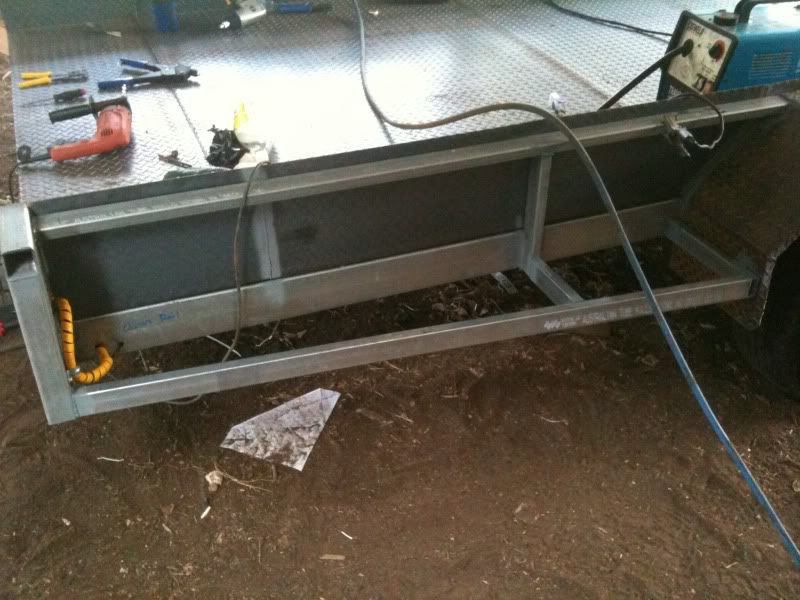
And welded side rails
Also today wired up the controller in the ute. Pretty simple, the controller has 4 wires, two to the battery with a 20amp self resetting circuit breaker, a signal wire from the brake lights and a power line to the trailer wired into the service brakes pin of the trailer plug. The hilux already had the service brakes wire but it was not nearly big enough. Each brake uses up to 3 amp so the wire needs to run 12amp. There would be a lot of voltage loss if I used the factory wire which is the most common cause of electric brakes not working. I have used 2x 12 guage wires. I still need to upgrade the earth from the vehicle plug as it's still the factory 16guage wire which is only enough for lights.
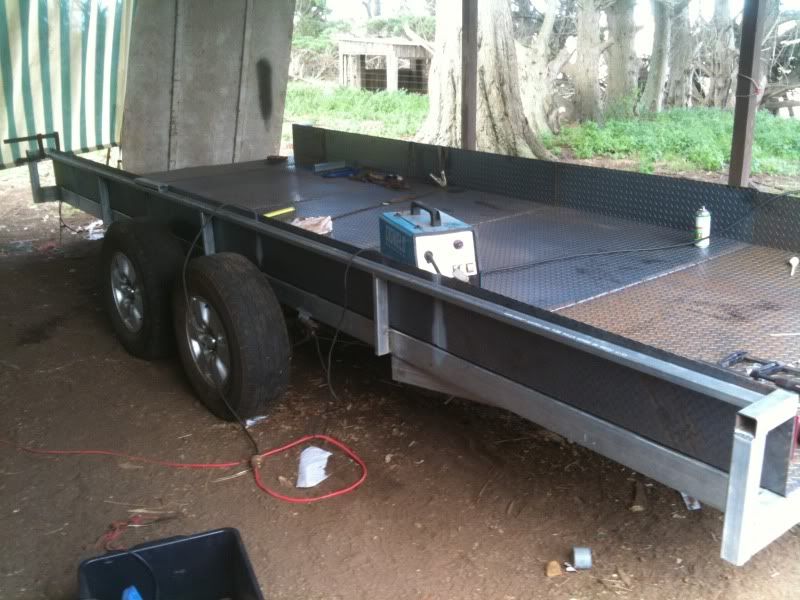
Folded up some guards from the remaining checker plate. I did this by griniding most of the way through the checkerplate and bending by hand. Worked fairly well. The downside was I had to run a weld along the folds where bending the normal way this wouldnt be needed.
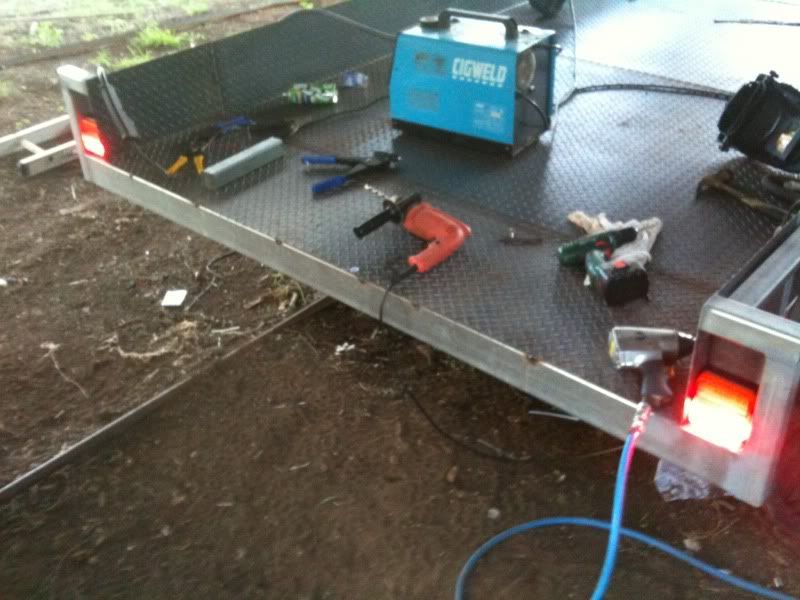
Welded checker plate into the tail light housing and mounted tail lights and wirewd up
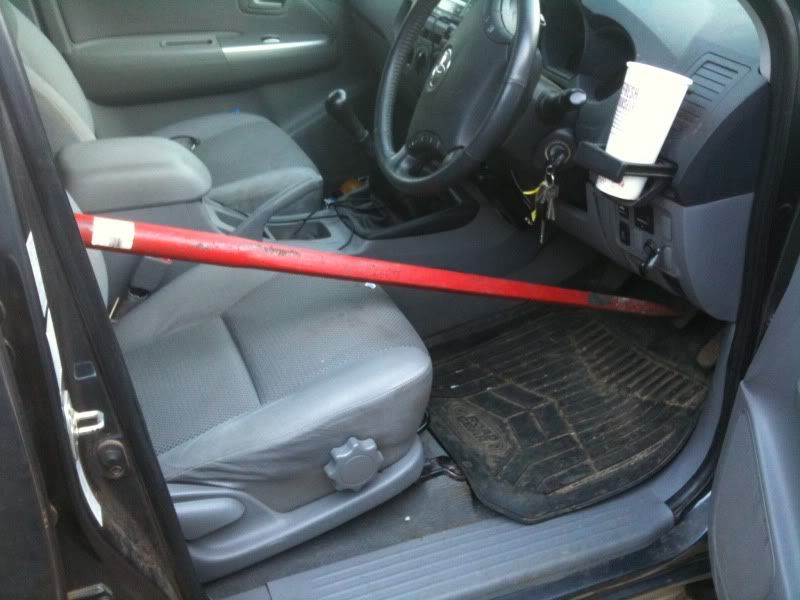
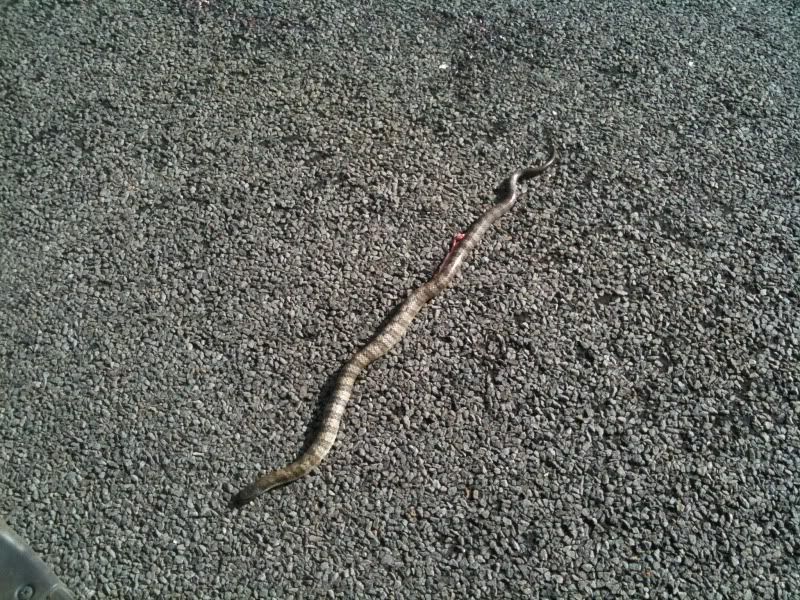
How to keep brakes on. Commonly used to stab AU falcons with.
-
23rd March 2010, 12:45 PM #38
Trailer Bloke & Mild Mannered Moderator
- Join Date
- May 2007
- Location
- Tooradin, Vic.
- Age
- 52
- Posts
- 1,885
ROFLMAO Originally Posted by 09sr5
And deservedly so...
Too many projects, so little time, even less money!Are you a registered member? Why not? click here to register. It's free and only takes 37 seconds! Doing work around the home? Wander over to our sister site, Renovate Forum, for all your renovation queries.
-
23rd March 2010, 12:47 PM #39
Trailer Bloke & Mild Mannered Moderator
- Join Date
- May 2007
- Location
- Tooradin, Vic.
- Age
- 52
- Posts
- 1,885
What other light are you running. You do realise that with a trailer that big, you'll need a Red/Amber in each corner.
Too many projects, so little time, even less money!Are you a registered member? Why not? click here to register. It's free and only takes 37 seconds! Doing work around the home? Wander over to our sister site, Renovate Forum, for all your renovation queries.
-
23rd March 2010, 07:20 PM #40
Intermediate Member
- Join Date
- Feb 2010
- Location
- Warrnambool
- Posts
- 25
Well i might be a little on the slow side but when I read the vic roads regs i find them hard to follow

The lights I have so far are:
Brake and indicator lights
Number plate lights
2x red/orange lights for side clearence to go on the guards
a bunch of red/white reflectors.
What else do I need?
-
23rd March 2010, 07:28 PM #41
Intermediate Member
- Join Date
- Feb 2010
- Location
- Warrnambool
- Posts
- 25
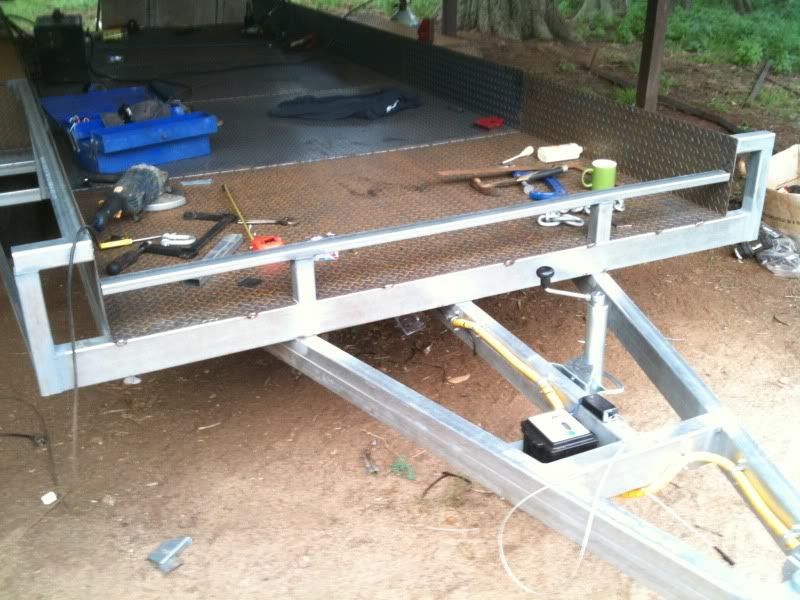
Another small update
Put on side rails
Front rail made but not mounted. Wind picked up in a hurry so had to leave that.
Nailed this guy on the road too.
-
23rd March 2010, 07:34 PM #42
Intermediate Member
- Join Date
- Feb 2010
- Location
- Warrnambool
- Posts
- 25
It's a bit of a personal joke with mates, we're all into falcons and one friend has an AU wagon he bought to wreck. It is terminally affected by rust after 10 yrs in a seaside town but only had about 90,000km on it. we'd taken the motor out and put it in his EB (thing flys now).I was walking past his wreck with a crow bar in hand took the opportunity , stabbed it a few times and kept walking. My mates were in fits since it was so random. Originally Posted by Yonnee
Anyway here's a website that lists a current car we're working on. Should be interesting.
www.e21build.com
-
24th March 2010, 11:27 AM #43
Trailer Bloke & Mild Mannered Moderator
- Join Date
- May 2007
- Location
- Tooradin, Vic.
- Age
- 52
- Posts
- 1,885
They can be pretty vague, but it used to be my job to know them, so the VSB1 was my bible for a while. Originally Posted by 09sr5
OK, the regulations state that any trailer over 2.1M wide overall, requires "end outline markers" to show the external dimensions of the trailer. Therefore technically, yours requires a Red/Amber light mounted at the front and rear of each side (to mark the four corners), and, a pair of white lights facing the front of the trailer. However, there's a loophole that also states that if there's no place to mount a front Red/Amber or White lamp, such as a boat trailer, then one Red/Amber on the guard in the middle of the trailer is acceptable. But if you do have the front Red/Amber, then it can also double as your front White lamp. So, it depends on the Vicroads officer registering your trailer as to whether they'll let you get away with only the one, seeing as your does have sufficient structure to mount lights at the front. Originally Posted by 09sr5
Personally, when I build my own car trailer, it will be lit up like a Christmas tree. One at the front of the trailer, one at the front of the guard, one at the rear of the guard, one at the rear of the trailer, and a side repeater indicator on the side of the guard between the two wheels. I watched a car nearly clean up a trailer that was pulled out of a side street. It only had rear taillights, and because it turned towards us you couldn't see it till it had passed us. So I am a big fan of lights on a trailer.
You'll also need up to 3 Amber reflectors on each side of the trailer too. One within a metre of the rear of the trailer, One in the middle third, and One within 3 metres of the front of the coupling. If any of these dimensions overlap, you can place the One reflector in the overlap. (If the trailer is less than 9 metres long, then the front of the middle third is within 3 metres of the front of the trailer.)Too many projects, so little time, even less money!Are you a registered member? Why not? click here to register. It's free and only takes 37 seconds! Doing work around the home? Wander over to our sister site, Renovate Forum, for all your renovation queries.
-
28th March 2010, 09:37 PM #44
Intermediate Member
- Join Date
- Feb 2010
- Location
- Warrnambool
- Posts
- 25
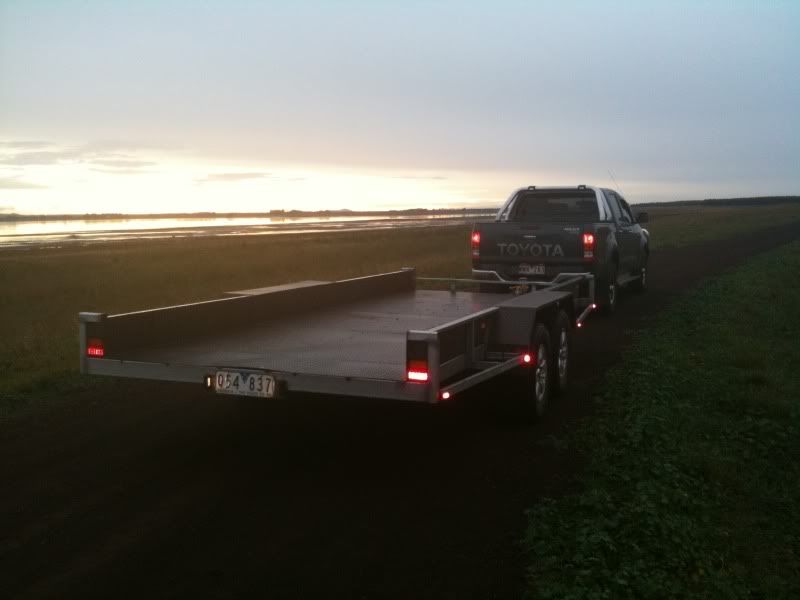
Maiden voyage tonight!
Welded on the two safety chains. Two are required for this weight. I forget what the actual stipulation is but yeah.
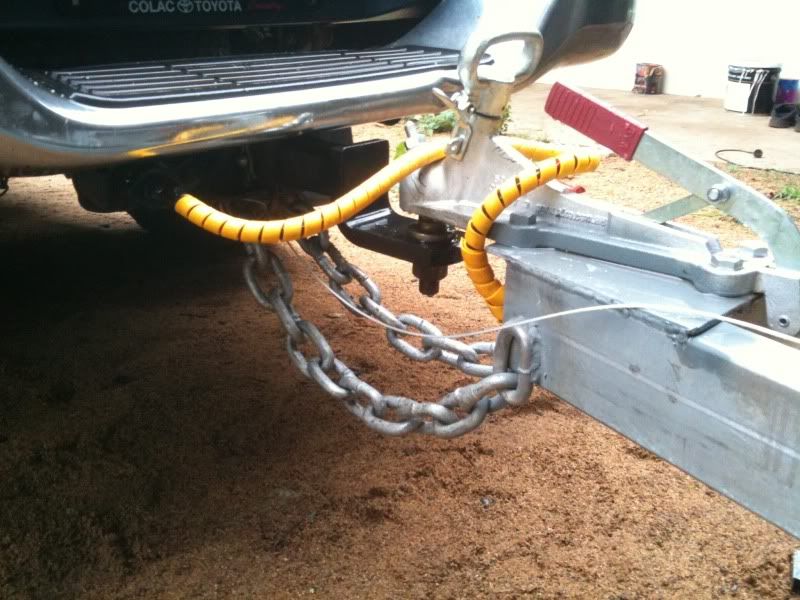
The thin wire cord is the breakaway switch cable.
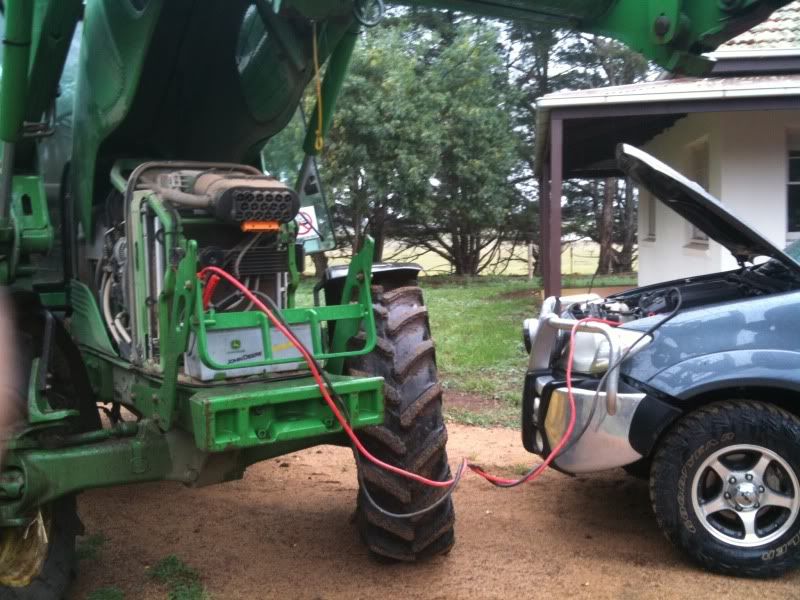
Flattened the battery on the car. I had the lights on and trailer plugged in while i finished off the electrics. I wondered why the LED's were going a bit funny when the indicator flashed. Dead battery lol
In the end I put four clearence lights on each side along and a turn indicator on the guard.
I can charge the breakaway battery if the car is in reverse.... I still need to upgrade the cars earth wire in the trailer plug and also run an ignition switched 12v charge wire to the reverse light pin of the plug. The trailer will be earthing through the draw bar at the moment, it's not ideal but it works. Today was raining and I wasn't going to lay under the car!!
First tow was great. Electric brakes are awesome. I can hang the trailer sideways by giving it a flick and punching on the brake overide. Looks awesome. I've never towed with electric brakes before - it is so different. It's like braking as normal and with a bit of help from the trailer. Definitly worth the coin.
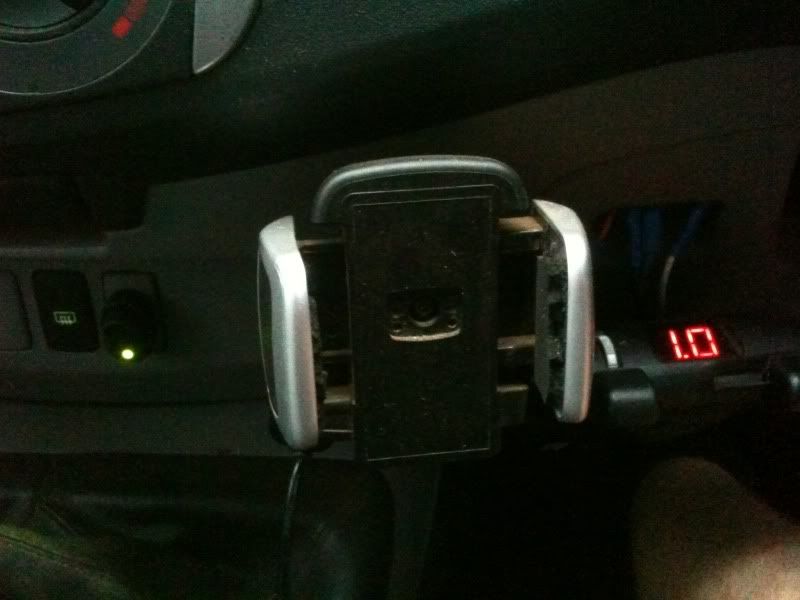
Pretty dodgy photo. The brake controller is on the right. 1V is basically stopped, 13v is wheel smoking. As you decellerate the amount of power that is put to the brakes is according to decelleration. Hard braking will put more power, less will apply less. The slide which you can just see over rides that.
The switch to the right with the green light is inline with the signal from cars brake cuircuit. When the brake switch opens power goes to the controller. I have set this up so I can switch this off so when theres no trailer the brake controller wont work, and when the switch is on the green led lights when the peddle is pushed. This means the controller back feeds power to the brake cuircit of the vehicle when the slide override is used meaning tail lights come on.
-
28th March 2010, 09:39 PM #45
Intermediate Member
- Join Date
- Feb 2010
- Location
- Warrnambool
- Posts
- 25
Also tommorrow is rego day. 10:30am
All I can say is:


Similar Threads
-
Build me a dog trailer
By jatt in forum TRAILERS & OTHER FABRICATED STUFFReplies: 17Last Post: 29th September 2011, 07:42 AM -
Trailer Build
By dazzler in forum TRAILERS & OTHER FABRICATED STUFFReplies: 71Last Post: 8th November 2009, 09:03 AM -
Ute trailer build!
By motegi in forum TRAILERS & OTHER FABRICATED STUFFReplies: 7Last Post: 14th May 2009, 12:54 AM -
trailer build
By bobsreturn2003 in forum TRAILERS & OTHER FABRICATED STUFFReplies: 6Last Post: 4th March 2009, 03:31 PM -
Think I might build a trailer.
By timbo123 in forum TRAILERS & OTHER FABRICATED STUFFReplies: 5Last Post: 1st October 2008, 11:03 PM
