

 Thanks:
  Likes:
  Needs Pictures: 0
 Picture(s) thanks: 0
Results 46 to 60 of 89
Thread: Lathe Help
-
21st March 2014, 12:14 AM #46
 Blacksmith, Cabinetmaker, Machinist, Messmaker


- Join Date
- Dec 2011
- Location
- Canberra
- Age
- 40
- Posts
- 4,467

Hi Ed,
I normally aim for between .001" and .002" or .025 and .05mm total play in the spindle. Not sure what Hercus recommends though. Take the chuck of and run a bar through the spindle. Set up your dial gauge vertical on the spindles register. Push the bar down gently. You should find it moves "easily" to a certain point. This is the oil film being squashed out of the way and now you have metal to metal contact. Zero your dial and now lift the spindle the same way, making sure to overcome the oil film. The dial reading is you gap. It can be handy to film what your doing so you can go back and check just what the measurements were.....
As for the bolts, again i'm not sure what Hercus recommends but as long as it is a consistent amount so there is not an extra variable in your testing. Maybe 40 or 50 LBS?
A note on bearing adjustment, it depends on the oil that use use as to what you can get away with. Thicker oil and you can have a bigger gap. Light oil and the gap has to be smaller.
I think your belts are a bit tight too, either that or the motor is very rough running. A cog type V belt can make the world of difference especially with that small motor pulley. You also want the flat belt to be able to slip if you have a whoops moment when you are first learning.
Cheers,
Ew1915 17"x50" LeBlond heavy duty Lathe, 24" Queen city shaper, 1970's G Vernier FV.3.TO Universal Mill, 1958 Blohm HFS 6 surface grinder, 1942 Rivett 715 Lathe, 14"x40" Antrac Lathe, Startrite H225 Bandsaw, 1949 Hercus Camelback Drill press, 1947 Holbrook C10 Lathe.
-
21st March 2014 12:14 AM # ADSGoogle Adsense Advertisement
- Join Date
- Always
- Location
- Advertising world
- Age
- 2010
- Posts
- Many
-
21st March 2014, 08:01 AM #47
Senior Member
- Join Date
- Sep 2009
- Location
- Penrith, NSW
- Posts
- 116
Lathe Help
Ew, thanks for the info. I will slacken the belt off a bit and see what that does, any gauge on how tight it should be? Might sound rough because the motor is very rough (will swap out for 3 phase and VFD at some point), but will do for now.
I have the South Bend rebuild book at home too (got it from Mal) so have the settings for the spindle. It mentions a force setting to use on the bar too but that's the one I cannot measure. Will just try it with medium force first to see how I go. BTW I am using 40 something hydraulic oil.
Saw a note from someone regarding the rag and I will be swapping it out for some paper towel instead. Need to respect these machines as I can see how quickly it could do some damage to the digits!
-
21st March 2014, 09:10 PM #48
Senior Member
- Join Date
- Sep 2009
- Location
- Penrith, NSW
- Posts
- 116
Lathe Help
Got into the shed tonight and tested the clearance at the spindle. Instead of detailing it I took a couple of videos so people can let me know if I did anything wrong.
http://youtu.be/f8GZbT_vMeA
http://youtu.be/u6mF6MuTBSk
The results:
Chuck side: 0.06mm / 0.024"
Gear side: 0.04mm / 0.016"
So the chuck side is out of spec. Can it be run like this (just excessive oil loss) or do I need to remove a shim pack?
If I remove a shim pack (0.015") won't that leave the clearance too tight (0.009") as the clearance range is 0.001-0.002"
-
21st March 2014, 09:27 PM #49
GOLD MEMBER
- Join Date
- Jun 2007
- Location
- sydney
- Age
- 64
- Posts
- 3,566
You may need to write your measurements down and make yourself familiar with converting metric to imperial and refresh your self with the imperial system.
If you can adjust your clearances to within .001" to .0015" you should be right.
Have you tightened down the bearing cap bolts fully when you took your measurements.
You may find that you may need to change from copper pipe to a piece of solid bar.
After you have tightened the cap bolts and checked your measurement run the lathe at its fastest speed for around 15 to 20 minutes and see how much heat is generated.
It may get warm or hot but you should be able to hold the back of your fingers against the housing without having to remove them because of heat.
You may find that the rear housing is hotter than the front due to the take up nut applying pressure to the thrust bearing.
If this is the case you may have to release the locking screw from the take up nut and release it slightly to take some load off the thrust bearings.
-
21st March 2014, 09:33 PM #50
Senior Member
- Join Date
- Sep 2009
- Location
- Penrith, NSW
- Posts
- 116
Lathe Help
Yeah I got a bit muddled with the conversion because of all the zeros behind decimal places. Used a calculator on my iPhone for the actual numbers though so I know the chuck side is out of spec.
Is 0.0004 too much gap over max spec? If so I will need to locate some 0.001" shim stock and redo it.
FYI the bolts were done up tight and that copper pipe was pretty solid (20mm and not the soft copper).
-
21st March 2014, 09:42 PM #51
GOLD MEMBER
- Join Date
- Jun 2007
- Location
- sydney
- Age
- 64
- Posts
- 3,566
For the age of the lathe the clearance should be fine.
-
21st March 2014, 09:43 PM #52
Senior Member
- Join Date
- Sep 2009
- Location
- Penrith, NSW
- Posts
- 116
Lathe Help
Superb. Will run it this weekend as you suggested to check if there is any excess heat. If not I may have a crack at cutting something.
-
23rd March 2014, 07:59 PM #53
Senior Member
- Join Date
- Sep 2009
- Location
- Penrith, NSW
- Posts
- 116
Lathe Help
Late got a workout today. Ran it for 25 mins on max power to see if the bearings got too hot, whilst they got warm they definitely didn't get hot. I also tried cutting something with the carbides I got with the lathe. Broke one of them being an idiot and not getting the height right and going past the centre point trying to face off, oh well live and learn. The finish wasn't great with the carbides unfortunately, hopefully someone can see if I am doing anything wrong:
http://youtu.be/WZhJQEJl0-k
There is an issue on the lathe. When I start a cut the cutting edge can move, mostly a problem when I am facing. I suspect it's because there is lots of slop in some of the threads, causing the cutting edge to move. Anyone got any thoughts?
I do know my tool post is crap, so that will be swapped out as soon as possible.
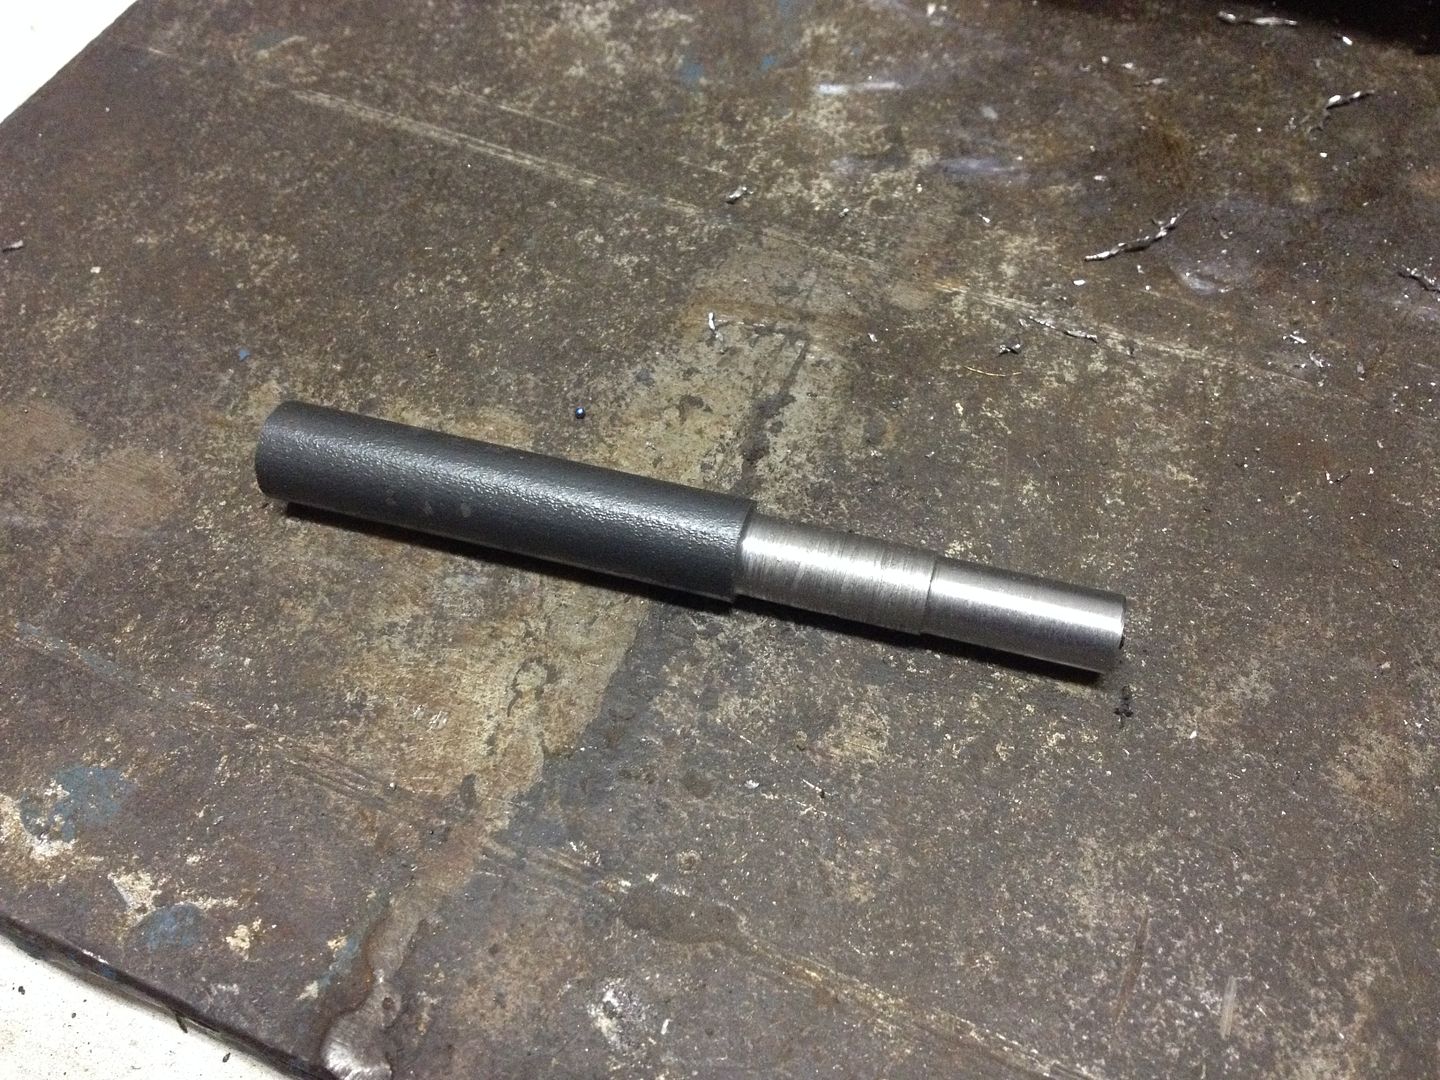
I was keen to try and have a crack at making a HSS tool today too, worked a treat. I popped it into the tool post to have a go at cutting something with it and for some reason the finish was waaaay better than the carbide (this piece has a rough cut then finishing cut):
-
23rd March 2014, 08:53 PM #54
SENIOR MEMBER
- Join Date
- Oct 2011
- Location
- sydney
- Posts
- 880
Sounds like your cross slide nut and maybe spindle is worn. It's easy enough to take them out and have a look, also Mal sells replacements. From the photo and clip you posted your finish is really good on the dreaded black bar. Originally Posted by neevo

Ben.
-
23rd March 2014, 09:05 PM #55
Senior Member
- Join Date
- Sep 2009
- Location
- Penrith, NSW
- Posts
- 116
Thought that might be the case Ben. I can move both the cross slide and compound back and forth a bit, I assume this excessive backlash is what's causing the tool post to move when taking cuts?
-
24th March 2014, 04:56 AM #56
SENIOR MEMBER
- Join Date
- Oct 2011
- Location
- sydney
- Posts
- 880
Hi,
I've had to replace both my compound and cross slide nuts, and I also replaced my cross slide spindle as well. The cross slide is better for it, but I've still got about .4mm play in my compound slide. I don't think I re assembled it correctly, I'm off for week so hopefully I'll get the time next weekend to take it back out and put in correctly this time - there is a correct way of doing it.
I would say with a machine your age the nuts have probably worn over time. Your spindles could also do with a check. If you take them out, you will be able to see the wear. Generally the wear will be in the middle (the nut will be loose on the spindle) and little or less wear at the ends (the nut tighter on the spindle).
Ben.
-
24th March 2014, 07:41 AM #57
Senior Member
- Join Date
- Sep 2009
- Location
- Penrith, NSW
- Posts
- 116
Thanks Ben, that's really clear.
Question: I assume getting rid of all movement in the screws is impossible as a certain amount of backlash is required to make them work. If that's the case why does excessive wear in the mechanism cause cutter wandering and the normal backlash doesn't?
-
24th March 2014, 11:12 AM #58
GOLD MEMBER
- Join Date
- Jun 2007
- Location
- sydney
- Age
- 64
- Posts
- 3,566
Any backlash whether it is manufactured or caused by wear will result in the tool moving in some way if it is not removed prior to starting a cut.
It will be more pronounced if the back lash is excessive.
If you are sliding/turning wind the tool towards you and give it about 1/4" to 1/2" clearance from the job,then pull the tool post/tool holder towards you as well.
This will put all the back lash in the nut against the screw.
When you wind the tool back in to take a cut the screw should now more a little before taking up,this should take care in the back lash of the screw.
You would need to do this each time you retract the tool from the job.
You would need to do similar for the compound.
-
24th March 2014, 11:16 AM #59
Senior Member
- Join Date
- Sep 2009
- Location
- Penrith, NSW
- Posts
- 116
Thought so pipeclay. So in essence I could take this backlash out of each of the screws prior to cutting and it should stop the cutting edge wandering.
Other than the screws on the v's to take up slack in the compound and crossfeed are there any other areas that can cause the tip to wander when taking a cut?
-
24th March 2014, 11:35 AM #60
GOLD MEMBER
- Join Date
- Jun 2007
- Location
- sydney
- Age
- 64
- Posts
- 3,566
I take it when you refer to vees your talking about the gib adjusting screws,if so be careful not to make it to tight as it will be hard to move both the cross slide and compound.
The gibs are generally adjusted to remove wobble from the cross slide and compound not really for back lash.
In regards to other things to check,
1) if using Indexable tooling make sure that the tip is secured correctly in the tool.
2) If using HSS whether directly in your 4 way/lantern tool post that it is held securely by the hold down screw/s.
3)If using HSS in a lock type holder make sure that the tool bit is held securely by the hold down screw.
4) Make sure that your tool post if using a 4 way is locked down securely to stop from twisting when a cut is made,if using a lantern holder the function of locking the tool bit/holder will also provide the locking function for the lantern holder.
5) Make sure that the compound is seated correctly onto the cross slide and that the 2 locking screws on the side of the cross slide are tight to stop the compound from wanting to turn.


Similar Threads
-
any one recognize this Lathe ? look like quality lathe but no name pictures inside
By thorens in forum METALWORK FORUMReplies: 2Last Post: 15th July 2013, 01:24 AM -
Converting a Metalworking Lathe to Wood Turning Lathe
By GrinlingGibbons in forum WOODTURNING - GENERALReplies: 13Last Post: 29th March 2011, 07:17 AM -
Buying a lathe (Old massive Lathe, or New small C6 Lathe)
By Ch4iS in forum METALWORK FORUMReplies: 5Last Post: 25th March 2009, 12:19 PM
