

 Thanks: 0
 Likes: 0
 Needs Pictures: 0
 Picture(s) thanks: 0
Results 31 to 45 of 48
-
25th February 2008, 11:47 PM #31
 Custom Firewood Maker


- Join Date
- Jan 2004
- Location
- Sydney
- Age
- 54
- Posts
- 489

Ok, at the risk of being on topic, here is a photo of my router table. It does the job well though it is a little small for the incra jig (the Ultra 24). The cupboard below stores small bits and bobs. Yes I'm in the process of designing a new router table but the main reason is to accomodate a larger top otherwise I would keep it pretty much as it is, it just works.
Ciao,
M.
-
25th February 2008 11:47 PM # ADSGoogle Adsense Advertisement
- Join Date
- Always
- Location
- Advertising world
- Age
- 2010
- Posts
- Many
-
26th February 2008, 01:04 AM #32
Electron Murderer
- Join Date
- Aug 2002
- Location
- Melbourne, Victoria
- Posts
- 5,513
Looks good Martin, but interesting to see the router lift (if that is what it is, and not just an anodised plate) and the Triton being used together. I can definitely understand your desire for a larger top! On the other hand, is it really necessary, rather than adding to the existing one? So long as they were close to flush, I don't think you'd experience any difficulty (after all, the extra length is only to accomodate the body of the Incra), and biscuit joining or dominoing an extension on would be more than sufficient.
Especially if you added a couple of rails like I have for the Incra to engage in (see photo earlier).
Is that a Triton WC2000 I spy in the background with an upside down CS?
 "Clear, Ease Springs"
www.Stu's Shed.com
-
26th February 2008, 01:19 AM #33
Custom Firewood Maker
- Join Date
- Jan 2004
- Location
- Sydney
- Age
- 54
- Posts
- 489
Sorry to disappoint, but it's an annodised plate - no point in using a router lift - esp with the triton router. Yep, did think about adding a bit to the end of the existing table but it really wouldn't have worked. As it is, I've had to add an extension to the new top to accomodate the incra mount since even with the biggest table that woodwork supplies sell, the damn arm with the wonderfence is still too long
Yep, you are right, a triton 2000 in the background
Ciao,
M.
-
26th February 2008, 11:20 AM #34
Electron Murderer
- Join Date
- Aug 2002
- Location
- Melbourne, Victoria
- Posts
- 5,513
Glad you went the anodised plate - didn't want to say it, but I really see the router lift and the Triton as unnecessary duplication of capability. I like the plate- looks a lot nicer than the phenolic one.
Have you seen the top I'm using? That came from Prof Woodworker Supplies as well, and is certainly long enough for the LS17 and has plenty of spare capacity. Not sure if it's enough for 24" but it'd be close. In saying that though, I have no idea if Grahame is still making tops that big."Clear, Ease Springs"
www.Stu's Shed.com
-
26th February 2008, 11:30 AM #35
Custom Firewood Maker
- Join Date
- Jan 2004
- Location
- Sydney
- Age
- 54
- Posts
- 489
The best thing about the alu plate is that it has graduation marks on it - is surprising how much that comes in handy!
I think the extra length of the 24" jig in combination with the wonderfence (this thing is about 5 inches deep) is just that little too long for the router table top I have for the new table (1100mm). Not too much of an issue, am thinking of engineering a small extension to one end to hold the incra carriage. from the rough measurements I've done that should allow for the full use of the jig against the table which is one of the main goals of building a new router table in the first place!
Ciao,
M.
-
29th February 2008, 08:35 PM #36
New Member
- Join Date
- Sep 2006
- Location
- Kyle Bay, Sydney, Australia
- Age
- 55
- Posts
- 2
Router table (still in progress, cabinets/drawers to come) and a few other details here:
http://janineandkeithsharpe.spaces.l...D4286A6A5!152/
All routing products from:
http://www.woodworksupplies.com.au/
Thanks GW !
Regards Keith
-
1st March 2008, 08:50 AM #37
GOLD MEMBER
- Join Date
- Jun 2007
- Location
- North Of The Boarder
- Age
- 68
- Posts
- 16,794
Love the gold DB Originally Posted by designerboy


-
3rd March 2008, 02:25 AM #38
Member
- Join Date
- Jan 2008
- Location
- manila
- Posts
- 50
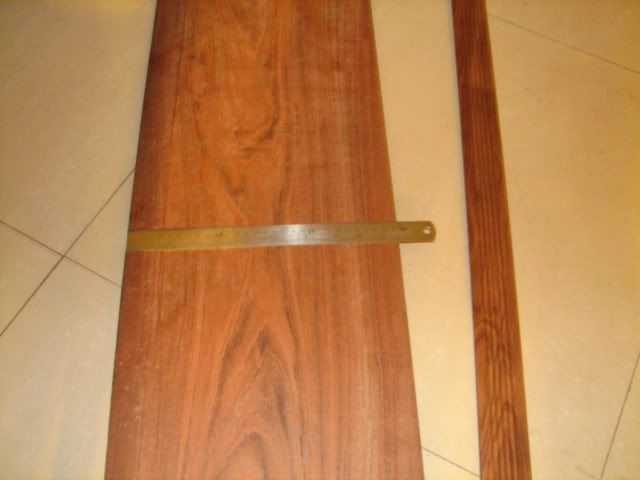
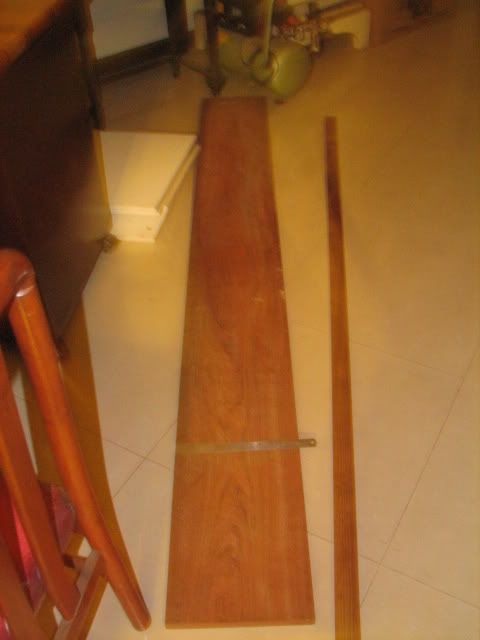
got some work on my new table...
-
3rd March 2008, 09:28 AM #39
Senior Member
- Join Date
- May 2004
- Location
- Portland Vic. Australia.
- Age
- 71
- Posts
- 289
Its taken a while for me to show you mine but here she is.
I replaced the top on the Triton table because I wasn't happy with it.Two pieces of 3/4 " chipboard glued together and a Laminex top. A phenolic plate and used the existing Triton fence. Nice and flat and works fine
Cheers Steven
Attachment 68465The hurrier I go, the behinder I get.
-
5th March 2008, 12:04 AM #40
Member
- Join Date
- Jan 2008
- Location
- manila
- Posts
- 50
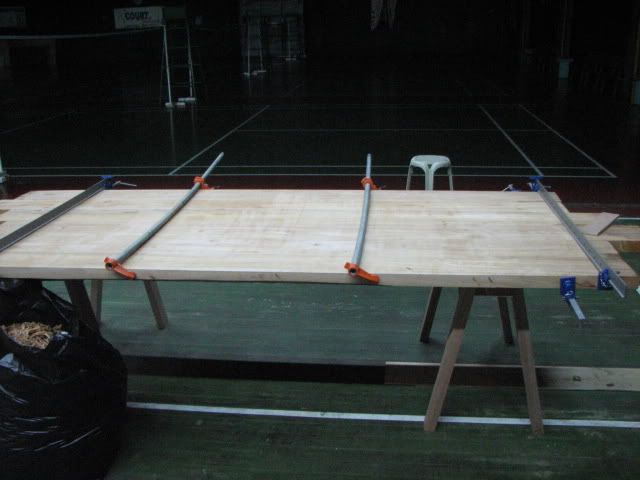
i'm halfway done today...
installed the t-track rails for the fence and used the first one(fence) which I will also replace or udgrade soon.
routered the groove for the T-track...
then there was two...
test fitting the track... hmmmm, a bit loose . it should pose no concern at all.

drilled the mounting holes and counterbore them too.
t-track going to the mount screws...
tighten them and viola...
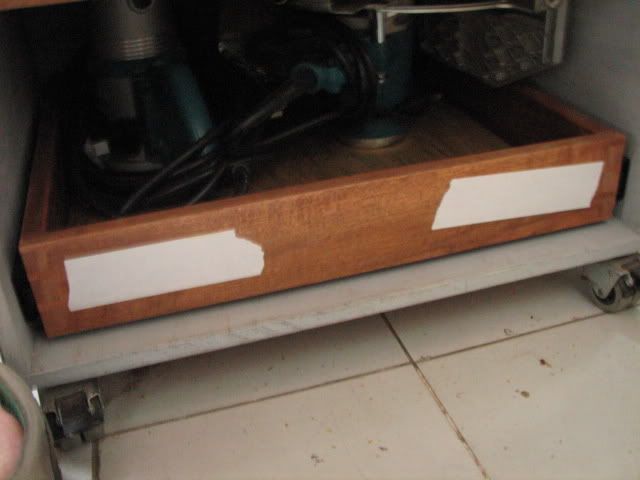
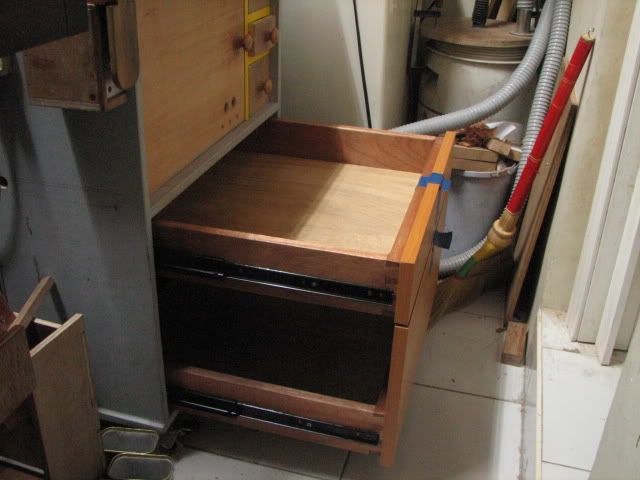
then, i still had time so i made the dust collection area...
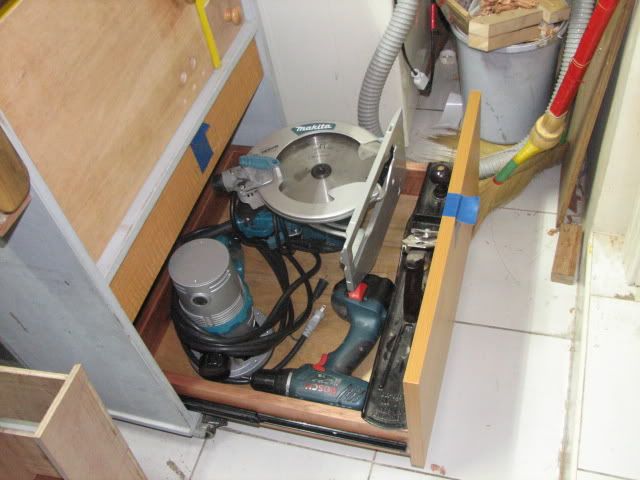
also made the side panels for the side sliding cabinets for the router and drill bit storage...
long day for me at work and little time for my project, but... I'm happy and thats what matters... right ???
-
5th March 2008, 06:41 AM #41
Member
- Join Date
- Jan 2008
- Location
- manila
- Posts
- 50
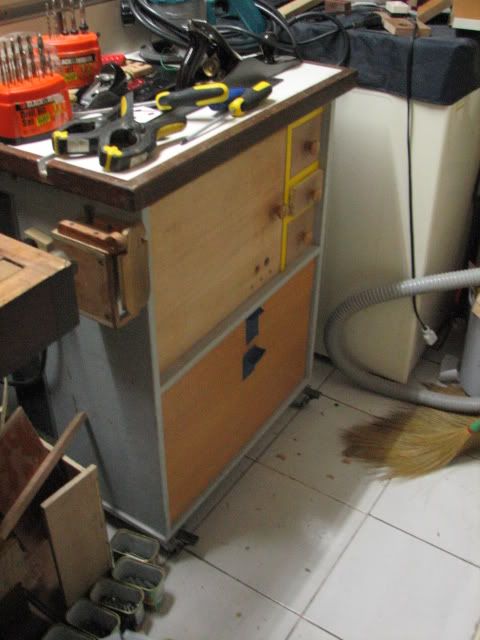
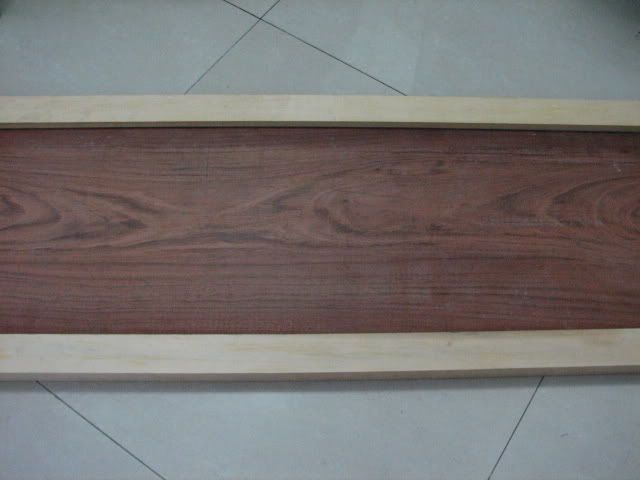
placed the door rails for a sliding cabinet for the router and drill bits and extra storage which i badly need...

-
6th March 2008, 05:59 PM #42
plane sailing...
- Join Date
- Oct 2006
- Location
- Wodonga
- Age
- 53
- Posts
- 712
After seeing all these pics of great router tables i thought i would show you mine.
It's in a bit of a dusty state in these pics after an afternoon of use.
The mdf sliding fence on the infeed side is starting to wear so in the future i'm going to replace them with laminate ones.
I have posted more detailed images of the interchangable inserts elsewhere on the forum and they now reside in the attatchments file of my user CP but for the life of me, i cant work out how to post them here for you all to see. Sorry.
Steven.
-
6th March 2008, 06:17 PM #43
Hoarder of Timber
- Join Date
- Jun 2006
- Location
- East Warburton, Vic
- Age
- 54
- Posts
- 14,279
Steven, open the attachment from your user CP and then copy the url from the address bar that opens up and in then when you reply here in the thread, click on the Originally Posted by spokeshave
 and paste the address in there and it will put the pic in your reply for you.
Cheers
and paste the address in there and it will put the pic in your reply for you.
Cheers
DJ
ADMIN
-
6th March 2008, 09:48 PM #44
plane sailing...
- Join Date
- Oct 2006
- Location
- Wodonga
- Age
- 53
- Posts
- 712
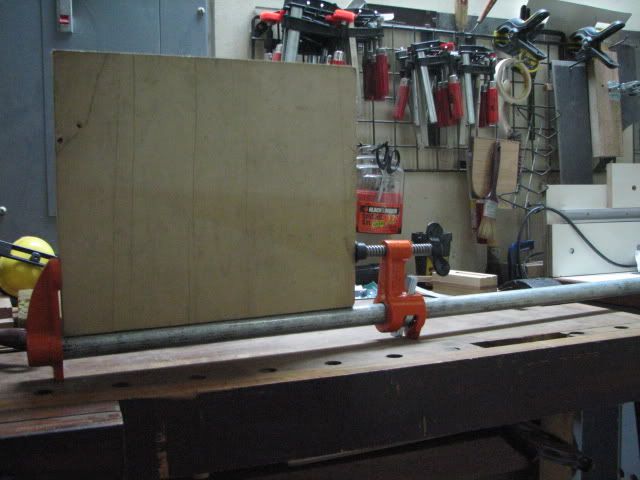
Thanks DJ. Advice very much appreciated.
Well, here is the steel table insert that i mentioned earlier. It was made by a friend out of solid steel with steel reducing rings.
I drilled and tapped it to suit a Triton router and also drilled and tapped the reducing rings for easy change over. Works well.
Steven.
-
7th March 2008, 05:05 AM #45
Member
- Join Date
- Jan 2008
- Location
- manila
- Posts
- 50
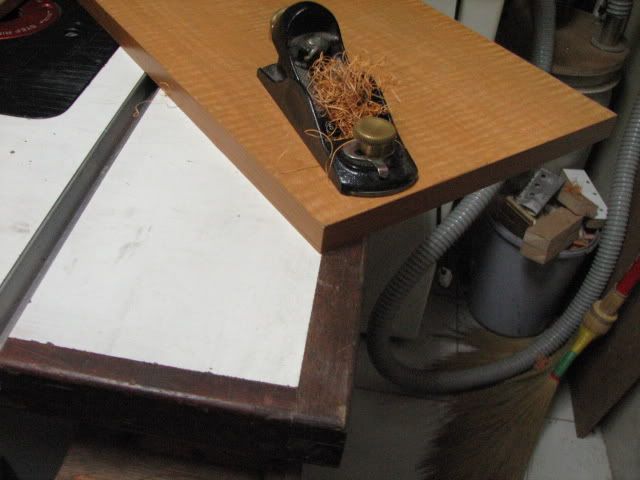
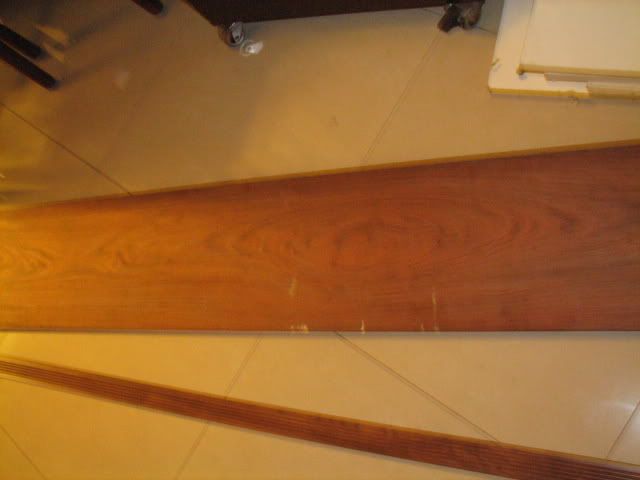
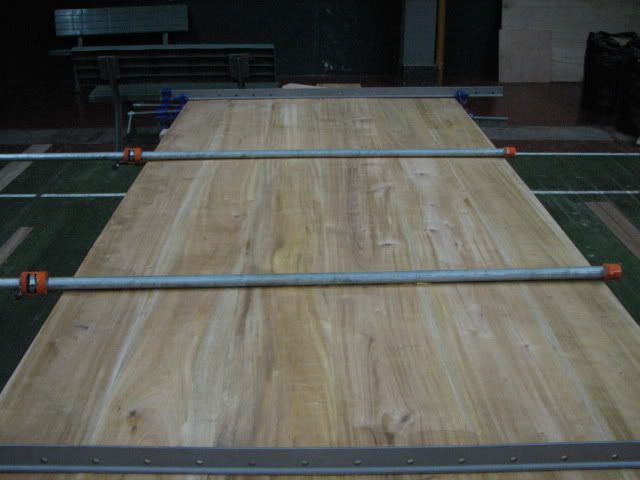
had some time to do some edge banding... so i thought...

trimmed with my baily no.4 (hand plane)...

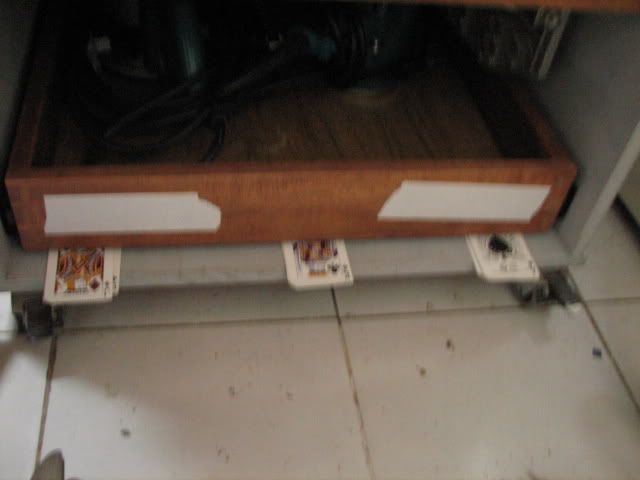
added the lower portion for the sliding cabs...

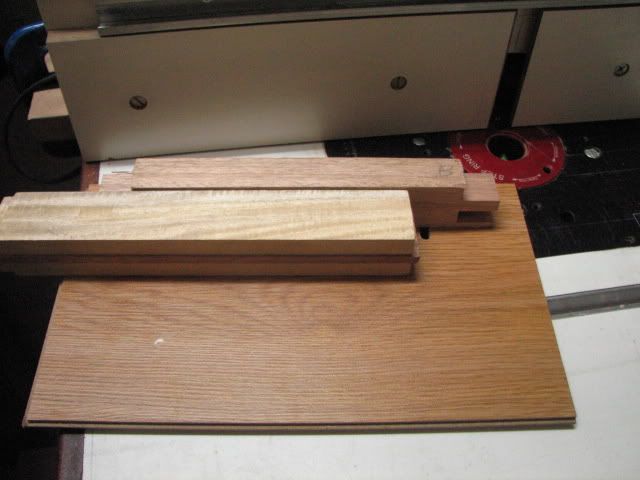
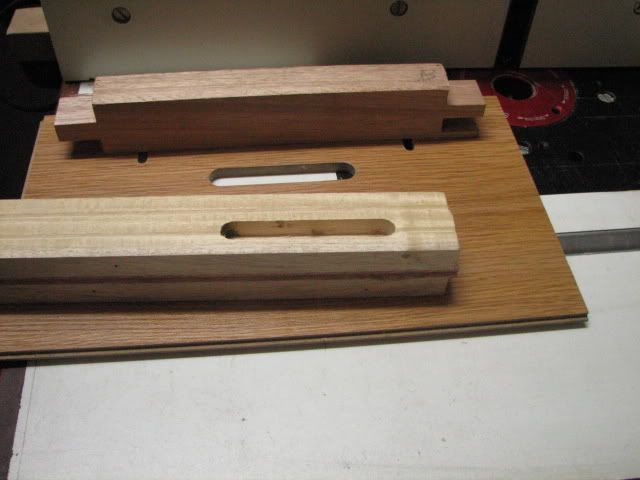
still had time, I figured I'll work on the fence... I didn't expect to finish it...
sliding lower fence and fixed upper portion and a t-track for feather board and stopper blocks and whatever jig that comes up...


 Reply With Quote


Similar Threads
-
Critique pictures. Read 1st post
By RETIRED in forum WOODTURNING - GENERALReplies: 377Last Post: 21st November 2012, 07:27 AM -
How to embed pictures in a post?
By Caveman in forum WOODTURNING - GENERALReplies: 9Last Post: 21st January 2008, 07:20 AM -
Re-sizing pictures to post on this forum
By Ian Smith in forum NOTHING AT ALL TO DO WITH WOODWORKReplies: 6Last Post: 27th October 2006, 10:50 PM -
Another router table post
By Grizz in forum ROUTING FORUMReplies: 10Last Post: 20th October 2006, 05:49 AM
