

 Thanks: 0
 Likes: 0
 Needs Pictures: 0
 Picture(s) thanks: 0
Results 76 to 90 of 126
Thread: workbench
-
23rd March 2008, 04:03 PM #76
 Senior Member


- Join Date
- Oct 2007
- Location
- Central Coast
- Age
- 33
- Posts
- 372

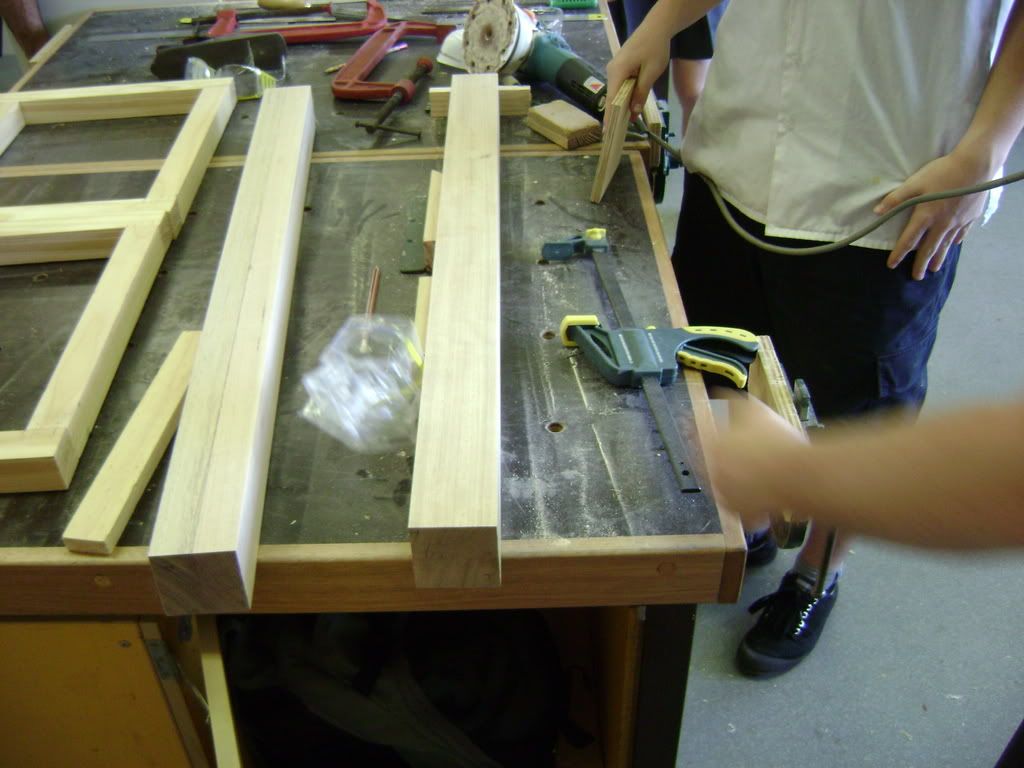
sorry for the size of the photos, there is somethig wrong with photobucket, when i go to resize them it says: some error thing and if i click dont send or send report it closes my internet down.sorry again
-
23rd March 2008 04:03 PM # ADSGoogle Adsense Advertisement
- Join Date
- Always
- Location
- Advertising world
- Age
- 2010
- Posts
- Many
-
23rd March 2008, 07:30 PM #77
Lignum Vexator
- Join Date
- May 2007
- Location
- North of the coathanger, Sydney
- Age
- 68
- Posts
- 9,417
Rhys
Thanks
I bought one of those dowel jigs about 25 - 30 years ago. It's still going strong
keep up the good work
-
26th March 2008, 08:32 PM #78
Senior Member
- Join Date
- Oct 2007
- Location
- Central Coast
- Age
- 33
- Posts
- 372
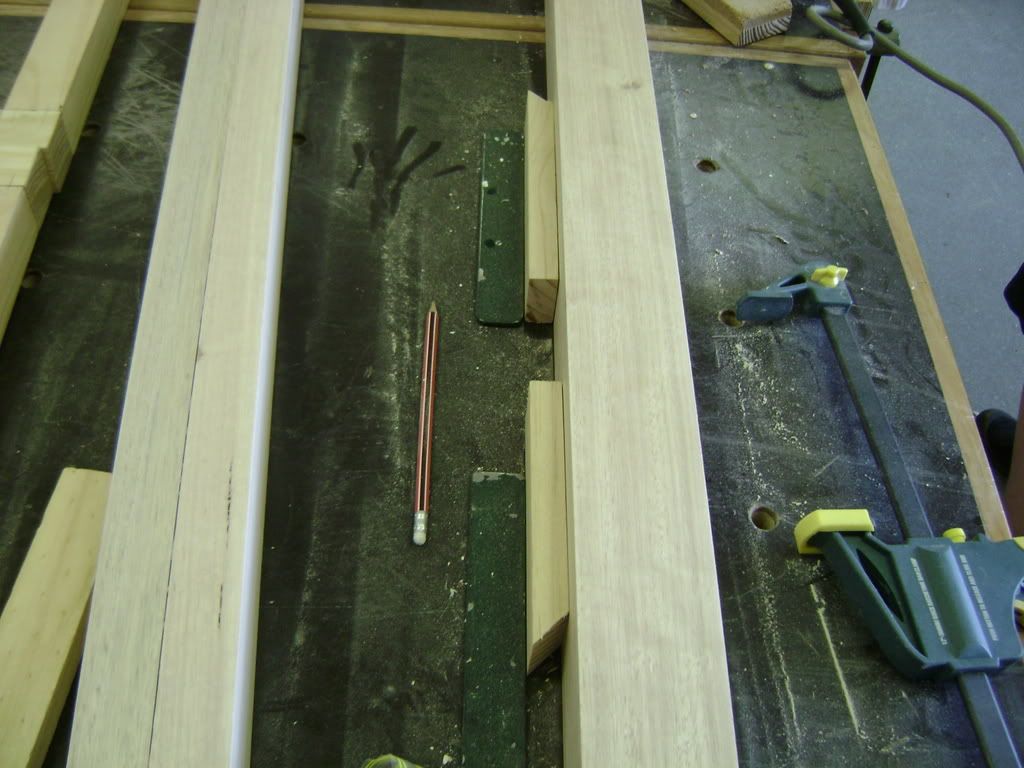
ok 2 more photos. today i started slowly to sand some 'dirty marks' left by the thicknesseer. so not very intersting the photos, but this is all i could manage today.
how the leg is posiotned on the bench for sanding:
close up of the 'jig' used to hold it in place:
oh and i got my makrs back for that assignment and i teid with that girl, 17 out of 20 each, so i am not to worried know.lol.
Rhys
-
26th March 2008, 08:37 PM #79
Senior Member
- Join Date
- Oct 2007
- Location
- Central Coast
- Age
- 33
- Posts
- 372
and for the leg on the left i will be filling the jap, either with putty massaged into the gap, or with glue.lol
-
2nd April 2008, 01:07 PM #80
Senior Member
- Join Date
- Oct 2007
- Location
- Central Coast
- Age
- 33
- Posts
- 372
ok tomorrow is the big decider who will be first at the half yearly mark for woodwork. we have our half yearly exam tomorrow, i am kinda worried as i have 2 exams tomorrow whereas the girl only has 1, but that is how it goes. we have tied on every assignment this year, so the big decider tomorrow.
Rhys
-
2nd April 2008, 01:41 PM #81
INTP
- Join Date
- May 2004
- Location
- Melbourne, Australia
- Posts
- 523
Rhys,
Good luck with the exams.
BTW, I've enjoyed following your progress on your workbench. Keep up the good work
-
2nd April 2008, 04:32 PM #82
Awaiting Email Confirmation
- Join Date
- Feb 2008
- Location
- Peakhurst
- Age
- 67
- Posts
- 1,173
Rhys,
Been following your threads for some time now. Great stuff. Pleased to see your enjoying your woodwork.
More pic's please.
Words of advice..... don't worry about what she is doing, it will only add to your stress and when stressed mistakes are made and then you will start to rush things. Less stress and your relaxed and things get done a lot faster (less mistakes) and you will feel happier. That when your talent will really start to kick in, then they have to worry about you.
Keep up the good work (that's what my teacher used to say)..
Steve
P.S. Don't want to harp on it but...Safety First.....
-
2nd April 2008, 05:31 PM #83
Senior Member
- Join Date
- Oct 2007
- Location
- Central Coast
- Age
- 33
- Posts
- 372
thanks fellas, yeah i am trying not to think what she is doing.lol.
will be more photos when we are back inthe workshop, which unfortunatly wont be for some weks, due to exams and then holidays.
-
2nd April 2008, 06:37 PM #84
50 and counting
- Join Date
- Jan 2008
- Location
- Mentone victoria
- Posts
- 112
Good work Ryhs
Best of luck with your project. I have been following your progress with interest.

Don't worry about the Girl. Do your best work and the girl won't bother you.
Mike
-
2nd April 2008, 06:39 PM #85
50 and counting
- Join Date
- Jan 2008
- Location
- Mentone victoria
- Posts
- 112
Sorry Rhys spelt your name wrong Originally Posted by woodie2


-
3rd April 2008, 03:49 PM #86
Senior Member
- Join Date
- Oct 2007
- Location
- Central Coast
- Age
- 33
- Posts
- 372
well just got back from school and the test was quite hard, but i think i managed to do well. answered all the questions know to wait for the results but thye wont be for weeks.
-
23rd April 2008, 04:02 PM #87
Senior Member
- Join Date
- Oct 2007
- Location
- Central Coast
- Age
- 33
- Posts
- 372
well tiny update.
we have been on holidays for a week and we are currently in our second week. we return on monday.
i ordered a peice of tassie oak, as it is the last peice i need to complete the frame.
we is what i have to do:
1. Dress the last peice of timber.
2. cut to length.
3. sand all components well.
4. assemble the 2 ends, once that is done i can organise the ordering of the 'cabinet walls' (tassi oak veneered mdf).
5. once they dry, glue the rest of the frame together, and order the 'bottom' of the cabinet (25mm thick plywood), and then the back of the cabinet, (veneered mdf).
i am aiming to have the frame completed by week 2 at the latest, and then have the cabinet walls attached by the end of week 3.
form there, i will be making the doors, and drawers.
then it will be time for the bench top, and attaching the vices.
bench dogs will be used, i have seen them at the lumber bunker, and i will be purchaing some eventually (not for a while), so dont sell them all steve.
Thanks
Rhys
-
23rd April 2008, 07:18 PM #88
Skwair2rownd
- Join Date
- Nov 2007
- Location
- Dundowran Beach
- Age
- 76
- Posts
- 19,922
 Workbench
Thanks for your updates Rhys. It's aslow job when you don't have uninterrupted time and tools yourself.

-
23rd April 2008, 07:31 PM #89
Senior Member
- Join Date
- Oct 2007
- Location
- Central Coast
- Age
- 33
- Posts
- 372
yeah, but i guess it makes me more excited to go and finish it.
-
23rd April 2008, 10:22 PM #90
SENIOR MEMBER
- Join Date
- May 2006
- Location
- Cowra - Central West NSW
- Posts
- 813
Always plenty of dogs in stock Rhys.

Catch you laterSteven Thomas

 Reply With Quote


Similar Threads
-
My workbench
By kiwioutdoors in forum THE WORK BENCHReplies: 3Last Post: 7th May 2007, 04:37 PM -
My workbench -WIP
By Shedhand in forum THE WORK BENCHReplies: 39Last Post: 3rd May 2006, 01:20 PM -
Help with workbench
By mkat in forum THE WORK BENCHReplies: 19Last Post: 16th April 2006, 10:35 PM -
Workbench top
By burn in forum THE WORK BENCHReplies: 19Last Post: 9th February 2005, 02:03 AM -
Catch-22 - building a workbench without a workbench
By brianhay in forum THE WORK BENCHReplies: 11Last Post: 18th January 2005, 04:56 PM
