

 Thanks: 0
 Likes: 0
 Needs Pictures: 0
 Picture(s) thanks: 0
Results 1 to 12 of 12
Thread: Wine racks
-
3rd June 2009, 12:37 AM #1
 Senior Member


- Join Date
- Mar 2008
- Location
- Illinois, USA
- Age
- 54
- Posts
- 177
 Wine racks
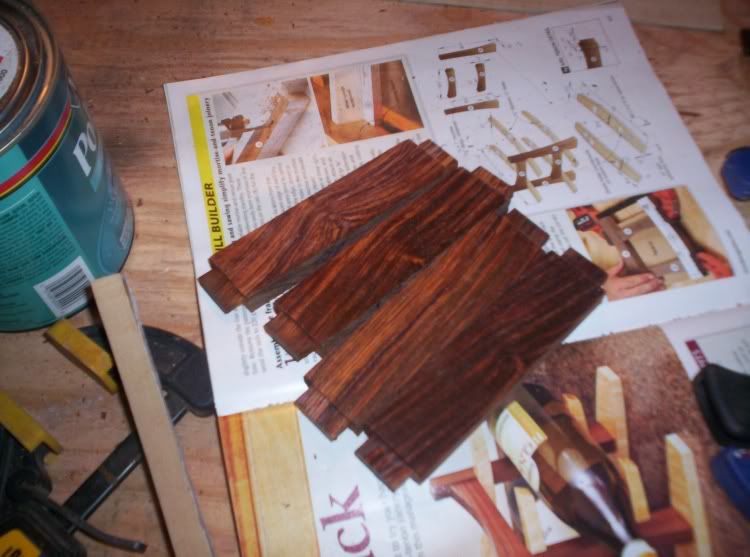
In working myself out of 'guitar making' mode, I need a transition piece. Having plenty of magazines and bppks with relatively small patterns in them, I came across this particular issue...

...which has this article & plans in it.

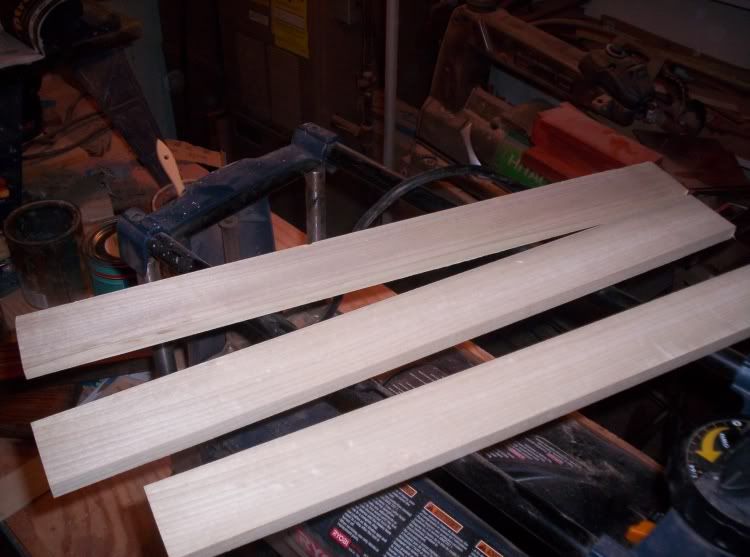
I went through my shelves of short pieces to see what I had that would fir the bill. I found some pieces I had forgotten about. I really gotta clean up and organize before I get going on those end tables. Anyway, I was specifically looking for high contrast, both in color and grain. What I came up with was poplar & cocobolo.

The piece of Poplar I found was nice & clear - uniformly light with no streaking or green anywhere. It's actually very plain, which is just perfect to match up with the vibrantly grained & colored cocobolo.
Alright - time to start milling some lumber!
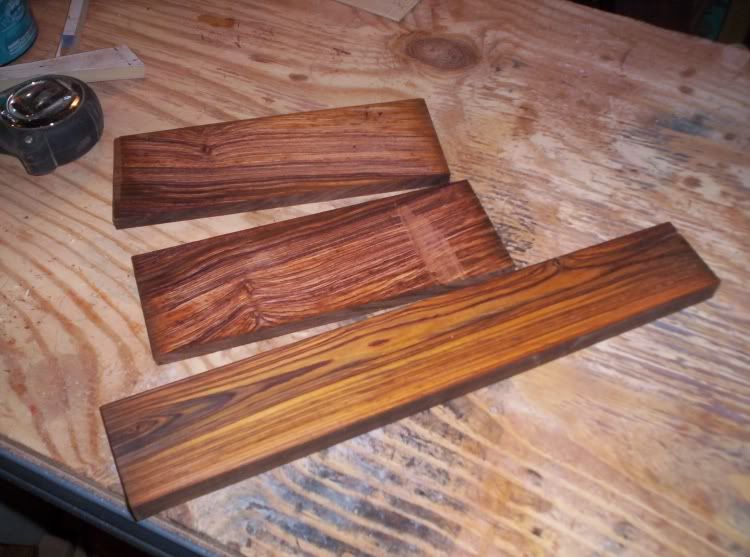
The cocobolo didn't take to well to being re-sawn. It ate TWO bandsaw blades, one of them brand new. I don't get it. i used that saw to split 4" bloodwood, but it wouldn't cut the cocobolo. I was wanting to use that saw because the new blades for the other saw i just bought haven't come in yet, so it still isn't tuned up right. without other options, I HAD to finish the cut on the new saw, and just as I expected, the blade drifted and gave me a pretty uneven cut. There was plenty of flat wood after it was planed to make the pieces I needed, so I guess it's not SO bad, but still....
-
3rd June 2009 12:37 AM # ADSGoogle Adsense Advertisement
- Join Date
- Always
- Location
- Advertising world
- Age
- 2010
- Posts
- Many
-
3rd June 2009, 12:46 AM #2
Heavy Machinery
- Join Date
- Mar 2008
- Location
- Lambton, Newcastle, NSW, Australia
- Posts
- 4,957
Looks like a fun little project, are you going to expand the plans so it holds more bottles or does each diner guest get a rack each?
 Yes, I like a glass or two or ....
-
3rd June 2009, 12:49 AM #3
Senior Member
- Join Date
- Mar 2008
- Location
- Illinois, USA
- Age
- 54
- Posts
- 177
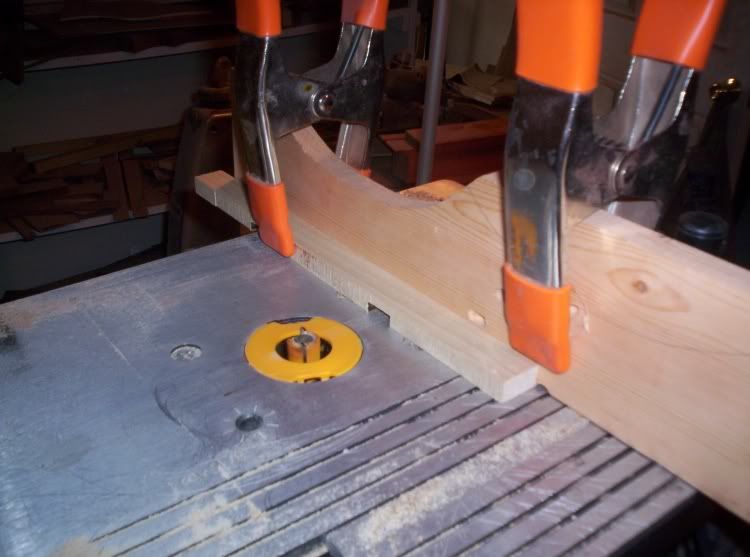
I mortised out the legs, them made the tenons on the cross pieces. I did this so I could creep up on the exact size I needed for the tenons and test the fit along the way.
They have a nice, tight fit, but can still be pushed in by hand. From all I've read, that's perfect. I did them with the router rather than the table saw. I feel that I have a lot more control and safety using the router. Whatever works, right?
I improvised a jig to use the router to make the dados in the shelf pieces. It worked out pretty good. As a bonus, it stopped the tear out.

I had made MDF templates for all the pieces, so after they were rough-cut I routed them to shape. As we all know, this is a LOT more accurate than trying to do it by hand.
With everything cut & shaped, it's time for the test fit.
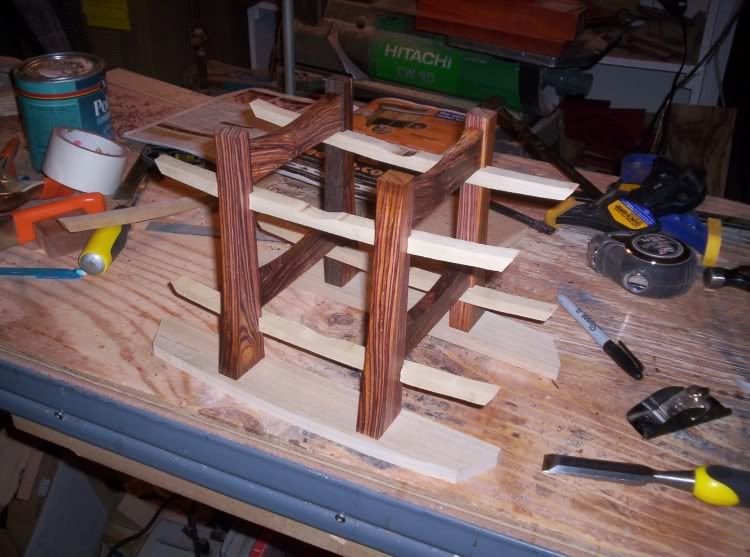
In the pic, the feet aren't the final shape, but they're pretty close. The feet will be screwed to the legs - everything else will be glued. I should have some finished pics in a few days.
-
3rd June 2009, 12:51 AM #4
Heavy Machinery
- Join Date
- Mar 2008
- Location
- Lambton, Newcastle, NSW, Australia
- Posts
- 4,957
Looking great, the contrast in timbers is spot on.
-
3rd June 2009, 08:55 AM #5
Awaiting Email Confirmation
- Join Date
- Feb 2008
- Location
- Peakhurst
- Age
- 67
- Posts
- 1,173
Great 6 pack. Gotta love the contrasting timbers. Well done.
-
3rd June 2009, 10:31 AM #6
Senior Member
- Join Date
- Mar 2008
- Location
- Illinois, USA
- Age
- 54
- Posts
- 177
This isn't good - 20 hours later, the poly I put on the cocobolo is still tacky. I've never experienced this before. I put the same poly on the poplar, which dried pretty quickly. This tells me it's something to do with the cocobolo. Any thoughts or experience?
-
3rd June 2009, 05:52 PM #7
Mildly Moderate
- Join Date
- Nov 2007
- Location
- Albury Well Just Outside
- Posts
- 13,315
Nice work so far.
Not sure of the Poly not setting.
-
3rd June 2009, 06:06 PM #8
 SENIOR MEMBER
- Join Date
- Jun 2004
- Location
- Mount Colah, Sydney
- Age
- 72
- Posts
- 923
Have had something similar with Myrtle, using Danish Oil. Nothing I did would stop the surface remaining tacky, while the same finish on NZ Beech had dried fine. Decided that it was due to excess finish on the surface. Stripped it off by wiping down with turps, back to clean wood. Then re-applied DO, and wiped off excess almost immediately, (before it began to get sticky.) This solved the problem, and the piece has been fine since. Originally Posted by avengers63

Also Cocobolo is quite an oily timber, I believe, which might also contribute.
Won't hurt to try my way.
regardsAlastair
-
5th June 2009, 02:47 AM #9
Senior Member
- Join Date
- Mar 2008
- Location
- Illinois, USA
- Age
- 54
- Posts
- 177
Cocobolo sucks.

A day & a half later, the poly was still tacky. A quick web search told me why: it's one of the most oily, waxy, gummed up woods out there.
Well, with it still being wet, the poly wasn't hard to strip off. A good scrubbing with acetone, some scraping, then some more acetone and ALMOST all of the dark oil/sap/mung was cleared away. Following the instructions of both Marc Spagnolo and Bob Flexner, I sealed it with shellac. Today I sprayed a coat of poly on the whole thing. It turned out pretty nice.
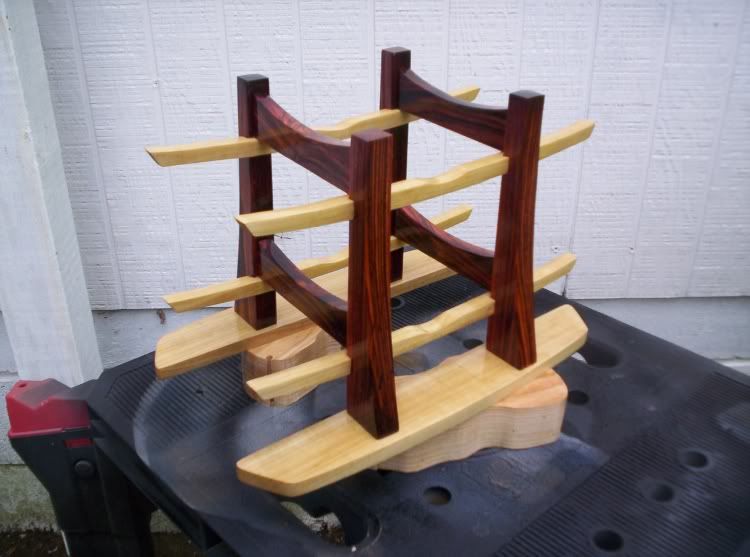
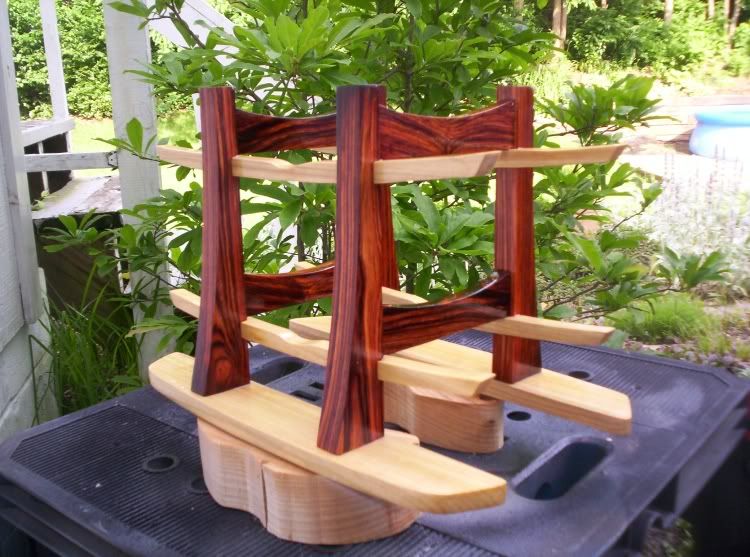
My only fear is that the oils in the coco will eventually interfere with the glue joints on the rails. I might eventually have to put some short nails in there. For now, though, she's done.
-
7th June 2009, 07:14 PM #10
Skwair2rownd
- Join Date
- Nov 2007
- Location
- Dundowran Beach
- Age
- 76
- Posts
- 19,922

Very, very spiffy. Wonderful contrast of timbers.

-
7th June 2009, 07:37 PM #11
Nocturnal and primeval - I fish at night.
- Join Date
- Nov 2007
- Location
- Brisbane
- Age
- 73
- Posts
- 656
Magnificent!
Well done!
.
-
28th June 2009, 05:14 PM #12
Intermediate Member
- Join Date
- Mar 2009
- Location
- south australai
- Posts
- 31
job well done


 Reply With Quote


Similar Threads
-
Wine Racks
By ColinC1 in forum WOODWORK PICSReplies: 5Last Post: 14th November 2007, 06:25 AM -
rod racks
By kaza in forum DESIGNS & PLANS FOR PROJECTSReplies: 14Last Post: 19th May 2005, 12:10 PM -
rod racks
By kaza in forum BOAT DESIGNS / PLANSReplies: 4Last Post: 12th May 2005, 10:56 PM -
Just finished some wine racks -want some good stuff to fill them
By Peter36 in forum WOODWORK PICSReplies: 3Last Post: 12th November 2004, 08:38 AM -
CD racks
By Ivor in forum WOODWORK - GENERALReplies: 17Last Post: 14th May 2004, 10:25 PM
