

 Thanks:
  Likes:
  Needs Pictures:
  Picture(s) thanks:
Results 1 to 3 of 3
-
25th August 2013, 10:17 PM #1
 Senior Member


- Join Date
- Aug 2011
- Location
- Cabot, AR USA
- Posts
- 312
 RingMaster does Eastern Red Cedar
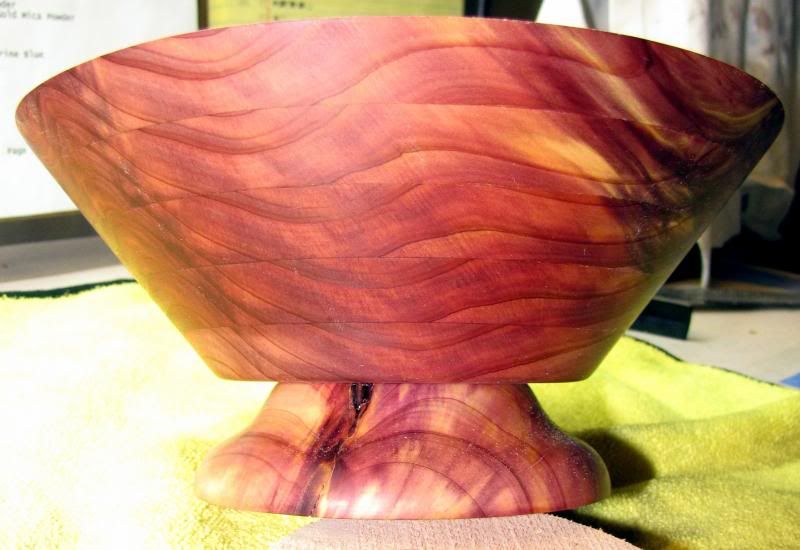
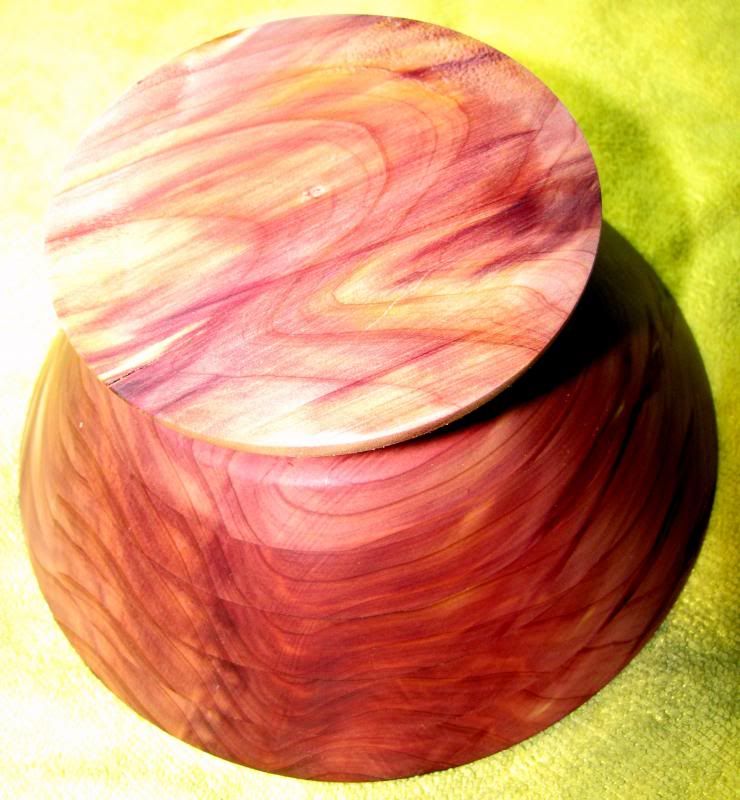
Previously, I had this bowl wearing a two inch pedestal that was made from PR casting I had laying around, it didn't 'work' well with the piece. So I took the advise given to me and used a different material! So I took a piece from the burn pile(yes, I had this in the burn barrel and was going to fire it up to get rid of it) and threw it on the lathe. This is pretty much what I came up with.
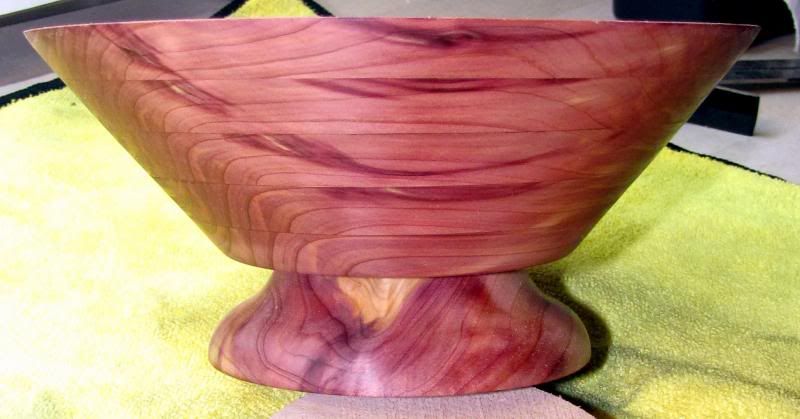
Pluses:
#1: It weighes more now, and it definitely wants to sit still...center of gravity is the bottom!
#2: The material is all the same. No more 'highlighting' the bowls plug(although I have a minus on that too).
#3: The few that have actually handled it, have been much more 'receptive' towards it.
Minuses:
#1: Not as tall as I hoped to get it, but the crack had to be 'wittled' down some.
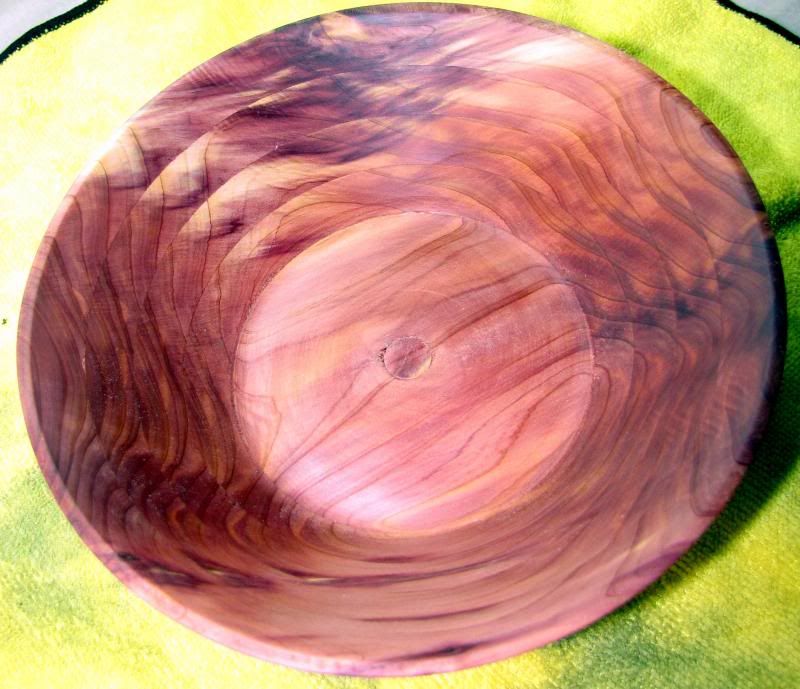
#2: The 'tare out' on the plug hole gets worse the more I sand it.
#3: Everyone wants it. And it is 'mine'....
Yes, more sanding should have been done, I can still see some scratches in the bottom of it. But as I stated above, the drill bit tare out kept getting worse....so I stopped and cut my losses. I did apply another really thick wipe down using BLO, and it finally stopped sucking the stuff up(whew, I'm gonna need bigger cans of this stuff if I keep doing these).
Tanks for looking!
Scott (on to the next) B
-
25th August 2013 10:17 PM # ADSGoogle Adsense Advertisement
- Join Date
- Always
- Location
- Advertising world
- Posts
- Many
-
26th August 2013, 09:38 AM #2
GOLD MEMBER
- Join Date
- Sep 2008
- Location
- North Carolina, USA
- Posts
- 2,327

SDB777,
Using a piece of 320 sand paper put a dollop of BLO on the bottom and sand, sand, sand. I use a fat stick with a slightly rounded end and stick sandpaper on the end with double sided foam tape.
Wipe out with a rag moistened with BLO and let dry a couple of days.
The wet sanding removes some same color dust and deposits it in the tear out and sanding marks.
After it had dried, a light sanding and another wipe with BLO should finish.
Nice looking piece.So much timber, so little time.
Paul
-
26th August 2013, 11:45 AM #3
Skwair2rownd
- Join Date
- Nov 2007
- Location
- Dundowran Beach
- Age
- 76
- Posts
- 19,922

Hey,hey, hey!! that is very effective!! Well done!!!


 Reply With Quote
Similar Threads
-
Jr. Gent I - XCut Eastern Red Cedar
By SDB777 in forum WOODTURNING - PEN TURNINGReplies: 5Last Post: 14th December 2012, 03:00 PM -
aromatic eastern cedar
By flintlock1 in forum FINISHINGReplies: 2Last Post: 1st November 2012, 06:24 AM -
Aust. Eastern Red Cedar
By redmatt in forum TIMBERReplies: 1Last Post: 7th March 2006, 10:56 PM
