

 Thanks: 0
 Likes: 0
 Needs Pictures: 0
 Picture(s) thanks: 0
Results 1 to 9 of 9
Thread: making a tissue box
-
9th September 2010, 11:37 PM #1
 GOLD MEMBER


- Join Date
- Sep 2002
- Location
- Paignton. Devon. U.K.
- Posts
- 6,062
 making a tissue box
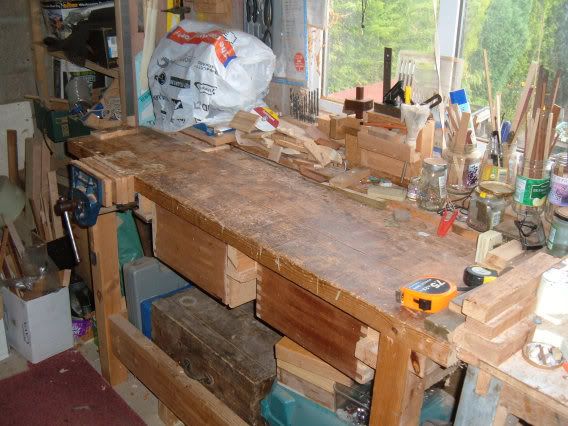
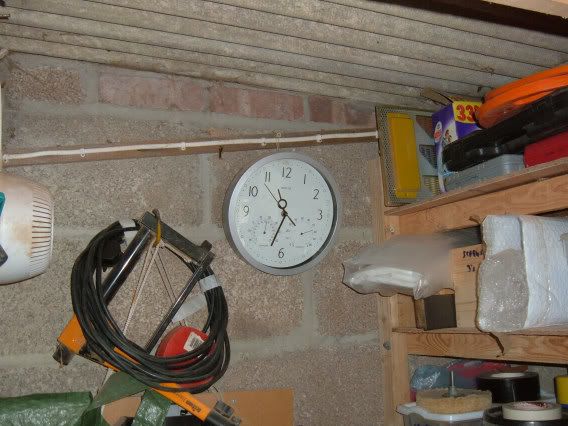
Cleared my bench.
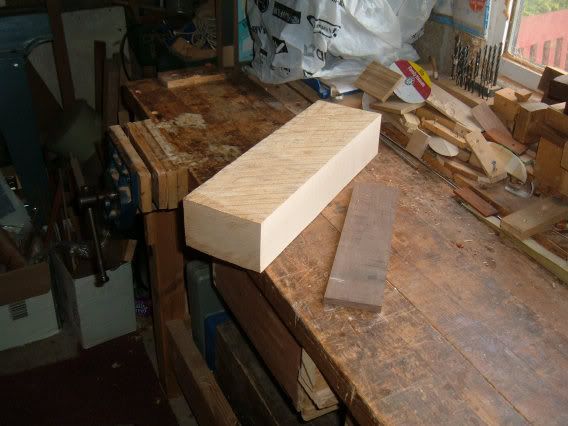
Found a slab of maple.
Put two faces through the planer.
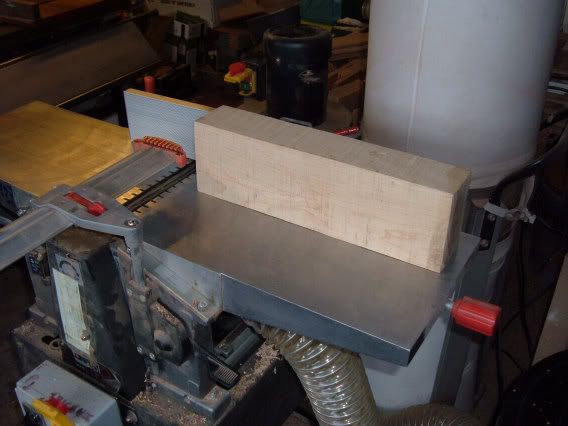
The other two faces through the thicknesser.

Marked up a slice for the bandsaw
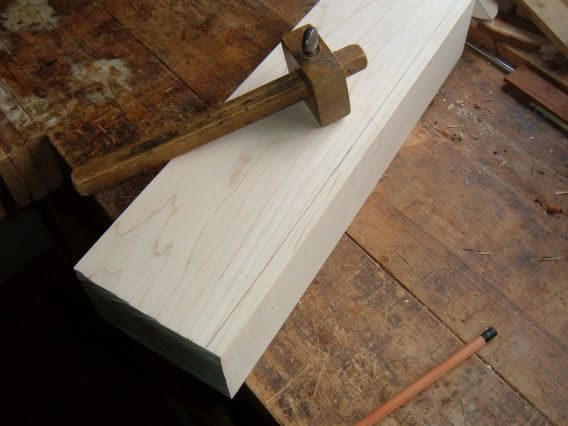
did the first resaw.
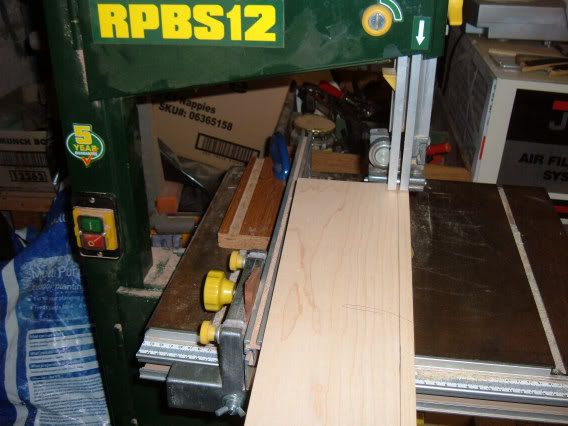
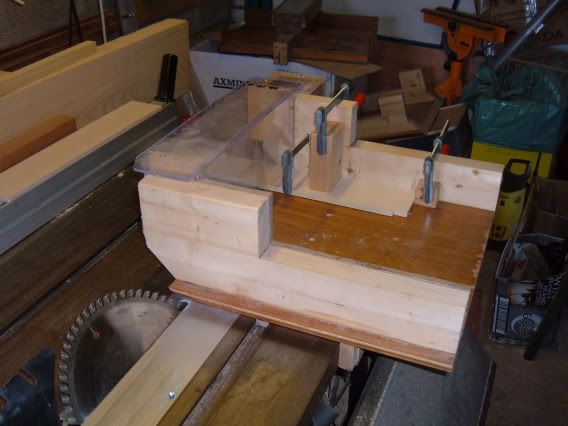
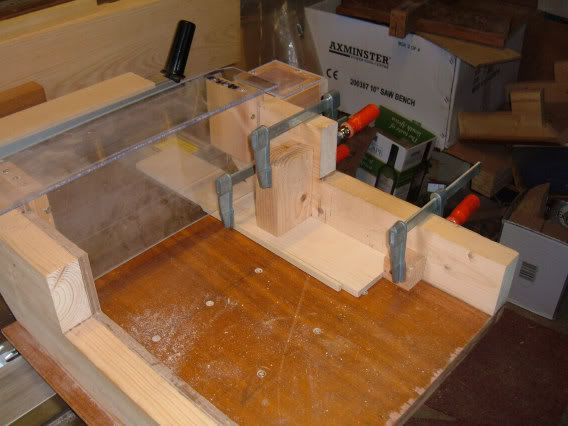
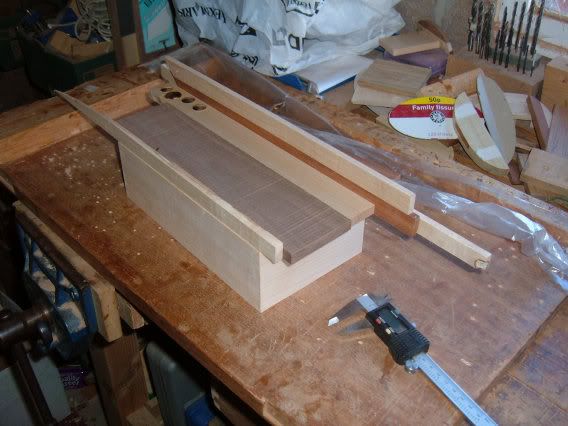
then the second piece and routed a dado for the box sliders and then put on my mitre jig. (two pictures for those to see a close up of jig.
Glued up the carcass using masking tape.
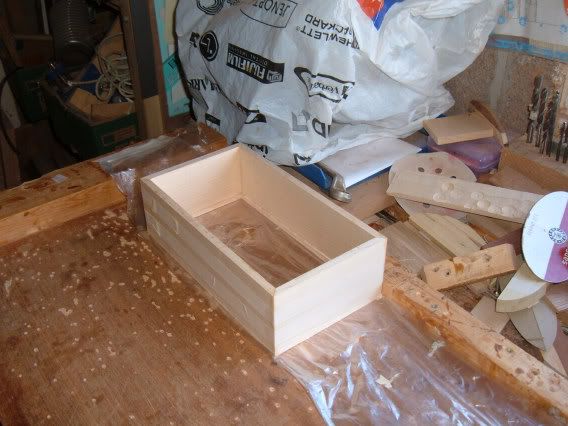
That was under two hours including tea break.
 woody U.K.
"Common looking people are the best in the world: that is the reason the Lord makes so many of them." ~ Abraham Lincoln
-
9th September 2010 11:37 PM # ADSGoogle Adsense Advertisement
- Join Date
- Always
- Location
- Advertising world
- Posts
- Many
-
10th September 2010, 12:59 PM #2
 New Member
- Join Date
- Sep 2010
- Location
- Adelaide
- Posts
- 5
The box looks good especially with the mitred edges.. great work!
-
10th September 2010, 05:55 PM #3
GOLD MEMBER
- Join Date
- Sep 2002
- Location
- Paignton. Devon. U.K.
- Posts
- 6,062
So I went back into the W/S intending to try and finish the box in one day (three sessions in all)
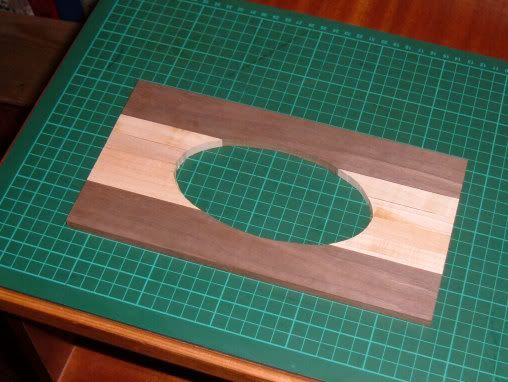
found some bits of maple and black walnut sufficient to construct a lid.
Cut them to pattern and fit.

Glued them up and clamped this time to get tight seams. (not glued through centre pieces, left dry)
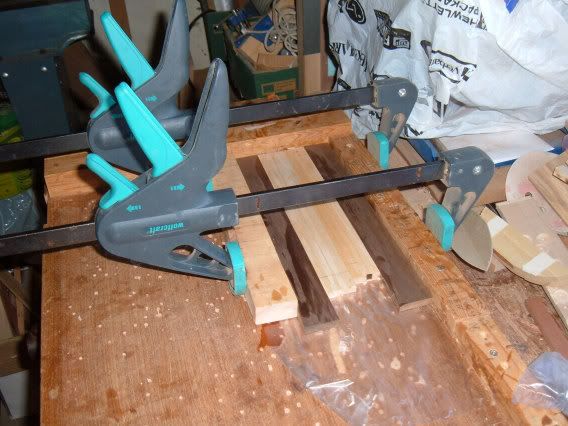
30 minutes work.
I went back in the evening intending to cut aperture and fit to carcass but the glue had not matured enough, the glue lines were still tacky, (the weather is not now so warm so taking longer to set?)
So will have to finish another session shortly.woody U.K.
"Common looking people are the best in the world: that is the reason the Lord makes so many of them." ~ Abraham Lincoln
-
10th September 2010, 06:00 PM #4
Senior Member
- Join Date
- Sep 2008
- Location
- Hamilton, VIC
- Posts
- 325
You make it look so easy, I'm tempted to give it a go myself but I'm missing a few things...a clean workbench, a block of maple and a jointer. Might have to break out the handplanes.
Good to see you back in the shed too.
-
10th September 2010, 06:40 PM #5
GOLD MEMBER
- Join Date
- Mar 2009
- Location
- Sydney
- Age
- 37
- Posts
- 2,710
You don't muck around do you - straight back into it

Thanks for taking the time to take the pics and posting them -
-
11th September 2010, 05:49 PM #6
GOLD MEMBER
- Join Date
- Sep 2002
- Location
- Paignton. Devon. U.K.
- Posts
- 6,062
Went into the W/S last evening for 15 minutes to cut aperture from that timber preparation on last picture above.
The pieces are strapped together and a semi ellipse is cut using a tissue box paper pattern, laid back on my make up board again and reglued as a single piece.
lid now ready to be glued to carcass when edges rebated and roundovers done to all edges of lid and carcass.
Should finish this one today and I might get another in before shutdown of workshop for season.woody U.K.
"Common looking people are the best in the world: that is the reason the Lord makes so many of them." ~ Abraham Lincoln
-
11th September 2010, 09:06 PM #7
GOLD MEMBER
- Join Date
- Mar 2007
- Location
- Munruben, Qld
- Age
- 83
- Posts
- 10,027
Nice work as always.
Reality is no background music.
Cheers John
-
11th September 2010, 09:40 PM #8
GOLD MEMBER
- Join Date
- Mar 2009
- Location
- Sydney
- Age
- 37
- Posts
- 2,710
[QUOTE=jow104;1208231]
The pieces are strapped together and a semi ellipse is cut using a tissue box paper pattern, laid back on my make up board again and reglued as a single piece.
How did you cut it? Jigsaw..?
-
11th September 2010, 09:59 PM #9
GOLD MEMBER
- Join Date
- Sep 2002
- Location
- Paignton. Devon. U.K.
- Posts
- 6,062
I use the bandsaw, but jig saw would be OK, I do us a drum sander in my drill press to clean up when piece has be finished and then a roundover bit used on the router table plus a rebate bit to set the lid in.
woody U.K.
"Common looking people are the best in the world: that is the reason the Lord makes so many of them." ~ Abraham Lincoln


 Reply With Quote
Similar Threads
-
veneered tissue box
By jow104 in forum BOX MAKINGReplies: 9Last Post: 7th July 2010, 09:19 PM -
two day tissue box
By jow104 in forum BOX MAKINGReplies: 10Last Post: 15th May 2010, 12:31 AM -
tissue box ASP
By jow104 in forum BOX MAKINGReplies: 25Last Post: 1st October 2009, 05:51 PM -
V for Victory tissue box
By jow104 in forum BOX MAKINGReplies: 42Last Post: 20th August 2009, 07:15 PM -
Tissue box
By ciscokid in forum BOX MAKINGReplies: 14Last Post: 23rd December 2006, 12:08 AM
