

 Thanks: 0
 Likes: 0
 Needs Pictures: 0
 Picture(s) thanks: 0
Results 1 to 15 of 25
Thread: my tissue box design
-
10th July 2009, 07:06 PM #1
 GOLD MEMBER


- Join Date
- Sep 2002
- Location
- Paignton. Devon. U.K.
- Posts
- 6,062
 my tissue box design
Started a new box before completion of existing project completed :x
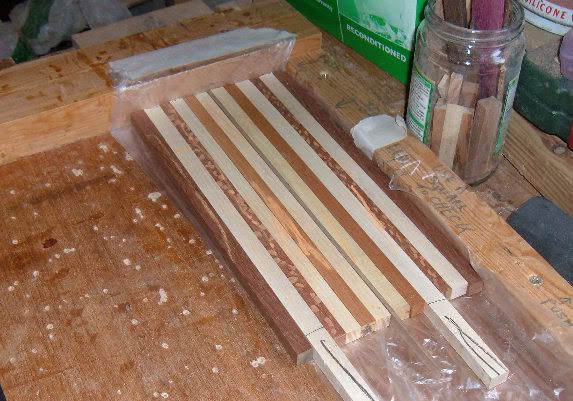
So found a bit of ash that has been laying around and prepared this 900mm length.
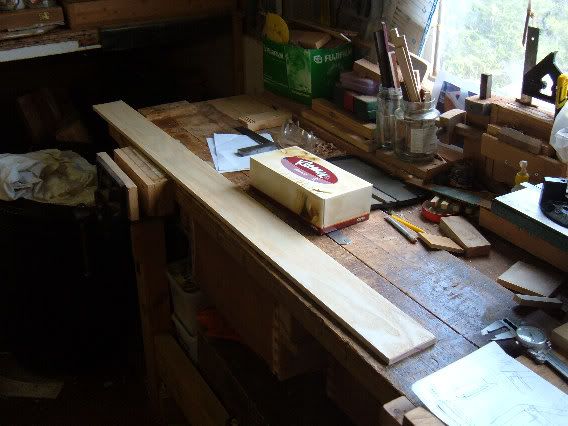
Also dug out these veneers that were given me by a ukworkshop member which I thought would contrast nicely with the ash. (BTW what veneer is this?)

The ideas was to infill the ash with the veneer as per pattern shown.
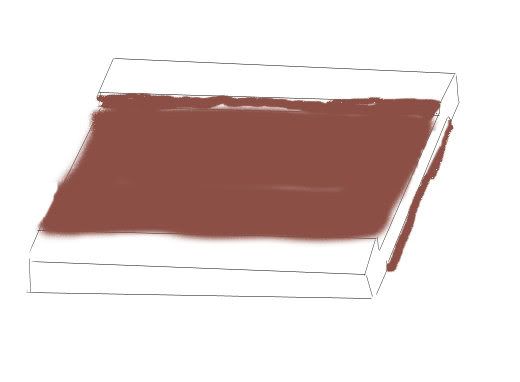
However when preparing the first dado things have not gone right.
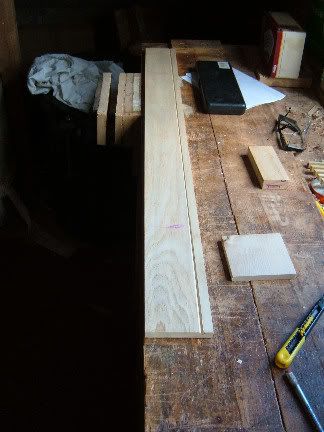
So things are being redesigned on the run again, (veneers have been put away for another day).
Oh. and I have a brick pillar under construction ( to add a handrail to negotiate some steps in our garden.)
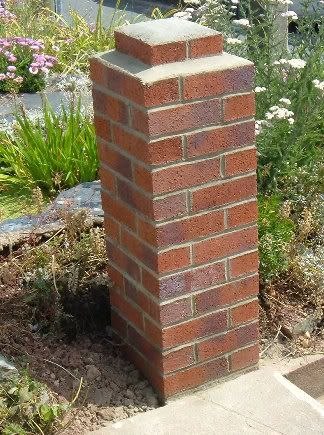
(2.4 metres of softwood handrail cost £24 plus vat") )
woody U.K.
)
woody U.K.
"Common looking people are the best in the world: that is the reason the Lord makes so many of them." ~ Abraham Lincoln
-
10th July 2009 07:06 PM # ADSGoogle Adsense Advertisement
- Join Date
- Always
- Location
- Advertising world
- Posts
- Many
-
10th July 2009, 08:24 PM #2
Skwair2rownd
- Join Date
- Nov 2007
- Location
- Dundowran Beach
- Age
- 76
- Posts
- 19,922

That stunning veneer for a bloody tissue box.

Shame on you. Go away and do a proper tissue box with wool and a crochet hook.

-
11th July 2009, 12:05 AM #3
SENIOR MEMBER
- Join Date
- Feb 2007
- Location
- Adelaide
- Posts
- 595
That is some pretty fancy brickwork. Is there nothing you can't do? Not sure about the double negatives in this, but you get my meaning.
Looking forward to seeing the tissue box too. Don't forget to veneer it on the inside too so the ash won't warp )
)
-
11th July 2009, 12:26 AM #4
Dances with splinters
- Join Date
- Jul 2005
- Location
- Oberon, NSW
- Age
- 63
- Posts
- 13,360
It'd be lovely if 'twas Cocobolo, but it doesn't quite look right for that.
Maybe Zebrawood? (Guancalo Alves or something like that.)
- Andy Mc
-
11th July 2009, 12:30 AM #5
.
- Join Date
- Jul 2005
- Location
- Victoria
- Posts
- 5,215
-
11th July 2009, 12:31 AM #6
Dances with splinters
- Join Date
- Jul 2005
- Location
- Oberon, NSW
- Age
- 63
- Posts
- 13,360

Make that Goncalo Alves.
- Andy Mc
-
11th July 2009, 04:13 AM #7
GOLD MEMBER
- Join Date
- Sep 2002
- Location
- Paignton. Devon. U.K.
- Posts
- 6,062
Built my first brick front garden wall 60 years ago when I was 12 years of age, many craftsmen who lived in our road kept coming upto me and giving me sound advice. (it was a very hot summer for London and the bricks were so dry I was advised to dunk each brick in a bucket of water, also was advised to put washing up liquid in the mix,) Originally Posted by Fencepost2

Pleased to state that I looked up our old home on google earth the other day and the wall is still standing with a further row of decorative blocks laid along the top.
BTW no spirit level and also told to use a string line which helped alot. woody U.K.
"Common looking people are the best in the world: that is the reason the Lord makes so many of them." ~ Abraham Lincoln
-
11th July 2009, 05:46 PM #8
GOLD MEMBER
- Join Date
- Sep 2002
- Location
- Paignton. Devon. U.K.
- Posts
- 6,062
That veneer sounds posh. Thanks.
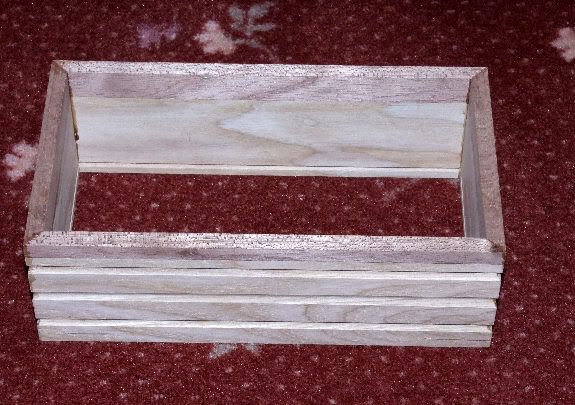
Used a couple of core bits in the router and put the complete length of timber through on the router table before cutting mitre corner joints.
Glued up and photographed before clean up.
 woody U.K.
"Common looking people are the best in the world: that is the reason the Lord makes so many of them." ~ Abraham Lincoln
-
12th July 2009, 03:01 PM #9
Deceased
- Join Date
- Jun 2003
- Location
- ...
- Posts
- 7,955
Looking good John but much to spiffy for a tissue box.
When I made mine I just knocked together a box cover to fit over the tissue boxes of MDF and then veneered them with oak veneer using traditional methods before french polishing them.
Peter.
-
12th July 2009, 05:50 PM #10
GOLD MEMBER
- Join Date
- Sep 2002
- Location
- Paignton. Devon. U.K.
- Posts
- 6,062
Good memories. Originally Posted by Sturdee

Posting some more pictures of progress in a moment and you can advise me what to do with the aperture, can I safely use the router table to put a round over on the inside edges of the aperture?woody U.K.
"Common looking people are the best in the world: that is the reason the Lord makes so many of them." ~ Abraham Lincoln
-
12th July 2009, 06:00 PM #11
SENIOR MEMBER
- Join Date
- Sep 2008
- Location
- Jimboomba Qld.
- Age
- 69
- Posts
- 594
Hi jow104, Originally Posted by jow104
Veneer is "Palasander" Tuff stuff to cut so be gentle and persistent.
Looks stunning French polished.
Cheers
SteveDiscover your Passion and Patience follows.
www.fineboxes.com.au
-
12th July 2009, 06:20 PM #12
GOLD MEMBER
- Join Date
- Sep 2002
- Location
- Paignton. Devon. U.K.
- Posts
- 6,062
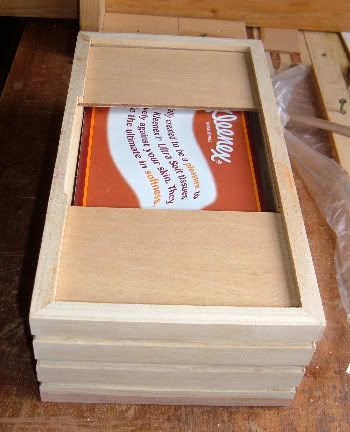
Cleaned up the excess glue, Titebond 3 is good but very runny.
Fitted two sliding panels to hold the tissue box inside the carcass, the panels can be removed because the rebate has a section cut away at the centre portion. (idea from Martin at ukworkshop)
I like my strip formed lids, I have not had a failure due to warping over the past 5 years using this method, so layed out some more offcuts (the pile never seems to run short) .
Glued up and two pieces marked up for the bandsaw and cut to shape.
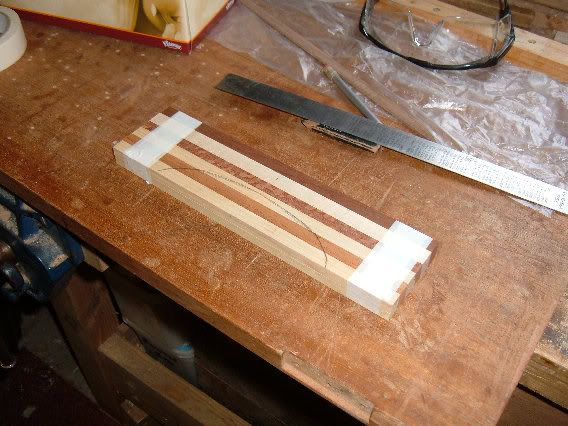
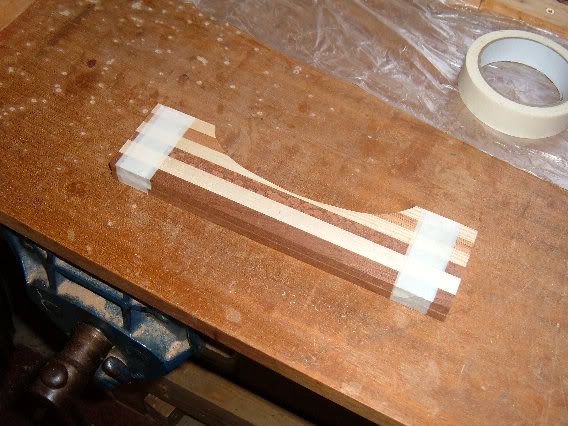
Rejoined with a contrasting piece of black walnut through centre (waste centre to be removed)
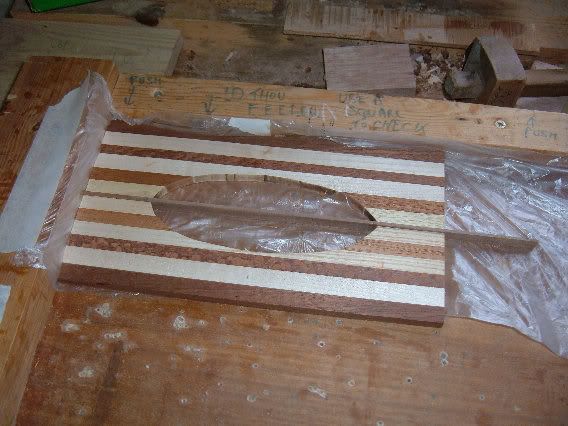
I think I should have put a round over bit round the inside edge of the aperture before this last join up?
Do you think it is safe to drop this piece on a router table and guide round?
Or should I sand to shape by hand?woody U.K.
"Common looking people are the best in the world: that is the reason the Lord makes so many of them." ~ Abraham Lincoln
-
12th July 2009, 06:23 PM #13
GOLD MEMBER
- Join Date
- Sep 2002
- Location
- Paignton. Devon. U.K.
- Posts
- 6,062
Thanks Steve, I think I will have to take the sample along to Kew Gardens, London, I have now had 4 or 5 diagnosises
(I like the word diagnosises)
woody U.K.
"Common looking people are the best in the world: that is the reason the Lord makes so many of them." ~ Abraham Lincoln
-
12th July 2009, 06:39 PM #14
Dances with splinters
- Join Date
- Jul 2005
- Location
- Oberon, NSW
- Age
- 63
- Posts
- 13,360
Should be perfectly safe with a small roundover bit & bearing. Originally Posted by jow104

Personally I'd cut each quadrant "downhill" with the grain to minimise grain lifting, even though this means two quadrants would be climb-cut.
But if you only cut a small depth on each pass, you may be able to get by with cutting it all in the same direction. Depends on the whether the woods want to behave.
- Andy Mc
-
12th July 2009, 07:52 PM #15
SENIOR MEMBER
- Join Date
- Feb 2007
- Location
- Adelaide
- Posts
- 595
John, I would be very careful with the round over bit. There will be a lot of end grain cutting and big danger of splitting off bits from the edges of the separate halves. I wonder whether the roundover bit work would be better with the two halve joined so that the fragile edges at the ends would be better supported. Just worrying now you are so close to a lovely box top.


 Reply With Quote

Similar Threads
-
Finding Engineering Design Software For Automatic Machine Design
By davidWilliams in forum METALWORK FORUMReplies: 2Last Post: 11th January 2010, 10:41 PM -
Not you average tissue box holder
By Ben from Vic. in forum BOX MAKINGReplies: 13Last Post: 21st January 2009, 08:31 PM -
Design help
By Lumber Bunker in forum WOODWORK - GENERALReplies: 11Last Post: 23rd January 2007, 12:11 PM -
Tissue box
By ciscokid in forum BOX MAKINGReplies: 14Last Post: 23rd December 2006, 12:08 AM -
Help with design
By robatman in forum WOODTURNING - GENERALReplies: 4Last Post: 14th November 2006, 11:47 PM
