

 Thanks: 0
 Likes: 0
 Needs Pictures: 0
 Picture(s) thanks: 0
Results 1 to 9 of 9
Thread: Painting Arcade Machine (MDF)
-
1st July 2010, 06:27 PM #1
 New Member


- Join Date
- Mar 2006
- Location
- Townsville
- Age
- 52
- Posts
- 8
 Painting Arcade Machine (MDF)
Hey all,
Long time reader, rare poster lol.
I'm just about to move onto the next phase of my big project (biggest ever as far as woodwork goes!) and need a little guidance.
I'm building an arcade machine from scratch and the building is all but done and I've filled the countersunk screw holes with wood putty. Next step is to seal the MDF (after sanding the filler) then painting.
This is where I'm unsure. I don't want a super glossy finish, think laminate and that's the sort of finish I'm after. I've heard lots of different ways to paint MDF but I guess I need a noob guide if anyone could take a few minutes?
This is where I'm at: About to seal the MDF with Bondcrete - where to from there? Undercoat - what kind? How many coats of it and how many top coats and what sanding in between? If wet sanding is required please can I have an idiot's guide?
I know it's probably a stupid question but I want to do it right and get a good looking finish as a bad paint job could undo all the effort I've put in so far.
Overall I'm very happy with how this has turned out especially considering this is the first project like this I've undertaken!
Oh yeh, the colour scheme is going to be black with red T-moulding.
Any help supremely appreciated!
-
1st July 2010 06:27 PM # ADSGoogle Adsense Advertisement
- Join Date
- Always
- Location
- Advertising world
- Age
- 2010
- Posts
- Many
-
1st July 2010, 08:44 PM #2
SENIOR MEMBER
- Join Date
- Dec 2005
- Location
- Canberra
- Posts
- 3,260
Here's my recommendation for a sturdy finish on MDF.
Seal edges with (your choice of) Timbermate, car putty or epoxy. I favour epoxy these days as it also provides insurance against water entry. Remember that rounded edges not only take paint better, with MDF they resist impact damage better than sharp edges (the epoxy helps here, too).
Sand to 200 grit, dedust, spray with automotive primer for good coverage, sand with 320 grit, dedust, spray several coats of chosen colour, wet sand with 400-600-1200 grit, finish with car paint cutting compound.
Basically, it's just like painting a car. The $2.00 cans from Super Cheap Auto are fine for this sort of project. Try it on a few small bits to get the hang of it. Use good sandpaper (Norton or similar) not that mystery brand stuff in Bunnies.
Thread with pictures - www.avsforum.com/avs-vb/showthread.php?t=1019557
-
2nd July 2010, 07:07 AM #3
GOLD MEMBER
- Join Date
- Aug 2007
- Location
- St Georges Basin
- Posts
- 1,017
How about some pics of the project?
-
2nd July 2010, 09:47 AM #4
New Member
- Join Date
- Mar 2006
- Location
- Townsville
- Age
- 52
- Posts
- 8
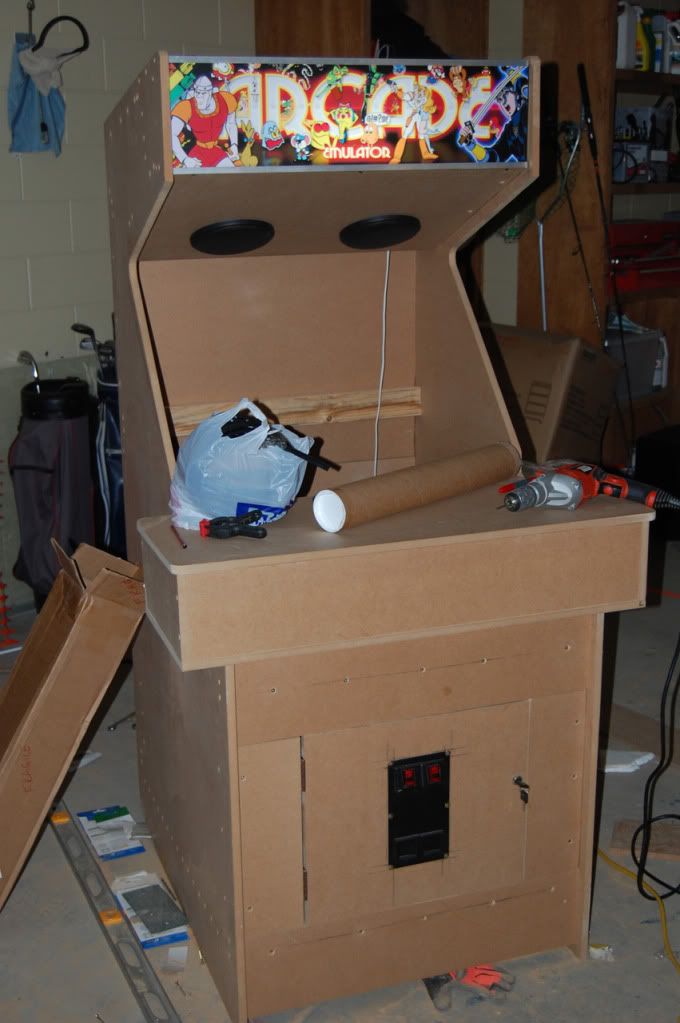
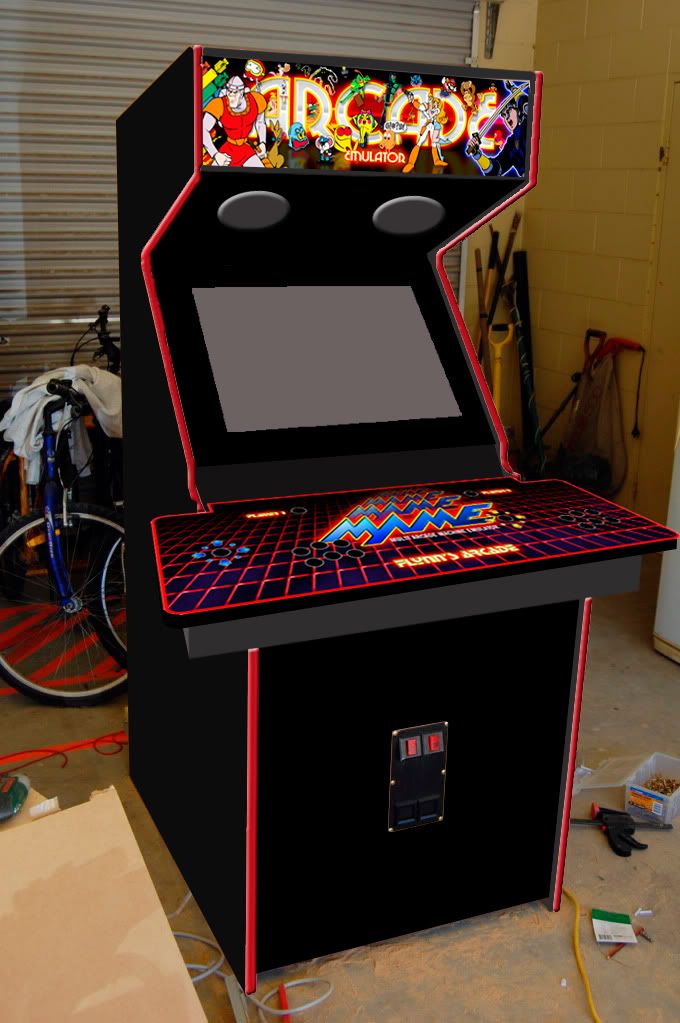
Hokay, here are some pics of the story so far. I've filled all the screw holes and am getting ready to paint soon (obviously) Originally Posted by burraboy

And thanks to Master Splinter for your advice and linky, muchos appreciation!
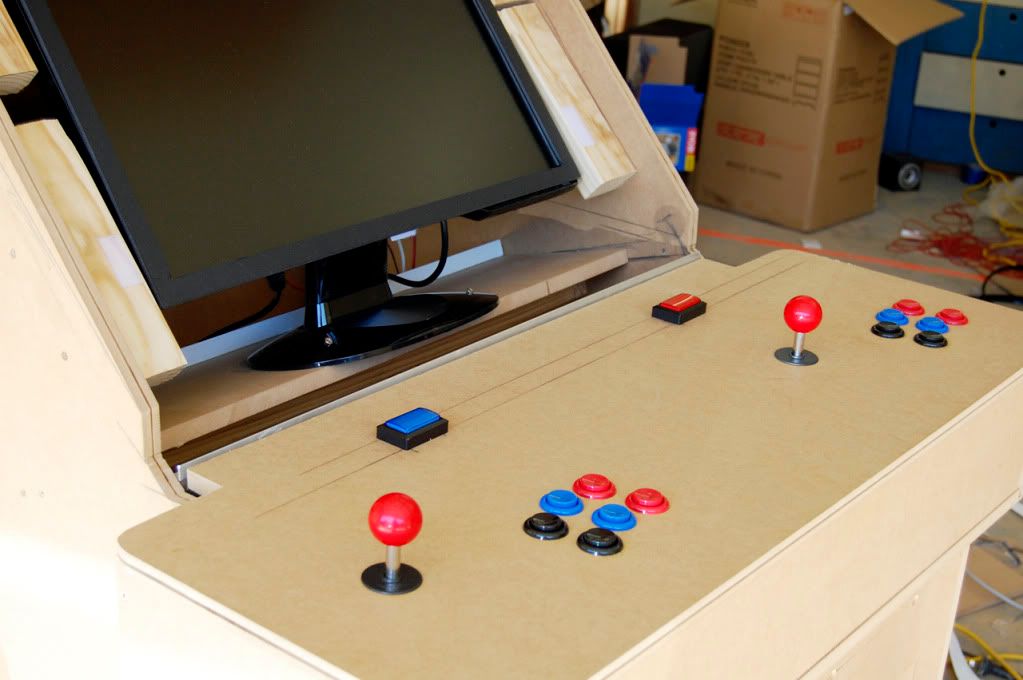
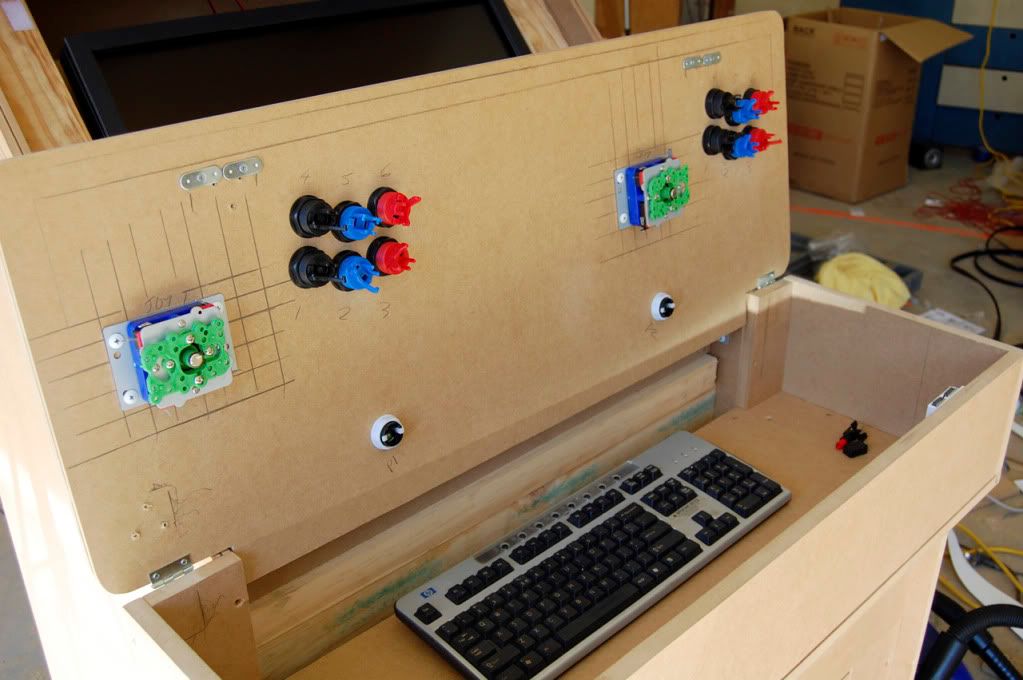
This is what I envisage it will look like when complete (the artwork on the control panel is ready to be applied after painting)
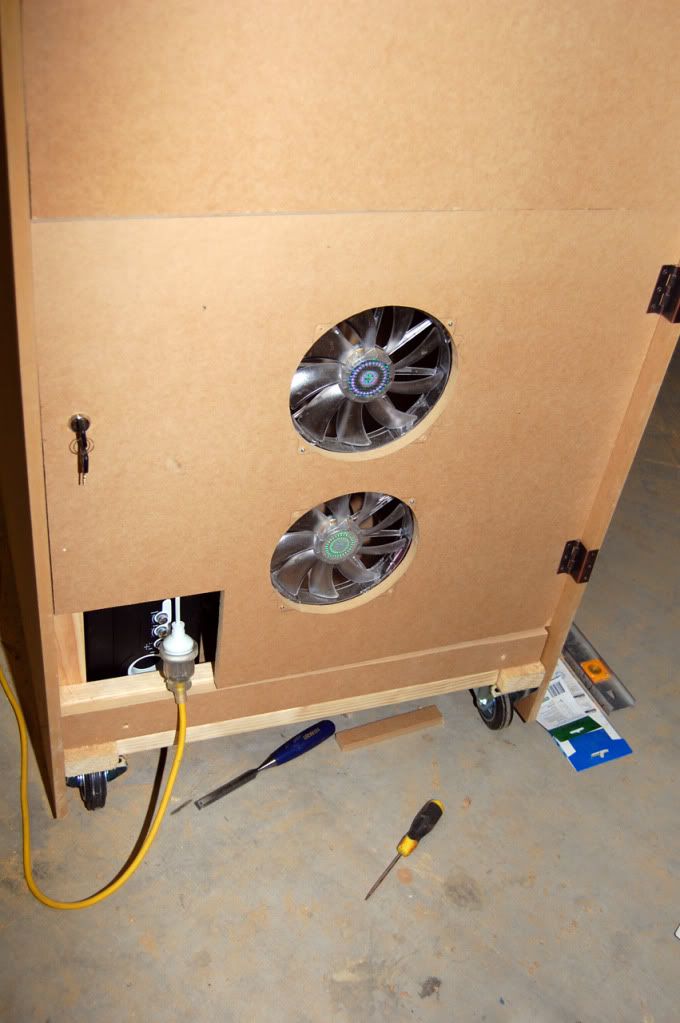
And this is what it all started as - a cardboard dream...

It's nice and sturdy, got braces inside (pine beams) and used good quality, long timber screws.
First time attempting something like this.
-
2nd July 2010, 11:30 AM #5
GOLD MEMBER
- Join Date
- Mar 2005
- Location
- In the shed, Melbourne
- Age
- 52
- Posts
- 6,883

It's probably just part of the graphics there, but are you looking at installing Dragon's Lair?
 Galaga, 1941, 1942, 1943... I could go on.
Keep us up to date with your progress.
-
2nd July 2010, 11:44 AM #6
New Member
- Join Date
- Mar 2006
- Location
- Townsville
- Age
- 52
- Posts
- 8
Dragon's Lair will be on there - along with the other ones like Space Ace etc as well as all the arcade goodies Originally Posted by Waldo
When I'm done it should have emulators for all platforms (arcade/MAME, Daphne [Dragon's Lair etc], SNES, SEGA, N64, Atari and so on and so forth). Literally thousands of games
Oh yeeeehhhhh
-
2nd July 2010, 01:14 PM #7
He's dead Jim
- Join Date
- Aug 2008
- Location
- Shepparton *ugh*
- Age
- 49
- Posts
- 1,185
Very swish. I've always wanted to have a table top arcade machine and have often been impressed with the boxes people have built.
Good ol' MAME. Nothing like having the most modern of technology to run the most ancient of games software
-
2nd July 2010, 03:44 PM #8
GOLD MEMBER
- Join Date
- Aug 2007
- Location
- St Georges Basin
- Posts
- 1,017
Ahhh... When you said arcade games I thought you meant something like this
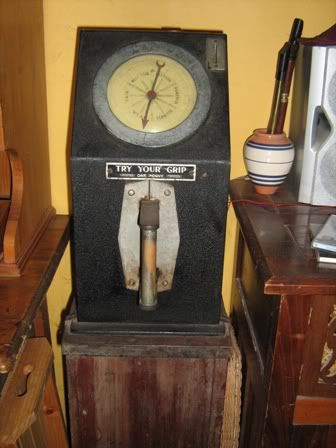
or these
I feel a bit like Woodwould now.....
-
3rd July 2010, 10:50 PM #9
SENIOR MEMBER
- Join Date
- Dec 2005
- Location
- Canberra
- Posts
- 3,260
Just a note for other arcade cabinet builders who might come across this thread...consider buying a cheap air compressor ($99-150ish in bunnies, supa cheap), brad nailer ($50-ish) and spray gun ($80-ish) - it gives you better finishing and assembly options.
If you use a brad nailer it means you only have tiny holes to fill rather than trying to hide screw heads with filler; over time, the screw head can telegraph through marring an otherwise good finish.
If you can work just with glue (clamp while drying...modern glues are plenty strong to hold without mechanical reinforcement, as oceangoing yachts can be built using nothing but wood and epoxy adhesive), that's even better.

 Reply With Quote


Similar Threads
-
Routing services to help an old arcade.
By Bewah in forum CNC MachinesReplies: 10Last Post: 6th August 2010, 03:52 PM -
An Arcade Machine...Work in progress
By martink in forum WOODWORK PICSReplies: 78Last Post: 2nd June 2009, 02:25 PM -
JBs Arcade Machine
By jeremybnz in forum WOODWORK PICSReplies: 20Last Post: 20th April 2009, 10:24 AM -
Finishing MDF Arcade Machine
By fabke20 in forum FINISHINGReplies: 10Last Post: 26th August 2005, 09:51 AM -
Very addictive arcade game
By ozwinner in forum NOTHING AT ALL TO DO WITH WOODWORKReplies: 0Last Post: 12th April 2004, 06:06 PM
