

 Thanks:
  Likes:
  Needs Pictures: 0
 Picture(s) thanks: 0
Results 1 to 15 of 28
Thread: 7 String Archtop WIP
-
17th July 2014, 01:44 AM #1
 Senior Member


- Join Date
- Aug 2008
- Location
- Melbourne
- Posts
- 166
 7 String Archtop WIP
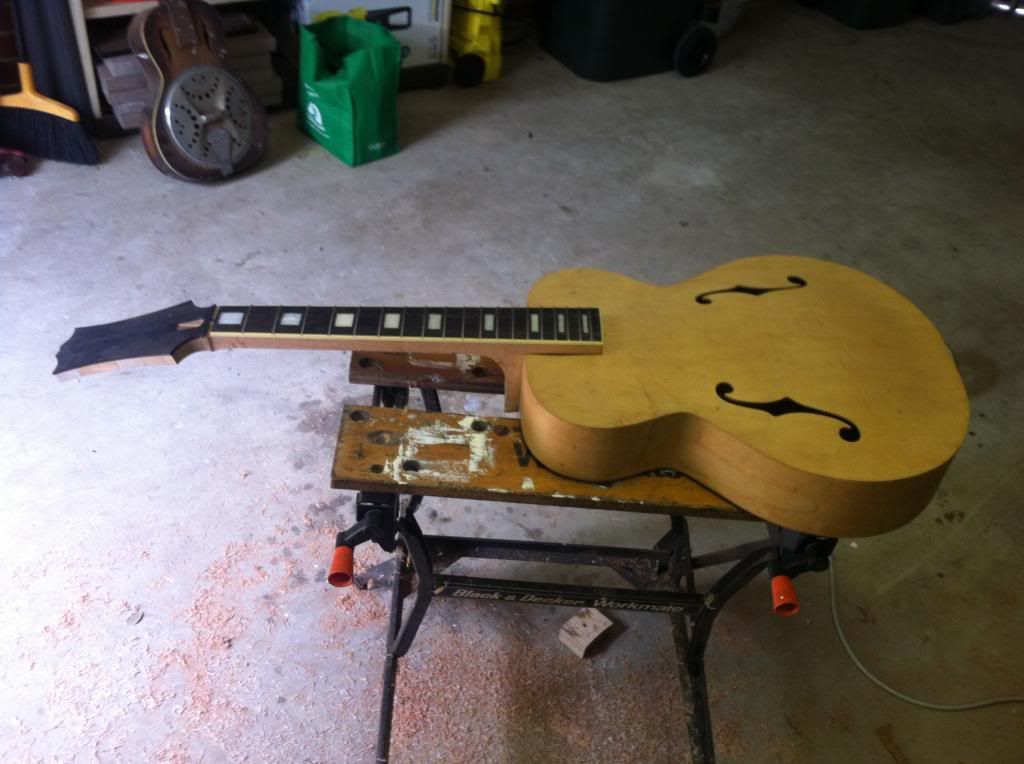
I love reading work-in-progress threads, so here's my contribution:
I stumbled upon an laminate top archtop body on ebay for cheap - a factory 2nd perhaps (no brand), and decided to buy it and add a 7 string neck (cos how else can you get a 7 string archtop without a mortgage??). It had a partially routed neck pocket that I filled in with Vic Ash.
The plan is to make it look similar to Gibsons of era's gone by, borrowing features from guitars like L7s, L5s, ES125, ES175 etc. in a tobacco sunburst. I'm also working on fabricating my own trapeze tailpiece out of brass because I couldn't find any to buy, and didn' want to go with the modern carved ebony style...
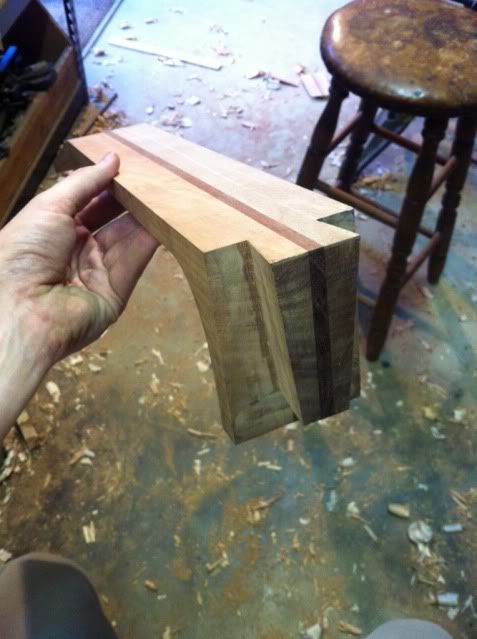
The neck is Queensland Maple and Jarrah laminates, with an ebony headplate. I was even so bold as to try a hand cut dovetail - the router bits and Stew Mac template jigs were going to be way too expensive, and where's the fun and danger in doing it that way?
In general I've been using plenty of hand tools - handplanes to flatten the neck ready for the fingerboard, and to flatten the headstock after cutting on the bandsaw etc.
Early mockup with the body + dog:

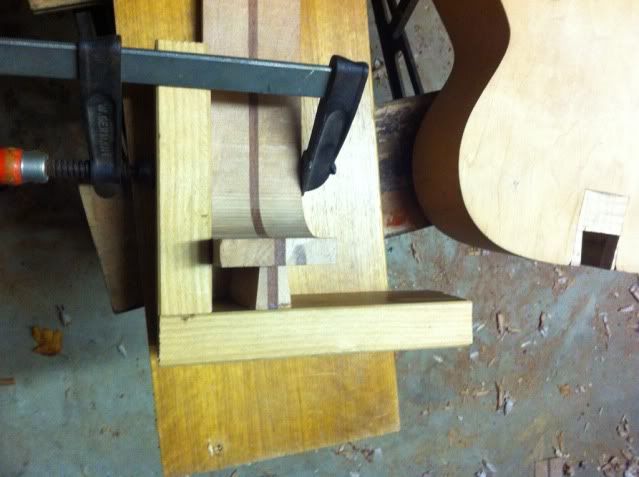
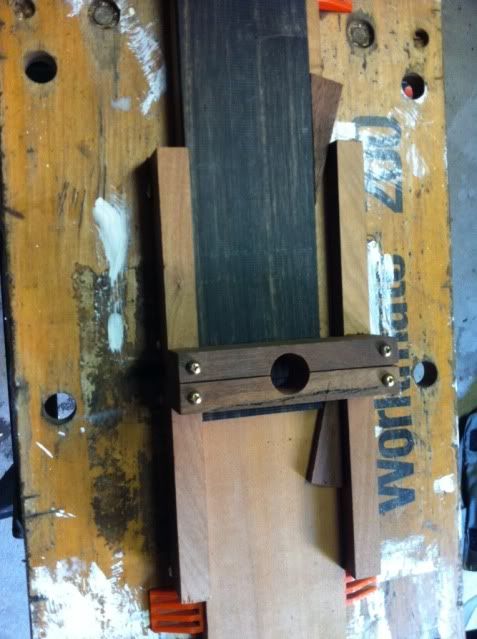
I didn't however trust my joinery skills enough to do the fingerboard extension by hand, so I made this quick jig to allow me to run it against the fence on the Triton router table setup:
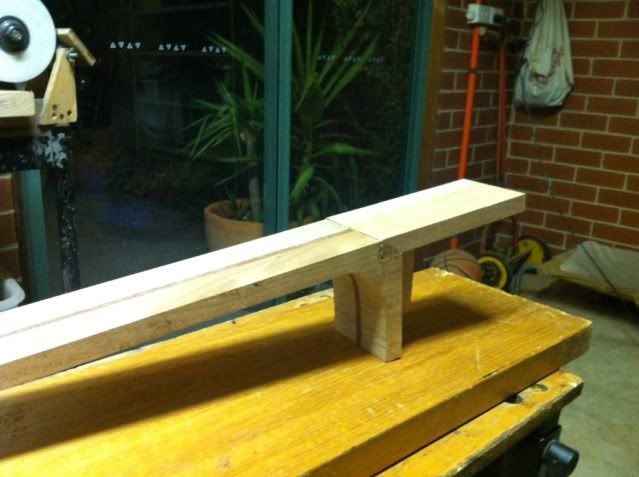
Success:
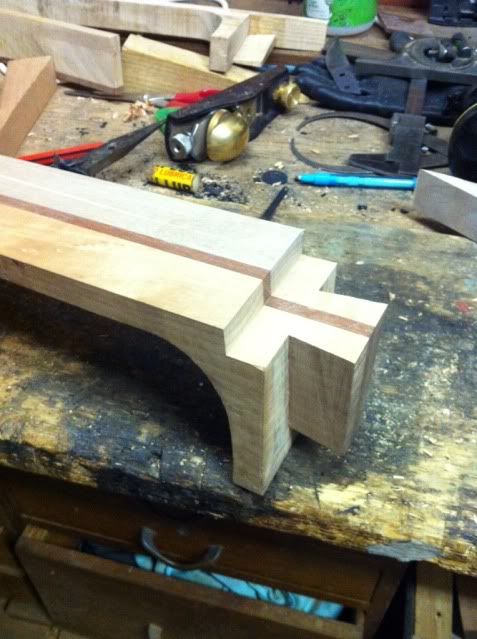
Not perfectly aligned, but everything's oversized at this stage, so it'll be fine when cut back
-
17th July 2014 01:44 AM # ADSGoogle Adsense Advertisement
- Join Date
- Always
- Location
- Advertising world
- Posts
- Many
-
17th July 2014, 01:54 AM #2
Senior Member
- Join Date
- Aug 2008
- Location
- Melbourne
- Posts
- 166
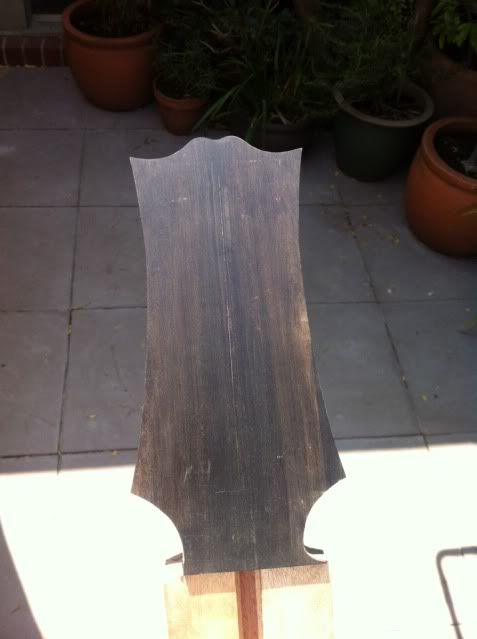
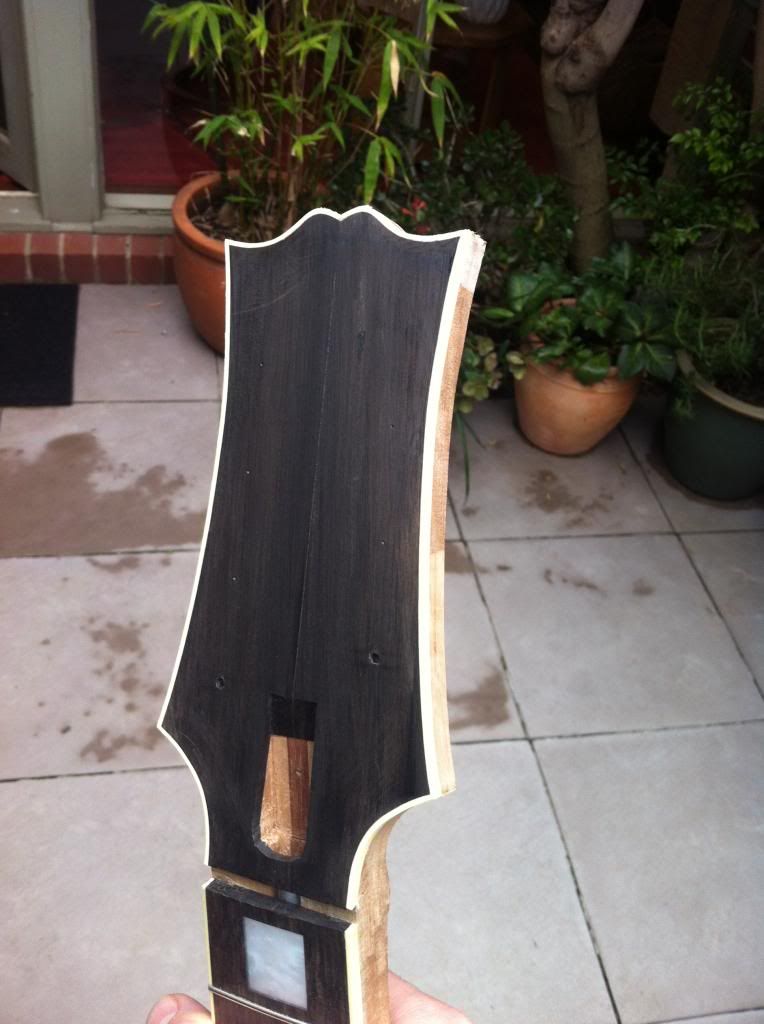
Truss rod routed, headstock wings and ebony headplate glued - note the ebony was a bridge blank that I bookmatched with the bandsaw to make a "veneer" that was big enough - the usual headplates are too small...
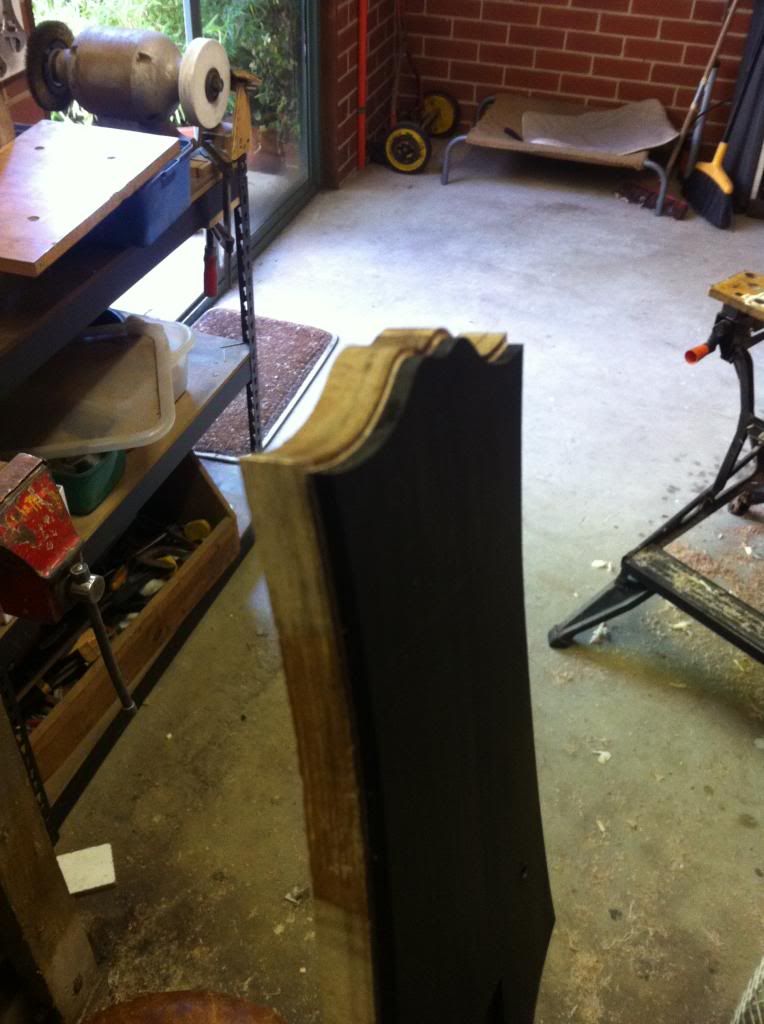
Made a headstock template from a design that is basically a Gibson shape stretched a bit in Photoshop... To get it symmetrical, I cut out half the shape in some thicker pine, then sliced it in half and bookmatched it - perfect symmetry!
Major router chipout disaster!
Fixed it by laminating some spare ebony onto some spare Qld Maple, planed both surfaces flat and glued it on: (note the mismatched thickness of the ebony won't matter as it will be covered by binding
Success the 2nd time around - in very bright sunlight (as here), you can see the 2 pieces. Otherwise it's barely noticeable, and I imagine will be even less so once darkened up with some finish:
-
17th July 2014, 02:09 AM #3
Senior Member
- Join Date
- Aug 2008
- Location
- Melbourne
- Posts
- 166
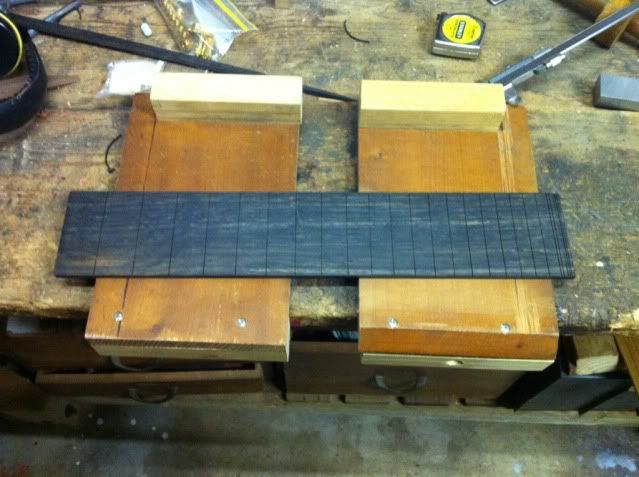
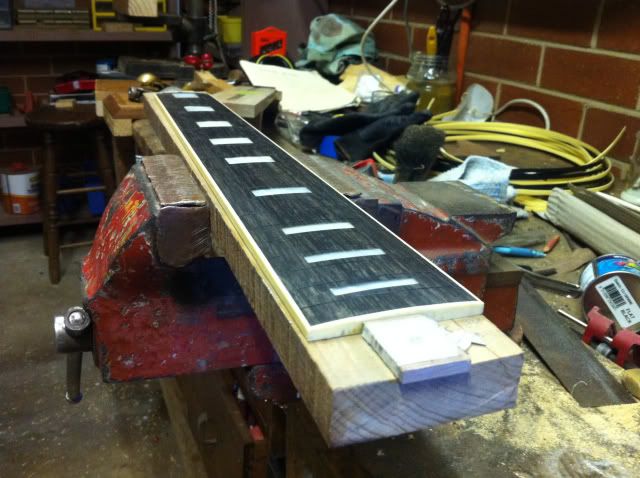
Now for the fingerboard. Once again, no way I'm buying overpriced Stew Mac jigs and saws - here's my homemade fret slotting mitre box (with wedges to hold the board in place). The saw of choice? A cheapy old no-name flea market backsaw that I sharpened and set to the the right kerf for the fretwire:
Clean as:
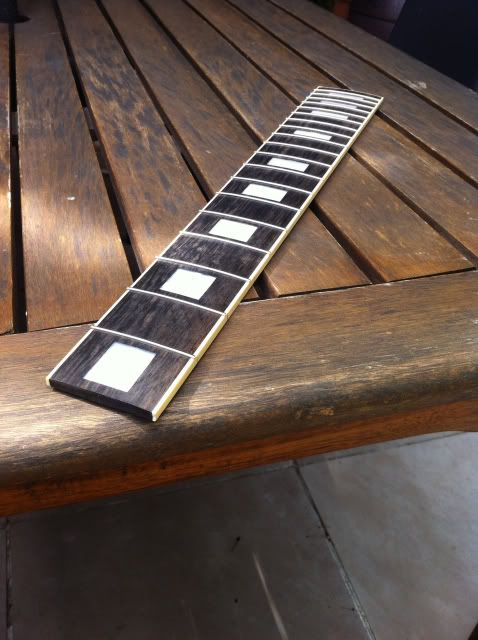
Bought a set of Les Paul Custom sized inlays, and did them with the Dremel and chisels. Any gap filling was handled using araldite with a drop of black paint - works brilliantly! Radiusing was done with a home-made sanding block:
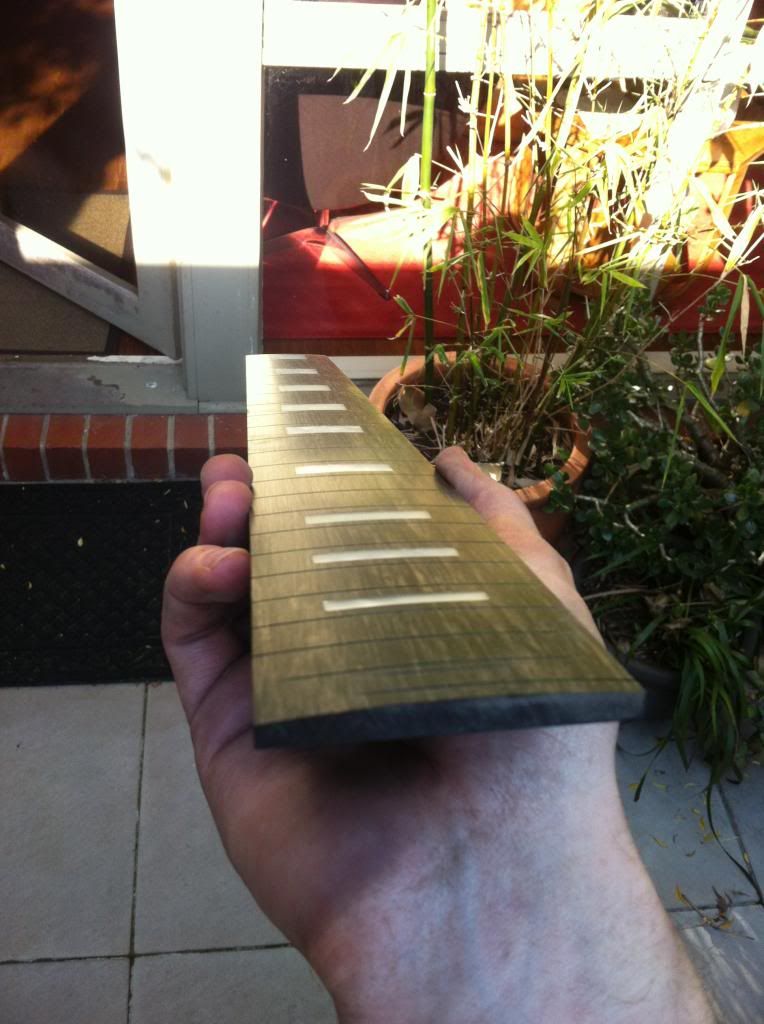
Binding - glued on with acetone and masking tape. Here it's mounted in a super low-tech jig to hold it for radiusing:
Then came fretting... $30 plus postage for Stew Mac flush cut fret trimmers? How about $0 for grinding the front of an old pair of pincers flush - worked a treat!
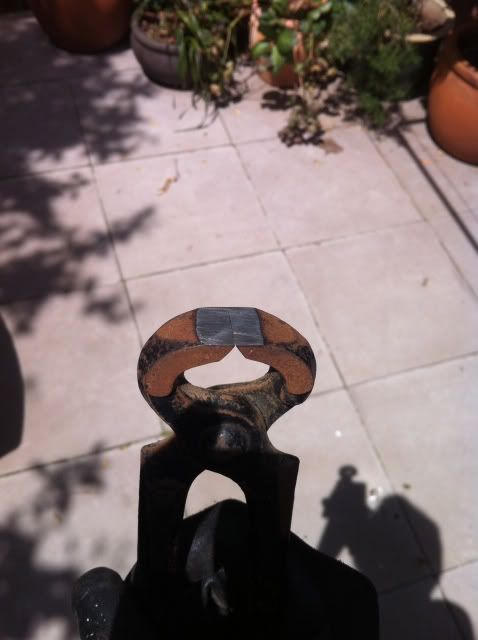
The whole thing came out ok for a first attempt! Aside from a cheap pair of 'tang nippers' from ebay, (which worked great after some modification), the whole thing was done without specialty tools - a plastic hammer, frets bent by hand etc.
-
17th July 2014, 02:20 AM #4
Senior Member
- Join Date
- Aug 2008
- Location
- Melbourne
- Posts
- 166
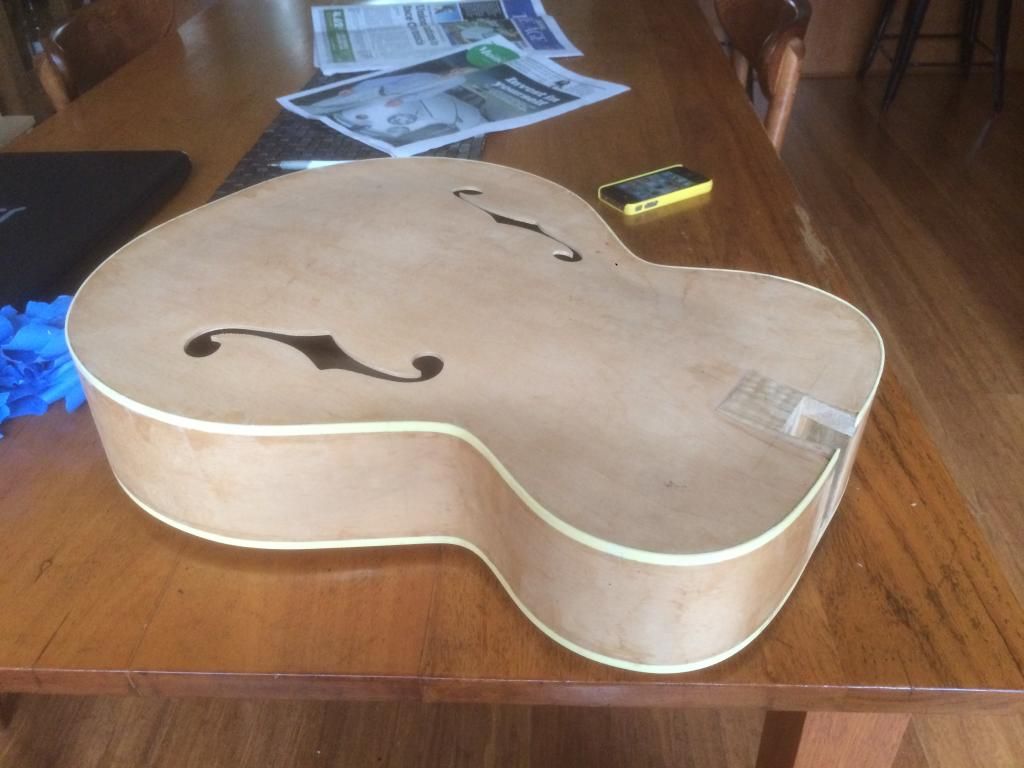
Binding:
I bought an undersized ball bearing at Bunnings and fitted it to a flush cut bit like so:
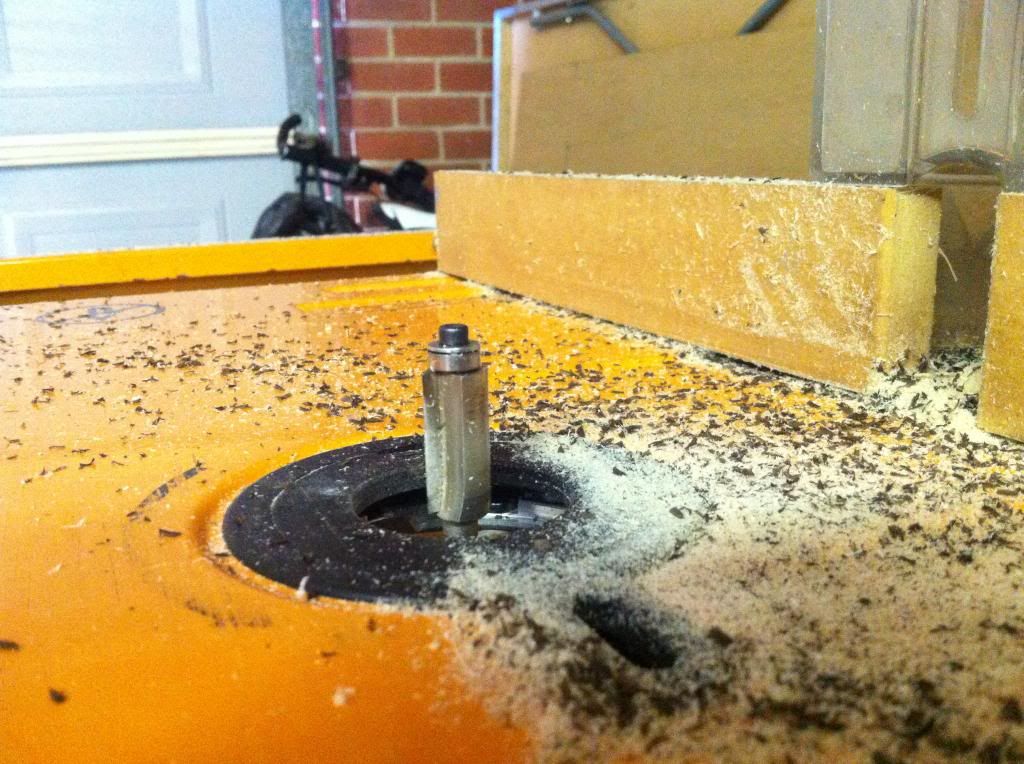
Ripper!
Another progress shot:
Routing the channel for the body was a whole lot more difficult, due to the sides being inconsistent width, and not always at a right angle to the edge of the top. The best solution I could come up with was this router jig - the top or back rides on the small lip/collar that encircles the bit, and by holding the side constantly against the vertical column, a channel of consistent depth and width could be a achieved. Required a steady hand, but it got the job done!

Done:
-
17th July 2014, 08:50 AM #5
Timber Hoarder
- Join Date
- Sep 2002
- Location
- Minbun, FNQ, Australia
- Age
- 66
- Posts
- 12,881
Thanks for sharing.
 Cliff.
If you find a post of mine that is missing a pic that you'd like to see, let me know & I'll see if I can find a copy.
-
22nd July 2014, 12:54 AM #6
Senior Member
- Join Date
- Aug 2008
- Location
- Melbourne
- Posts
- 166
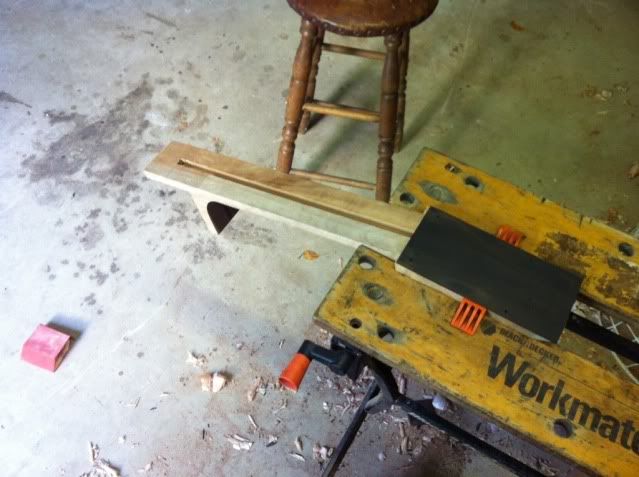
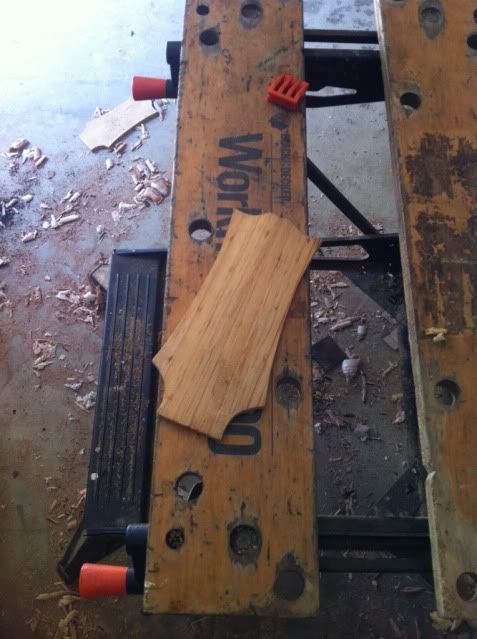
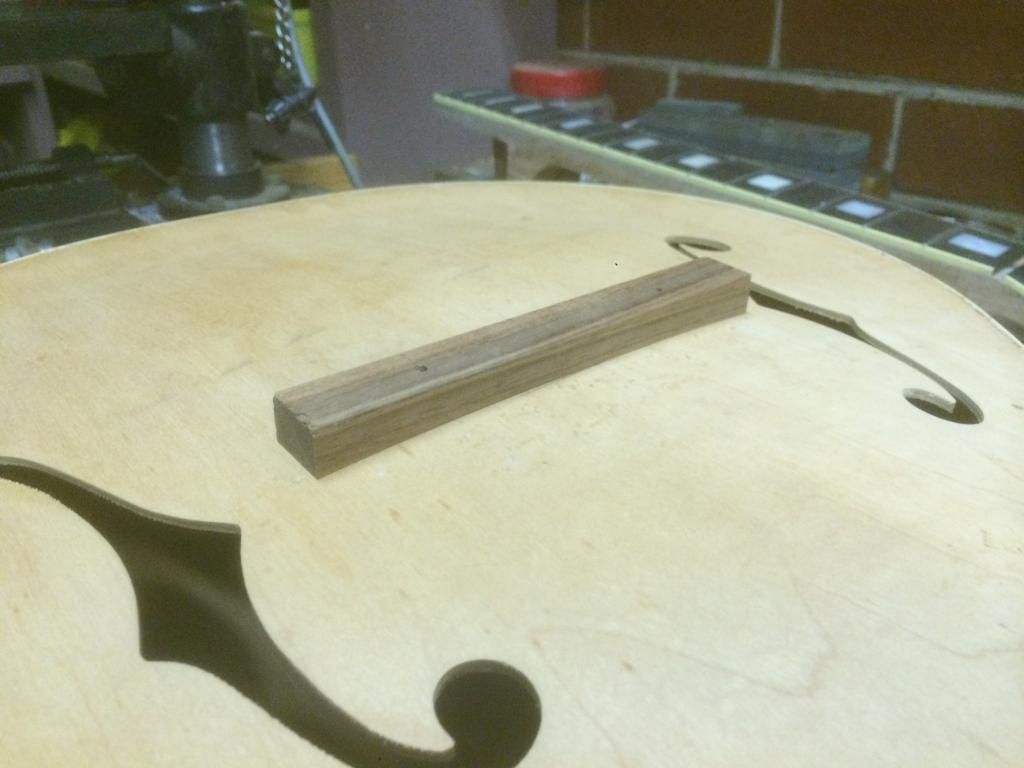
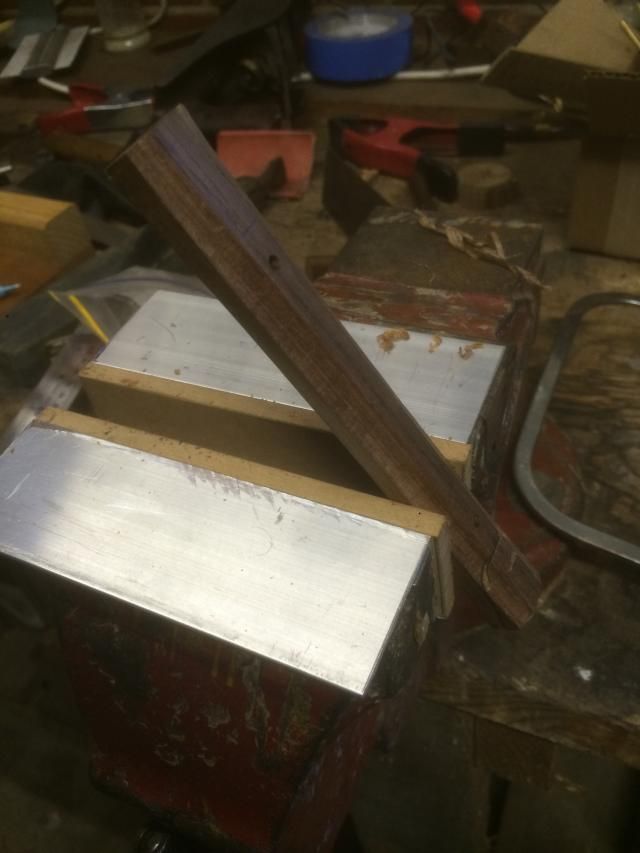
So, I've started on the bridge. It's from some nice scrap blackwood - the flouro lighting is really unflattering in the picture.
The bottom was matched to the guitar top by first using a contour gauge to transfer the shape, then cutting away some waste with the coping saw. Then I stuck sandpaper to the body of the guitar and sanded away.
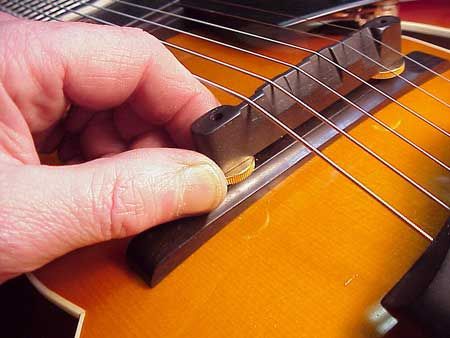
What I want to do is make it match this old Gibson bridge. Any suggestions on how to do the nice cove shape along the sides? I don't have a cove/round nose router bit or moulding plane - so if i were to buy one or the other, or use some other tool/jig, what would one recommend?
-
1st August 2014, 03:01 PM #7
Sawdust maker from Alice Springs
- Join Date
- Dec 2013
- Location
- Australia
- Posts
- 67
Fantastic work!
Looks great mate - Well done!

-
15th January 2015, 12:45 AM #8
Senior Member
- Join Date
- Aug 2008
- Location
- Melbourne
- Posts
- 166
A bit of 'metalwork' this time. I'm fabricating my own trapeze tailpiece because I haven't been able to find any to buy - here's what I've got so far:
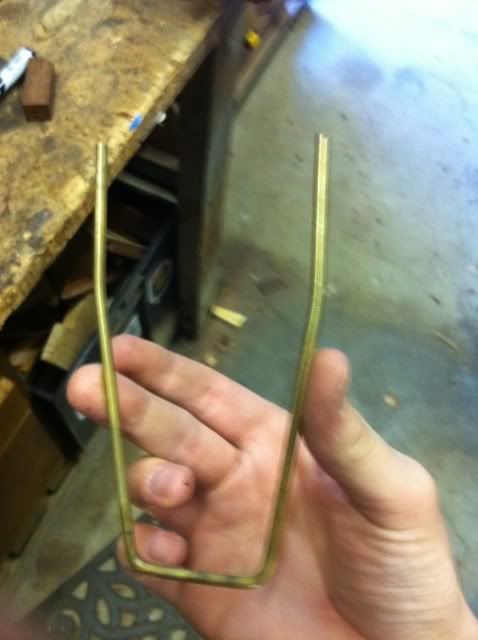
This part was heated and bent out of brass sheet, using various combinations of hammer, vise, and things to bend it around. Then lots of sanding to hide all the imperfections!
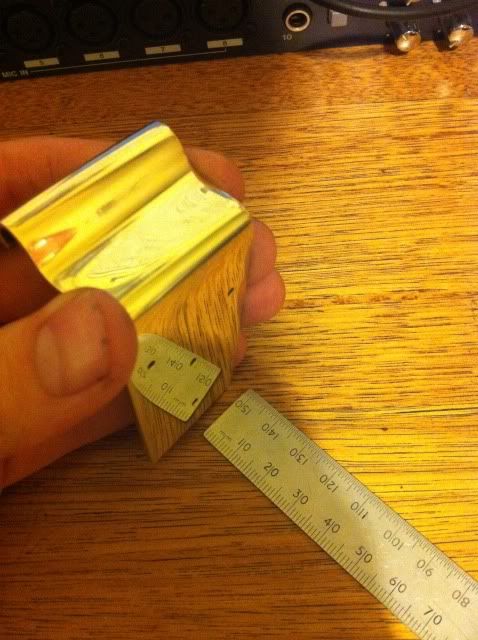
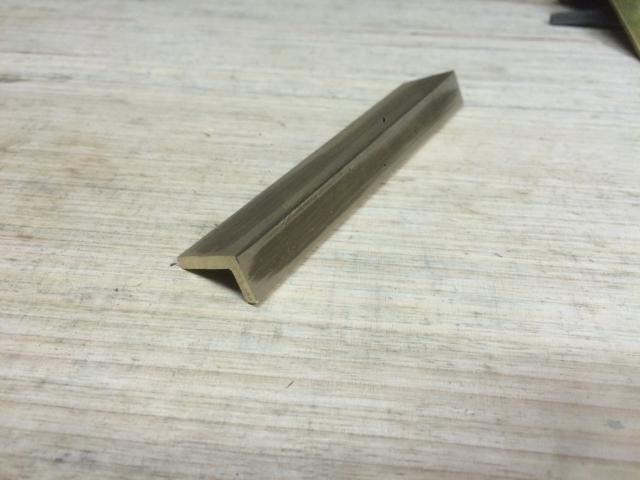
The tailpiece began as some brass angle scrap. I cut one side down a bit:
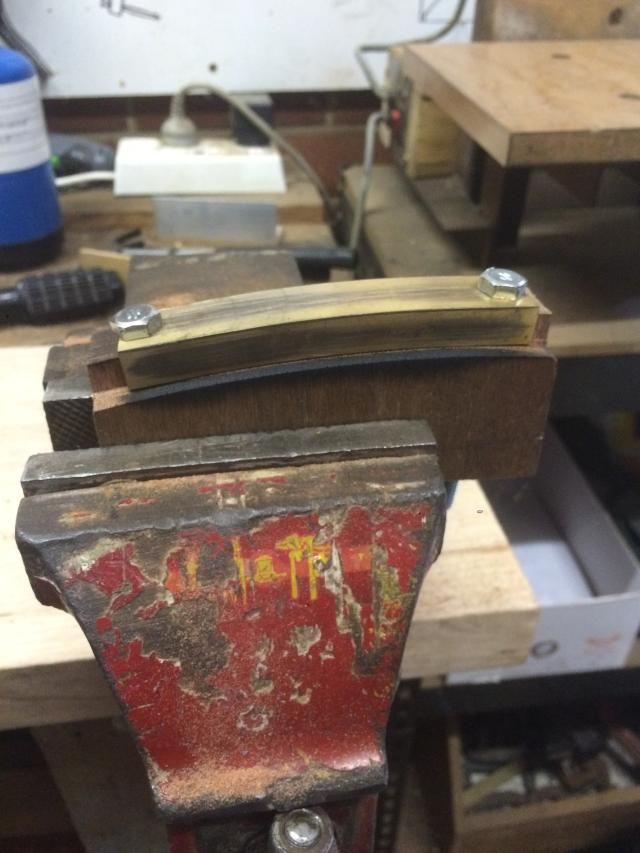
And bent it on a simple radiused caul using bolts:
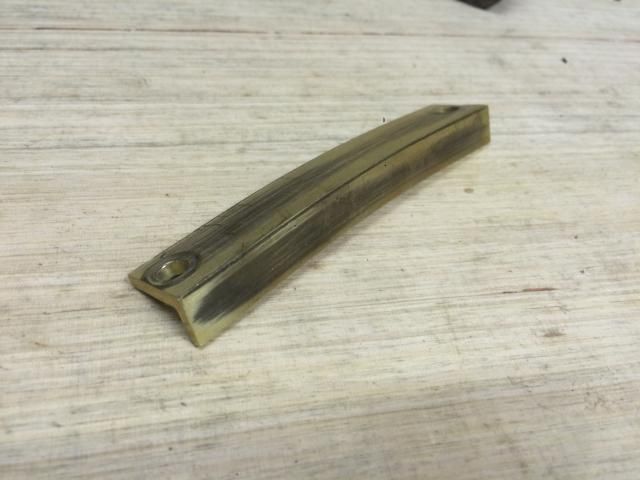
In hindsight, it would have been so much easier to line-up and drill the holes while it was still straight! Oh well, still worked:
-
16th January 2015, 09:08 AM #9
Member
- Join Date
- Oct 2009
- Location
- Newcastle, NSW, Australia
- Posts
- 66
I have really enjoyed your build. I`d love to do an archtop one day. My next big challenge will be a mate and me making a dobro for him. Steep learning curve.....cheers, Graeme
-
17th January 2015, 06:29 PM #10
Senior Member
- Join Date
- Aug 2008
- Location
- Melbourne
- Posts
- 166
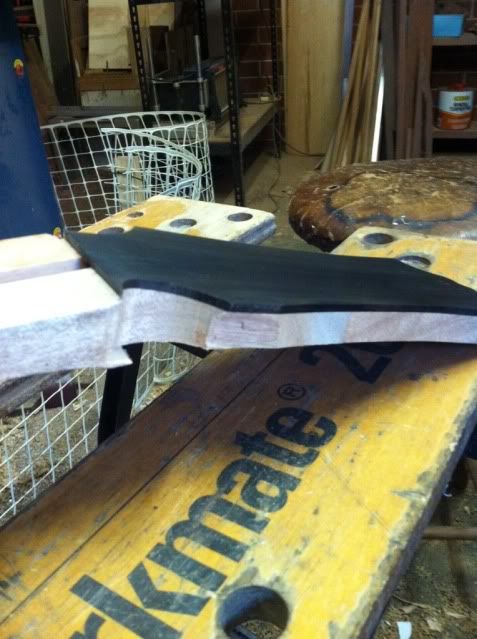
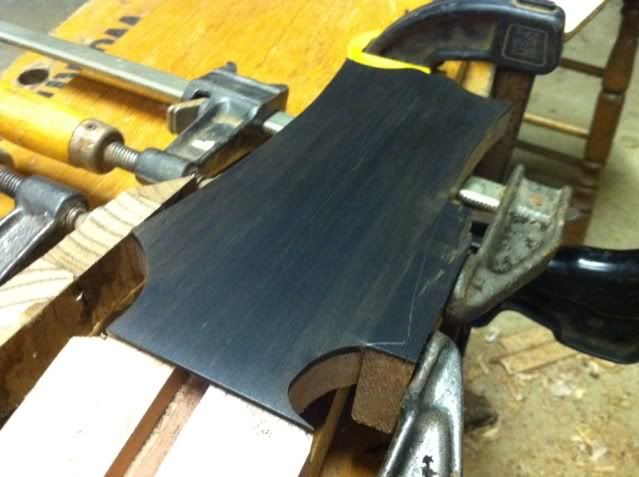
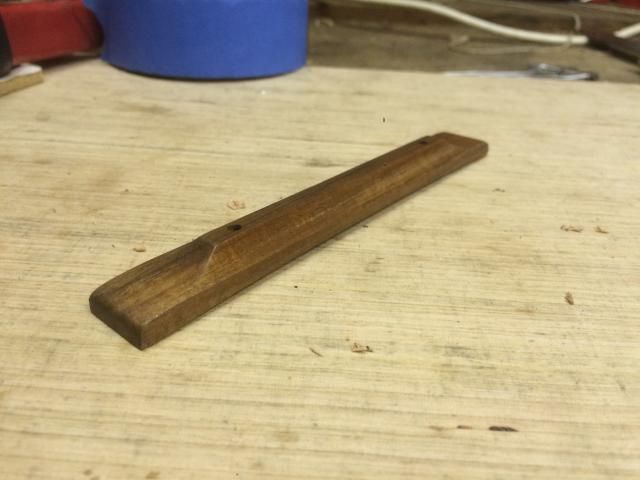
Here's some progress on the bridge. I tried making a "scratch stock" to shape the coves along the length, but that didn't work so well, so I used a cove router bit instead:
Shaping was otherwise done by hand with coping saw, drum sander attachment on the dremel, etc:
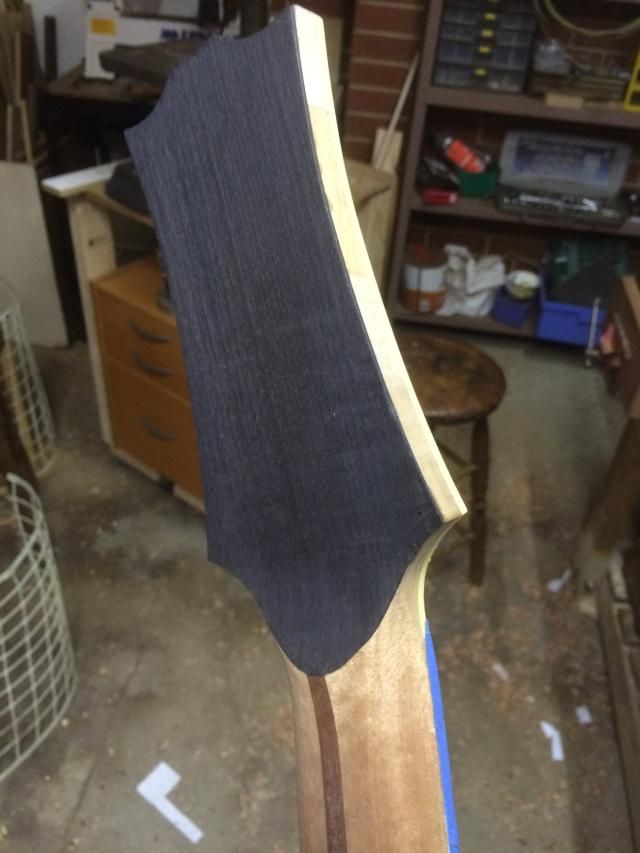
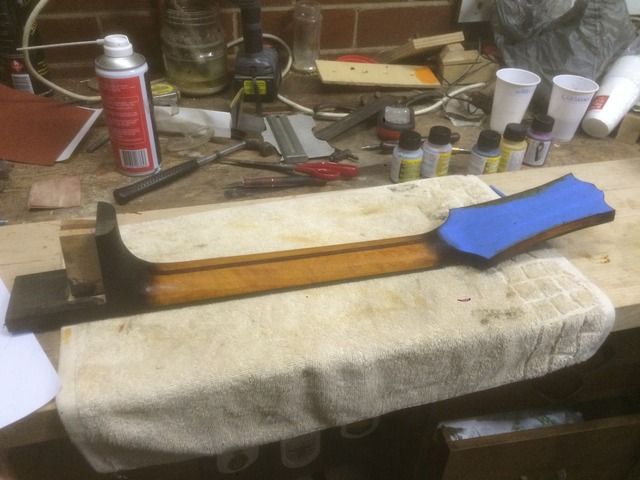
Now onto the neck - I glued a black veneer onto the back of the headstock first:
Then begin the shaping. I roughed out the profile at the first fret, and towards the heel using a rasp first, checking against some gauges I made out of mdf:

Then carve out everything in between with a spokeshave. This works well to maintain a consistent profile along the length:
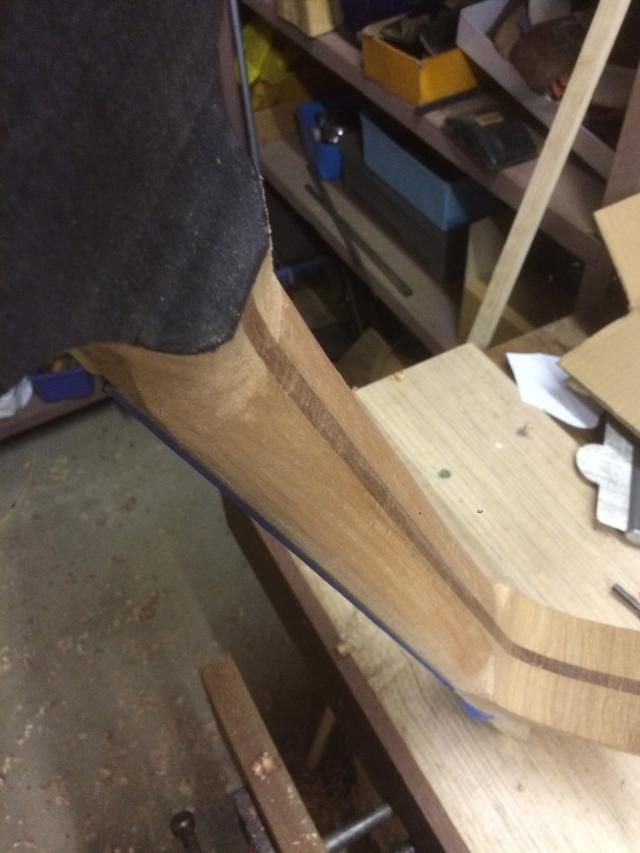
And a bit of tidying of the volute area with rasp and curved bottom spokeshave:
-
23rd January 2015, 12:23 PM #11
 Manager tool buying
- Join Date
- Apr 2005
- Location
- Melbourne Outer East right next to mount dande
- Age
- 73
- Posts
- 1,859
nice work - this looking real good
ray c
dunno what's more fun, buyin' the tools or usin' em'
-
8th February 2015, 05:51 PM #12
Senior Member
- Join Date
- Aug 2008
- Location
- Melbourne
- Posts
- 166
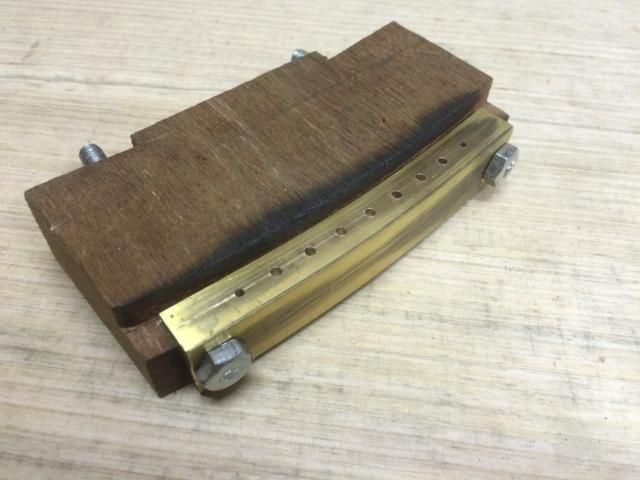
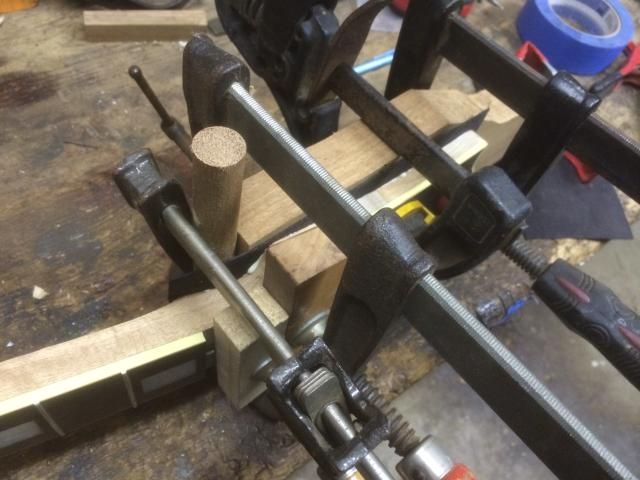
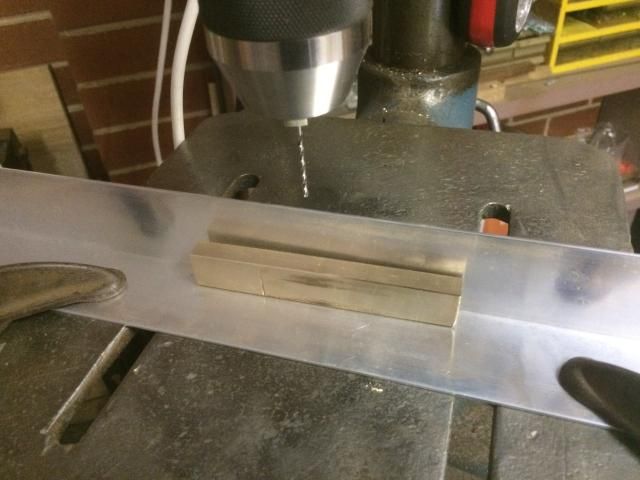
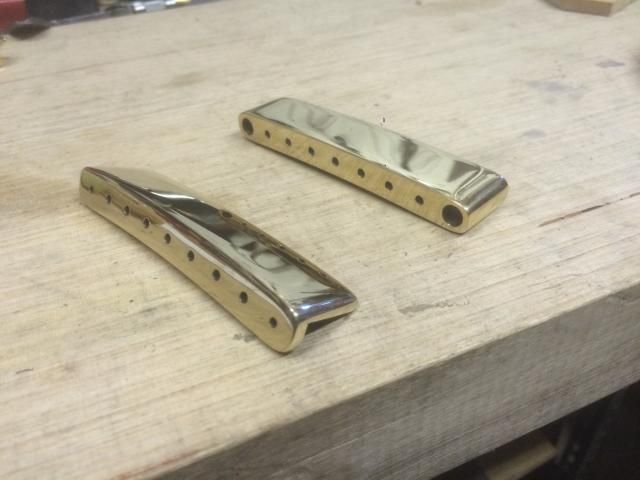
I decided to have another go at the tailpiece, so that I'd have a couple of options to choose from. Here I've used brass bar instead, drilled out with a simple jig to ensure all the holes are on the same line BEFORE bending (much smarter than last time!):
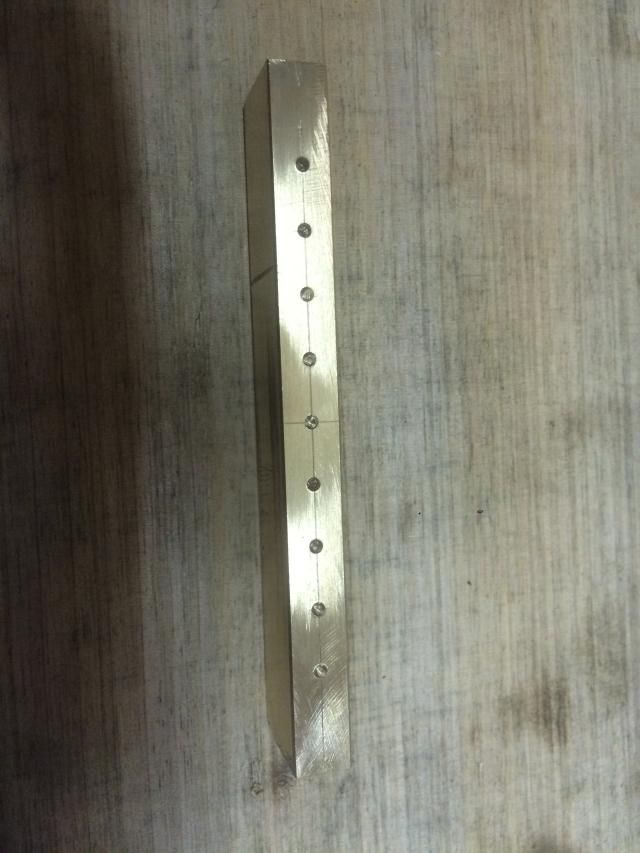
Which yeilded this:
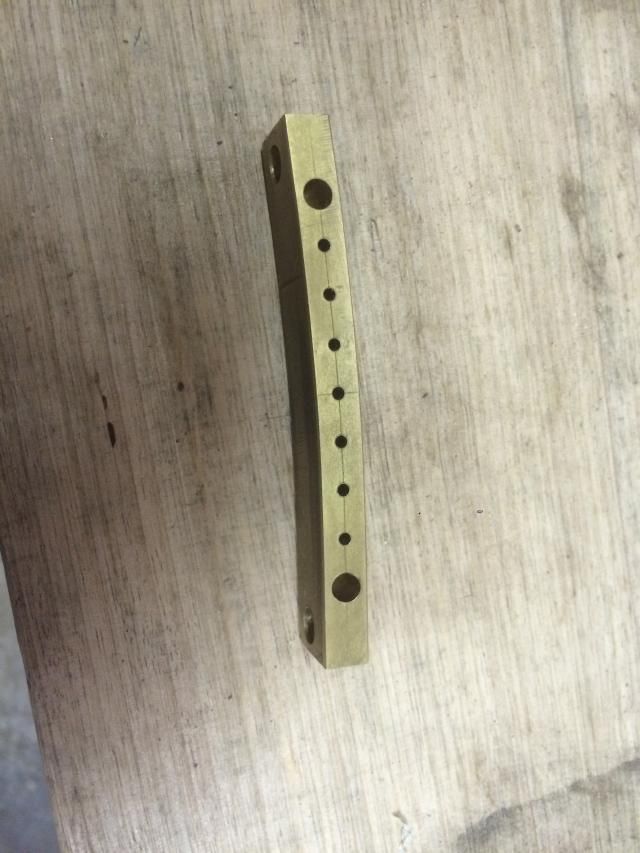
Then using the same bending jig as last time (but a bit more force):
After some disc sander, files, sandpaper, and green rouge on a cotton wheel, here are my two options:
-
3rd July 2015, 05:34 PM #13
Senior Member
- Join Date
- Aug 2008
- Location
- Melbourne
- Posts
- 166
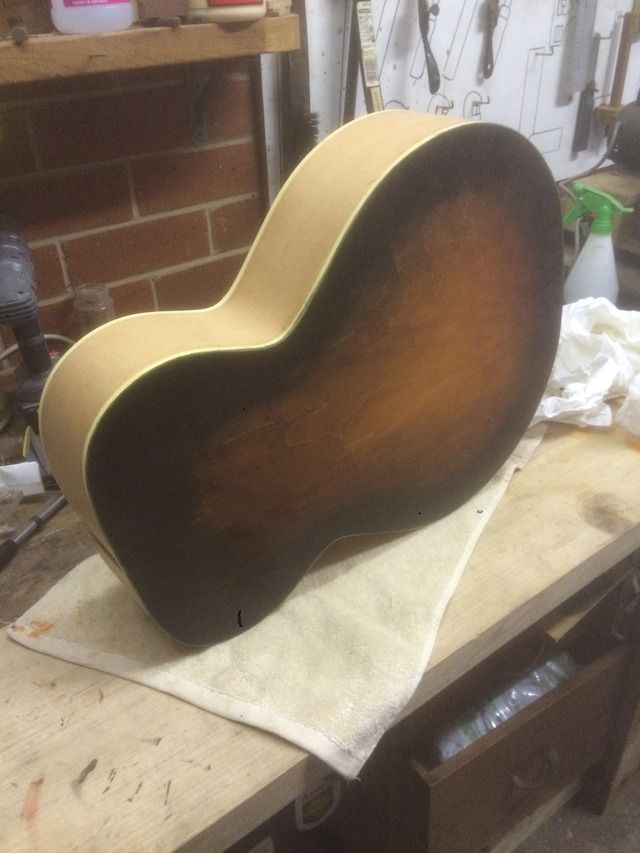
Alright, it's school holidays again, so I'm back at it on the archtop! Today began the rather intimidating process of applying the sunburst - which actually turned out quite easy!
The process was as follows (using U-beaut water based dyes diluted with water), applied by hand with a rag
- base coat of a mix 3:7 yellow and orange
- black with a little cedar (to remove the green tint) around the edges (not diluted)
- brown made up of 3:2:1:1 Orange, yellow, cedar, red - to blend
Then just keep blending using constant circular strokes, switching from rag to rag as the colour develops. Keep it wet and the colours blend easily!
-
3rd July 2015, 07:41 PM #14
Mildly Moderate
- Join Date
- Nov 2007
- Location
- Albury Well Just Outside
- Posts
- 13,315
I am a bit late in getting into the thread so pulling up a chair to watch.
-
3rd July 2015, 09:28 PM #15
SENIOR MEMBER
- Join Date
- Jan 2001
- Location
- Langwarrin, Victoria, Australia
- Age
- 56
- Posts
- 677
Hadn't seen this thraad before ... I am no muso .. but love watching you guys build guitars. Nice work !
Glenn Visca


 Reply With Quote


Similar Threads
-
Archtop #2
By ozziebluesman in forum MUSICAL INSTRUMENTSReplies: 86Last Post: 27th January 2013, 05:14 PM -
Ozzie Built 17" Archtop
By ozziebluesman in forum MUSICAL INSTRUMENTSReplies: 69Last Post: 27th December 2011, 07:39 AM -
archtop wiring
By fanlee in forum MUSICAL INSTRUMENTSReplies: 2Last Post: 27th October 2011, 08:05 PM -
Archtop wood
By sundancewfs in forum MUSICAL INSTRUMENTSReplies: 12Last Post: 10th January 2009, 07:15 PM -
building an archtop guitar?
By Wild Dingo in forum MUSICAL INSTRUMENTSReplies: 7Last Post: 17th August 2007, 07:35 AM
