

 Thanks: 0
 Likes: 0
 Needs Pictures: 0
 Picture(s) thanks: 0
Results 61 to 75 of 158
Thread: New Design - Single Cutaway
-
8th December 2008, 09:25 PM #61
 Senior Member


- Join Date
- Sep 2007
- Location
- Sydney
- Posts
- 489

Thanks for the info everyone. No worries about the hijack. i very much enjoy the exchange of ideas. It is my favourite part of the thread.
Cheers,
Peter
-
8th December 2008 09:25 PM # ADSGoogle Adsense Advertisement
- Join Date
- Always
- Location
- Advertising world
- Posts
- Many
-
11th December 2008, 10:05 PM #62
Senior Member
- Join Date
- Sep 2007
- Location
- Sydney
- Posts
- 489
Thanks for your input ethereal. Nice looking single cut there by the way. The body thickness is not that thin. it looks thinner than it is beacause it is rounded over at the back, however I personally don't think that for a set neck 12mm is all that bad. I'm of the view that more contact area in the joint is not necessarily better. I know I'm opening a can of worms here, but I personally think that as long as you have a good contact on all surfaces free from air pockets and too much glue, then the only contact you need is enought surface area (including the sides) for a good structural joint. Originally Posted by EtherealGuitars

Cheers,
Peter
-
12th December 2008, 05:06 PM #63
Senior Member
- Join Date
- Oct 2007
- Location
- Dandenong Ranges
- Age
- 51
- Posts
- 235
Hi Peter,
Thanks for the comments mate. No can of worms at this end in fact, my conclusions are very much the same. It really is incredible just how strong titebond is! Before I began building, I never imagined that ONLY glue would hold it all together!
Really enjoying your build thread and best of luck as it progresses
Jon
-
27th January 2009, 09:19 PM #64
Senior Member
- Join Date
- Sep 2007
- Location
- Sydney
- Posts
- 489
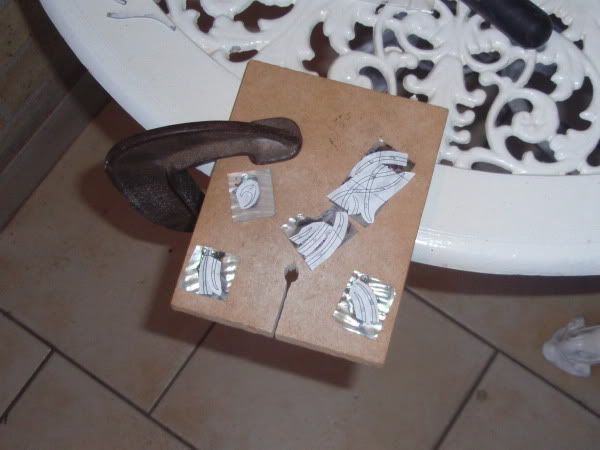
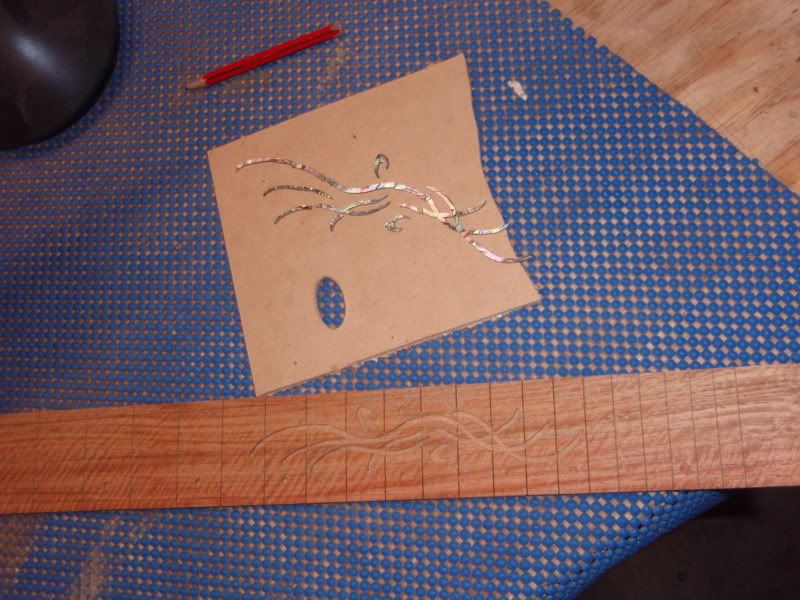
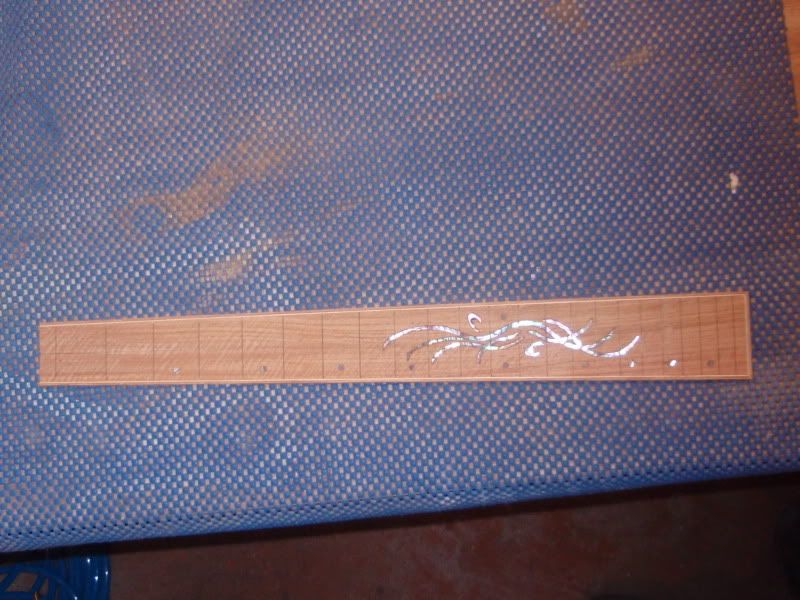
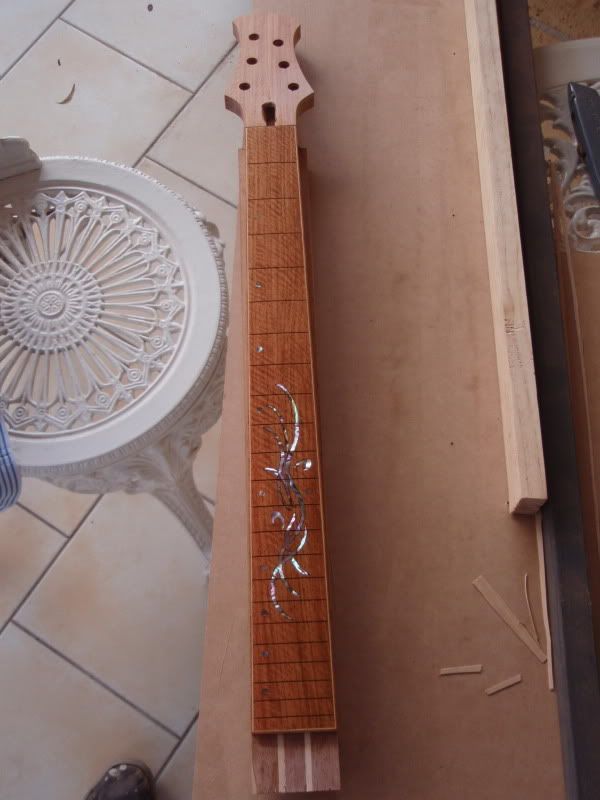
Here's another I've started recently. The fretboard is figured NG Rosewood with green abalone inlay.
Cheers,
Peter
-
27th January 2009, 10:34 PM #65
triple platinum umm .... thingo
- Join Date
- Sep 2006
- Location
- Melbourne, 'bushy' Donvale
- Age
- 52
- Posts
- 912
That can of worms you eluded to with Ethereal looks like it just exploded over your nice clean fretboard, Peter.

-
27th January 2009, 11:59 PM #66
Senior Member
- Join Date
- Nov 2008
- Location
- Darwin
- Posts
- 258
Nice design Peter. You could apply for arts grants with inlay like that.
Jim
-
28th January 2009, 12:54 AM #67
SENIOR MEMBER
- Join Date
- Sep 2008
- Location
- sydney
- Posts
- 2,370
Originally Posted by oz tradie
LOL!!!!!!!!!!
smart ass
-
29th January 2009, 01:25 PM #68
Senior Member
- Join Date
- Sep 2007
- Location
- Sydney
- Posts
- 489
yeh yeh. very funny... I must admit I did have a bit of a chuckle regarding the comments.
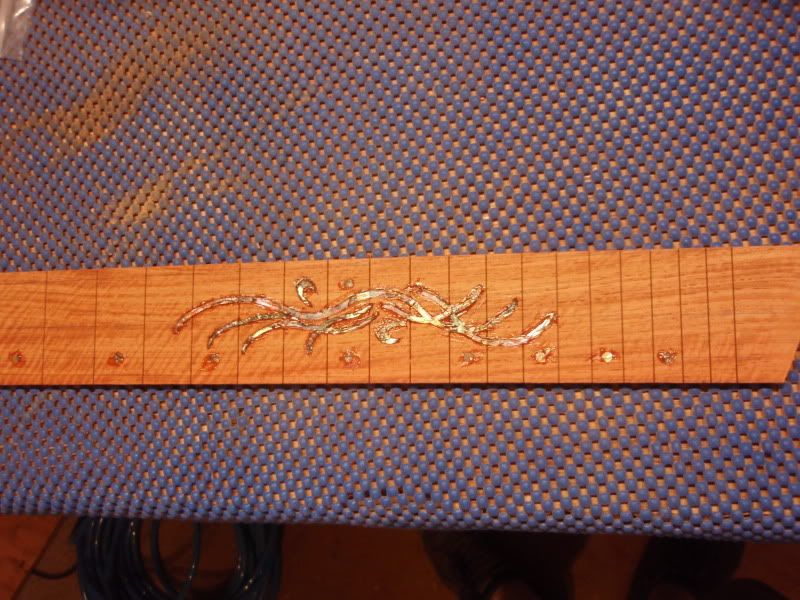
 When I showed my wife the design she said "Nice. it doesn't realy look like anything. but it looks good" which is absolutely correct. It isn't really supposed to be anything, however with the abalone it kind of resembles sea grass? maybe? Anyway more to come soon of the neck of this build.
Cheers,
Peter
-
31st January 2009, 07:10 PM #69
Senior Member
- Join Date
- Sep 2007
- Location
- Sydney
- Posts
- 489
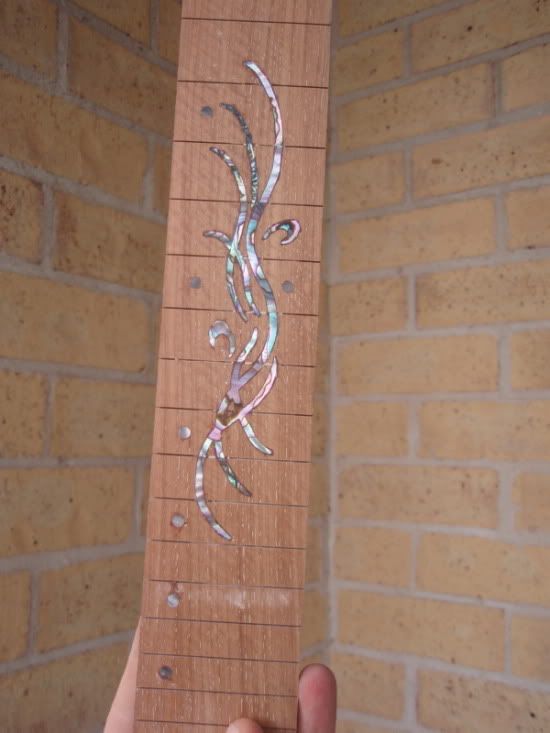
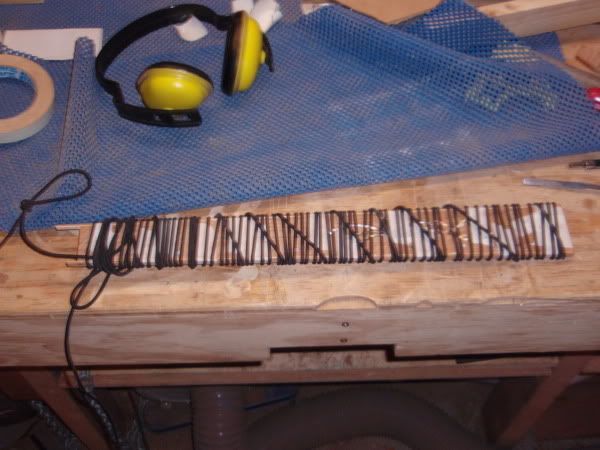
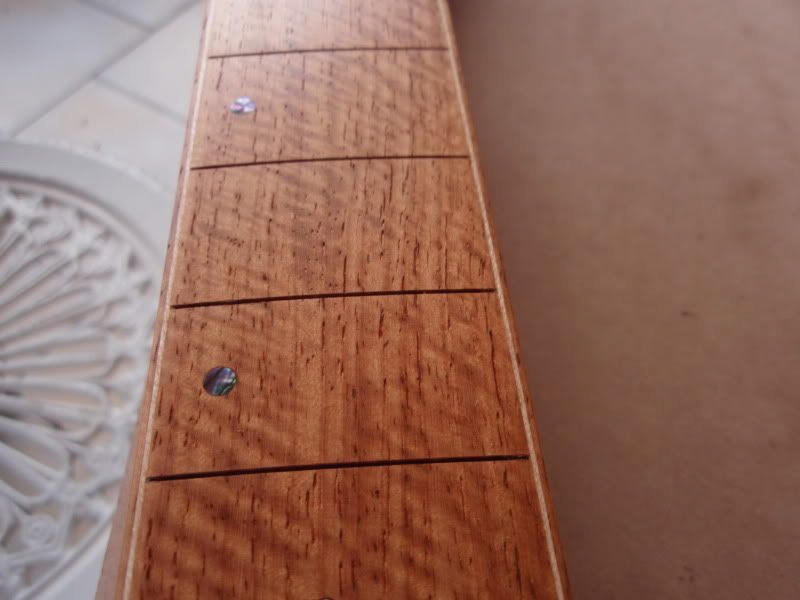
More progress pics. Glued the binding on the NGR fretboard. Sorry, pictures aren't crash hot.
Cheers,
Peter
-
1st February 2009, 06:38 AM #70
SENIOR MEMBER
- Join Date
- Sep 2008
- Location
- sydney
- Posts
- 2,370
looking good man
some damn nice binding
-
1st February 2009, 07:24 PM #71
Senior Member
- Join Date
- Sep 2007
- Location
- Sydney
- Posts
- 489
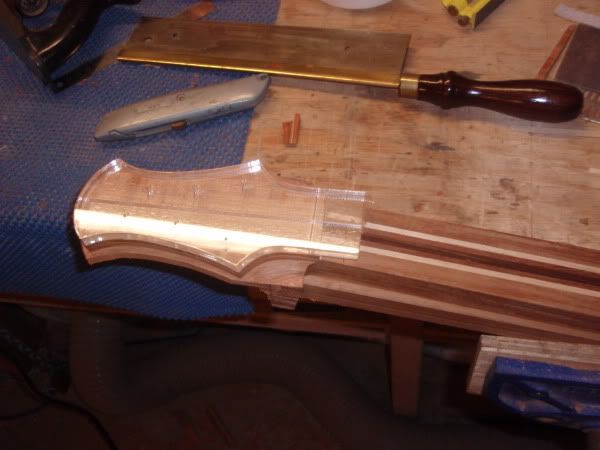
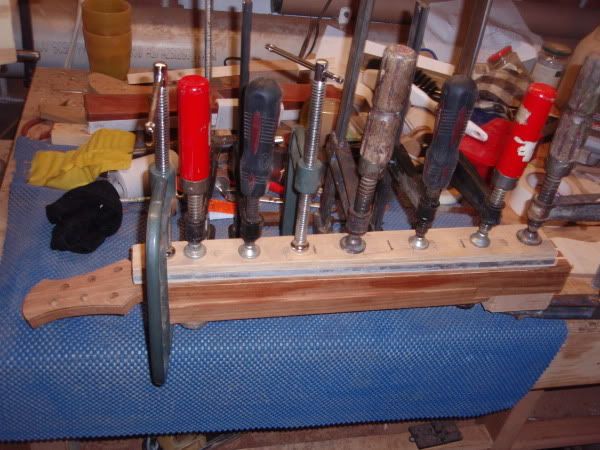
Thanks Andrew. Have some pics of preping the neck. The neck is laminated New Guinea Rosewood and Rock Maple with a figured NGR face plate and maple accent.
Below is routing the neck taper.
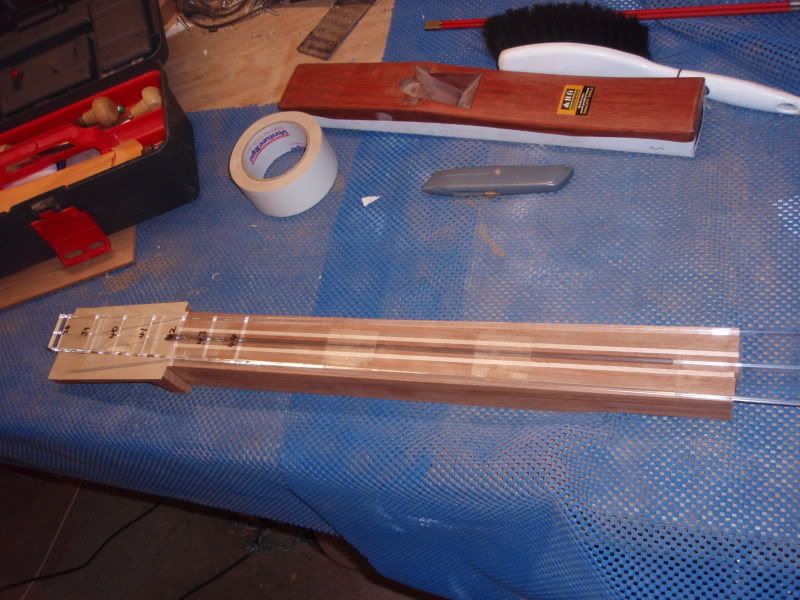
Routing the Headstock.
Glueing on the fretboard
Cheers,
Peter
-
2nd February 2009, 10:48 AM #72
SENIOR MEMBER
- Join Date
- Sep 2008
- Location
- sydney
- Posts
- 2,370
nice work Peter
also nice neck taper template, i want one
i see you also use the plane base as a sanding block
where do you get the blue stuff on the top of your bench?
i got a little roll of it in black and it marked my timber.. wont be doing that again
-
2nd February 2009, 12:44 PM #73
Senior Member
- Join Date
- Sep 2007
- Location
- Sydney
- Posts
- 489
Thanks Andrew,
The blue rubber mat is just from Clarks Rubber. I don't actually use the plane as a plane. It's not worth its weight as firewood as far as a plane goes, but it makes an excellent sanding block for leveling.
Cheers,
Peter
-
3rd February 2009, 12:05 PM #74
SENIOR MEMBER
- Join Date
- Feb 2007
- Location
- sydney
- Age
- 35
- Posts
- 580
looking good. dont know why i missed this instrument before. hows the body on this one going to be shaped?
-
1st March 2009, 09:08 PM #75
Senior Member
- Join Date
- Sep 2007
- Location
- Sydney
- Posts
- 489
Hey Blacklabb, sorry I missed your post. The body for the NGR is also going to be NGR with a maple cap, however I haven't got the top yet.
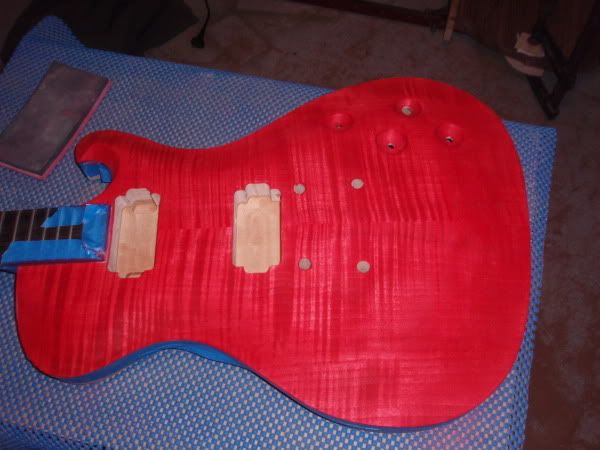
Here's some more progress on the fireball. It just needs a bit of tidying up, grain filler on the back and sides, and it's ready for a spray.
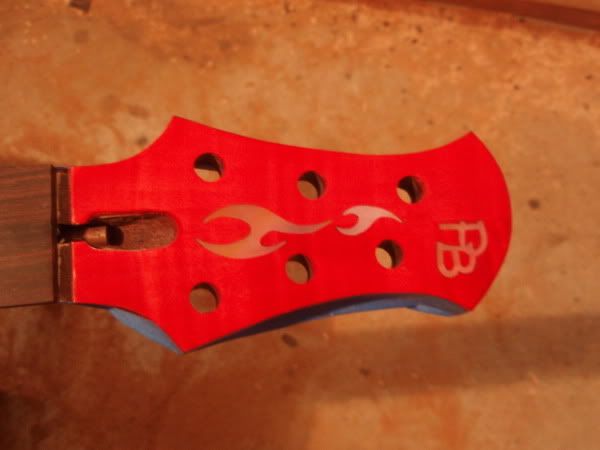
Cheers,
Peter

 Reply With Quote


 Cheers, Stu

Similar Threads
-
Finding Engineering Design Software For Automatic Machine Design
By davidWilliams in forum METALWORK FORUMReplies: 2Last Post: 11th January 2010, 10:41 PM -
PRS double cutaway plans or template.
By asteam in forum MUSICAL INSTRUMENTSReplies: 4Last Post: 26th August 2009, 07:59 PM -
Cutaway Dread
By Different in forum MUSICAL INSTRUMENTSReplies: 18Last Post: 8th September 2008, 11:48 PM -
Single Bed
By barking770 in forum WOODWORK PICSReplies: 2Last Post: 7th July 2008, 12:23 PM -
Guitar plans with cutaway
By thetassiebfg in forum MUSICAL INSTRUMENTSReplies: 10Last Post: 2nd September 2006, 12:03 PM
