

 Thanks: 0
 Likes: 0
 Needs Pictures: 0
 Picture(s) thanks: 0
Results 1 to 15 of 78
Thread: Multiscale Singlecut
-
24th May 2009, 09:03 PM #1
 Senior Member


- Join Date
- Sep 2007
- Location
- Sydney
- Posts
- 489
 Multiscale Singlecut
Hi,
I've been working on this one for a while now, and thought that I'd start posting progress pic. The first pic is of the CAD design. A few of the specs are still up in the air, however what I've decided on so far is as follows,
Neck - 1 piece quarter sawn wenge
scale length - 25 - 26 inch
body -chambered blackwood.
Progress pics of the build are still to come,
Cheers,
Peter

-
24th May 2009 09:03 PM # ADSGoogle Adsense Advertisement
- Join Date
- Always
- Location
- Advertising world
- Posts
- Many
-
25th May 2009, 12:35 AM #2
SENIOR MEMBER
- Join Date
- Sep 2008
- Location
- sydney
- Posts
- 2,370
good stuff Peter!
will be watching this one
what type of bridge will you be using/or making??
how are you cutting the fret slots?
and do you want to slot me a board
lol
-
26th May 2009, 02:05 PM #3
Senior Member
- Join Date
- Sep 2007
- Location
- Sydney
- Posts
- 489
Hi Andrew,
My plan for the bridge is to build my own using graphtech saddles. I haven't quite decided how exactly yet. I'm not using a fretboard in the traditional sense. I am using i piece neck/fretboard like fender use except with the fillet being on the fretboard side which fits real neat and tight. To mark the frets, I plotted a setout from CAD, and carefully glued it to my blank as a guide. Need to make sure you don't have any creases as they will introduce inaccuracy in the fret spacings. I started the slots using a sliding bevel as a guide, and then deepened all the slots later with the depth attachment on the slotting saw. Pic Below.

Since I have no fretboard, I decided to rout a rebate at the 0 fret, or nut, so the step down to the headstock is the same as with fretboard. Pic below.


Next was routing the neck taper measured from the plotted centreline that marked out the frets. This unsures that the strings line up correctly with frets.

Andrew, you made the mistake of demonstrating on the forum that you are both capable, and have the time to slot your own bloody board. So NO
Cheers,
Peter
-
26th May 2009, 05:10 PM #4
SENIOR MEMBER
- Join Date
- Sep 2008
- Location
- sydney
- Posts
- 2,370
thats pretty neat....
i dont know about the fillet being on the fingerboard side though..... seems like a bad idea visually and structually, but thats only my opinion
i print out the fret find thingy and glue it on... if i knew how to use cad i would do it your way lol...
but i still dont trust my slots...
so while i may have the time to slot my own, i dont have the attention span or faith i guess lol
as for the bridge, i had the idea of making up my own using individual saddles....
and then i saw that method being used already lol....
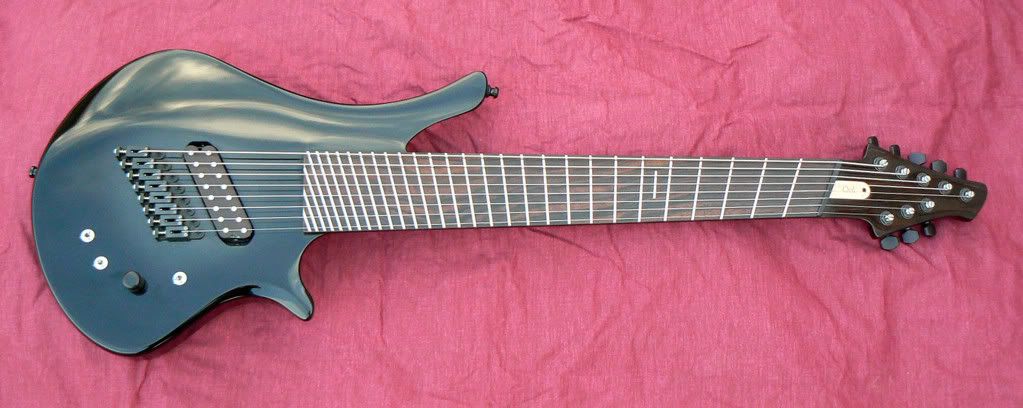
i think Dan from Oni Guitars in qld made it...
ill look for a pic later
here we go..... i knew it was an Oni...
pretty sure they are graph tech saddles and ustom made bases for each...

-
28th May 2009, 01:57 PM #5
Senior Member
- Join Date
- Sep 2007
- Location
- Sydney
- Posts
- 489
Hi Andrew,
That is one sexy guitar. Do you neet 6 fingers to play that one?
The fillet won't be visible when I'm finished, and in terms of structural integrity, I don't see how its too different from other techniques. There is 7mm cover over the trussrod, and the epoxy is stronger than than the timber. If you were to wind up the truss rod to failure, I bet it would be the thread or the nut that snaps off. Creep could be an issue, but the stress is not much diferent to an ordinary laminated neck. The only difference is that the direction of the stress is the other way round. However at the end of the day, you won't know for sure if you don't try it?
More build pics,
The first pic is routing the rebate for the binding. The binding will go around the perimeter of the headstock and connect to the fretboard binding. Second pic is shaping the headstock angle. I managed to get a good match with the angle of the 0 fret. The third pic is of the neck rough radiused.
Cheers,
Peter


-
28th May 2009, 02:59 PM #6
SENIOR MEMBER
- Join Date
- Sep 2008
- Location
- sydney
- Posts
- 2,370
lol yea that is a really nice guitar.....
he does some great work
i see what your saying about the fillet....
i guess we will just have to wait and see
that neck looks great though....
when can i pick it up?
-
28th May 2009, 05:39 PM #7
Senior Member
- Join Date
- Sep 2007
- Location
- Caves Beach, NSW
- Posts
- 277
How are you going to get break angle over the nut from the tuner posts?
Seems like the strings will leave the nut not much above the level of the headstock face
-
28th May 2009, 07:55 PM #8
Senior Member
- Join Date
- Sep 2007
- Location
- Sydney
- Posts
- 489
Jeff,
The headstock has a 12 degree angle plus a 5mm step down to the headstock. Pretty standard realy. I havn't had any problems with string pressure at the nut using this combo before.
Andrew. You realy are a scab
Cheers,
Peter
-
28th May 2009, 08:12 PM #9
SENIOR MEMBER
- Join Date
- Sep 2008
- Location
- sydney
- Posts
- 2,370
i try my best
-
28th May 2009, 08:13 PM #10
SENIOR MEMBER
- Join Date
- Aug 2007
- Location
- Lilli Pilli
- Age
- 63
- Posts
- 523
Perhaps ... but he's not a very successful scab. Originally Posted by peterbrown

It's slowly coming together Peter ... keep posting!
-
28th May 2009, 09:38 PM #11
Senior Member
- Join Date
- Sep 2007
- Location
- Caves Beach, NSW
- Posts
- 277
Ok
I just could not see a 5mm stepdown from fingerboard to headstock on the pics, probably just the way I am looking at it.
-
29th May 2009, 12:59 PM #12
Senior Member
- Join Date
- Sep 2007
- Location
- Sydney
- Posts
- 489
Ok, I see what you mean now Jeff. Your right, without the step down string break would be an issue. Originally Posted by jeffhigh
Cheers,
Peter
-
30th May 2009, 04:55 PM #13
SENIOR MEMBER
- Join Date
- Jan 2008
- Location
- Tamworth
- Age
- 51
- Posts
- 550
Hey, Originally Posted by Andrew_B
Did you know that G&L (leo fenders other other other company) cut the neck straight down the middle i.e. between the 3rd and 4th strings and route a trussrod cavity on either side and join the pieces back together??? I had the opourtunity to inspect one not so long ago and unless you're looking for it you can barely notice it. I wouldn't expect a guitarist to notice it. I knew that it was like it and went specifically to look for it.
I think its a pretty sweet way to give a 1 piece neck.
Where did you get your wenge from? Is it as hard on tools as I have heard?
beaut looking neck BTWCheers!Mongrel
Some inspirational words:
"Talent is cheaper than table salt. What separates the talented individual from the successful one is a lot of hard work." -Stephen King.
Besides being a guitar player, I'm a big fan of the guitar. I love that damn instrument. -Steve Vai"Save me Jeebus!" -Homer Simpson
-
30th May 2009, 05:50 PM #14
Senior Member
- Join Date
- Sep 2007
- Location
- Sydney
- Posts
- 489
G'day mongrel, Welcome back.
I got this piece of wenge from trend timbers near windsor. It does take a little more effort to shape than most timbers, however I find that it sands well. I haven't noticed that it bluntens blades quicker than other hardwoods, but a sharp blade is essential when working with it.
Some more pics of inlaying the fretboard. Or overlaying is probably more like it. Anyway. I used MOP an cut then into small enough pieces to form a mosaic and epoxied them to the fretboard. The fret spacers are maple veneer, which was scraped to the exact width of the fret slots which can be easily resawn for the slots. Some of the "cracks" are joins, some are engraved.
Stage 1 Stage 2


And the final engraved and filled surface. Once I had filled the engrving, i noticed that I missed a few lines and some need widenning. I will add the final details after the binding has gone on. Thats 5 oz of pearl by the way. 2oz more to go on the headstock.

Cheers,
Peter
-
30th May 2009, 06:28 PM #15
SENIOR MEMBER
- Join Date
- Sep 2008
- Location
- sydney
- Posts
- 2,370
Originally Posted by mongrel
wow! thats pretty cool, i didnt know that

 Reply With Quote

Similar Threads
-
QLD Maple/Blackwood Singlecut
By EtherealGuitars in forum MUSICAL INSTRUMENTSReplies: 6Last Post: 8th April 2008, 12:46 AM
