

 Thanks:
  Likes:
  Needs Pictures: 0
 Picture(s) thanks:
Results 3,196 to 3,210 of 3347
-
30th April 2013, 10:59 PM #3196
 i-Sails Australia


- Join Date
- Apr 2009
- Location
- Hunter Valley NSW
- Age
- 69
- Posts
- 1,759

Alex, looks like just the right canvas texture for that "Sistine Chapel" artwork Sumbloak suggested.

-
30th April 2013 10:59 PM # ADSGoogle Adsense Advertisement
- Join Date
- Always
- Location
- Advertising world
- Age
- 2010
- Posts
- Many
-
1st May 2013, 07:58 AM #3197
Senior Member
- Join Date
- Sep 2012
- Location
- NSW, Australia
- Posts
- 474
I think WEST over Bote Cote would be fine if the latter was already cured to a non-tacky state, even if still a bit green. Having it like treacle means the two are going to mix at the interface, which I think is the cause of your problem. Originally Posted by AlexN

I'd be inclined to delay sanding, just to give it plenty of time. If you sand as soon as it seems hard, you'd want to watch out for possible sensitivation problems from the WEST. Sanding recently hardened epoxy demands more health precautions than sanding fully cured epoxy, because the cross-linking of the molecules is still not complete. This would be even more the case if the different hardener ratios are affecting the cure.
-
1st May 2013, 08:19 AM #3198
i-Sails Australia
- Join Date
- Apr 2009
- Location
- Hunter Valley NSW
- Age
- 69
- Posts
- 1,759
Maybe it's not related to mixing ratios. West is an amine cure but Bote Cote is not, so they are quite different chemically.
-
1st May 2013, 12:24 PM #3199
GOLD MEMBER
- Join Date
- Jan 2009
- Location
- Blaxland, Australia
- Age
- 65
- Posts
- 2,551
I've never had any problems putting one or the other on once the previous type had set. In fact, I quite often don't apply wet-on-tacky as in my experience (and "tests"), epoxy seems to bond to itself quite well when applied wet-on-set. Given the rate at which the resin cures in my workswamp, I often don't get the timing window that allows wet-on-tacky. The other day wasn't really an exception - and I'm still kicking myself, as I really should have known better (from a standpoint of organic chemistry if nothing else). Not to mention my Glueing Rules! If anything is, it's HASTE that's my Achilles' Heel. Well, one of many, really ;).
The problematic surface is slightly harder this morning than it was last night, but I think that to be on the safe side I'll turn the structure over and work on the top surface of the roof panels, and leave the mess to sort itself out at its own leisure - or at least until I've finished the top surface to undercoat (pre-topcoat) stage. The top surface has to be done anyway, and one extra turning of the structure doesn't signify. Good for the body-building in any case ;). If I leave the undercoat to harden sufficiently to cope with me pounding around on the top of it like a fairy heffalump, then that will be a bit of extra time. If I pause to do the Special and Urgent project that I really must get onto - let alone the CNC box! - , then that will give extra time still. When I do the under-surfaces again, I'll wipe the affected areas over with water first, as I've noticed that there are signs of some amine bloom on them.
Honk honk,
alex the silly goose <much shaking of its very sad beak>
-
1st May 2013, 12:34 PM #3200
GOLD MEMBER
- Join Date
- Jan 2009
- Location
- Blaxland, Australia
- Age
- 65
- Posts
- 2,551
One alternative that's on my books at the moment is to oxidise both "layers" of resin using my small-aperture metalworking gas torch and scrape them off. I should hasten to add, however, that that will be a consideration of last resort!
-
1st May 2013, 12:42 PM #3201
GOLD MEMBER
- Join Date
- Jan 2009
- Location
- Blaxland, Australia
- Age
- 65
- Posts
- 2,551
Given that the colder weather will be with us shortly here, I am definitely going to seriously investigate getting a wet-suit, regarding which woodenye has given me some useful - essential! - info to get started with.
Mr Snappy, of course, is laughing fit to fall off his perch over all this. You had better watch it, Mr Snappy!
Honk, honk,
Petunia.
-
1st May 2013, 11:05 PM #3202
GOLD MEMBER
- Join Date
- Jan 2009
- Location
- Blaxland, Australia
- Age
- 65
- Posts
- 2,551
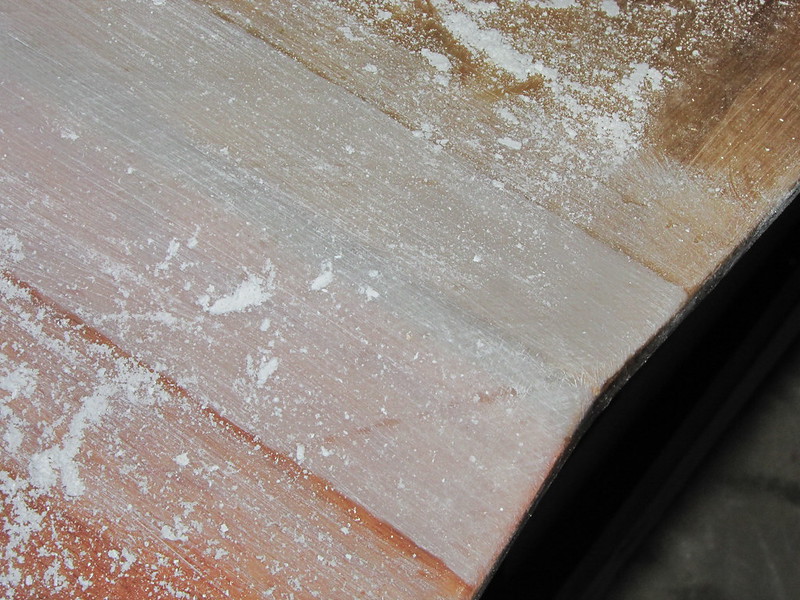
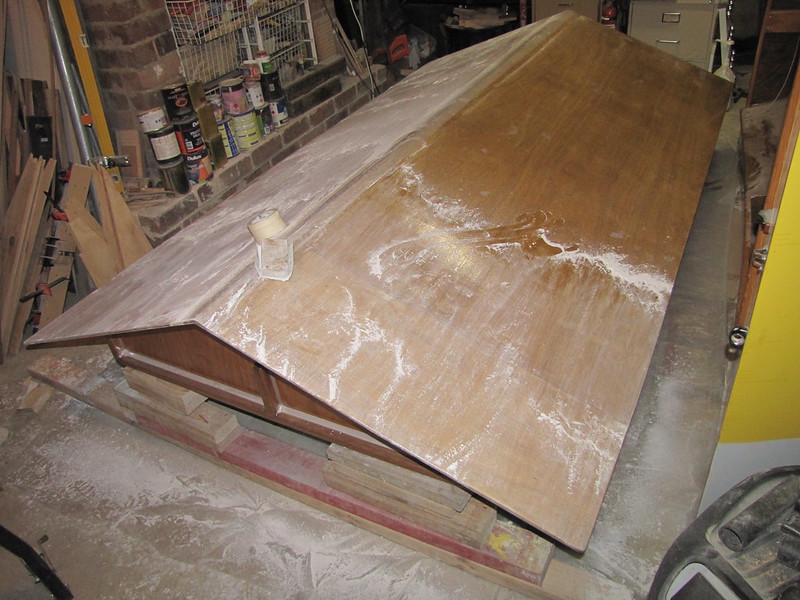
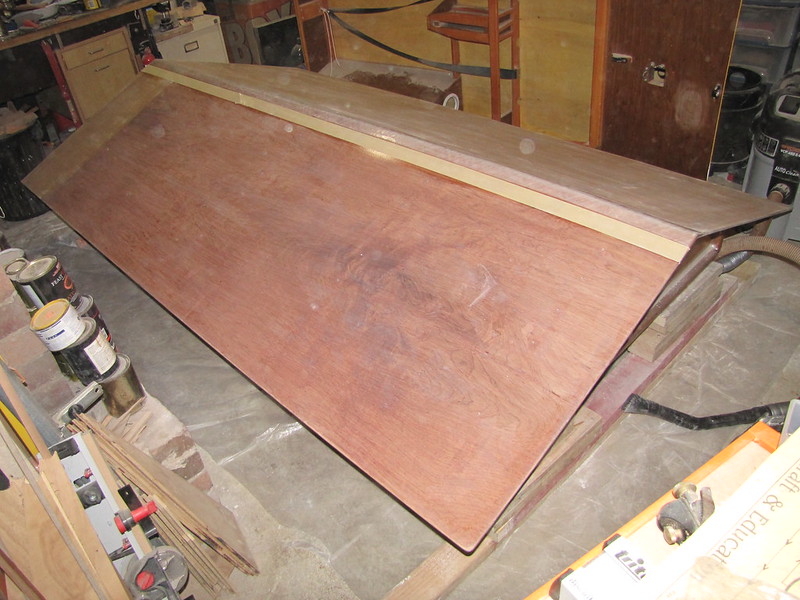
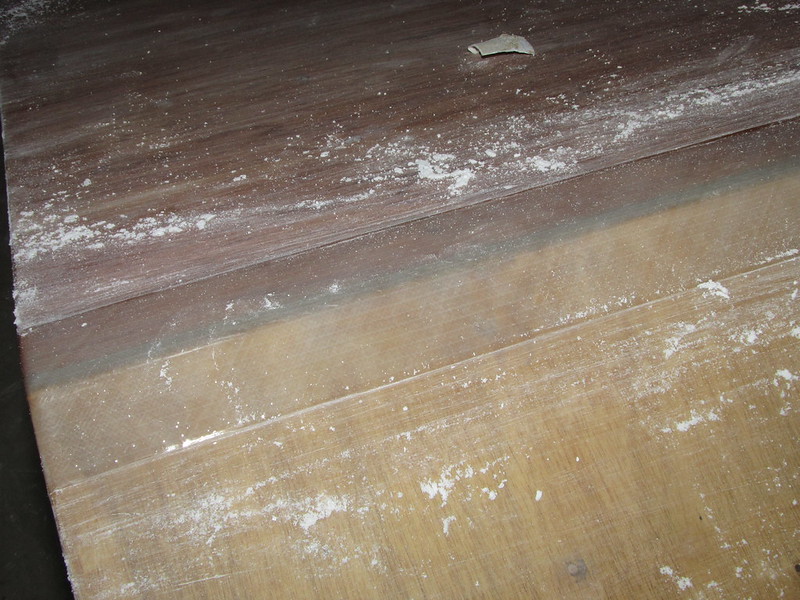
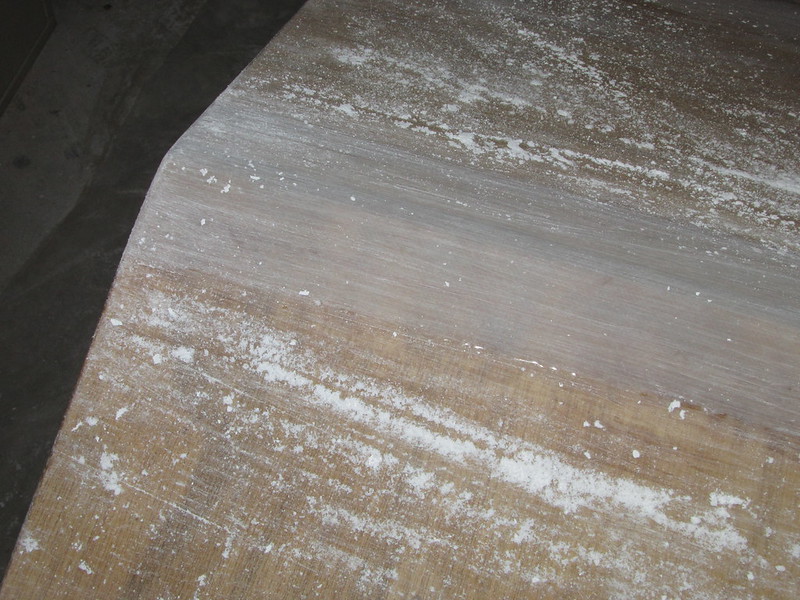
OK. Reset time. I turned the roof over this evening after doing nothing at all to it all day (except look at it once). Having chocked it up to a more reasonable height, I got out what was left of my stock of 60-grit paper (I forgot to order it when I ordered the 80-grit a week or so ago) and spent a quiet, happy evening sanding the surface of the Bote-Cote-covered tape and the rather lumpy region below each tape-edge reasonably smooth. I don't mind sanding if it's in an uncluttered, easily and comfortably accessible area - and there are no shape hard cutting-objects for fingers and hands to run into.
1. Sanding the ridge cap; 60-grit paper used here. I'll be sad to se that particular sheet of plywood disappear under the paint - but I am NOT going to varnish this structure!
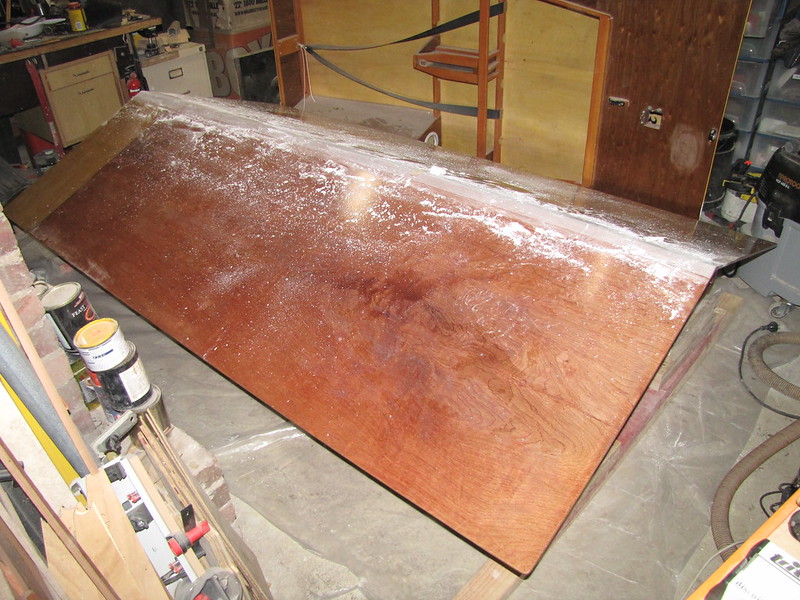
2. Sanded ridge cap viewed from the other end. It's been snowing slightly ;)
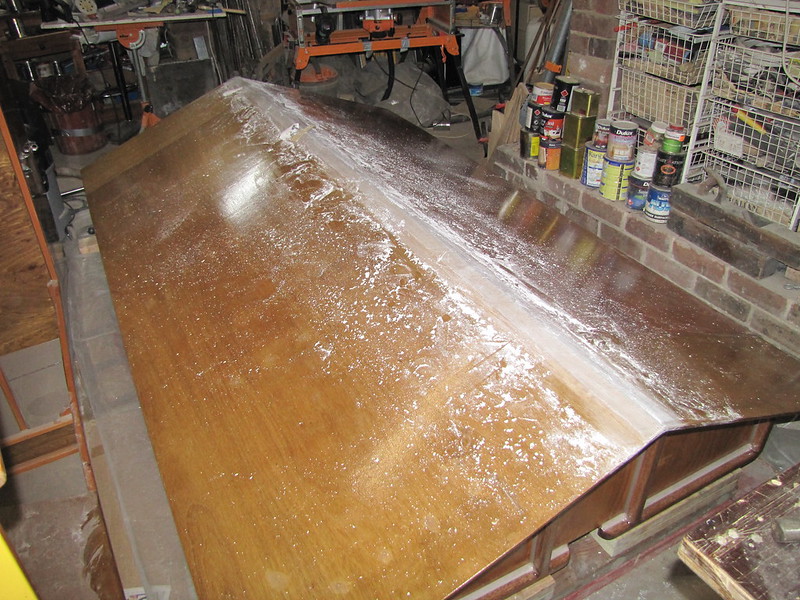
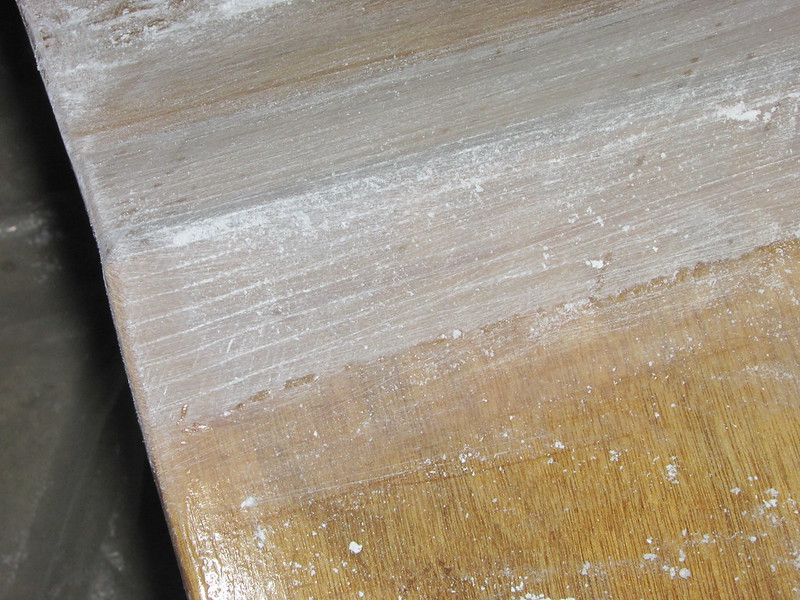
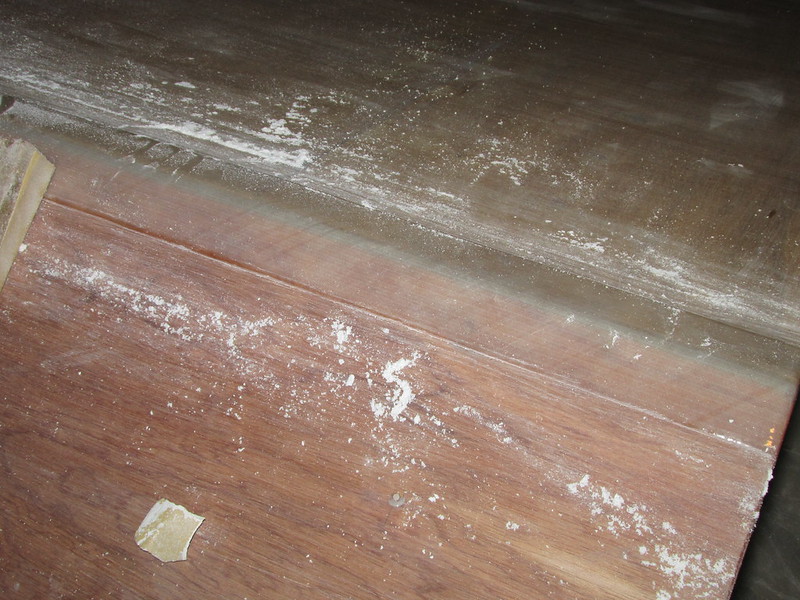
3. Rear end of the ridge. Either there was insufficient resin on the tape - or the tape floated to the top of the resin...
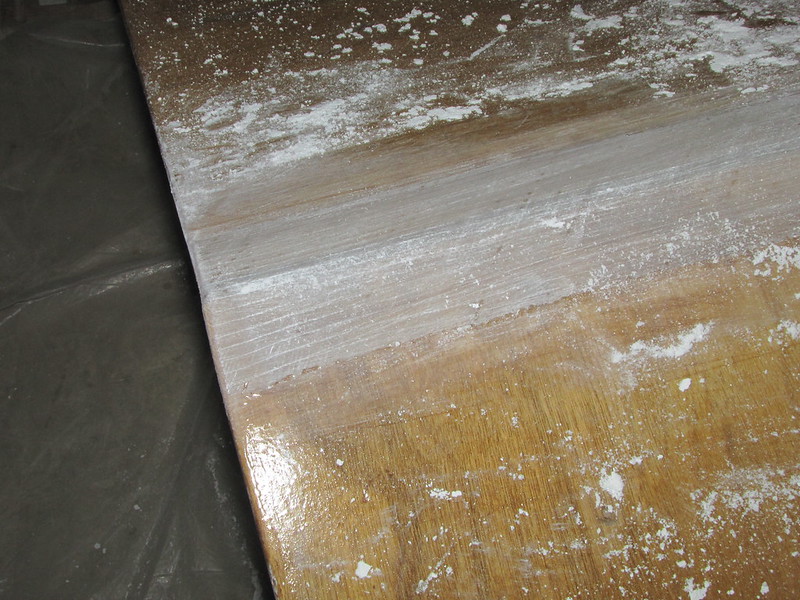
4. Closer view of the somewhat bared tape
5. Ridge tape around the middle of the roof: seems OK
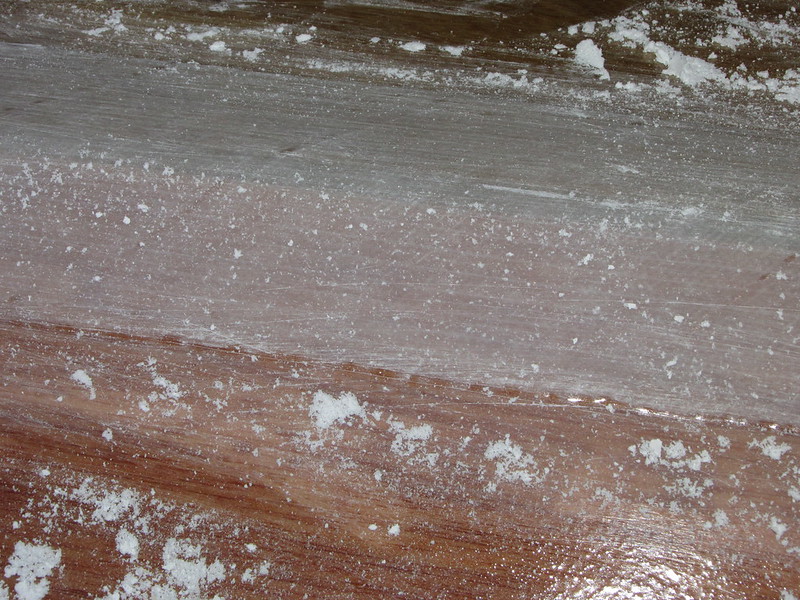
6. Front end of the ridge cap tape, completely buried in the resin
Follow this link to my Flickr account
I'll vacuum the ridge and have a closer look at it tomorrow, then get on with block-sanding the rest of the upper roof surface ;). Once that's done I'll make a decision about a second resin coat on the upper surfaces. The ridge cap is going to need another coat of resin at least, and I also need to spot a couple of places where the surface has been punctured by shape objects (most likely hardened high-strength glue fragments). The ridge cap and repairs will be done and left to set before anything else is attempted. It occurred to me while I was patiently sanding away at the ridge cap that the roof upper surface has itself been "patiently waiting" for sanding for a few weeks - which puts the time letting the interior set up into perspective :). In a funny sort of a way I feel that I'm back on track again.
-
2nd May 2013, 09:26 AM #3203
Senior Member
- Join Date
- Sep 2012
- Location
- NSW, Australia
- Posts
- 474
Good to hear that you feel back on track. Also good to hear that you enjoy sanding. Since most people hate it, we now know who to call when we need a pile of sanding done.

-
2nd May 2013, 09:16 PM #3204
GOLD MEMBER
- Join Date
- Jan 2009
- Location
- Blaxland, Australia
- Age
- 65
- Posts
- 2,551
Ha ha ;). Nice try :).
I should perhaps amend what I said to:
"
I don't mind sanding resin or wood if they are in an uncluttered, easily and comfortably accessible area - and there are no shape hard cutting-objects for fingers and hands to run into
"
and I should also add that I dislike sanding varnish, coloured coats and fisheyed resin ;).
Nice even flattish areas of wood or hard resin? No probs :).
I rolled a coat of Bote-Cote onto the ridge tape (after warming up the resin container in the sink to get the resin up the pump), and used the remainder with some high-strength powder to fill in the various holes. I also found a few other cracks and so forth that were able to gobble up the remainder of that.
Speaking of resin, the mess on the underside felt quite "clicky" to my fingernails this arvo when I was doing the ridge tape, so maybe it is setting up OK. Time will tell...
-
3rd May 2013, 12:40 PM #3205
GOLD MEMBER
- Join Date
- Jan 2009
- Location
- Blaxland, Australia
- Age
- 65
- Posts
- 2,551
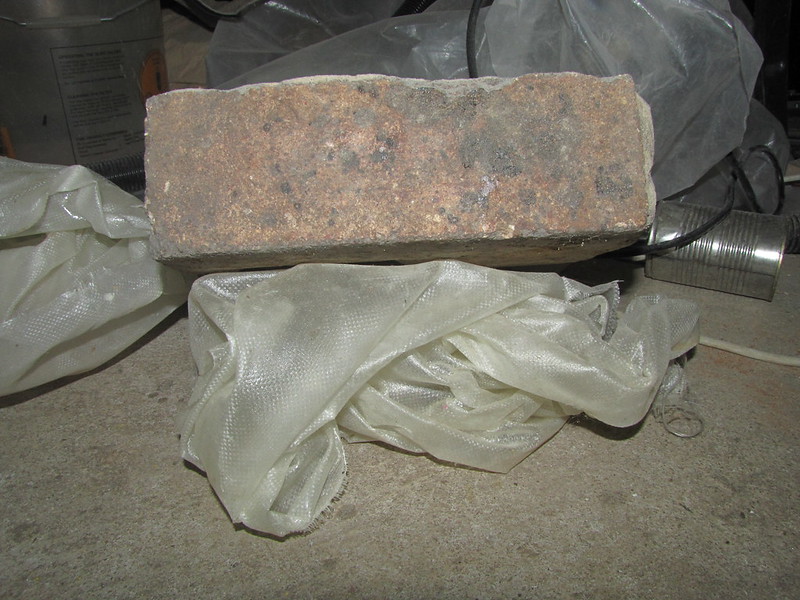
Seeing that I've been dealing with resin problems, I decided to put up some snaps of what happened to the non-setting WEST resin on the 'Duck foils: some may remember that the hardener pump as purchased was faulty, and only delivered a fraction of the supposed amount. ACL Composites, the Oz distributor, very kindly sent me new pumps, new glass, plus a nice t-shirt and WEST's magazine all for nothing, by way of apology. I can't blame WEST - or ACL Composites - for the current debacle, as It Was ALL My Own Fault(TM). Here's what happened to the faulty mix in the end - I hung onto the pieces of glass cloth to see what would happen, as people here said that the resin would eventually set:
1. 6 oz glass cloth with WEST resin, piece # 1 (centreboard foil), 1:9 resin to hardener ratio! It did finally set rock hard after a few weeks, though
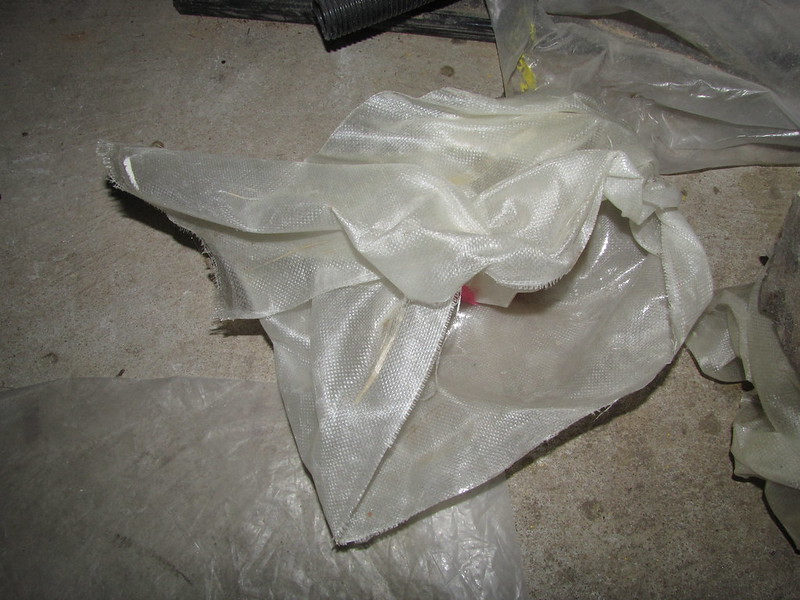
2. 6 oz glass cloth with WEST resin, piece # 2 (rudder foil)
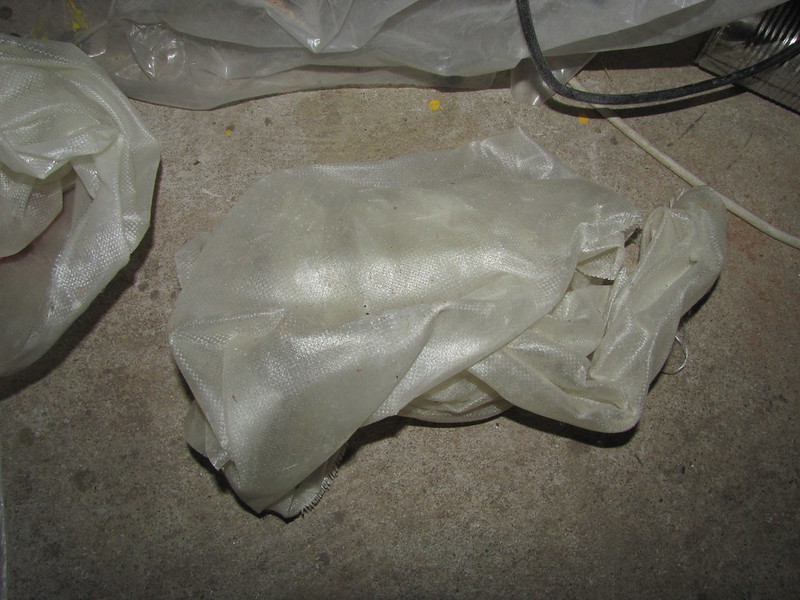
3. The epoxy in the centreboard piece is hard enough to easily support a house-brick... These pieces of cloth were peeled off the boat's centreboard and rudder foils when I found that the hardener pump was faulty and was delivering roughly a third of what it should have. The resin eventually set after a while, however
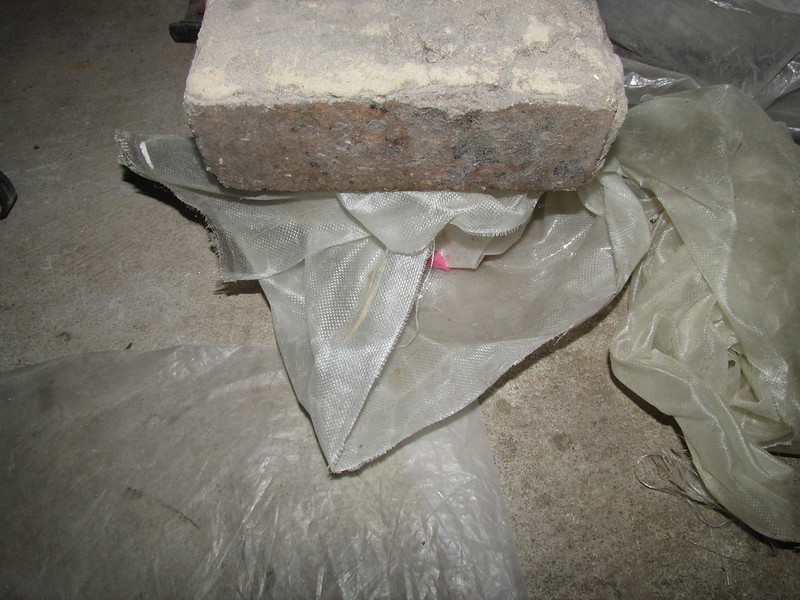
4. The rudder piece can support a brick, too!
Back to the 'Duckcote after that brief but hopefully informative little interlude...
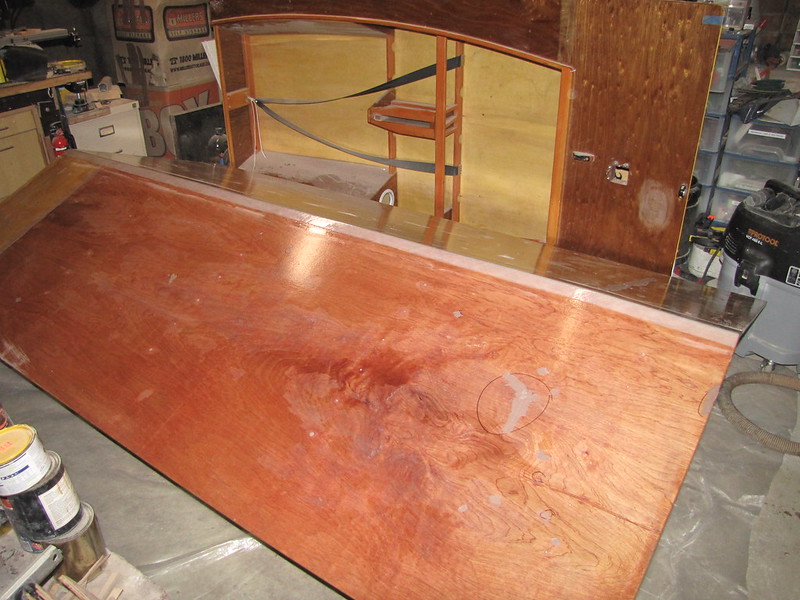
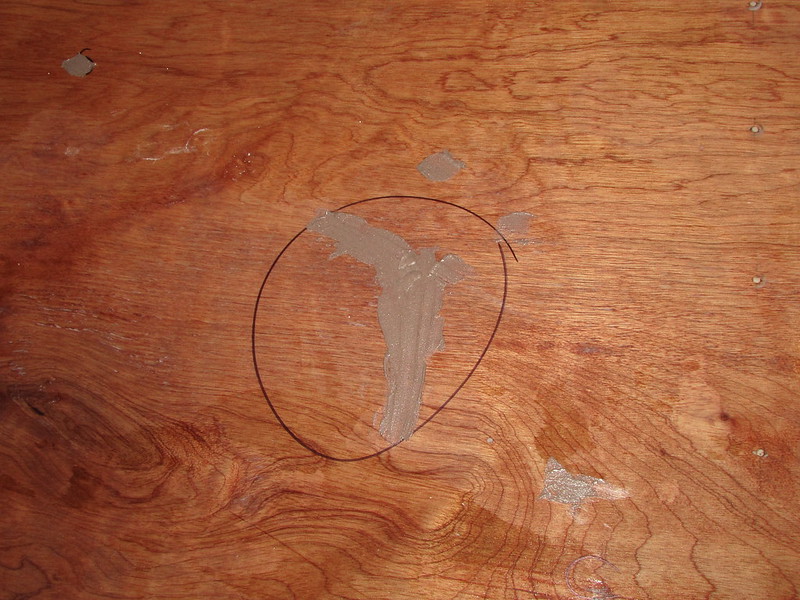
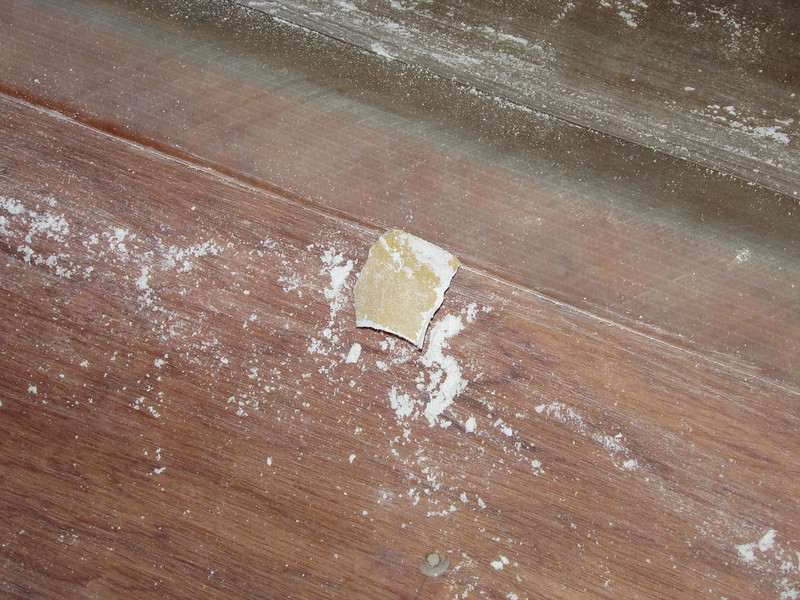
5. Roof with various bits of glue-spotting; the ridge cap has also had a coat of Bote-Cote first, though. I went around the roof panels with a water-soluble marking pen and circled most of the various dings and holes. I found some more when I was doing the actual filling...
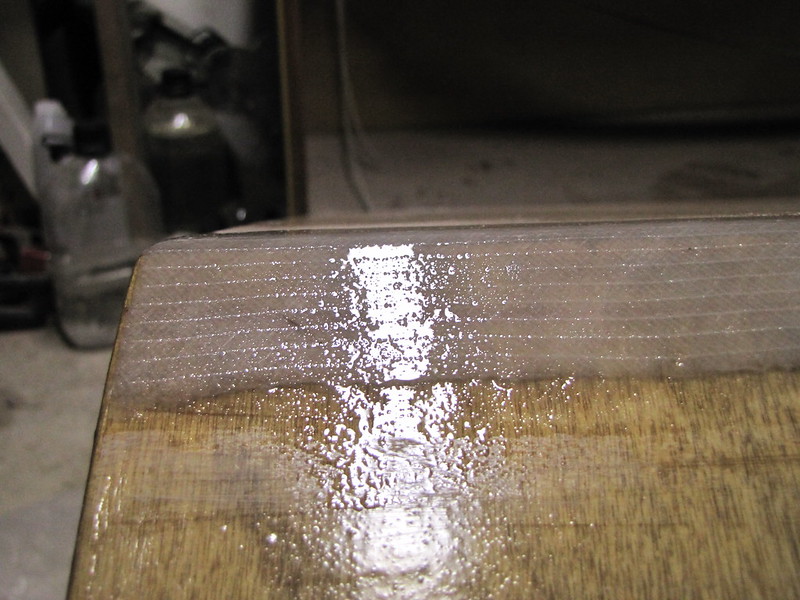
6. Bared portion of tape (see post #3202 above) after two coats of resin. The glass (warp) feelers are still showing after the two coats: I was too heavy-handed on the sanding for the thickness of coat...
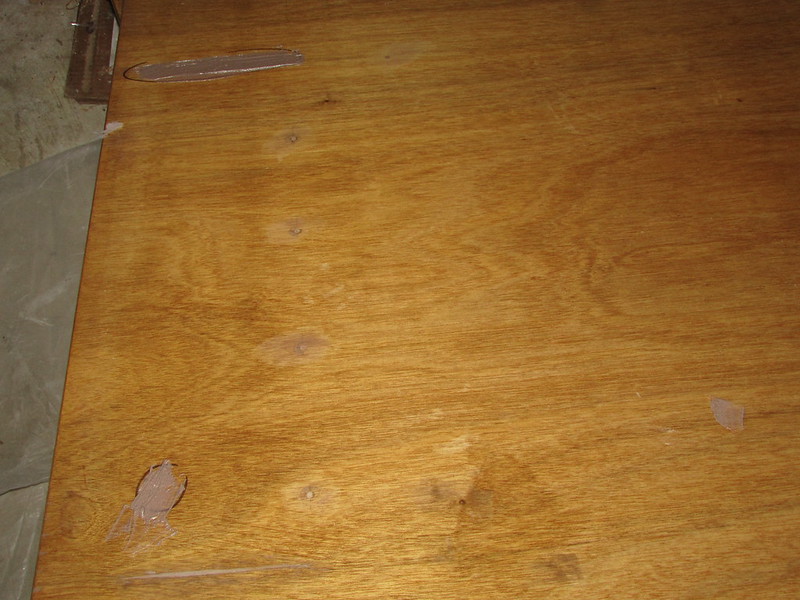
7. More patching - on the other panel. It occurred to me the other day that there are no obvious roller marks in the resin coats on either side: my technique must be improving a little bit - finally...
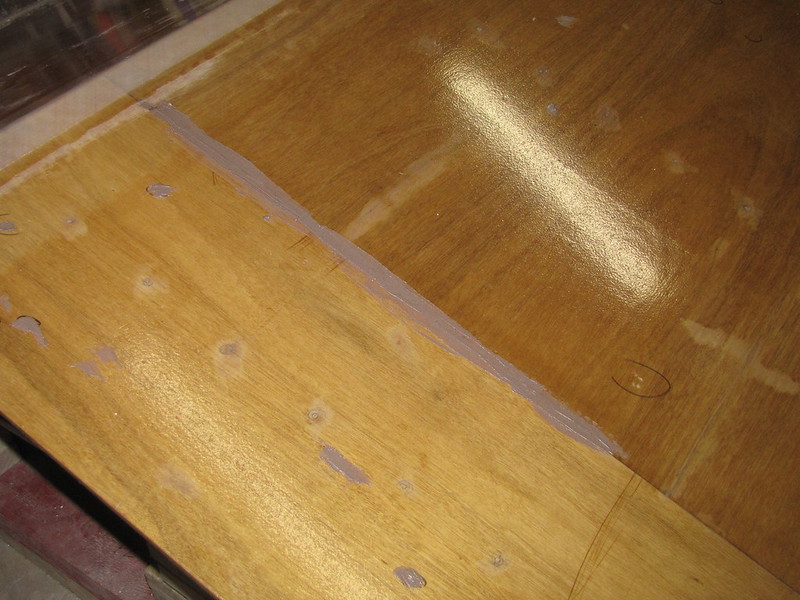
8. A long patch. The roof panel must have fairly skated around and about on whatever it was that was underneath it. Once the branches start cascade down upon the roof, however, there will be many more dents - and bigger
9. More patching. There's a bit of a step between the main panel and its extension (same on the other side at the other end, too)

10. The largest of the actual punctures is shown patched here, and a grain-crack further down towards the (bottom) edge of the panel (top of photo) was done as well
Follow this link to my Flickr account...
The ridge tape and filling was all that I did yesterday: today will be concerned with dealing with the exposed glass feelers, and some sanding.
-
4th May 2013, 12:26 PM #3206
Senior Member
- Join Date
- Dec 2008
- Location
- McAllen, Texas, USA
- Age
- 64
- Posts
- 154
I remember reading somewhere that by the time you finish a boat, you will have all the skills you should have had when you started.
Originally Posted by AlexN
-
4th May 2013, 10:34 PM #3207
GOLD MEMBER
- Join Date
- Jan 2009
- Location
- Blaxland, Australia
- Age
- 65
- Posts
- 2,551
Hmm...funny you should say that. I started the 'Duck as a learning exercise so that by the time I got to the Goat, I would be able to build a boat. Except that by the time I got to the Goat, I had to turn around and build the roof. So I guess I'm doubly prepared by now. In fact, I've used close to the same amount of resin and glue powder on the roof as I did on the 'Duck: the big difference is that I won't be using varnish or Brightside colour...oh, and it's not a boat ;).
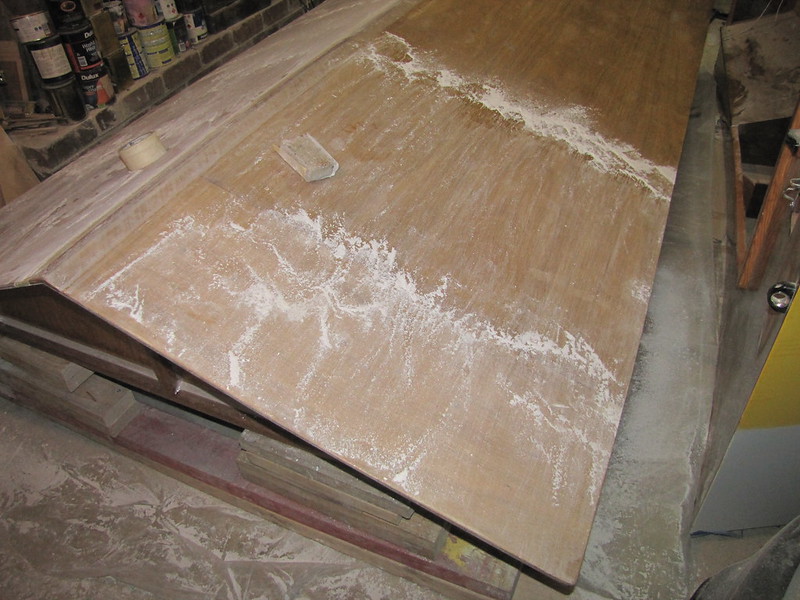
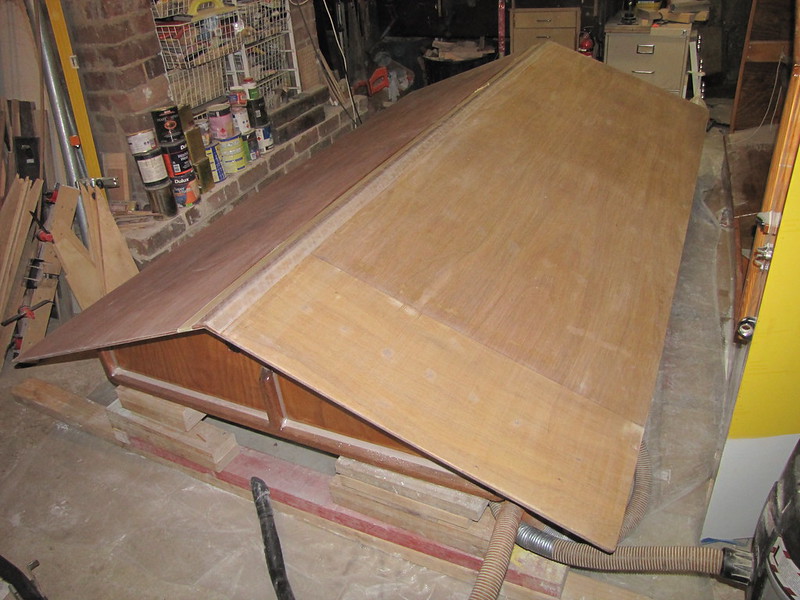
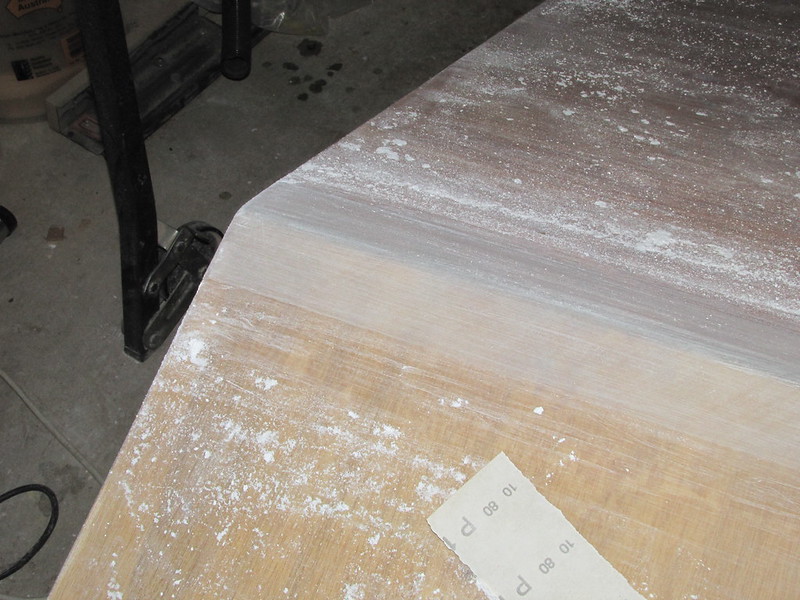
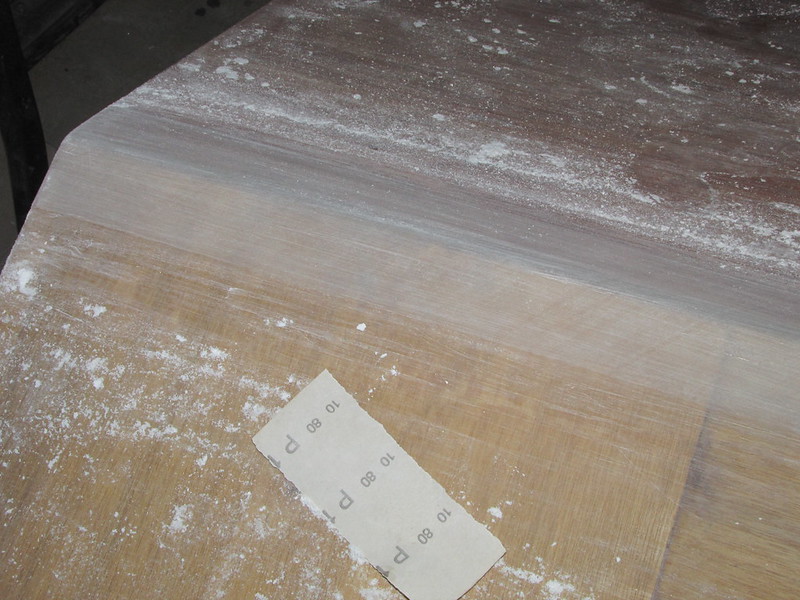
1. More snow. That's one side sanded, now for t'other...
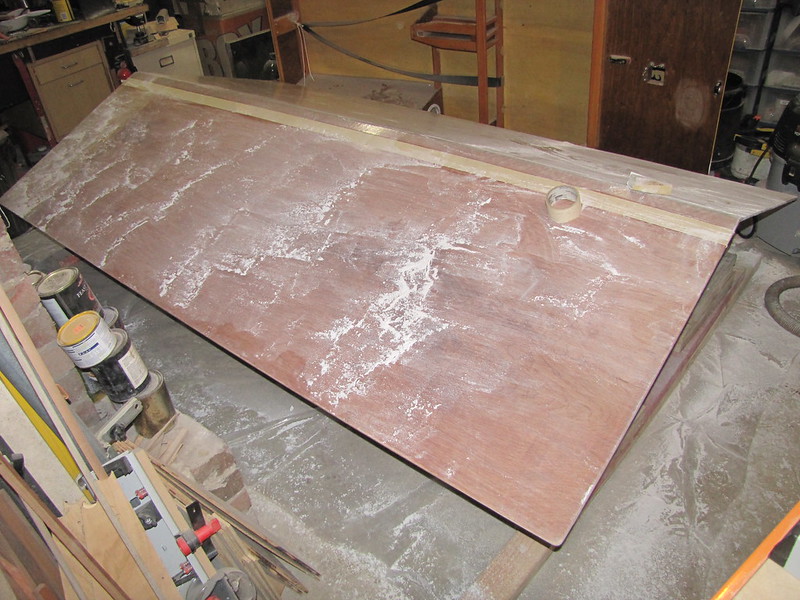
2. Starting on the other roof panel. I'm now sanding the entire panels as a unit, i.e, in one direction, which means sanding "across the grain" on the smaller extension pieces. Except that with the layer of epoxy that's on there, there really isn't a "grain direction" anywhere now - except, of course, that created by sanding
3. Closer view of the front end, port side. 80-grit W�rth sandpaper used over the entire roof, on this (grain-lifting) pass

4. Even more sanding - almost halfway down the port-side panel. But wait! There's more - except that I haven't done it yet ;)...
Follow this link to my Flickr account
I decided that it was more sensible to reverse my projected order and sand the roof first, then apply another coat of Bote-Cote to the ridge cap. The next coat (on the ridge cap) will be applied by brush - partly because I'll get a thicker layer that way, and partly because I've run out of rollers (on order from Duck Flat but won't be here until some time next week at the earliest - so that may end up being a rate-limiting step). Once the ridge cap coat has set, I'll do the whole roof with a layer of WEST 105/207 - once I get the new batch of foam roller coats. I have some el cheapo "UniPro" foam rollers, but I have NOT had good success with them. Some readers may remember the "fun" that I had with them, until MIK (I think) put me onto the DF-sourced foam rollers. But the very first thing that I will have to do after sanding will be a large amount of hoovering! And Mr Snappy still wants to know when I'm going to stick him under the tap ;). All in good time, Mr Snappy.
-
5th May 2013, 06:54 PM #3208
GOLD MEMBER
- Join Date
- Jan 2009
- Location
- Blaxland, Australia
- Age
- 65
- Posts
- 2,551
Now that I think about it, I have no recollection of thinking that I was applying the resin correctly or otherwise - which suggests that I've actually come to grips with it :). Originally Posted by dkirtley
Cheers,
Alex.
I'm seriously considering getting the ROS out of retirement: not only might it be quicker, but it would probably help keep the dust down a bit, too. The only reason that I haven't already is that I don't like the vibration that this and other similar rapidly-rotating hand-held machines produce.
Here's some snaps from today's efforts:
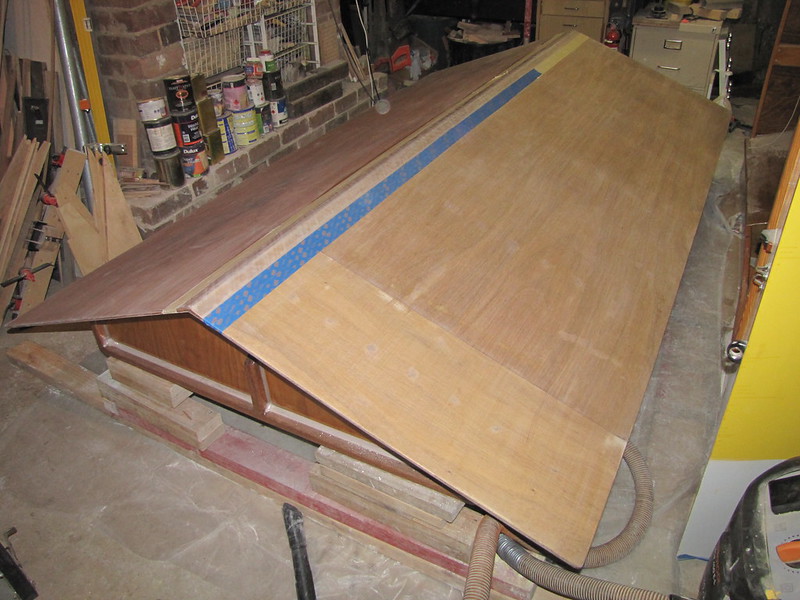
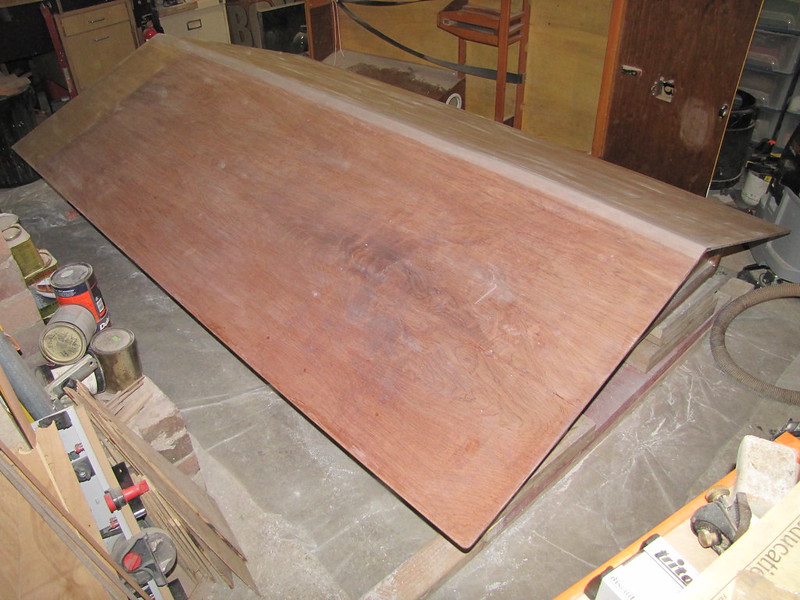
1. Port side sanding complete
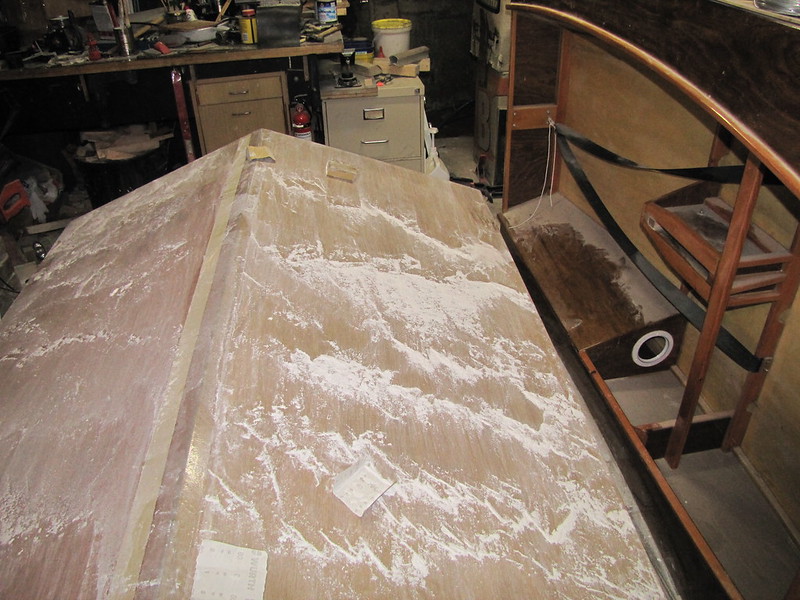
2. Port side sanding complete: viewed from other end

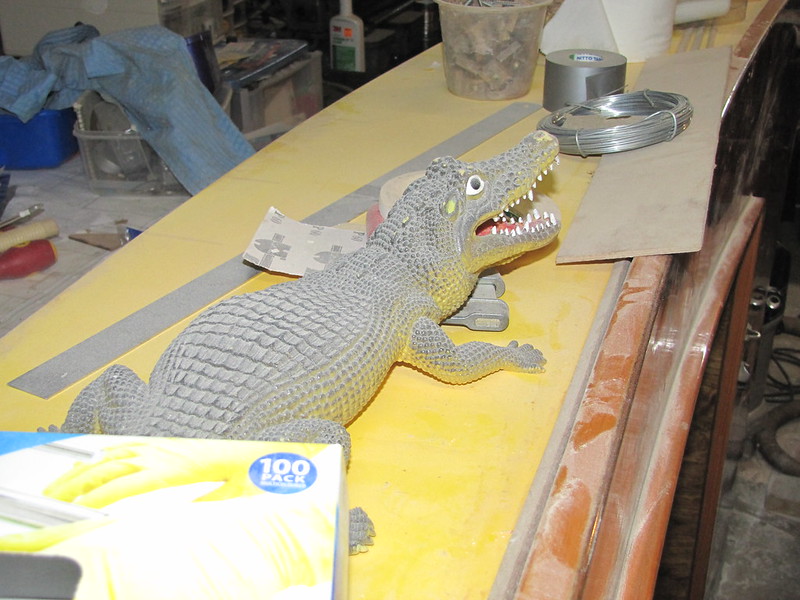
3. "Well, so when are you going to stick me under the tap?", asks Mr Snappy...
4. Roof vacuumed - starboard side
5. Roof vacuumed - port side. I also wiped both surfaces down with a microfibre cloth after vacuuming
6. Last bits of masking tape appplied to the ridge, to constrain the edges somewhat when applying any further resin coats
Follow this link to my Flickr account...
That sanding pretty-well flattens the outer surfaces of the roof. Next up is putting another layer - maybe the final one, but not necessarily - on the ridge cap. Once I'm happy that the ridge cap's tape is fully sealed, I'll give the entire top surfaces a coat of WEST resin.
-
7th May 2013, 11:49 PM #3209
GOLD MEMBER
- Join Date
- Jan 2009
- Location
- Blaxland, Australia
- Age
- 65
- Posts
- 2,551
It has been quiet because I've been sanding - and practicing as well: I've got a lot of ground to make up that I've lost because of the roof. On the other hand, I've been deliberately using the sanding - alternating hands - to help strengthen up my feeble arms, hands and fingers, particularly the on left side. I've been concentrating a lot on the left hand over the last twelve months ore so, but it is still pretty weak and undisciplined.
I think I've finished the sanding opf the resin layer on the upper surfaces of the roof, including the ridge tape,. I did it in stages, working from the panels to just below the tape to the tape itself. The starboard panel had to be partially sanded again in spots, on account of not having the light in the right place and missing quite a lot. Having drifts of "snow" covering the panel didn't help matters much either, although that had a simple solution - the vacuum cleaner - that I didn't use. I did wonder why I zipped through the first panel so quickly...
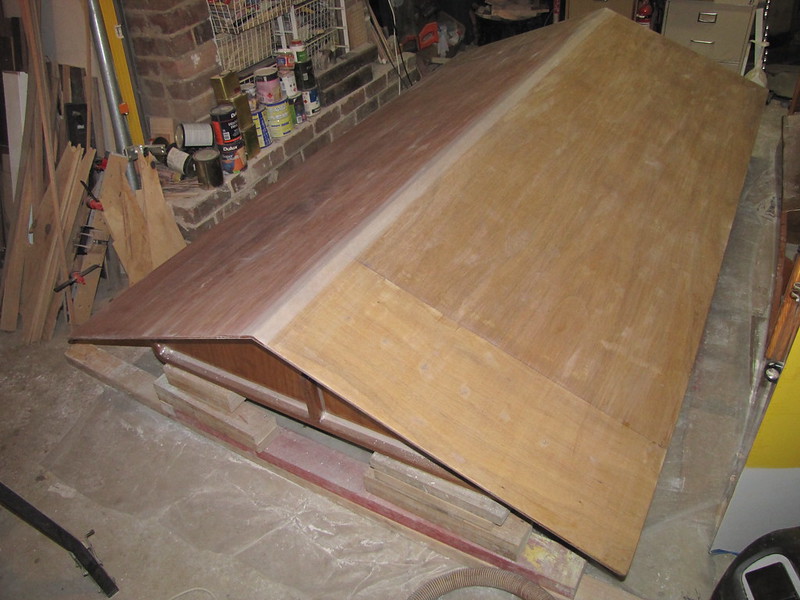
1. Starboard roof panel after final sanding of the initial epoxy layers! I missed quite a bit on the first pass - the port panel was fine as I was into my stride by then. I've sanded right up to the ridge tape but not onto it at this stage

2. Partially-sanded ridge tape, front end (120-grit Wuerth sandpaper)
3. Front end of tape after partial sanding
4. The area of the roof panels just under the ridge tape - along the masking tape line: finger-sanded using scraps of 120-grit sandpaper, using the machine-cut edge of the sheet against the masking- tape-formed edge of the resin
5. The tape looks a bit like tartan that has a bad case of acne - or chiken pox...
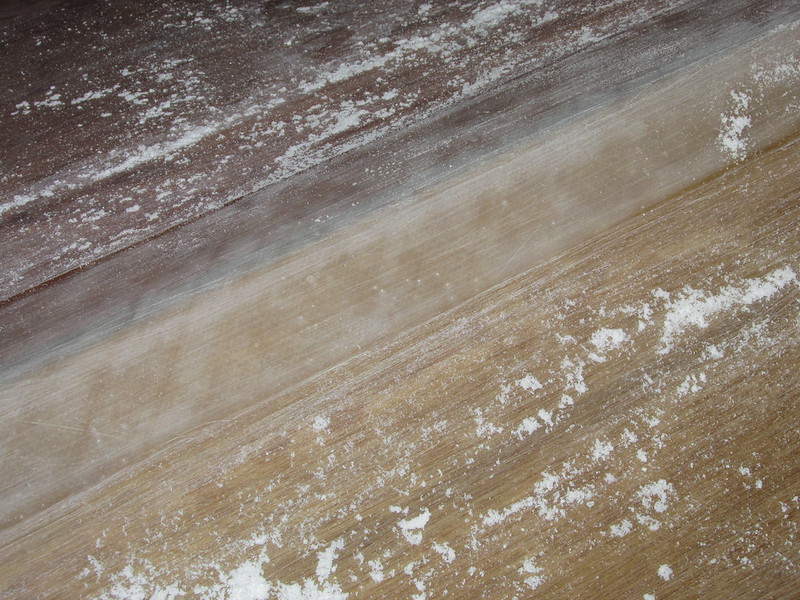
6. More poxy tartan
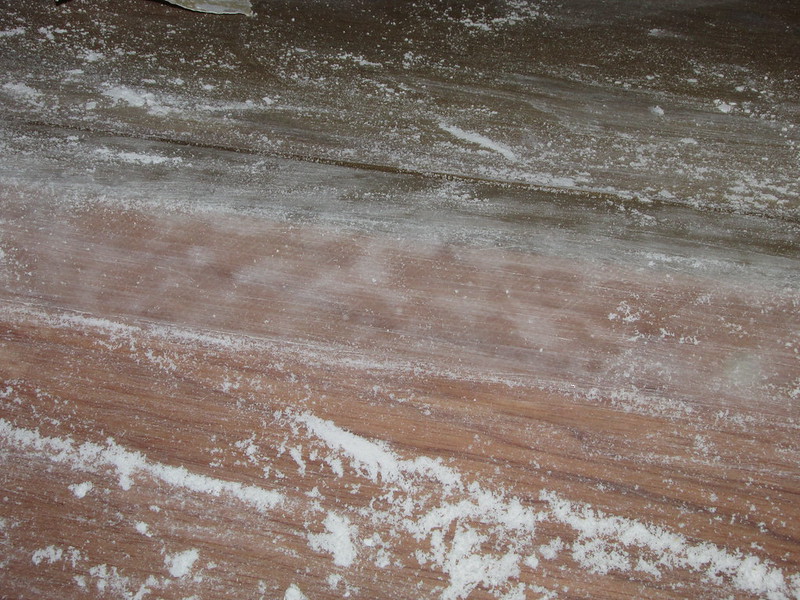
7. Ridge tape at the rear end had parts of it bared in its previous sanding. It looks as though it's fully covered again, here
8. Ridge tape at rear end of roof, viewed from the other side. Nice and sealed, I'd say :). Note the clean masking tape line

9. Ridge tape at front end of roof, sanded with 80-grit and followed up with 120-grit to smooth it off a bit
10. Another view of the front of the ridge tape, smooth-sanded. The final step in the sanding process was rounding odd the sharp edge formed by the masking tape, to make less of a step
11. Starboard roof panel, vacuumed and almost ready for the final coat of resin - which i'll do once the new batch of foam roller coats arrives
12. Port roof panel, vacuumed. The roof will get a wipe-down with a damp (new) microfibre cloth in the morning, after the dust has settled...
Follow this link to my Flickr account
As intimated above, I'm waiting for a batch of rollers to arrive in the post, before I can proceed any further. That will give the dust some time to settle out ;). The 60-grit paper that I'd forgotten to order from BoatCraft Pacific arrived today, along with a jar of yellow epoxy pigment and a 500 ml (total) sample kit of "Pour-on Gloss" clear resin - of which more later, if I remember...
-
8th May 2013, 12:23 AM #3210
Senior Member
- Join Date
- Dec 2008
- Location
- McAllen, Texas, USA
- Age
- 64
- Posts
- 154
Hey Alex! Looking great.
What is the Biaxial tape and carbon tow in the ridge for? Just experimenting with new materials or you have some secret evil plan for Mr. Snappy?
Just an update, I think the new foster mother of my boat is coming by tomorrow for formal adoption. Epoxy, glass, and some CF tape heading my way for the next evil experiment here.


 Reply With Quote
Similar Threads
-
New Queensland PDRacer Build
By duncang in forum Michael Storer Wooden Boat PlansReplies: 71Last Post: 26th April 2012, 08:30 AM -
Oz PDR build in Adelaide - sexy black PDRacer
By m2c1Iw in forum Michael Storer Wooden Boat PlansReplies: 39Last Post: 27th April 2009, 06:30 PM -
OZ PDRacer - Dylan's build in the Philippines
By Boatmik in forum Michael Storer Wooden Boat PlansReplies: 16Last Post: 23rd February 2009, 05:50 PM -
Brisbane Timber and Working with Wood. Boatmik/PDRacer
By Boatmik in forum Michael Storer Wooden Boat PlansReplies: 1Last Post: 11th April 2007, 08:06 PM -
Flawed wood on the TS --DUCK!
By Robert WA in forum WOODWORK - GENERALReplies: 7Last Post: 19th February 2004, 11:42 AM
Tags for this Thread
balanced lug,
boatmik,
build,
dacron(tm),
douglas fir,
duck,
enamel,
epoxy resin,
fibreglass,
hoop pine,
interminable,
lug,
machinery,
materials,
michael,
oregon,
oz racer mk 2,
ozracer,
paint,
paulownia,
paulownia/glass mast,
pdracer,
plywood,
polytarp,
primers,
really simple sails,
sail-making,
sailmakers thread,
sanding,
storer,
sydney,
timber,
tools,
varnish,
verbose,
western red cedar,
wood,
wood duck,
wrc
