

 Thanks:
  Likes:
  Needs Pictures: 0
 Picture(s) thanks:
Results 3,211 to 3,225 of 3347
-
9th May 2013, 07:58 PM #3211
 GOLD MEMBER


- Join Date
- Jan 2009
- Location
- Blaxland, Australia
- Age
- 65
- Posts
- 2,551
 I don't know what Mr Snappy's up to, but my intent was to play about with the stuff, and at the same time beef the ridge up a bit against the descending branches. Mr Snappy probably thought that it would be a good trap for me, making it heavier to lift and so forth. Hmmm...
 Originally Posted by dkirtley

I'm intrigued about your experiment - is it aquatic in nature? Congratulations on finding a foster mother for your boat - I'm sure that they'll be happy. Of course, if they're not, they'll know where you live... ;)
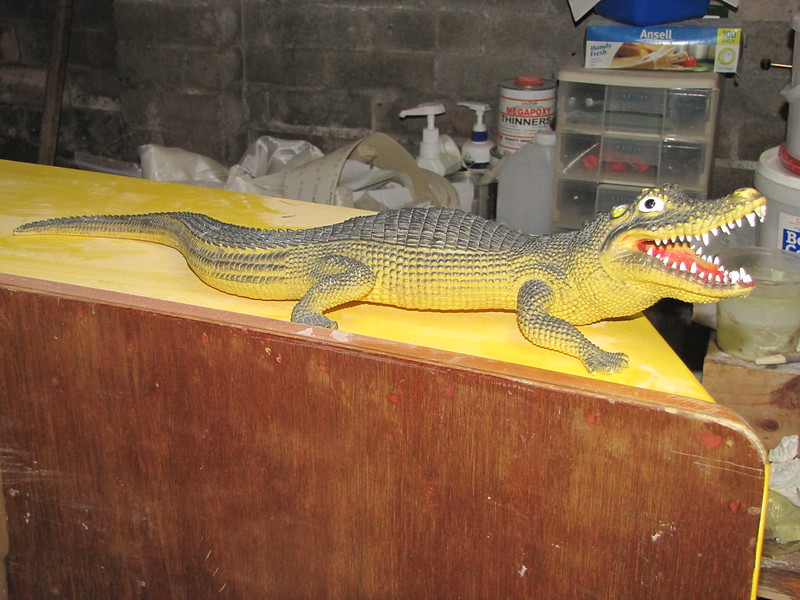
Speaking of Mr Snappy, I relented and held the poor wee beastie under the tap, finally:
1. Mr Snappy is happy - he got held under the tap :)
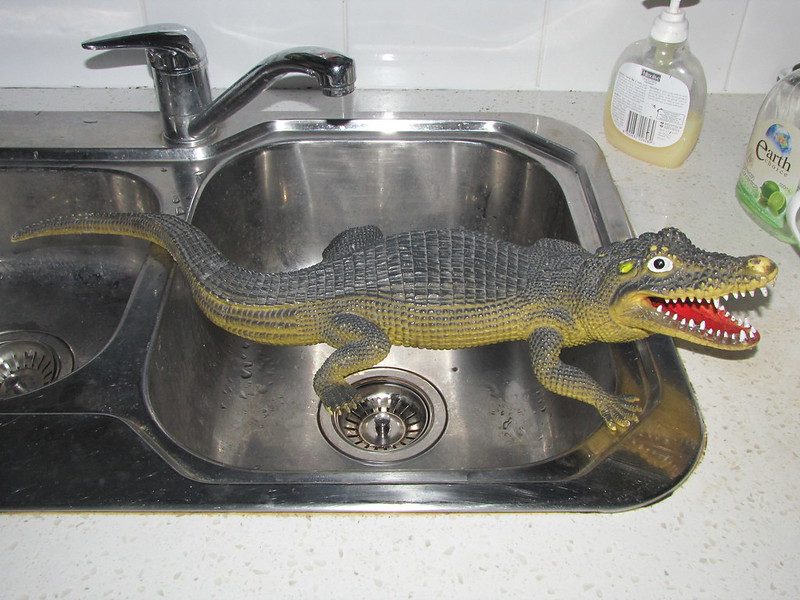
2. "I'm nice and clean now", says Mr Snappy; "About time, too. I'm back to my usual handsome self." What a happy Snappy...
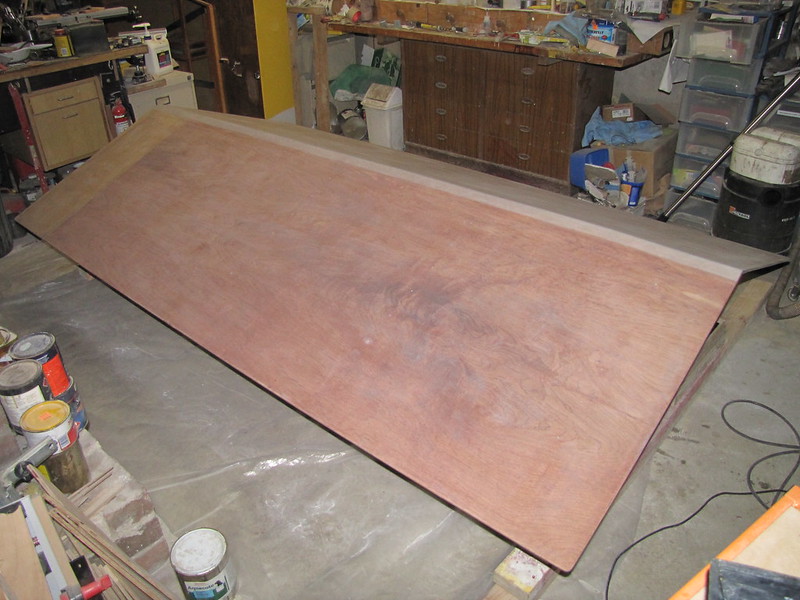
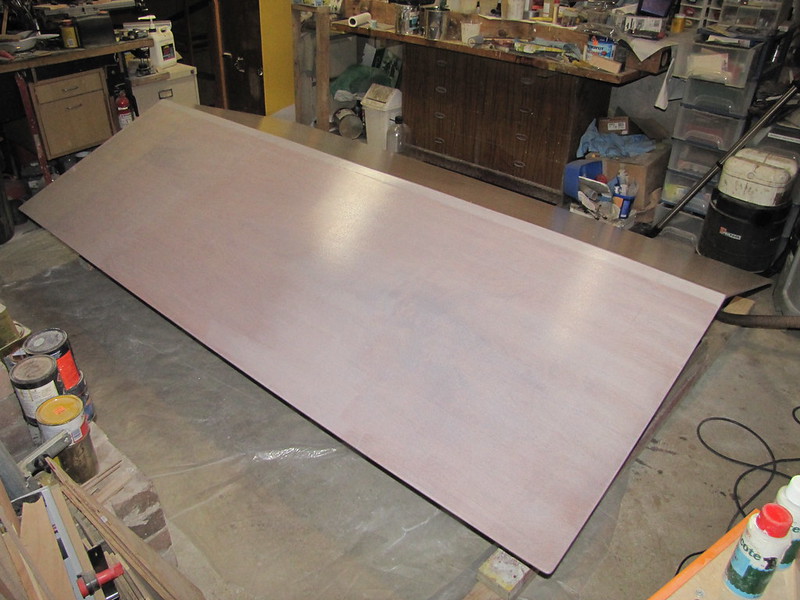
3. Yet another cleaned roof surface... This time both panels have been wiped down with a new micriofibre cloth straight out of the packet, and dampened with a bit of demineralised water
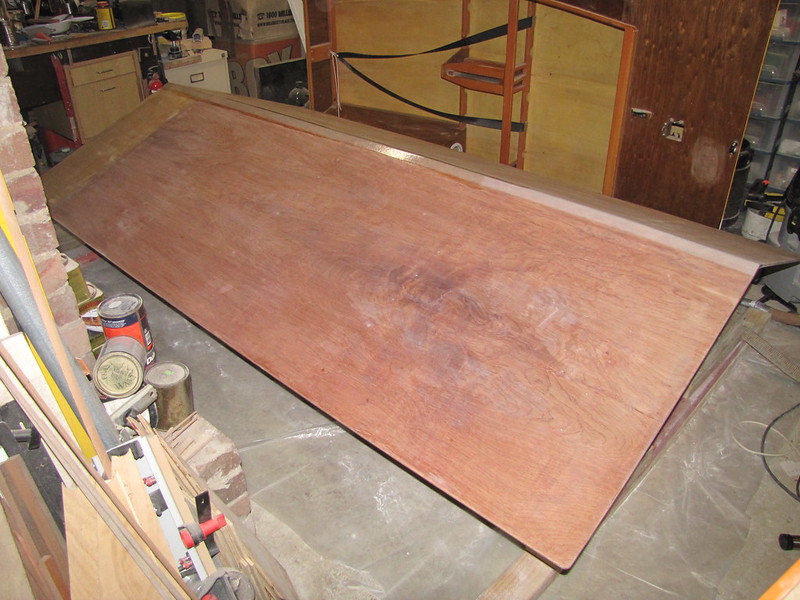
4. The other wiped-down roof panel ready for some epoxy (by the time that this snap was taken the roof had dried - and I had also helped it along a bit earlier using the hot-air gun. There's a spot of bare plywood here and there, but I'm going to forge ahead anyway; I have a cunning plan to deal with that :)
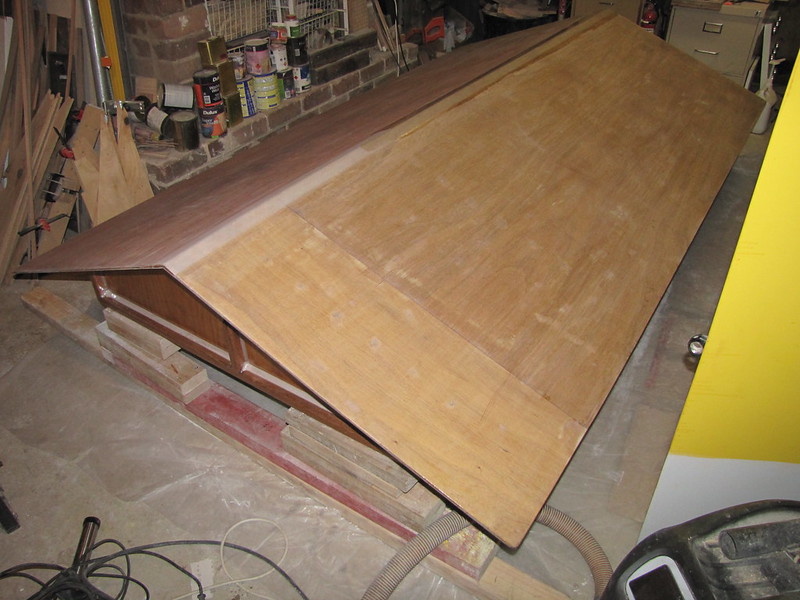
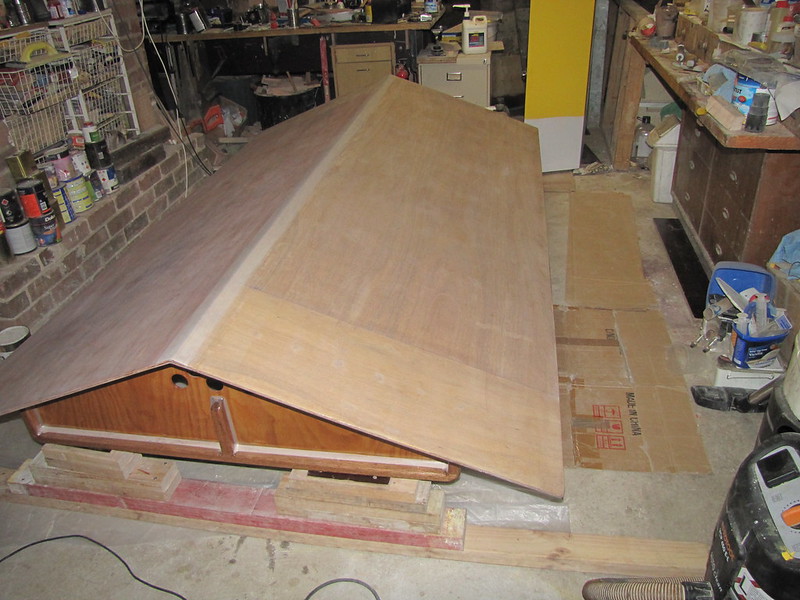
5. Shiny :). Both sides have had a coat of WEST 105/207, and they also got slicked down using the roller. That's something that I haven't done in a long while!
6. WEST-coated panel on the other side: also shiny :)
Follow this link to my Flickr account...
The Duck Flat rollers appeared in the post this morning, so I got right onto putting the final coat of resin or the roof (well, final coat of resin on the external surfaces of the roof <grumble>) after practicing for an hour or so. Slicking off the resin in the cramped circumstances was neither easy nor pleasant, and a real, literal pain in my lower back, with added twisting. See "Rule 0" above... Having got that done before lunch, I locked up the workswamp and left the resin to its own devices: I'll check it after dinner, but I won't do anything further on the structure until tomorrow when it is properly set and a little bit cured. Since the underlying surface was rock hard there wasn't any problem with the resin coat pulling up on itself and splitting. The ridge tape and the panels proper are now all under the same roof, so to speak. Well, under the same coat of resin. More anon.
-
9th May 2013 07:58 PM # ADSGoogle Adsense Advertisement
- Join Date
- Always
- Location
- Advertising world
- Age
- 2010
- Posts
- Many
-
10th May 2013, 12:06 PM #3212
Senior Member
- Join Date
- Dec 2008
- Location
- McAllen, Texas, USA
- Age
- 64
- Posts
- 154
I came to the conclusion that squatting down as far as the OzRacer requires was not that feasible as I progress down the road to the "Golden Years"... Just bouncing some building ideas around in my head at present. Focusing on self design as to not associate my mistaken judgement with anyone else's good designs. Luckily the water around here makes walking home an option.
 Also having some different rig ideas. Not that worried about maximizing square footage since the normal wind here tends to have the word "Warning" attached. Simple and self tacking are the key objectives.
The Foster Mother is in the middle of a really ambitious build (Buhler design) that is quite lovely but at the present somewhat skeletal in appearance.
I am going to need to do a whole slew of things before I have enough room to swing a cat and also might need to start with a trailer mod before tackling it's cargo.
-
12th May 2013, 10:19 PM #3213
GOLD MEMBER
- Join Date
- Jan 2009
- Location
- Blaxland, Australia
- Age
- 65
- Posts
- 2,551
Good one! Speaking of swinging cats, I finally decided that I was fed up with running the continual risk of crippling myself or worse - so I did something about it! See below... Originally Posted by dkirtley
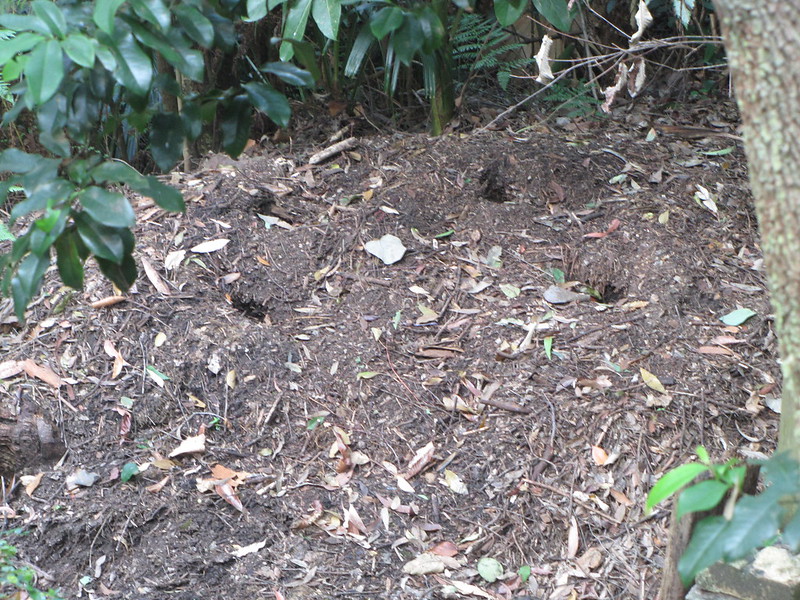
1. Holes in the top of the turkey mound, possibly made by a family of bandicoots - or one highly voracious individiual ;). While it has nothing obvious to do with boats - it is around the spot where the roof is meant to live when it's not on the boat...
2. Sand flat using the ROS: 60-grit disc used. The ridge tape and a strip of roof panel just below it have yet to be sanded

3. ROS-sanded roof, other side. The mobile phone must have fallen out of my pocket, and unnoticed temporarily (it was lucky that I didn't tread on it!)

4. Vacuumed and wiped clean with a microfibre cloth. Note hat the ridge tape and the top part of the panel have been block- and finger-sanded at this point

5. Vacuumed and wiped down with a microfibre cloth - other side. One of the last snaps of this unpainted roof - I really hope so!
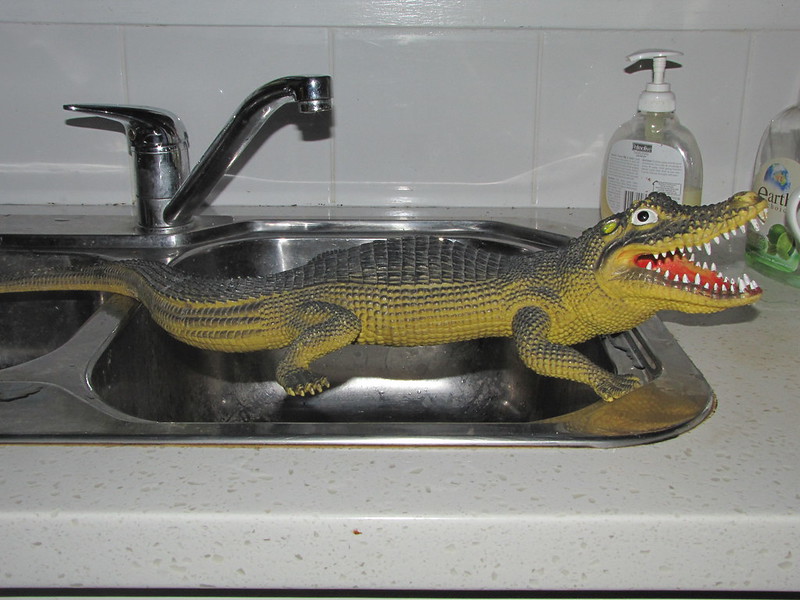
6. Mr Snappy has been reinstalled, after his bath under the tap
7. This is not actually a snap of the roof this time: it shows the results of my getting fed up with the uncomfortable and dangerous working conditions. It's a much more workable (albeit temporary) rearrangement of this part of the workswamp. Look at all the space to move around the roof in - I now longer have to sidle around it whilst barking my shins in the process :)
8. There's also space to move around in on this side, too. Space was made by moving the boat and its building frame out of the way. I took advantage of the clear run to do so vacuuming - and also removed some lumps of glue off the floor: a few of the causes, no doubt, of some of the dings in the roof's top surface that I recently patched...
9. Where the boat has been moved to: next to the sump-pump. The starboard gunwale is resting on a piece of insertion rubber where it crosses the concrete into the void. I moved the packing boxes to other parts of the swamp - while cluttering up other sposts, they are not taking up useful working space for this project. "Cool!", says Mr Snappy. Note the clear (but still dusty) surface of the boat's port side

Follow this link to my Flickr account, where you can admire all the nice space around the roof...
I was intending to put the first layer of undercoat on today, but what with an extended shopping trip this morning, and the moving about of stuff in the workswamp and practicing in the afternoon, I decided to leave it until tomorrow. I did a bit more clearing around the boat, although there is room for much more. I actually even managed to throw out a whole lot of junk :).
-
14th May 2013, 11:24 PM #3214
GOLD MEMBER
- Join Date
- Jan 2009
- Location
- Blaxland, Australia
- Age
- 65
- Posts
- 2,551
Another Milestone :)
Well, I got the first coat of undercoat on the roof's upper surfaces today :). Except that it wasn't exactly paint...
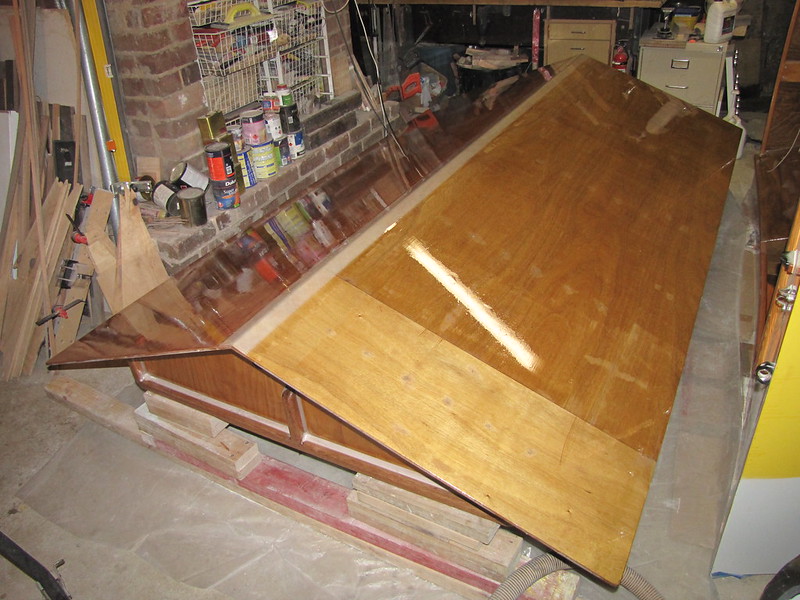
1. Another view of the boat tucked in over the taddy pool. A rather dry taddy pool, it has to be said - which is good for me (although not for any putative tadpoles). The protective insertion-rubber mat can be seen poking out from under the gunwale. There's a good view of the sanding dust on the port side, too...

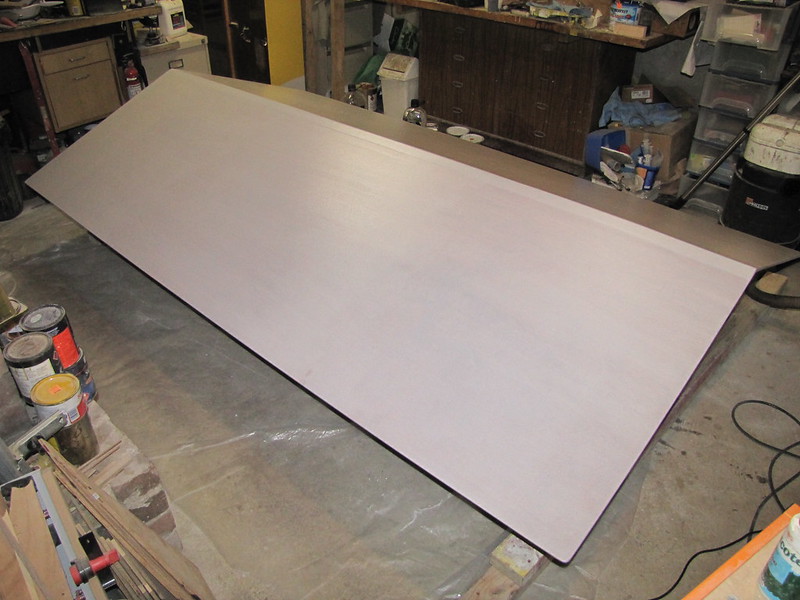
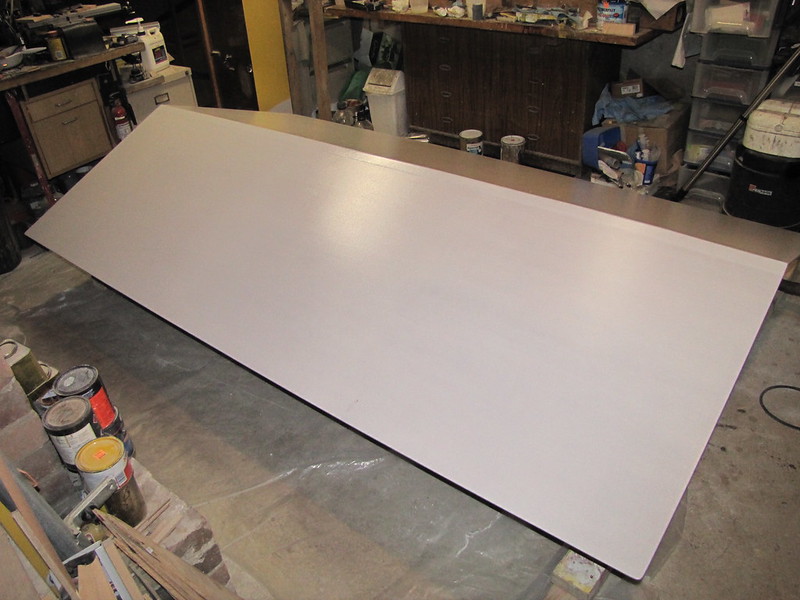
2. First coat of undercoat! This should allay the doubts of those who were probably convinced that I was going to do a bright finish on this roof!
3. First coat of undercoat, snap # 2. This isn't paint - it is in fact Aqua-Cote high-build epoxy primer! My surprise secret ;)
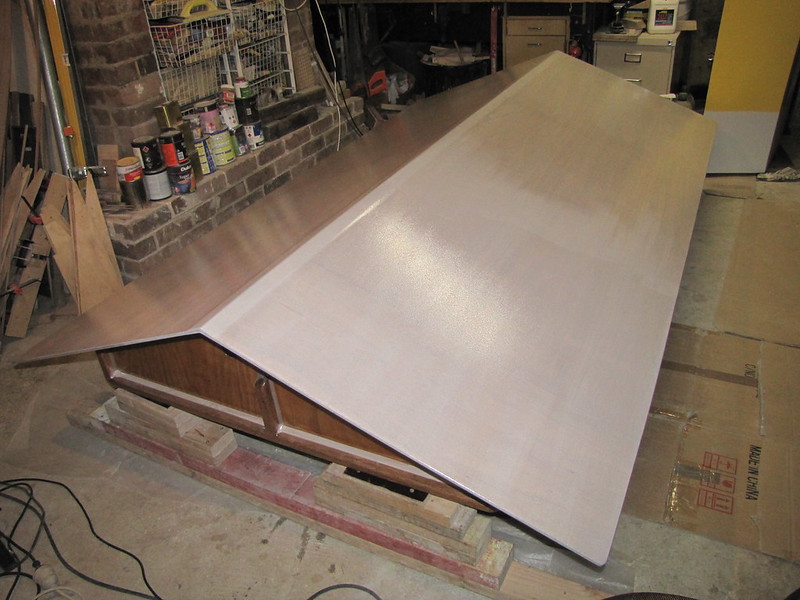
4. I got the first coat of epoxy primer on fairly evenly - that is to say, few roller-edge lines :)
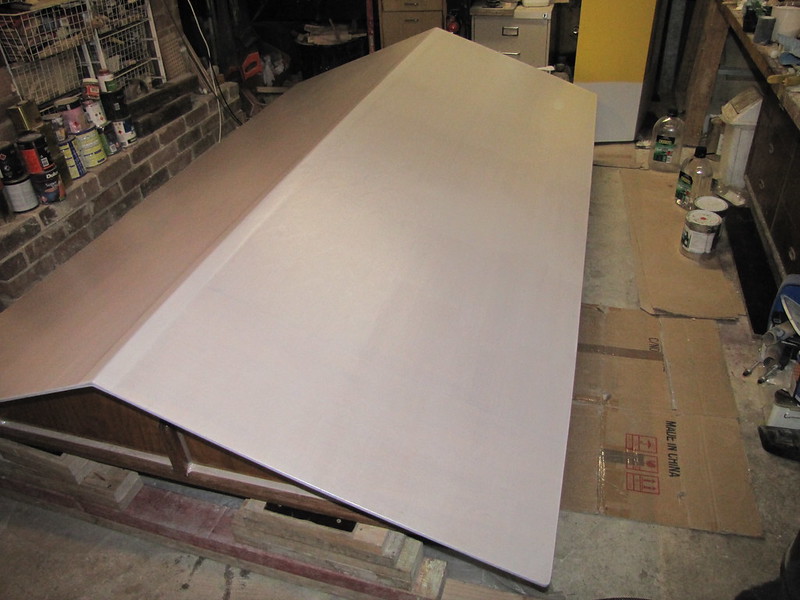
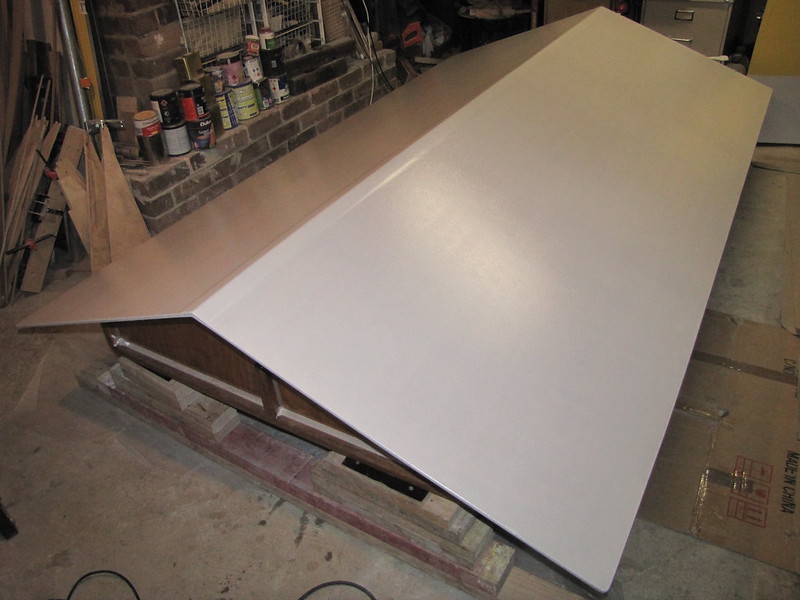
5. Same on the port side - fairly evenly applied, apart from dealing with the wet edges...

6. Another view of the first coat of high-build epoxy on the port side
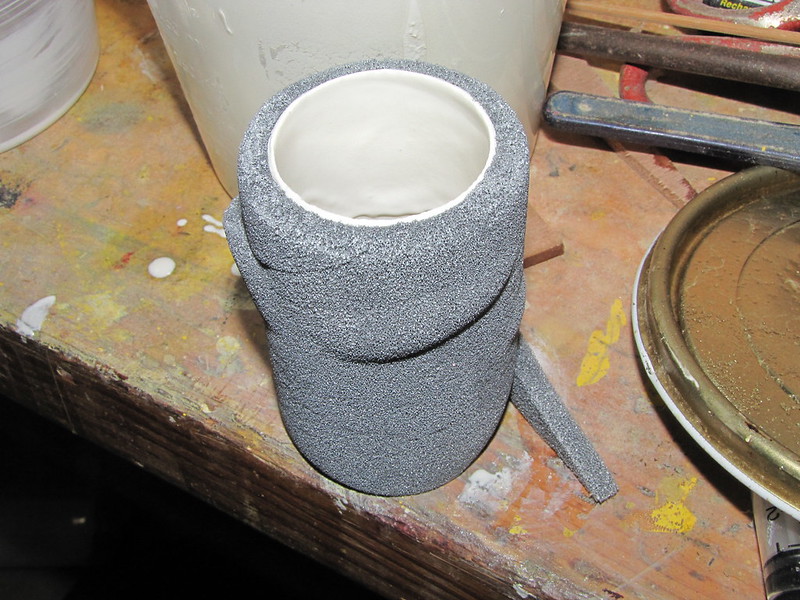
7. A bit hard on the roller! This is a Duck Flat black foam roller after it had rolled two coats of Aqua-Cote onto the roof
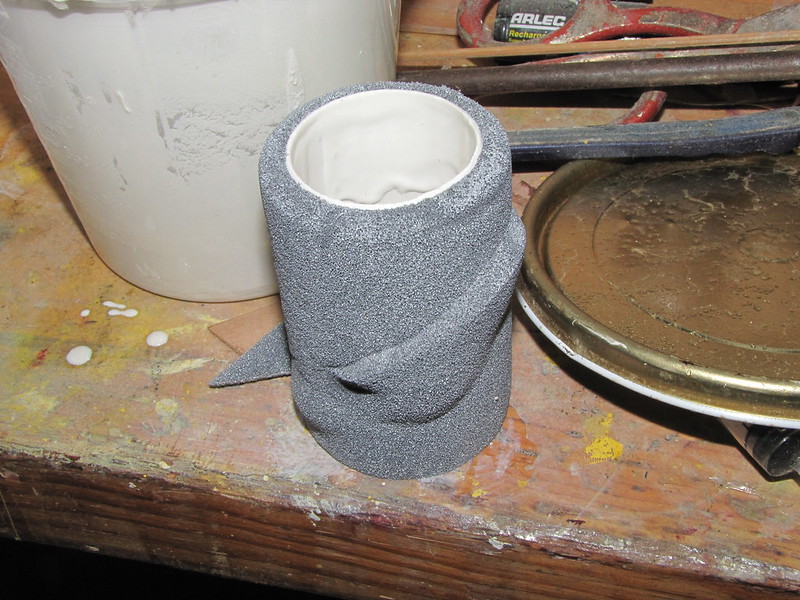
8. The other side of the foam roller, also in a rather sad state. I won't bother with cleaning the new roller on the third and last coat - I'll bin it immediately I've finished putting that coat on
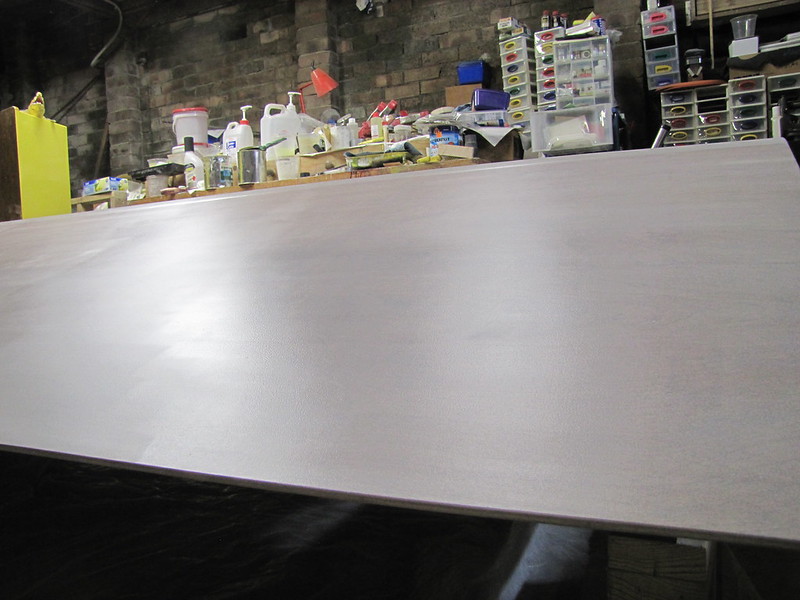
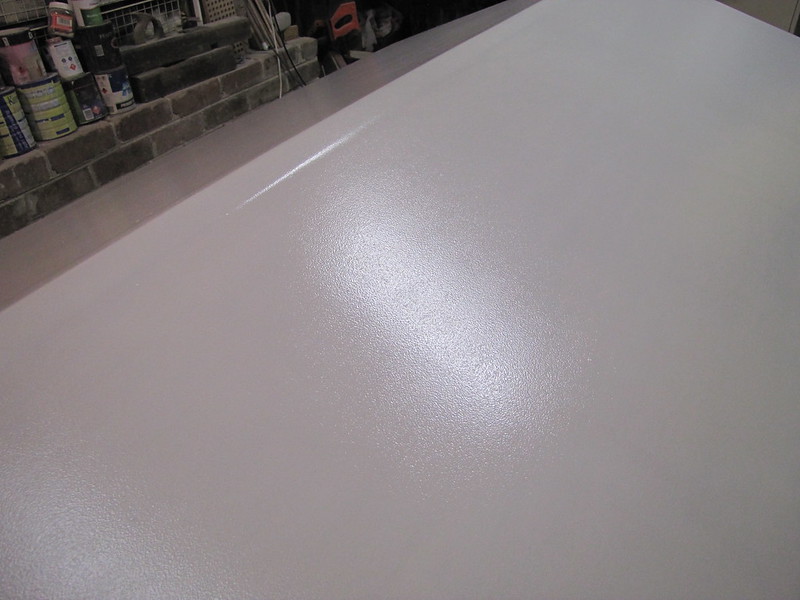
9. Second coat of Aqua-Cote on the roof, starboard side. A little bit denser: I'll put one more coat on after which I will have used up the Aqua-Cote, for all practical purposes
10. Second coat of Aqua-Cote epoxy primer on the port side of the roof. Some of the marks made by the delaminating portions of the roller jacket can be seen here - if you look closely
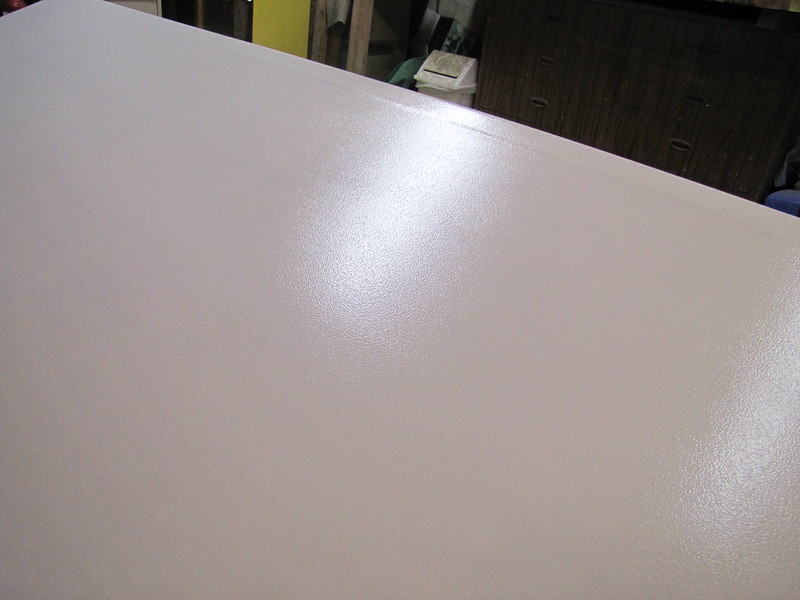
11. Close-up of the pretty patterns printed on the starboard roof panel by the delaminating roller...
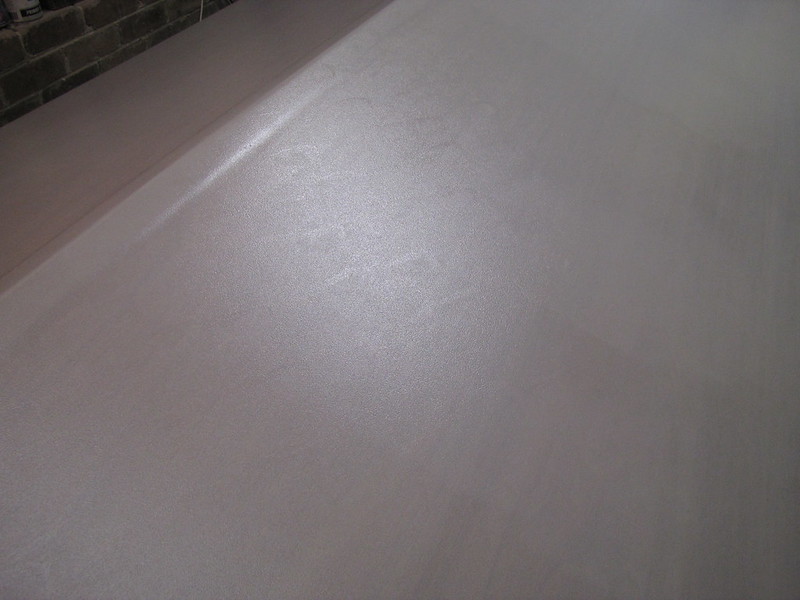
12. Second Aqua-Cote coat, starboard side close up. It's not quite as even as the first coat, but it's acceptable. The grain-figuring of the underlying plywood is still just visible here through the primer, in the bottom LH corner of the snap. Note that the ridge tape is blending in nicely with the rest of the roof, too :)

Follow this link to my Flickr account. Watch out for the wet primer...
It really helped having room to move around the roof on this occasion :). I should have done that minor rearranging much earlier! One more coat of Aqua-Cote and I'll leave it to set up really hard - which is partly why I went to great lengths to minimise the amount of sanding needed, by dint of careful roller work. Once the primer layer is nice and hard - a day or two with some assistance with the hot-air gun, I'll turn the roof over after carefully inspecting the floor for any more glue blobs, and get to work on sorting out the mess inside the roof a bit. The hard layer of Aqua-Cote - and it sets up like steel once cured - will help reduce the likelihood of more dents and dings when the Fairy Heffalump jumps up and down on it while sanding. For which latter exercise I got a 6 metre length of Wuerth 60-grit paper the other week. The messed-up resin should be nice and hard by now, too.
-
15th May 2013, 04:33 PM #3215
GOLD MEMBER
- Join Date
- Jan 2009
- Location
- Blaxland, Australia
- Age
- 65
- Posts
- 2,551
This post wraps up the Aqua-Cote primer stage, apart from a small amount of ROS sanding, perhaps - which in any case will be done down the track a bit.
Ha! Remember my "Rule 0"? Here is a real example of things going wrong because of not enough space - in this case bench space: I had a slight slip-up with mixing the resin this morning, wherein in I'd just finished it, including rinsing out the remainder from the sample resin bottle (which helped spread the scant amount of resin such that the coat ended up more evenly distributed), when I bumped last night's meths wash container and spilled a sizeable amount into the mixed resin. I was fortunately quick enough to scoop out most of the meths+Aqua-Cote rinse before it incorporated too far into the just-mixed resin, but there was some remnant left. At least the rinse solution helped spin out the resin a bit further, since I used up all the Aqua-Cote that I had on hand for this final coat... Originally Posted by dkirtley
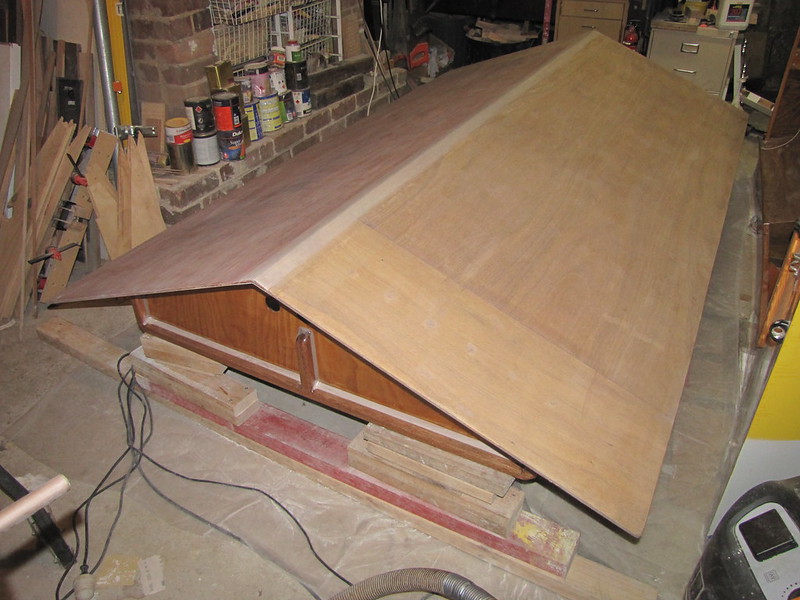
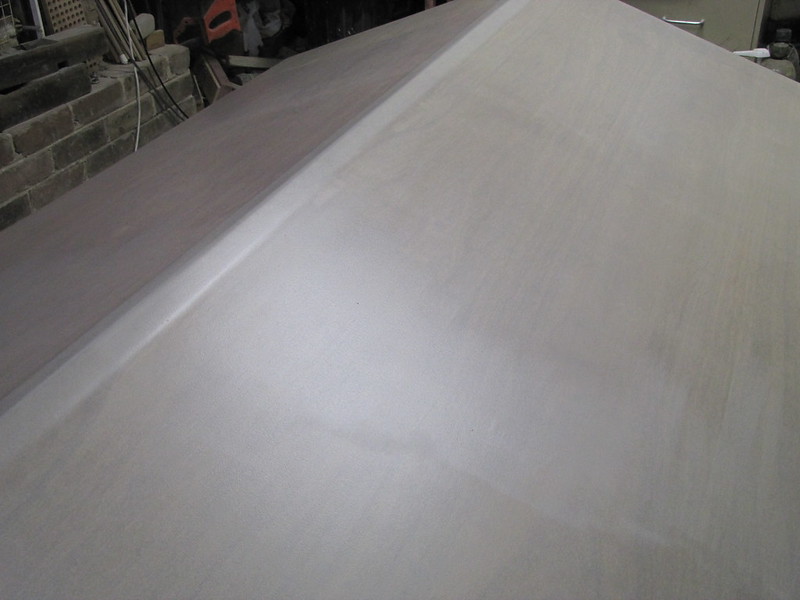
1. Third and final coat of Aqua-Cote on starboard roof panel. I just managed to get enough out of the various tins and bottles to finish the job!
2. Aqua-Cote final coat, port side. I worked from the other end from where I started on the first two coats - on both sides - in order to balance the resin out a bit: in the second coat, the resin got a bit thin in the last couple of rollers-ful as I ran out of resin in the tray. This wasn't a problem in the first coat, where I had well over 100 ml left over...and I really could have done with that extra that in the second and third coats...
3. Close-up of Final Aqua-Cote coat, starboard side
4. Close-up of final Aqua-Cote coat, port side. Nice and even: the patterns from the delaminating roller didn't show up very much through this last - and somewhat thin - coat
Follow this link to my Flickr account
The next step for the top surfaces will be a coat or two of Norglass "PRi-COAT" primer/undercoat - maybe only one since the epoxy primer is already in place, but I will check the density/opacity once the AquaCote has been sanded and the first coat of undercoat has gone on. The undersurfaces of the structure don't need the epoxy primer, since it is purely there to toughen up the upper floor-and-branch-facing surfaces a bit more. What will actually happen next is a couple of days' hiatus while I wait for the Aqua-Cote to harden up a bit more before turning the structure over and working on whatever it is that I find there... Once I've dealt with the mess, the end-plate assemblies will need sanding to knock down the raised grain on hoop pine and meranti. That will be followed by: undercoat on the endplates, inside and outside; the lower outer portion of the roof panels; and the interior. Top-coat will be applied to all these surfaces, after which the insertion-rubber strips will be attached prior to the roof being turned back over for under- and top-coats. I might cut up the insertion-rubber strips for the "skids" and feet while I'm waiting for the Aqua-Cote to harden up - which means fossicking out a new, i.e. sharp, Stanley knife blade...
-
16th May 2013, 12:18 PM #3216
GOLD MEMBER
- Join Date
- Jan 2009
- Location
- Blaxland, Australia
- Age
- 65
- Posts
- 2,551
On checking the final Aqua-Cote coat this morning, it was still a bit tacky. This was to be expected since it had been diluted slightly with water (rinsing out the sample bottles) and with the accidentally-added meths tray-wash. The water doesn't worry me as the instruction say that up to 1 5 % water can be added to aid application: the meths is a bit more of a problem since the methanol - being highly reactive with other organic compounds - may actually interfere chemically with the cross-linking, and also with the chemical structure of the resin and hardener molecules themselves.
Hopefully the small percentage of methanol present won't have too much of an effect, and might have evaporated out of the thin coating before the water. In any case, I got out the Electric Flame-thrower(TM) and applied it at full power to the entire surface in two passes, one directly after the other, a panel at a time - plus extra treatment to the thin edges. Hopefully that - and maybe a couple more passes - will do the trick.
-
16th May 2013, 12:40 PM #3217
Senior Member
- Join Date
- Sep 2012
- Location
- NSW, Australia
- Posts
- 474
A bit of metho shouldn't hurt it. I know of people using metho to thin standard epoxy, and it didn't seem to affect the cure. Not recommended, but most likely harmless.
Also, metho doesn't actually contain any methanol these days. It's just pure ethanol, with a bitter flavour added.
-
16th May 2013, 06:35 PM #3218
GOLD MEMBER
- Join Date
- Jan 2009
- Location
- Blaxland, Australia
- Age
- 65
- Posts
- 2,551
Ah, interesting... A drop or two of a thiol such as mercapto-ethanol in the holding tank and no-one would ever use "meths" - let alone drink the stuff - ever again ;).
After a second thorough - prolonged - dose of heat this arvo the slightly-diluted Aqua-Cote is now almost non-tacky, although it still feels a bit soft. A couple of days with the odd pass with the Electric Flame Thrower should fix it. The underside (WEST on top of tacky Bote-Cote") is now very hard indeed, so that's good :).
Speaking of epoxy "problems", this next one has been stewing away in the back of my mind for some time, but I keep forgetting to mention it. Some people may remember the fish-eye problems that I had in the earlier stages of building the boat that appeared to be related to Bote-Cote and caused a switch to WEST resin for surface coating. After noticing that neither the roof panels nor the roof-formers showed any sign of fish-eye whatsoever, it occurred to me that the problems that I had earlier were related almost entirely to contamination of the plywood itself. This therefore poses the question as to when and where this contamination took place. My handling hygiene of materials (and, to a degree, tools) has improved a bit since I started on the 'Duck, which could account for it. Other possible causes/not-causes could include the decrease in contamination of the Triton and accessories with the removal of the silicon spray lubricant on the sliding extension (suggested by Triton themselves, I think <gasp>) over time; or it could have been that the plywood was contaminated where I bought it from - or anywhere in between there and the plywood mills' output "hoppers".
The take-home message here is that I don't think that Bote-Cote is the villain that I painted it a few years ago, especially since I've recently been using one of the batches that I thought was causing the problem. The WEST resin seemed to be more capable of overcoming the problem than the Bote-Cote, but I now think that it wasn't Bote-Cote's fault in the main. The "suspect" resin batch from a few years ago (or one of them) has been used on Indonesian meranti "marine" ply from BoatCraft Pacific, French (Joubert) gaboon "marine" ply from Denman's, and Orstrilian eucalyptus "exterior" ply from Mr Ply&Wood over the last few months - with absolutely no fish-eye that I have been able to detect - and you may be absolutely sure that I cast my suspicious eye over every square millimetre of coated surface!
-
18th May 2013, 02:02 PM #3219
GOLD MEMBER
- Join Date
- Jan 2009
- Location
- Blaxland, Australia
- Age
- 65
- Posts
- 2,551
Things that make you go "Hmm..." I've just been doing some tidying up of the current "workbench", and to my extreme annoyance found when I lifted up the Aqua-Cote hardener sample bottle that it still had the hardener in it... I had been completely distracted by the darker colour of the resin in the sample than in the tins (although the visocity was similar), and the meths falling into the pot put the final seal on it. This explains why the final coat took so long to set up. It's also particularly annoying in that the extra volume from the missed hardener would have eked the mixture out just that little bit further and allowed fo a bit more coverage; not much, but enough to make things a little more comfortable
Boy, am I CROSS! What a snaggle-toothed bandicoot - er, possibly even a bunyip - I am at the moment :E


 . The resin is at the finger-nail tap-test stage where it is almost "clicking", so I will most likely turn the roof over tomorrow (Sunday). While I'm still grinding my teeth heavily, no doubt. What a goose...I think I really should get my name changed by deed poll to "Petunia [the silly goose]". <<GRRRR>>
On a slightly more trivial note, it looks as though BoatCraft Pacific write their polyurethane paint and epoxy high-build as "Aquacote", not "Aqua-Cote"...
-
19th May 2013, 02:03 PM #3220
GOLD MEMBER
- Join Date
- Jan 2009
- Location
- Blaxland, Australia
- Age
- 65
- Posts
- 2,551
Right. OK. I've turned the
boatroof over again, after hoovering up all the flakes of metal that I'd traipsed around after milling some countersinks in a part for the CNC box (the fans/cabling back-plate). Having neglected to put a cover over the mill, I of course had to spend quite a bit of time brushing off the sanding dust from the mill and (some of) its environs (rolls eyes yet again). Some people never learn (heavy sigh and yet more rolling of the eyes, they are getting stiff and sore from this sort of exercise). Round and round and round. the take-home message is don't mix metal- and wood-work in the same immediate (or adjacent) environs. You can probably see - apart from spraying silicon juice all over the Triton (AAAARRRRGGGGGHHHH!) - why I had so many fish-eye problems in the earlier parts of my OzRacer Mk II build (even bigger sigh, much banging of head on desk <ouch!>). As a side note, I will be swabbing the roof down with a liberal quantity of degreaser/dewaxer when I turn it back over right side up - just in case I've picked up any cutting oil on these surfaces...
So, what did I find when I turned the roof over?
This is what I found:
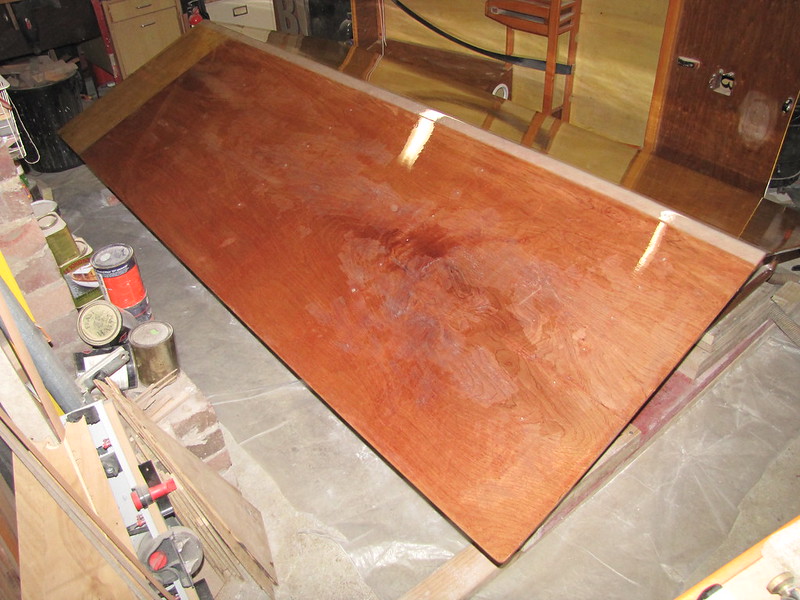
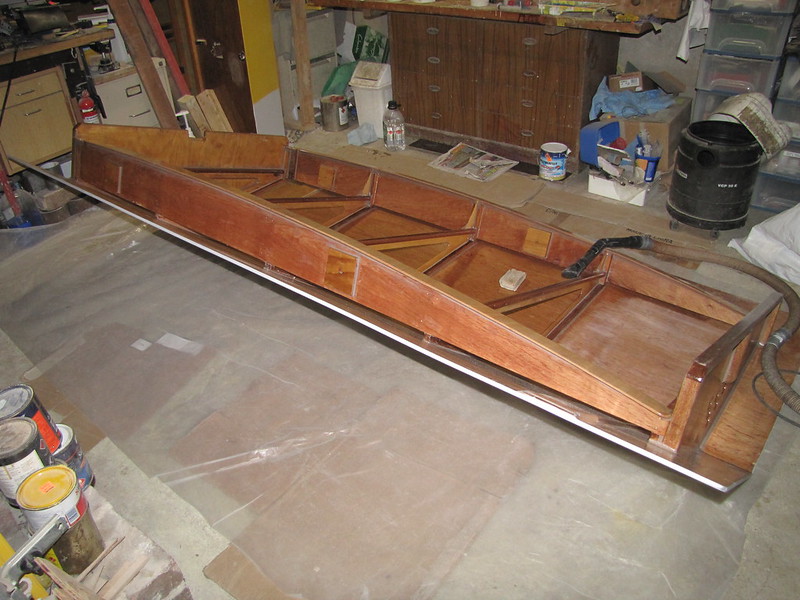
1. Roof turned over (again). After a considerable amount of sweeping with a dustpan and brush, followed by vacuuming. It's a bit of a pity to paint it, really; but, as I've banged on and on and on about ad nauseum, I'm NOT going to varnish it!
2. ROS-sanded portion of the roof underside, after being cleaned up with 60-grit paper and block. The ROS was running too fast and melted the resin, wich aggregated into light brown flat blobs: the (much ;) slower-moving sandpaper took care of them :). The corners and edges (of all segments) will need to be block-sanded where the ROS can't reach, in any case. I may even break out the little ROS "iron" (Bosch"Ixo""Prio" - the "Ixo" was an ultra-compact Li-ion battery-powered drill-driver) if I can locate some suitably coarse pads, although it probably won't have enough oomph for the resin
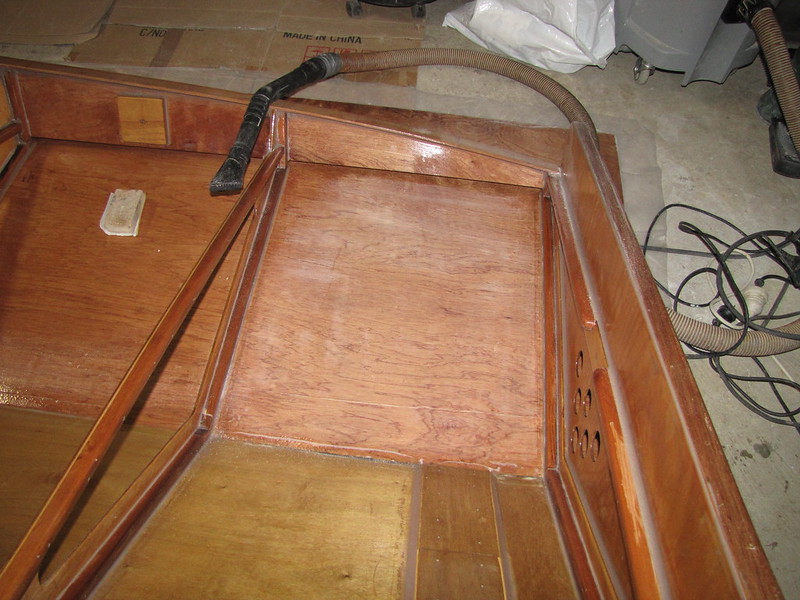
3. Panel aft of the sanded one, i.e., second panel, starboard side. This one isn't too bad: it just looks like standard raised grain to me. Hopefully, this panel will sand easily - except for the veneer bubble (top of snap, protruding out from under the roof former shadow), which will require a bit of care - or maybe a Stanley knife and some superglue to nail it down a bit flatter ;)
4. Aieee! REALLY BAD fish-eye :(. This is the next panel aft, what a mess. Hopefuly it will sand off cleanly...
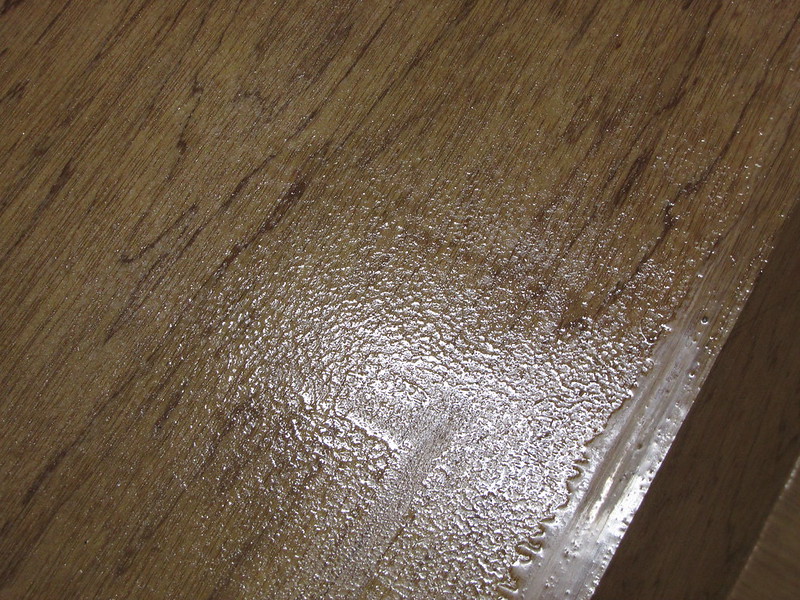
5. Outer edge of board, starboard side. This is much better - just normal raised grain - than the port side, wihich is a right mess; interestingly, this is right next to/contiguous with the really bad fish-eyed region in the previous snap. It's a shame that the underside's not all like this...

Follow this link to my Flickr account
So there you are: lots more sanding for this silly bandicoot. Or goose. Or bandigoose... I also found some fish-eyeing of the WEST on the already-cured roof formers where I'd swiped the roller over to take care of some starved patches - on one former at least. This suggests somewhat that a problem with a still-wet WEST+Bote-Cote mixture. I don't want to leave the surface bubbly the way it is in most areas of the interior roof panels, even though they will never be seen: I want to reduce the microclimates for moulds as much as possible. Don't forget that this place is like a swamp, even when we haven't had rain for a while (and it hasn't rained in this neck o' the woods for a while).
-
19th May 2013, 06:58 PM #3221
GOLD MEMBER
- Join Date
- Jan 2009
- Location
- Blaxland, Australia
- Age
- 65
- Posts
- 2,551
After I'd posted the above, I remembered that I was going to swab the murky surface with water before sanding - which I then turned around and did before I got too far. I was reminded by the clogging sandpaper; although it may just be improperly-cured resin, not amine blush. I'm now waiting for the surfaces to air-dry.
Once the surface appeared to be try I started block-sanding again with the 60-grit paper, along the starboard outer part of the roof underside - where the resin appeared to have behaved normally. Instead of powdering as fully cured resin does, it "sausages" off the sandpaper: a clear sign that the resin hasn't fully cured. I then tried giving the surface a vigorous scrub with a piece of paper towel soaked in acetone to see if the stuff started to dissolve, which would be another sign of partially-cured resin. Sure enough, the surface immediately became highly stick, which it doesn't if the resin is fully cured, and the sandpaper immediately and almost completely clogged with a sticky mess.
I remember thinking at the time (while mixing the resin) that I wasn't getting enough hardener out of the pump. I've experienced that before (with a failed WEST pump), but the pump seemed to be pumping OK. In the light of the above, I poked a piece of thin tie-wire up the spout of the pump, and wiggled it around: the wire came out with a coating of light yellow-ish semi-dried hardener; pumping out one pump-stroke of hardener resulted in clear hardener at the end, and an easier-running pump. So it's quite possible that part of the problem was the wrong resin:hardener ratios. Again :(. See also Mr Storer's Epoxy FAQs regarding this... I'd recommended them to a friend who wanted some advice on epoxy-coating (remembering about the FAQ after way too long and too many woolly descriptions) just this morning, so I decided to take my own medicine, so to speak. The Boss also remembers me muttering about that pump the other day, so maybe that is it.
I've now got a few options: wait several months for the stuff to harden fully; toast it some more with the Electric Flame Thrower to see if that does anything; or tackle the layer rather more aggressively with coarse steel wool - or my as-yet-undused, unburnished cabinet scrapers, wherever they are - and a bucket of acetone to actually remove the stuff. Option three is probably going to be the least of the tree evils, so the sooner that I get cracking on it the sooner the nightmare will end. I have found the cabinet scrapers at least: more or less where I remember having put them, which is novel. Fun, fun, fun.
-
20th May 2013, 02:41 PM #3222
Happily receives emails.
- Join Date
- Jul 2005
- Location
- 'Delaide, Australia
- Age
- 65
- Posts
- 8,138
I know it is the wrong months now ... but any chance you could get it out in the sun for a day or three? Maybe even with black plastic over the top?
I've also seen epoxy like this painted with undercoat and then finished (not to my recommendation) and they got away with it. Seeing it is not a boat ... is is worth a risk? The big question would be adhesion between the undercoat and the part cured epoxy. you could do a small test patch before you put the thingy out in the sun and let the lot cure together and see what happens.
MIK
-
20th May 2013, 09:19 PM #3223
GOLD MEMBER
- Join Date
- Jan 2009
- Location
- Blaxland, Australia
- Age
- 65
- Posts
- 2,551
Hello MIK,
Thank you for the suggestions :). Putting the roof out in the sun is an excellent idea in theory, except that we don't get any sun to speak of again until mid-spring - it basically "sets" behind the hill in early autumn and "rises" again when the weather starts warming up again. This is one of the reasons that working with things that need a reasonable amount of warmth is so jolly difficult here :(. I guess I could put the roof on the boat trailer and trundle it down to the local oval around the corner, but I would want to get it back into the workshop again and that would be a non-trivial task. Once the roof has left its nest, that will be it: no going back!
Painting over the top might be OK, but I want to try the resin-removal first - it's a good excuse to "initialise" at least one of my cabinet scrapers, which have been sitting sealed in their packet since I got them from Carbatec last year or the year before...
i've been spending a bit of time sanding firens' sideboard prior to staining and painting over the last couple of days - and am working to try and beat the rain that is forecast for Wednesday et seq. Once that's out of the way I'll be able to put my attention back on the roof a bit more, since the sideboard is over at their place - which is warmer, sunnier and drier!
Cheers,
Alex.
I nipped downstairs and set up a scraper immediately after writing the above:
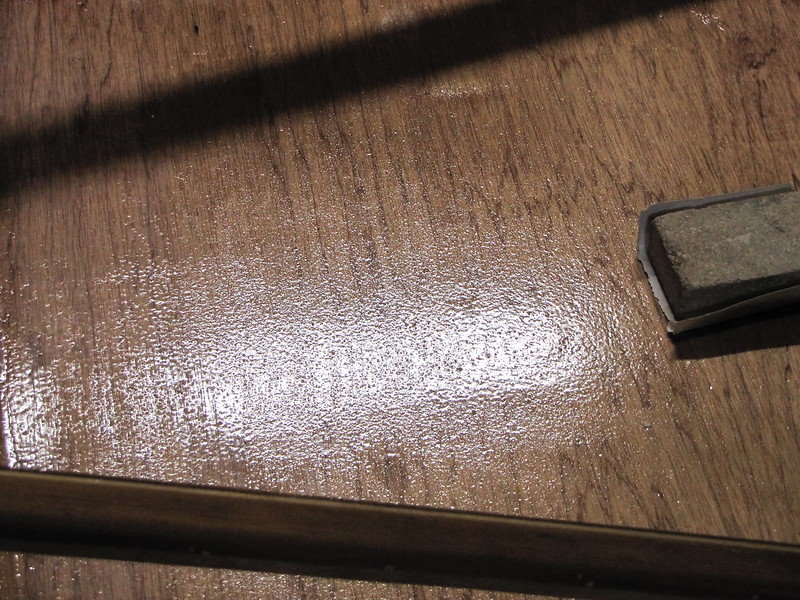
1. Burnisher, cabinet scraper - and the result. The resin was rubbed with an acetone-soaked piece of paper towel before scraping. Note that the underlying Bote-Cote appears to have fully cured
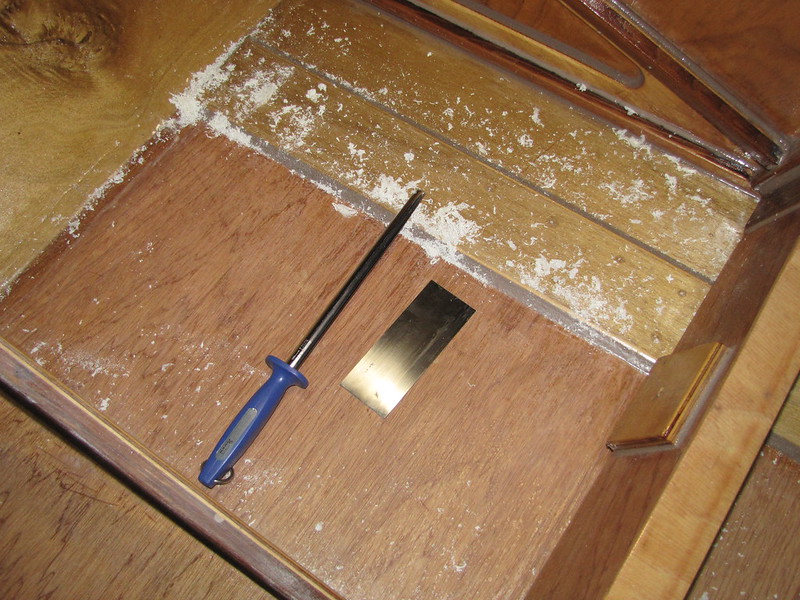
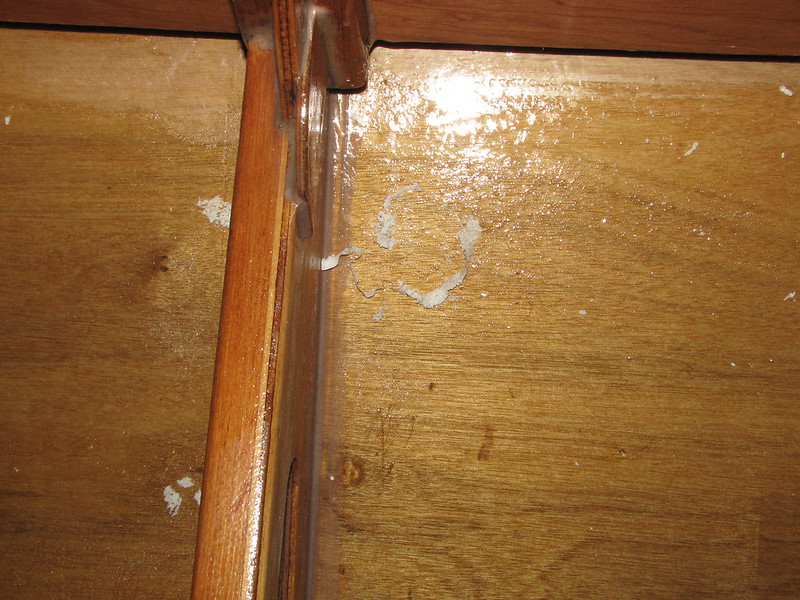
2. Results of using the cabinet scraper without acetone. It planed the resin blobs off quick-smart :). The curls of resin here are from the outer portion of the starboard roof panel
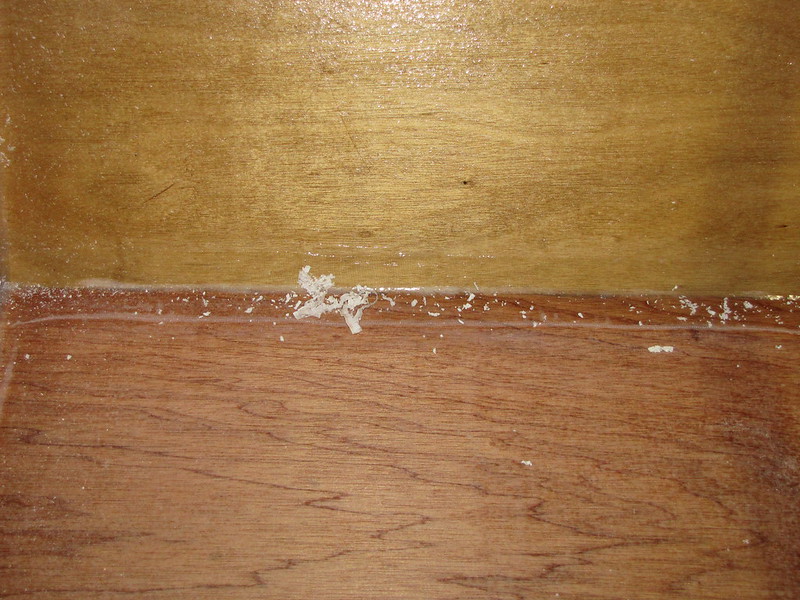
3. More resin untreated with acetone scraped off with the scraper. Outer portion of roof panel again
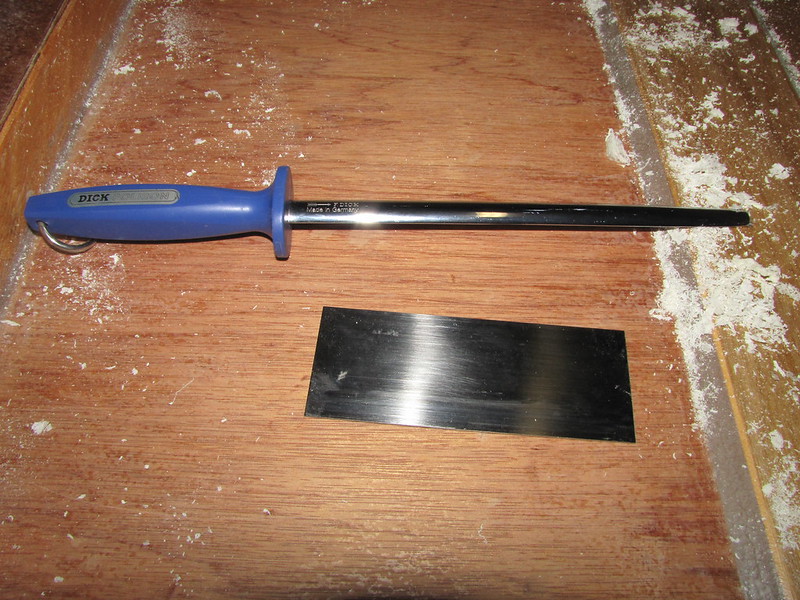
4. Burnisher and scraper, closer view. The burnisher is usually used on the reed-scraping knife that I use to strip off the cane's bark at the beginning of the reed-making process. In fact, the burr on the reed knives and cabinet scrapers are more or less identical, except that in the case of the reed knives the burr is much smaller and finer. In the case of the reed finishing knife, the burr is yet finer, being produced by a very fine-grit grinding stone (oil or water doesn't matter much - as long as it's fine)
Follow this link to my Flickr account
Using the newly-burred scraper on the WEST resin was actually a lot of fun :). Not a lot of pressure was required to shave off what look like large quantities of resin - even if, in fact - it wasn't that much when the shaved surface was inspected more closely. All the same, the resin removal is not going to be done in five minutes!
-
21st May 2013, 10:08 AM #3224
Senior Member
- Join Date
- Sep 2012
- Location
- NSW, Australia
- Posts
- 474
Good thinking on the scraper. That seems to be by far the best option, all things considered.
-
21st May 2013, 01:27 PM #3225
Happily receives emails.
- Join Date
- Jul 2005
- Location
- 'Delaide, Australia
- Age
- 65
- Posts
- 8,138
I think I am more lazy than you Alex Originally Posted by Sumbloak
MIK


 Reply With Quote
Similar Threads
-
New Queensland PDRacer Build
By duncang in forum Michael Storer Wooden Boat PlansReplies: 71Last Post: 26th April 2012, 08:30 AM -
Oz PDR build in Adelaide - sexy black PDRacer
By m2c1Iw in forum Michael Storer Wooden Boat PlansReplies: 39Last Post: 27th April 2009, 06:30 PM -
OZ PDRacer - Dylan's build in the Philippines
By Boatmik in forum Michael Storer Wooden Boat PlansReplies: 16Last Post: 23rd February 2009, 05:50 PM -
Brisbane Timber and Working with Wood. Boatmik/PDRacer
By Boatmik in forum Michael Storer Wooden Boat PlansReplies: 1Last Post: 11th April 2007, 08:06 PM -
Flawed wood on the TS --DUCK!
By Robert WA in forum WOODWORK - GENERALReplies: 7Last Post: 19th February 2004, 11:42 AM
Tags for this Thread
balanced lug,
boatmik,
build,
dacron(tm),
douglas fir,
duck,
enamel,
epoxy resin,
fibreglass,
hoop pine,
interminable,
lug,
machinery,
materials,
michael,
oregon,
oz racer mk 2,
ozracer,
paint,
paulownia,
paulownia/glass mast,
pdracer,
plywood,
polytarp,
primers,
really simple sails,
sail-making,
sailmakers thread,
sanding,
storer,
sydney,
timber,
tools,
varnish,
verbose,
western red cedar,
wood,
wood duck,
wrc
