

 Thanks: 0
 Likes: 0
 Needs Pictures: 0
 Picture(s) thanks: 0
Results 1 to 10 of 10
Thread: A new pen tidy
-
9th September 2008, 07:28 PM #1
 GOLD MEMBER


- Join Date
- Sep 2002
- Location
- Paignton. Devon. U.K.
- Posts
- 6,062
 A new pen tidy
I have lost ten of my boxes this summer to friends and relatives including the pen box.
So started a new pen tidy.
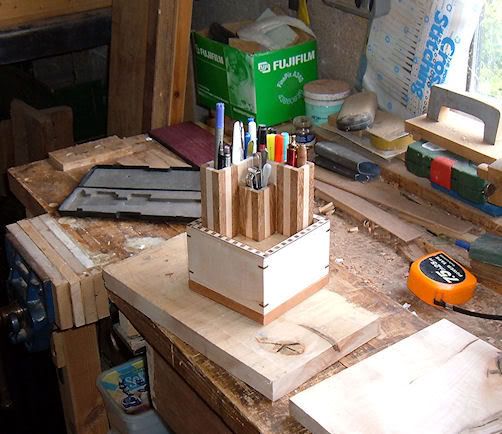
Picture of the first pen tidy to copy, and it isn't easy copying, my brain doesn't seem to function to the project of whats needed, only copying and not forward thinking.
So started stripping
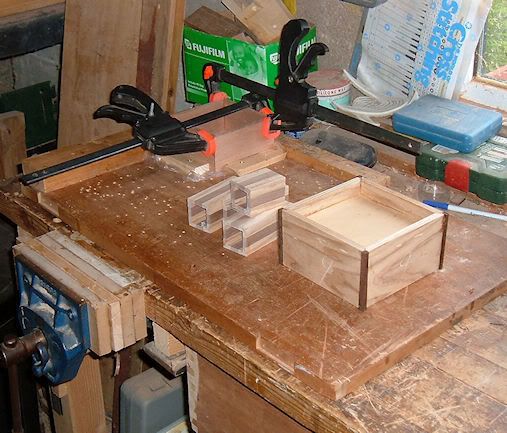
and the first operation was not a success, so making another batch as per pic below.
Lots of clamps and masking tape holding things in place.

Handy offcuts, and one offcut is less than 0.4 thickness.
One successful section glued up. (american ash and black walnut.)
 woody U.K.
"Common looking people are the best in the world: that is the reason the Lord makes so many of them." ~ Abraham Lincoln
-
9th September 2008 07:28 PM # ADSGoogle Adsense Advertisement
- Join Date
- Always
- Location
- Advertising world
- Posts
- Many
-
10th September 2008, 07:34 PM #2
Toolmaker Extraordinaire
- Join Date
- Jun 2007
- Location
- Toowoomba, Qld
- Age
- 31
- Posts
- 2,520
Good work John

Are you going to make the top lift off from the rest of the body like the original?
-
10th September 2008, 09:25 PM #3
GOLD MEMBER
- Join Date
- Jun 2007
- Location
- North Of The Boarder
- Age
- 68
- Posts
- 16,794
John nice organiser
good to see the student acknowledging he master FC
-
11th September 2008, 01:41 AM #4
GOLD MEMBER
- Join Date
- Sep 2002
- Location
- Paignton. Devon. U.K.
- Posts
- 6,062
 Originally Posted by funkychicken

Yes, but having some problems.
I glued up the outer box yesterday with titebond 3 and bound the box up with masking tape to hold the joints whilst the glue set.
I checked after around 10 minutes and all the mitred corners were neat a tidy but when I returned 3 hours later the corners had opened at the top end.
I think what is happening is that when the glue starts to harden it expands and this action pushed the corners open.
So have routed out corners today and fitted black edgings to neaten.
Pictures tomorrow when my temper has calmed down. woody U.K.
"Common looking people are the best in the world: that is the reason the Lord makes so many of them." ~ Abraham Lincoln
-
11th September 2008, 06:47 PM #5
GOLD MEMBER
- Join Date
- Sep 2002
- Location
- Paignton. Devon. U.K.
- Posts
- 6,062
For expats who would like to see an English summer again and the damp mood that prevails.
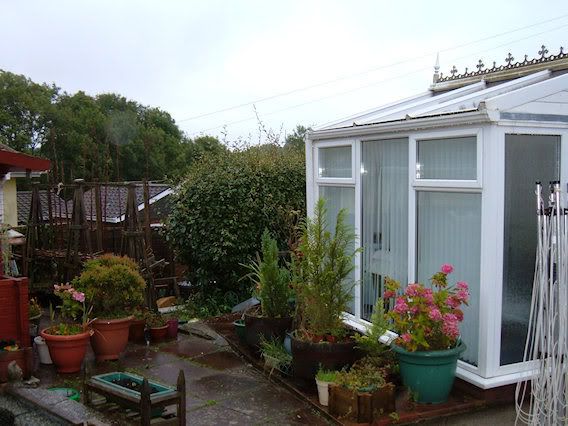
The window view.
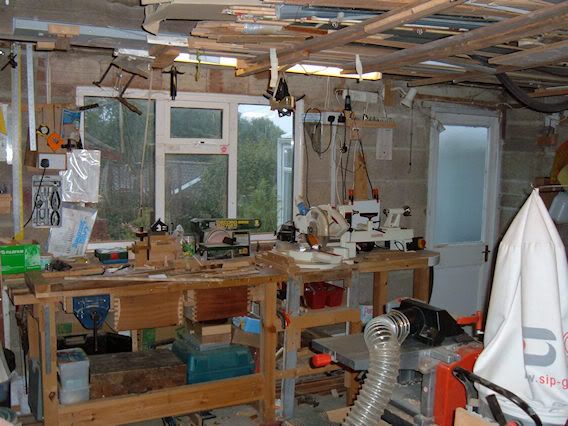
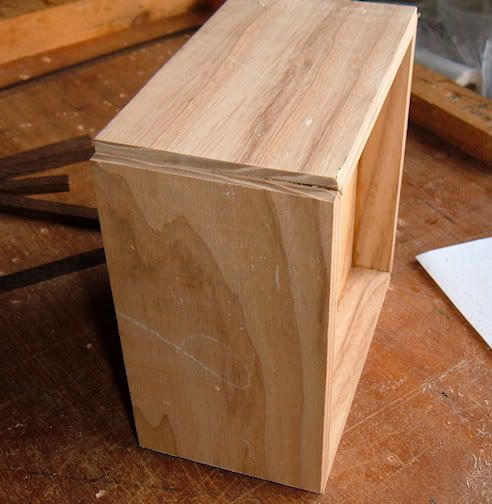
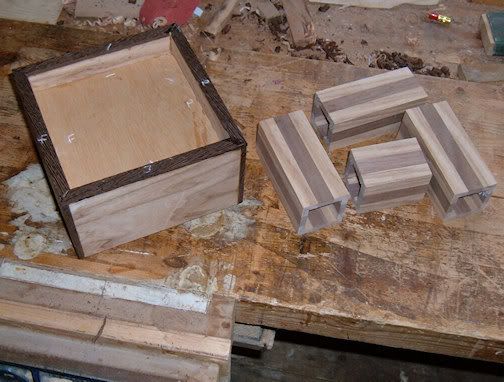
Back to the box, a photograph of the box with top corners blown because clamps were not applied. I have over the past year had no trouble holding joints with masking tape but we think atmospherics (dampness) is partly to blame that joints are not holding using this method.
Pictures attached showing progress of pen tubes (glued OK with just masking tape)
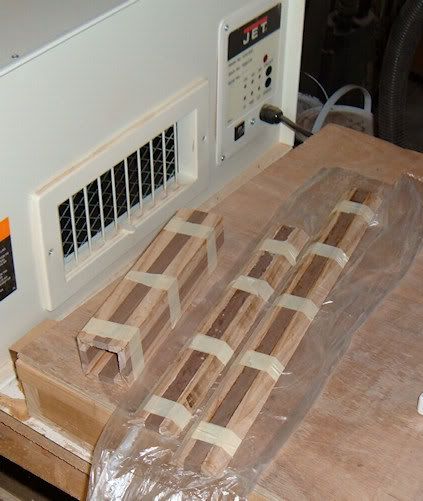
Outer box with edgings glued on and internal box under clamps and tubes all cut to size.
 woody U.K.
"Common looking people are the best in the world: that is the reason the Lord makes so many of them." ~ Abraham Lincoln
-
11th September 2008, 07:10 PM #6
Toolmaker Extraordinaire
- Join Date
- Jun 2007
- Location
- Toowoomba, Qld
- Age
- 31
- Posts
- 2,520
Looks Good John
"English Summer" is 2 weeks in August

-
12th September 2008, 05:51 PM #7
GOLD MEMBER
- Join Date
- Sep 2002
- Location
- Paignton. Devon. U.K.
- Posts
- 6,062
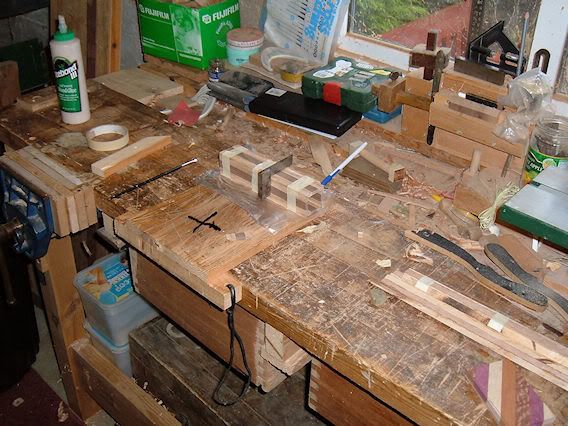
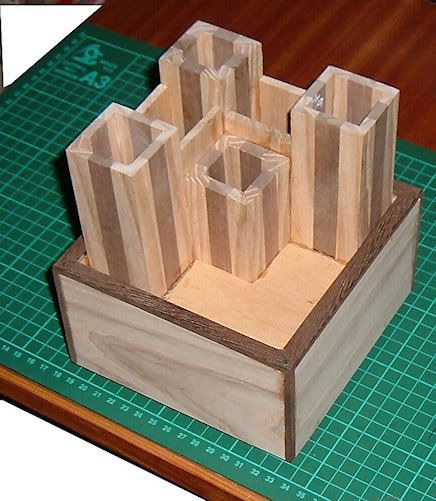
Managed a little work on the project yesterday, got some more decorative beading (wenge) on the top edge, (didn't clamp, turned on its surface so the weight of the box held strips in place whilst glue set)
Internal box fits quite well after a little sanding on the machine.
Picture describes how internal box fits, (it could make a secret compartment if screws or bolts are hidden in tubes when fitted)
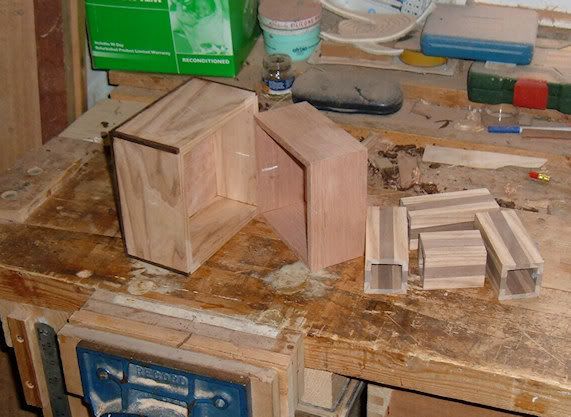
So awaiting tubes to be fitted next step.
 woody U.K.
"Common looking people are the best in the world: that is the reason the Lord makes so many of them." ~ Abraham Lincoln
-
15th September 2008, 05:45 PM #8
GOLD MEMBER
- Join Date
- Sep 2002
- Location
- Paignton. Devon. U.K.
- Posts
- 6,062
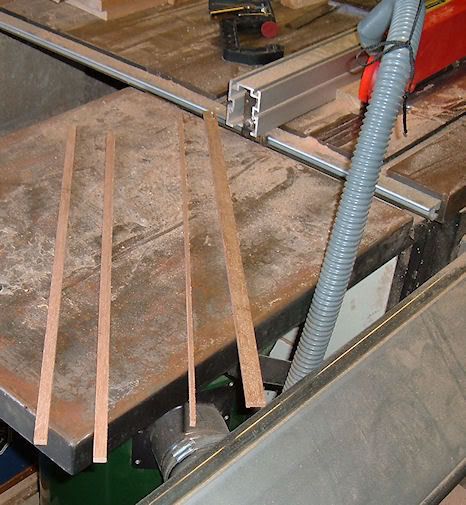
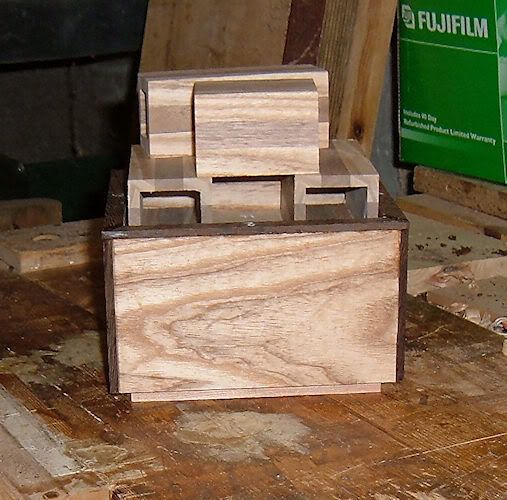
To complete the tubes I needed some dividing sections and went to the scrap box and found these two bits.
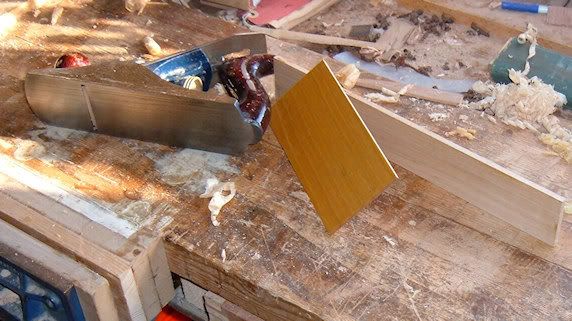
They are offcuts of Sweet chesnut from some book shelves I constructed nearly 40 years ago and recently scrapped. They are around 7 mm thickness and I hand planed them down to 5mm.
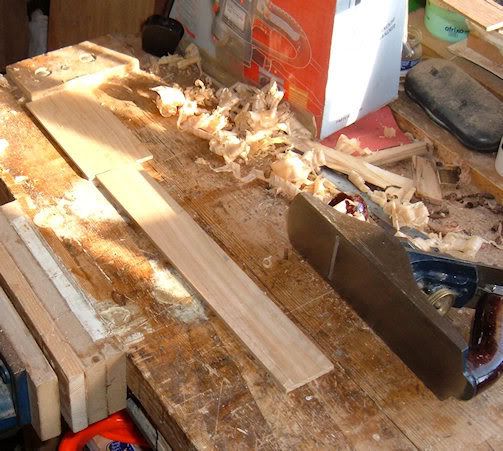
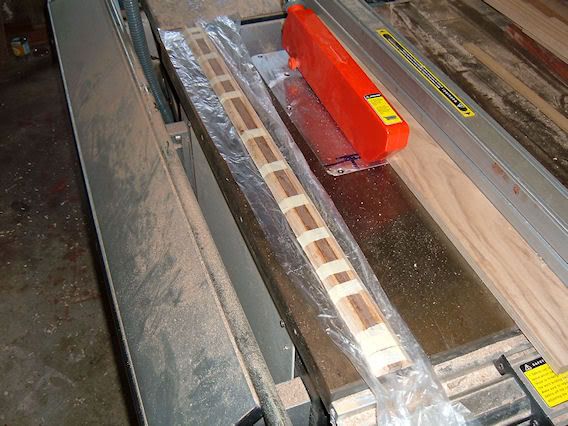
All pieces now glued as per photograph and shortly will be given a coat of shellac and wax and positioned on our hearth to replace the one I lost to a family visitor.
 woody U.K.
"Common looking people are the best in the world: that is the reason the Lord makes so many of them." ~ Abraham Lincoln
-
15th September 2008, 09:28 PM #9
GOLD MEMBER
- Join Date
- Dec 2006
- Location
- Virginia, USA
- Age
- 63
- Posts
- 1,904
Excellent work-in-progress tutorial. Thank you for all the photos.
Now, back over to the pen making section of the forum to fill it up.  When all is said and done, there is usually a whole lot more said than done.
-
15th September 2008, 09:58 PM #10
Toolmaker Extraordinaire
- Join Date
- Jun 2007
- Location
- Toowoomba, Qld
- Age
- 31
- Posts
- 2,520
As if you didn't have enough there already Originally Posted by jow104
Nice box John Your posts keep reminding me how handy a table saw is


 Reply With Quote


Similar Threads
-
Huon Bud Vase tidy up
By Cliff Rogers in forum WOODTURNING - GENERALReplies: 8Last Post: 18th August 2008, 05:18 PM -
Desktop tidy
By outback in forum WOODWORK PICSReplies: 4Last Post: 6th March 2006, 11:30 AM -
My shop (reasonably) tidy at last!
By savage in forum WOODWORK - GENERALReplies: 8Last Post: 13th October 2005, 01:21 AM -
My tidy workshop
By jow104 in forum WOODWORK PICSReplies: 3Last Post: 30th August 2004, 08:33 PM
